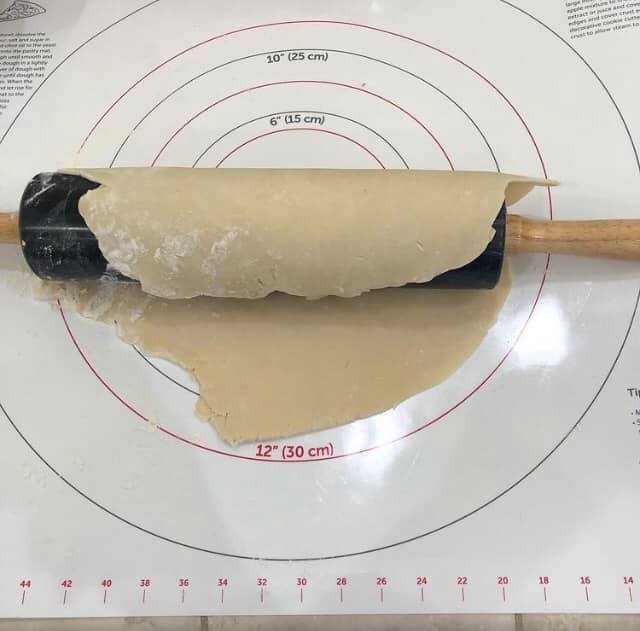
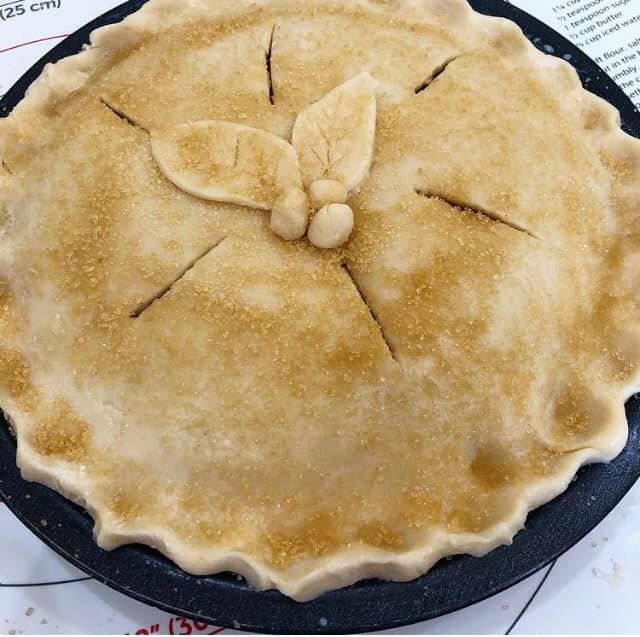
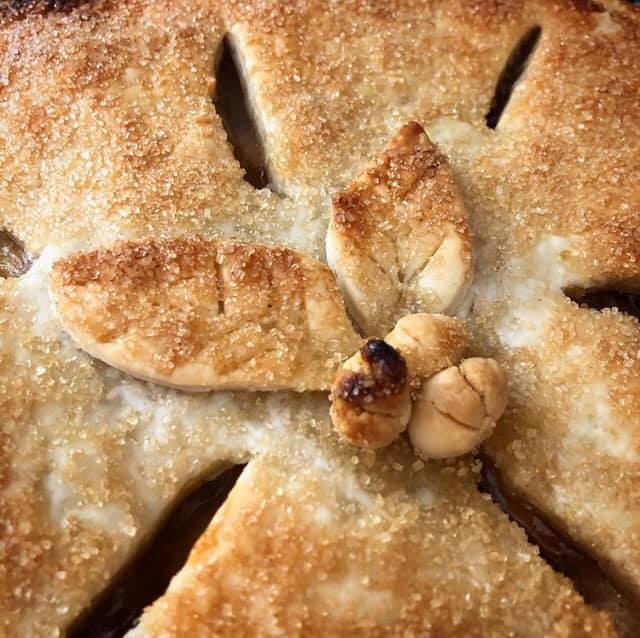
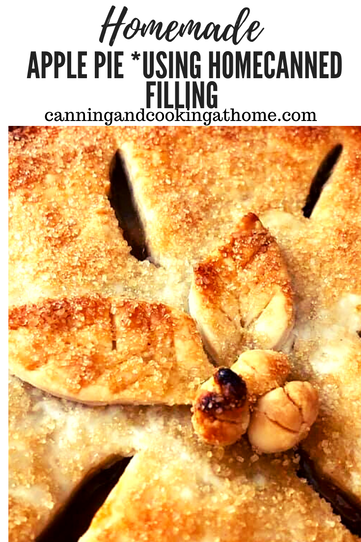
 Well, if you had apples I hope you made my Apple Pie Filling?! If you made that, then you can make THIS! Fresh Warm Homemade Apple Pie - there is nothing more comforting! Its actually pretty each to roll out a homemade crust. Enjoy! Diane Homemade Pie Crust Ingredients: 2 cups all-purpose flour 1/4 teaspoon salt pinch of sugar if you want a slightly sweet crust 2/3 cup cold butter (10 Tbs plus 2 tsp) 1 egg yolk 4 to 5 tablespoons cold water (more if too dry) Filling: 1 Quart Apple Pie Filling 1 Pint Apple Pie Filling Directions: In a Cuisinart: Combine flour and salt, pulse for 2 seconds; cut butter up with a knife into small chunks and add to food processor. Pulse until mixture resembles coarse crumbs. Drop in egg yolk and enough water until flour is moistened, dough when pulsed should start to roll up into a ball on one side. Do not over mix; dough should be incorporated (not dry) and not sticky. Take dough out of food processor bowl and lay onto a lightly floured surface. Divide dough in half. Shape each half into ball. Flatten slightly and wrap each half of dough in plastic food wrap, you will need both halves to make this pie, place in refrigerator for one hour (you want butter in dough to chill again after being "worked" so that your pie crust is flakier when baked.) For this double crust pie, roll out one half of dough on lightly floured surface into 12-inch circle. Fold into quarters (or roll onto rolling pin and carry over to pie plate) Place dough into 9-inch pie pan sprayed with non-stick spray; unfold dough, pressing firmly but, gently against bottom and sides. Do the same with the second ball of chilled dough (making the top.) Once filled (apples can be slightly mounded into center as it will cook down in oven). Brush the bottom crusts edge lightly with water using a pastry brush - this aides in both crusts adhering to each other. Top filled pie with top crust. Trim both crusts together to 1/2 inch from edge of pan. Crimp both crusts under or flute edges to seal in filling. Remember to cut slits on top of top crust to let steam escape during cooking (I also place my pies on a baking sheet while baking to catch any drips.) Use any leftover dough (from trimming crusts) to re-roll and cut into shapes if you want to decorate the top of your pie (I did autumn leaves) Brush top crust with egg wash (whisk one egg in a cup or bowl) and sprinkle with sugar. Bake Pie at 375 for 40 minutes (or until top is golden brown.) Kitchen Tip: Use a pie sheild the last 20 mins of bake time if the edges are browning too quickly. Letting the pie cool before serving will help the filling firm up a bit... Pie Crust Recipe & Photos by: Diane Baker for Canning and Cooking at Home
0 Comments
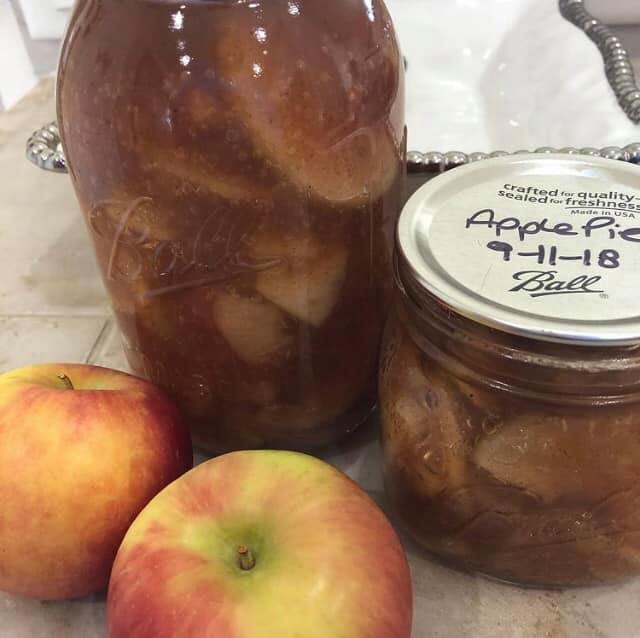
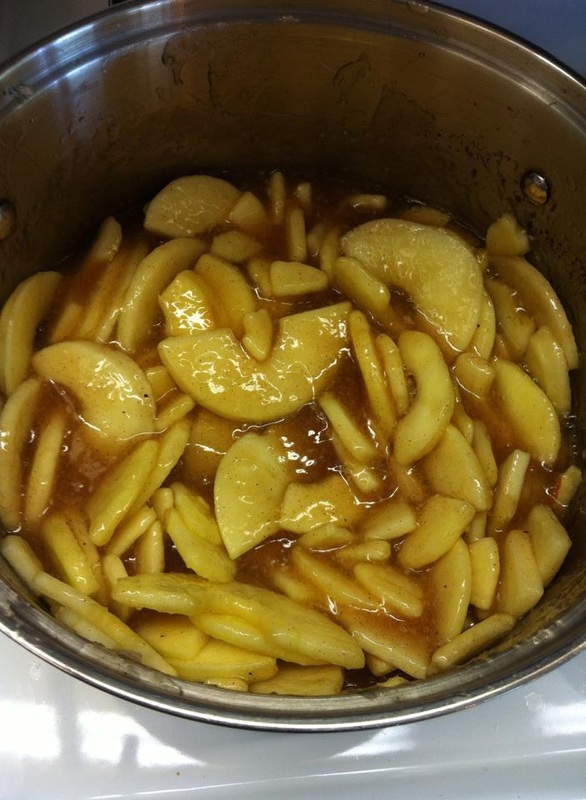
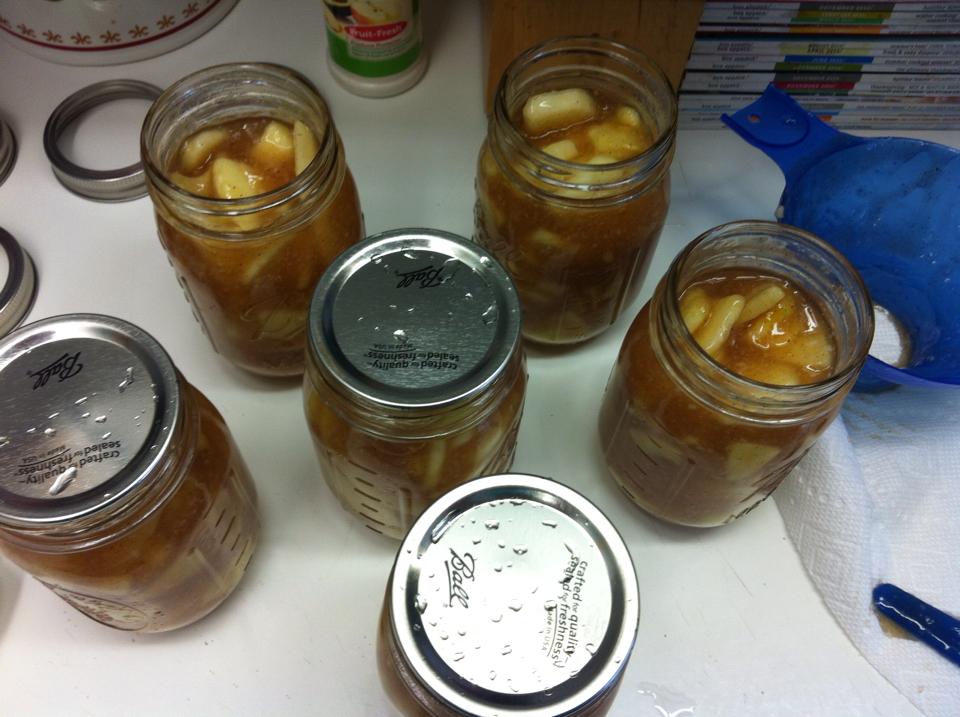
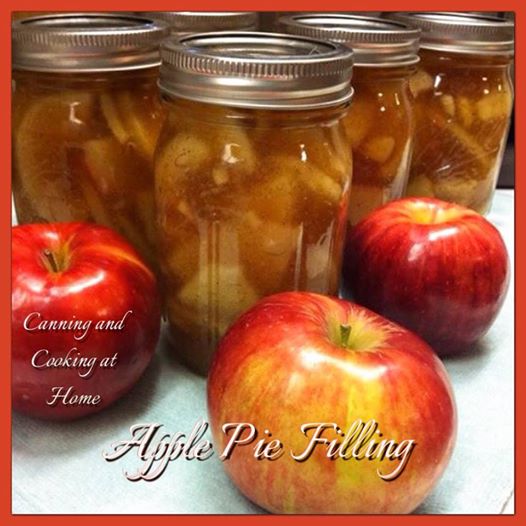 Finally! I waited and waited for my clear jel to arrive to make homemade apple pie filling. I even ventured out to the store and invested in an apple peeler (the hand crank, corer, peeler, slicer) which was SO worth it - I highly recommend one as they make peeling a snap (cost approx. $16-19) This recipe is a bit more involved as far as ingredients but, I had apple cider from making apple butter. I read a bunch of different recipes and did not like that many of them didn't narrow down how many apples you are to use. I took the time here to cut and measure how many apples I used and size I used so that maybe it will save you a small hassle... this recipe is a snap to make. I suggest that you bring all the filling ingredients (minus the apples) to a medium simmer and mix your clear jel and some of the cold water called for in the recipe together in a separate cup, then add to filling and bring to a boil (you don't want any clumps of clear jel in your filling/syrup) *If you DO get clear jel clumps, you can use an immersion blender to blend them away. Enjoy ~ Diane. Homemade Apple Pie Filling Yield: approx.4 quarts (or 8 pints) Ingredients: 12 cups apples, peeled and sliced into 1/2 inch pieces (I used 5 large jonagold & fuji apples and 6 small jonathan & gala apples) 3 cups sugar 1 cup Clear Jel starch**(see note below) 2 teaspoons ground cinnamon 1/2 teaspoon ground nutmeg 1/2 teaspoon Rodelle Vanilla Bean Paste 2 1/2 cups cold water 2 cups apple cider or apple juice 1/2 cup bottled *lemon juice (plus additional if adding to water after slicing apples, see note below) *Fruit Fresh (optional to lemon juice, see note below) Instructions: Peel apple slices and place slices in a pot of cold water with *fruit fresh or lemon juice. Drain the apples and boil the apple slices in smaller batches for 1 minute in boiling water. Place warmed apples slices in a large bowl and cover with a towel while you prepare the sauce below. Combine sugar, clear jel, cinnamon, vanilla and nutmeg in a large pot with the cold water and apple cider or juice. Stir and cook over medium high heat until mixture thickens and begins to boil. Add the bottled lemon juice and cook for 1 minute. Add in the warm sliced apples to the mixture, stir to combine and immediately ladle into hot jars, leaving 1 inch headspace. Remove air bubbles with a long plastic knife or thin spatula. Wipe rims and cover with lids and ring bands. Process (Quarts and Pints) in a water bath for 25 minutes (see notes for high altitude processing time). Let cool 24 hours and ensure lids have sealed. Store any unsealed jars in the fridge and use within a few weeks. To bake a pie, simply pour it into a prepared pie shell. Bake at 425 degrees until filling is bubbling or follow your own pie recipe for two crust fruit pies. *Notes: Store sliced apples in a solution of water and *lemon juice (2 tablespoons lemon juice per large bowl of water) to prevent browning until ready to proceed with recipe OR add *fruit fresh to the water. **Clear Jel - is a thickener/starch that is used in high heat canning - do not use any other thickening agent (such as flour, cornstarch or tapioca) Only use 'Cook Type' Clear Jel for this recipe. Increase processing time for high altitude as needed: 1,001-3,000 ft 5 minutes, 3,001-6,000 ft 10 minutes, 6,001+ ft 15 minutes. Recipe Adapted from USDA Home Canning Guide. Photos by: Diane Baker for Canning and Cooking at Home  |