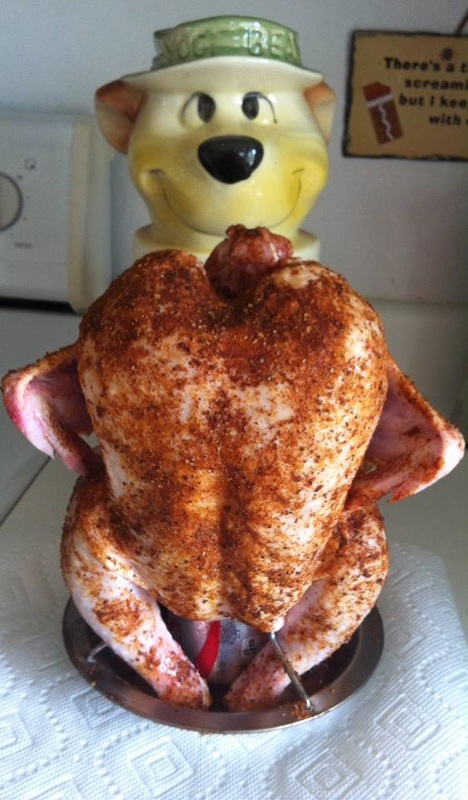
 Chicken on the Grill Do you say soda or pop? Either way, using the can to have the chicken perch on top of - forces the heated apple juice in this recipe in and around the chicken and creates the most tender and moist chicken that we have had to date. You do want to baste the chicken but, not until near the end - that moment when you open the grill to check on the bird and say "oh no! its burning" that is when you start to baste - you want that nice crust to form on the outside of the bird (which also helps retain the moisture) The rub is great on this too - you can buy "Down and Dizzy" Rub from the folks who make the Big Green Egg but, you can also make your own - in either case, its WORTH using on this. I rarely (almost never) eat the skin from a chicken but, in this recipe - you'll want to! there truly is nothing better then 'can in the chicken' on the grill...and we've tried the more traditional "beer can chicken" but, apple juice in my opinion is 100% better tasting overall. ~Enjoy! Diane Pop Can Chicken Ingredients: One 4 to 5 pound whole chicken 2 Tbsp extra light olive oil 1 opened can of pop (you're using the can for recipe) 8 oz apple juice your favorite BBQ Rub (we use our own, see below) RUB Ingredients:
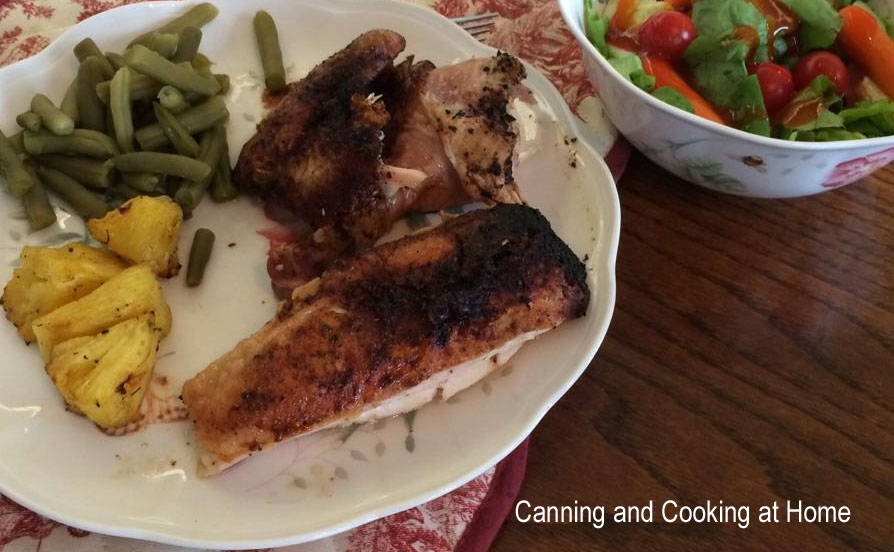
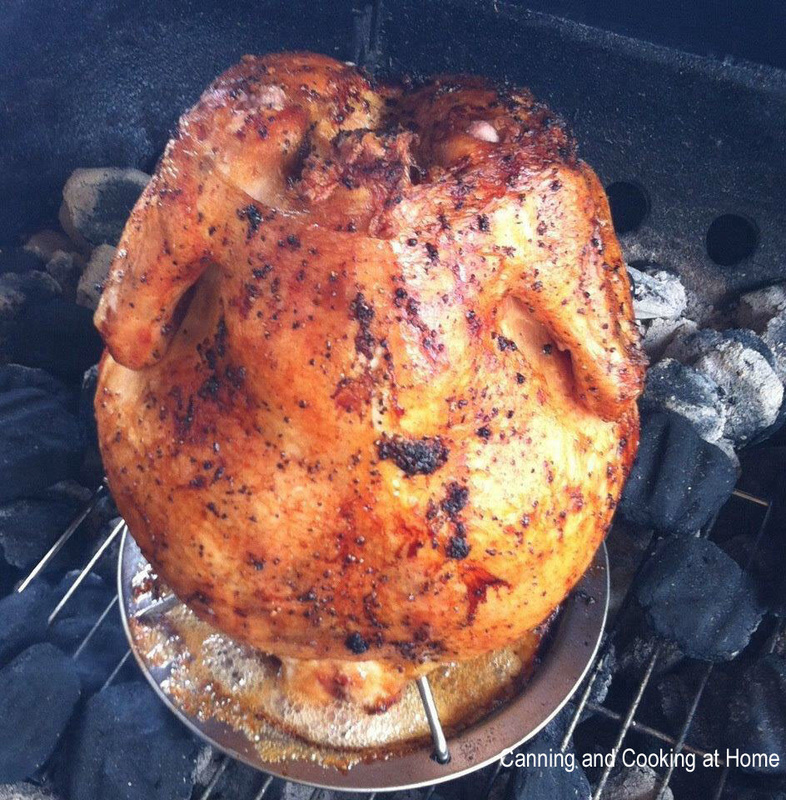
Directions: 1 Prepare your grill for indirect heat. If you are using charcoal, put the coals on one side of the grill, leaving another side free of coals. If you are using a gas grill, fire up only half of the burners. 2 Remove neck and giblets from cavity of chicken, if the chicken came with them. Rub the chicken all over with a bit of olive oil. Mix the salt, pepper, and rub in a little bowl, then sprinkle/pat into the chicken. 3 Drink the pop leaving can empty, rinse & clean well - poke a few holes around the upper 1/4 of can and fill can with apple juice about 3/4 full. If you want, you can put a sprig of thyme (or another herb like rosemary or sage) in the can. Lower the chicken on to the open can, so that the chicken is sitting upright, with the can in its cavity. Place the chicken on the cool side of the grill, using the legs and beer can as a tripod to support the chicken on the grill and keep it stable. 4 Bring your grill up between 350-375. Close the grill hood, and walk away. Do not even check the chicken for at least an hour. After an hour, check the chicken and refresh the coals if needed (if you are using a charcoal grill). Keep checking the chicken every 15 minutes or so, basting chicken with juices from drip pan (mostly apple juice) until a meat thermometer inserted into the thickest part of the thigh reads 160°F - 165°F. The total cooking time will vary depending on the size of your chicken, and the internal temperature of the grill. A 5 lbs chicken will usually take around 1 3/4 hours. If you don't have a meat thermometer, a way to tell if the chicken is done is to poke it deeply with a knife (the thigh is a good place to do this), if the juices run clear, not pink, the chicken is done. 5 Carefully transfer the chicken to a tray or pan. "Carefully" because the pop can, and the juice inside of it, is quite hot. Let chicken rest for 5 mins before carving. Recipe & Photos by: Diane Baker for Canning and Cooking at Home
0 Comments
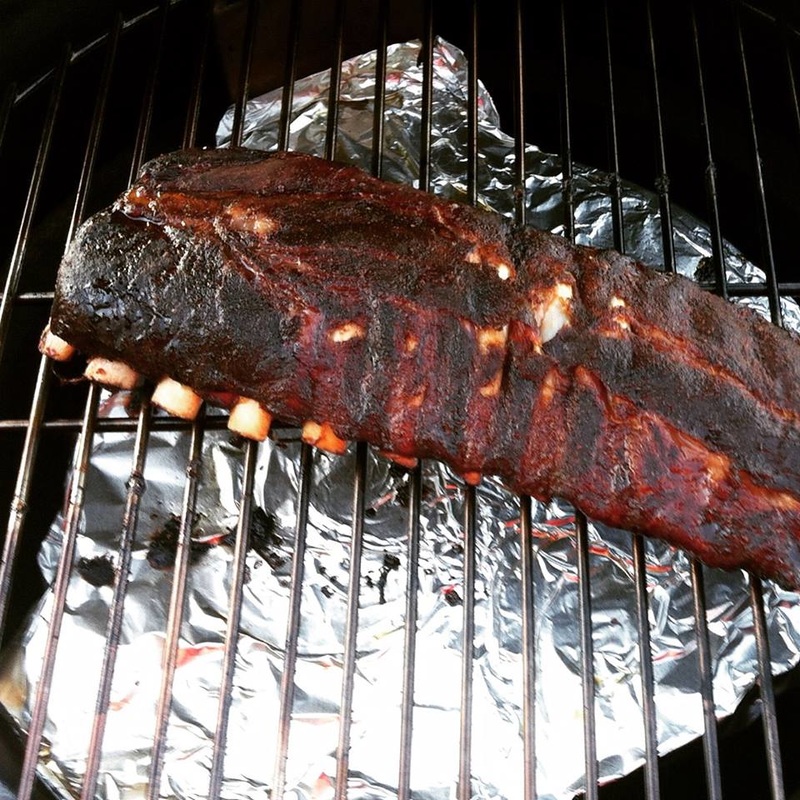 Best Ribs in the Universe Best Ribs in the Universe Best Ribs in the Universe "BRITU" This post is from my husband who is a 'grill master' with our Big Green Egg. We wanted to share what he grilled but, also give credit to those that brought this great recipe to light: Mike Scrutchfield and Ray Basso. So without further ado - here is the Recipe and I will say - it holds true to its name as BRITU!!!! Enjoy! Diane ..."This recipe and cooking procedure won the prestigious title "Best Ribs in the Universe" at the 1993 American Royal Bar-B-Que contest as the Overall Grand Champion. It also took "Reserve Grand Champion" at the 1994 American Royal. This is the largest Bar-B-Que contest in the World. Enjoy!" - via Ray Basso Meat: Baby Back Ribs. 2 lbs. - Membrane on the inner (Stomach) side removed. All excess fat trimmed. Dry Rub: Mix all ingredients thoroughly and store unused in moisture proof container 1 Cup Sugar 1 Cup Non-Iodized Table Salt ½ Cup Brown Sugar (Dried out lightly by exposing on cookie sheet room temp. several hours, or slightly warmed 5 Tablespoons + 1 Teaspoons Chili Powder 2 Tablespoons + 2 Teaspoons Ground Cumin 4 Teaspoons MSG (Accent) *we left this out on ours and it was fine 4 Teaspoons Cayenne Pepper 4 Teaspoons Black Pepper freshly ground (important) 4 Teaspoons Garlic Powder 4 Teaspoons Onion Powder Sprinkle Meat 2 hours before cooking with rub and allow meat to come to room temperature. Do not over-season. A good overall dusting of the spices is all that's needed. The spices will become a nice red liquid coating after sitting for about an hour, if you used the proper amount. Basic Cooking procedure: Smoke ribs in a "Water Pan" smoker i.e. Brinkman, or Weber "Smoky Mountain Cooker" (the best) Start Charcoal (7-10lbs.) and 4 chunks of White Oak and 2 chunks of Cherry wood (about the size of a tennis ball) at least 1 hour before cooking meat. All fuel should be started in a chimney style starter, no starter fluid and all the charcoal must be grey/white hot. Remove all bark from wood chunks, do not soak. Very little smoke will be visible. Don't worry about that you'll get the flavor. Use straight water in the water pan and keep it full during the entire cooking process. Control oven temperature of cooker by regulating the bottom vents only. Never, ever, completely close the top vent! If you don't have one, put a thermometer on your cooker. Cook ribs for 3 hours fairly cool at 225 degrees on rib racks. After 3 hours lift the lid for the first time, flip the slabs end for end, and upside down, and open all the vents on the smoker wide open. Temperature of the cooker should rise into the 250 to 275 degree range. Peek every ½ hour to monitor doneness. Ribs will be finished when fairly brown in color, and the meat has pulled down on the long bones at least ¾ of an inch. (usually another 1 or 2 hours) Remove from cooker and sauce both sides before cutting individual ribs. I like K. C. Masterpiece BBQ sauce sweetened even more. ( 5 parts sauce, 1 part Honey), and so do the Judges! This basic cooking procedure is probably the most important of all, and works very well with other meats as well. Forget about how much smoke is coming out of the cooker, if you've got the wood you like in there burning up cleanly, the flavor will be in the meat. Smoke is nothing more that a smoke screen, and any coming out of the top of the cooker is flavor lost! Recipe by: Mike Scrutchfield Shared from: Ray Basso "Best Ribs in the Universe" http://www.rbjb.com/fpq/britu.htm My Husbands Notes: He used the Big Green Egg, debarked the wood and smoked for 2 hours (he did soak the wood in water) he then added about 1/4 cup water to a foil pan with ribs and covered in foil, and cooked 2 hours, then placed ribs directly on grill grate for one more final hour - before basting with BBQ sauce (cooking 10 mins more) and serving hot... The Big Green Egg is massive ceramic encased grill/oven that acts a lot different then the smokers/grills mentioned in the recipe above - we thought it best to express that we adapted that recipe to suit our Big Green Egg. Photo by: Diane Baker for Canning and Cooking at Home 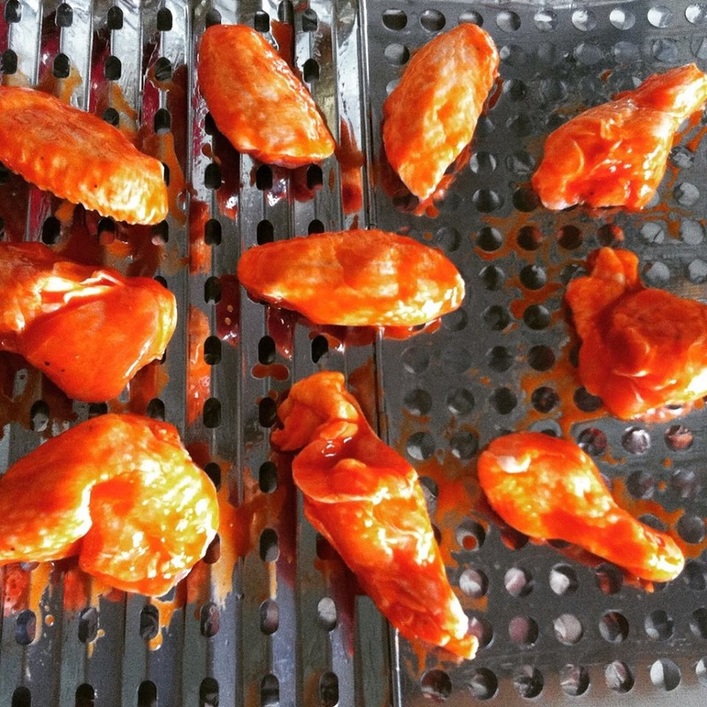 feel the burn... Buffalo Chicken Wings Ingredients: Chicken Wings (how every many you need, that will fit in your oven or on grill) Olive Oil Salt Pepper Frank's Red Hot Buffalo Sauce *don't have a bottle of Frank's - don't worry - I have a "make from scratch recipe" Hot Wing Sauce - Homemade: 1 Cup Cayenne Pepper Sauce 1/3 Vegetable Oil 1 1/2 tsp Cayenne Pepper 1/2 tsp Garlic Powder 1/2 tsp Worcestershire Sauce 1/8 tsp Black Pepper 2 tsp Water 2 Tsp Corn Starch Directions: Preheat oven to 450. Line baking sheet with foil and place a drip rack over baking sheet. (this will catch the fat) Lightly brush olive oil over drip rack. (this will make fore easier cleanup) In a bowl, combine chicken wings, with a sprinkle of salt and pepper, add in Frank's Red Hot Buffalo Sauce to cover wings and toss to combine. Lay covered chicken out onto drop rack. Bake in oven for 15 mins and baste with leftover sauce in bowl, bake an additional 15 mins and baste once more. Turn oven off and let wings set 5 more minutes before serving. I serve my wings with fresh cut celery sticks and carrot sticks along with buttermilk ranch and blue cheese dressings as 'dipper sauces.' *Note: watch wings carefully in oven, if cooking too quick then reduce oven temp to 425. Wings can be done on a BBQ Grill but, since most residential grills do not sustain the higher temps, you will be cooking your wings longer (double the oven cook time) on a traditional BBQ Grill (and test for doneness with digital thermometer) Recipe & Photos by: Diane Baker for Canning and Cooking at Home 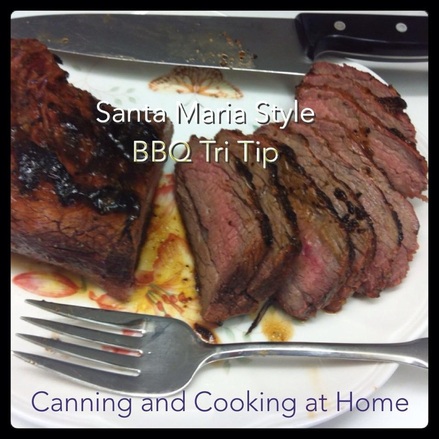 We are forever in search of cooking the 'perfect meal' using our Big Green Egg grill. Today I think my husband made - the perfect roast!! This one steals the award for "Best on Grill." My butcher recommended the cut of beef to use. We enlisted the help of our FoodSaver marinating application to enhance the meat and followed through with the 'Santa Maria' dry rub application just before searing the meat. The results were stupendous! The meat was moist and tender. The marinade and rub worked so wonderfully together - we suggest serving this with savory horseradish garlic mashed potatoes and fresh cut green beans or spinach. This recipe goes into our recipe box filed under "Best on Grill"! Enjoy, Diane Santa Maria Tri-Tip (made on the Big Green Egg BBQ Grill) Ingredients: (2.5 - 3 pound) Tri-Tip roast Marinade & Basting Sauce: Wishbone Italian Dressing (approx 1.5 Cups) Seasoning Salt Mixture: 1 teaspoon freshly ground black pepper 1 teaspoon cayenne pepper 1 teaspoon smoked paprika 1 teaspoon onion powder 2 teaspoons salt 2 teaspoons granulated garlic 2 teaspoons rosemary Mix together all ingredients in a small bowl Directions: Brush your Tri-Tip roast with the Marinade and let it sit, covered and refrigerated at least 6 hours, overnight is best. (We used the FoodSaver quick marinade bowl, using the marinate feature on our FoodSaver unit and then placed the airtight bowl into fridge for at least 6 hours) Once done marinating, take roast out of marinade and blot dry (save marinade for basting) Coat both sides of the Tri-Tip roast with the seasoning salt mixture, rubbing it in as you would a dry rub. Let the seasoned tri-tip rest for at least 30 minutes at room temperature. Sear each side of the tri-tip at 650 degrees for 4 minutes each. Remove seared tri-tip from the BGE, cover it with foil and let it rest while bringing the BGE temperature down to 350 to 400 degrees. (During this cool down period we tossed in a couple of water soaked oak chunks.) Place the tri-tip back in the BGE and cook to an internal temperature of 145 degrees for medium rare, basting with the sauce every 5 to 10 minutes. Remove tri-tip from the BGE, cover it with foil and let it rest 10 minutes. Cut into slices against the grain. Photos by: Diane Baker for Canning and Cooking at Home Recipe by: Michael Baker adapted from Morro Bay Rich BGE = Big Green Egg 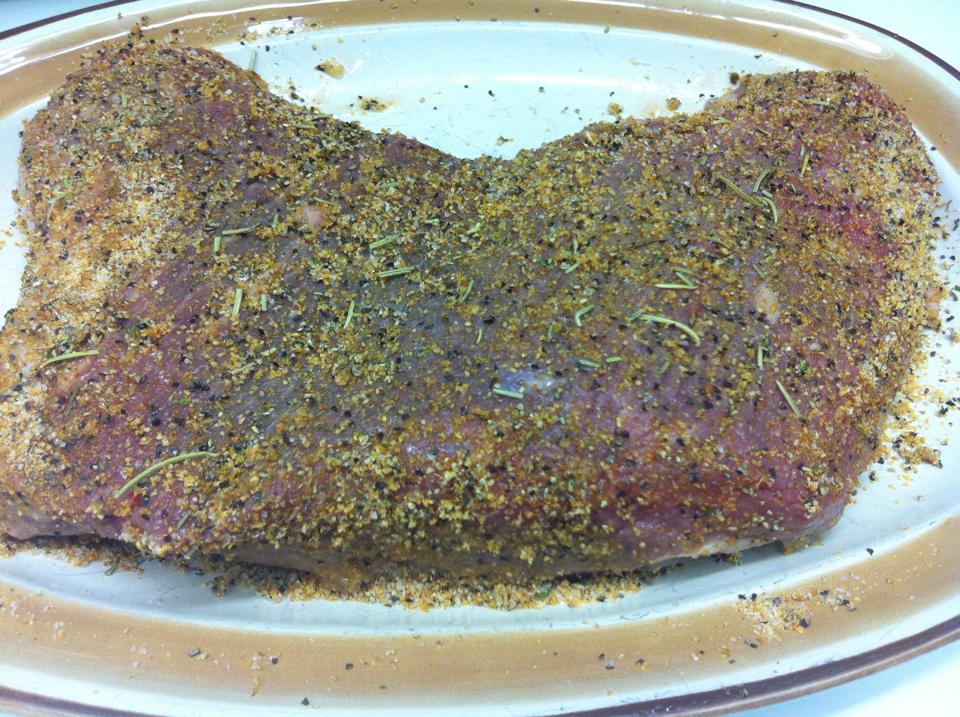 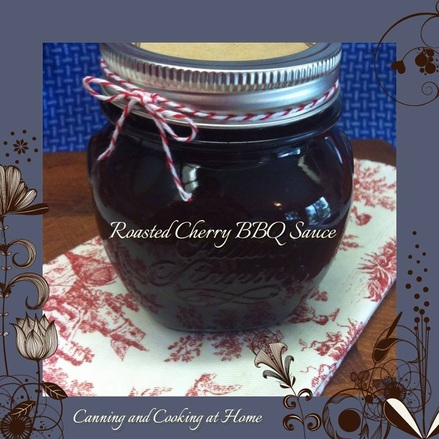 Roasted Cherry BBQ Sauce Ingredients: 1 pound sweet cherries, pitted and halved (just about 2 1/4 cups halved cherries) 2 tablespoons butter 1 onion, diced 2 cloves garlic, minced 1 8-ounce can tomato sauce 1 small can fire roasted diced tomatoes ½ cup packed light brown sugar ⅓ cup molasses ¼ cup apple cider vinegar ¼ cup apple juice 1 tablespoon Worcestershire sauce 1 tablespoon prepared mustard 1 teaspoon smoked paprika a pinch of cayenne powder 1 teaspoon salt ½ teaspoon black pepper 2 Tbs lemon juice Instructions: Preheat oven to 350 degrees. Line a baking sheet with parchment paper. Place the cherries on the prepared baking sheet, cut-side up. Roast for 30 minutes. Remove from oven and set aside. Melt butter in a large, heavy-bottomed pot over medium-high heat. Add the onion and sauté until translucent. Add the garlic and cook for another minute. Add the cherries and remaining ingredients to the pot. Bring to a boil, then reduce heat to low and simmer for 20-30 minutes, stirring occasionally, until slightly thickened. Remove from heat and blend using an immersion blender until smooth. Check the thickness of your sauce. If you would like it thicker, return to the heat and simmer for another 10-20 minutes until your desired thickness. Allow to cool; pour into jars and store in the refrigerator. Makes 24oz. You can water-bath can 3 (8oz) half pint jars with 1/2 inch head-space for 20 minutes (plus any adjustment for altitude or local canning regs) My altitude required an extra 10 minutes (30 minutes total) Recipe & Photos by: Diane Baker for Canning and Cooking at Home 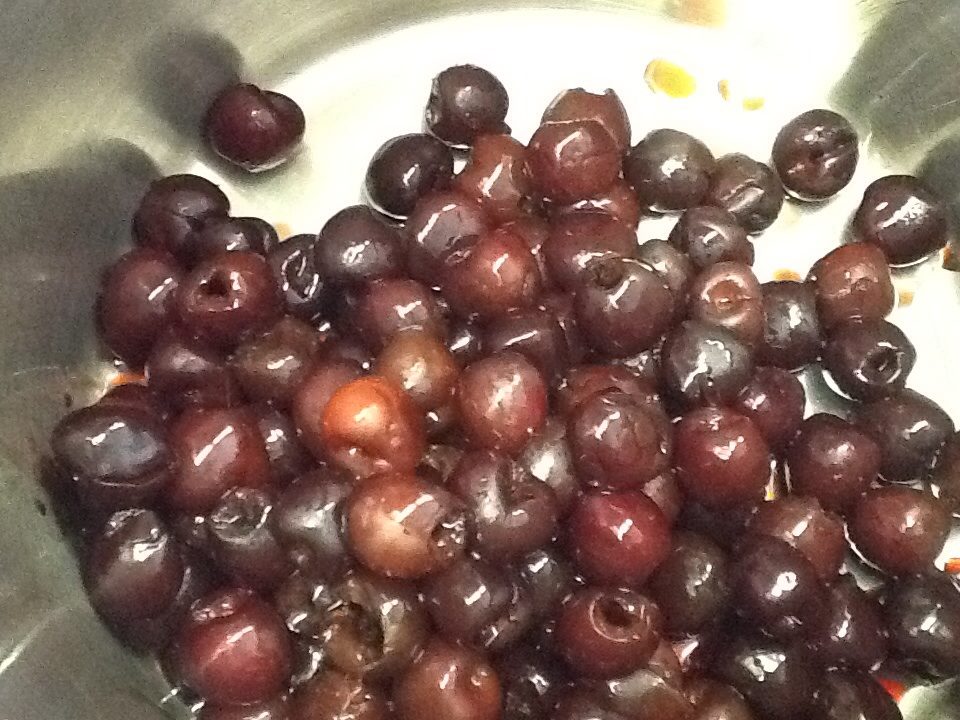 |