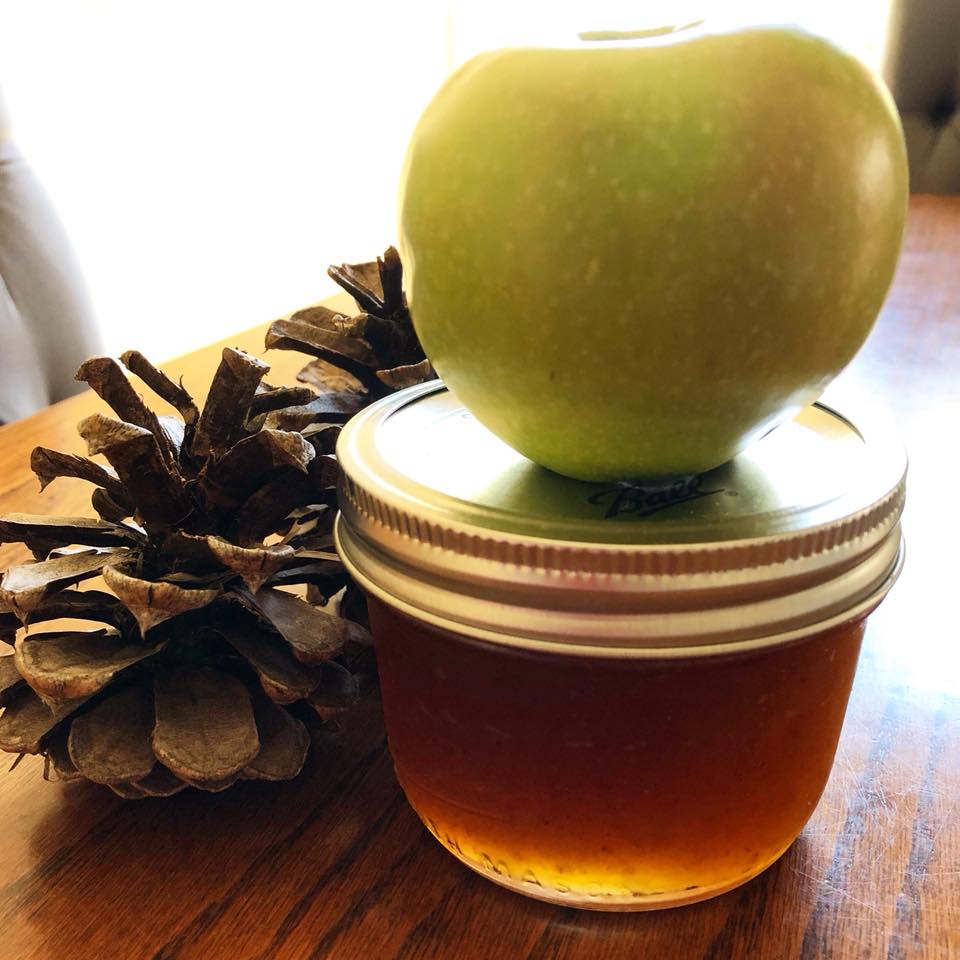
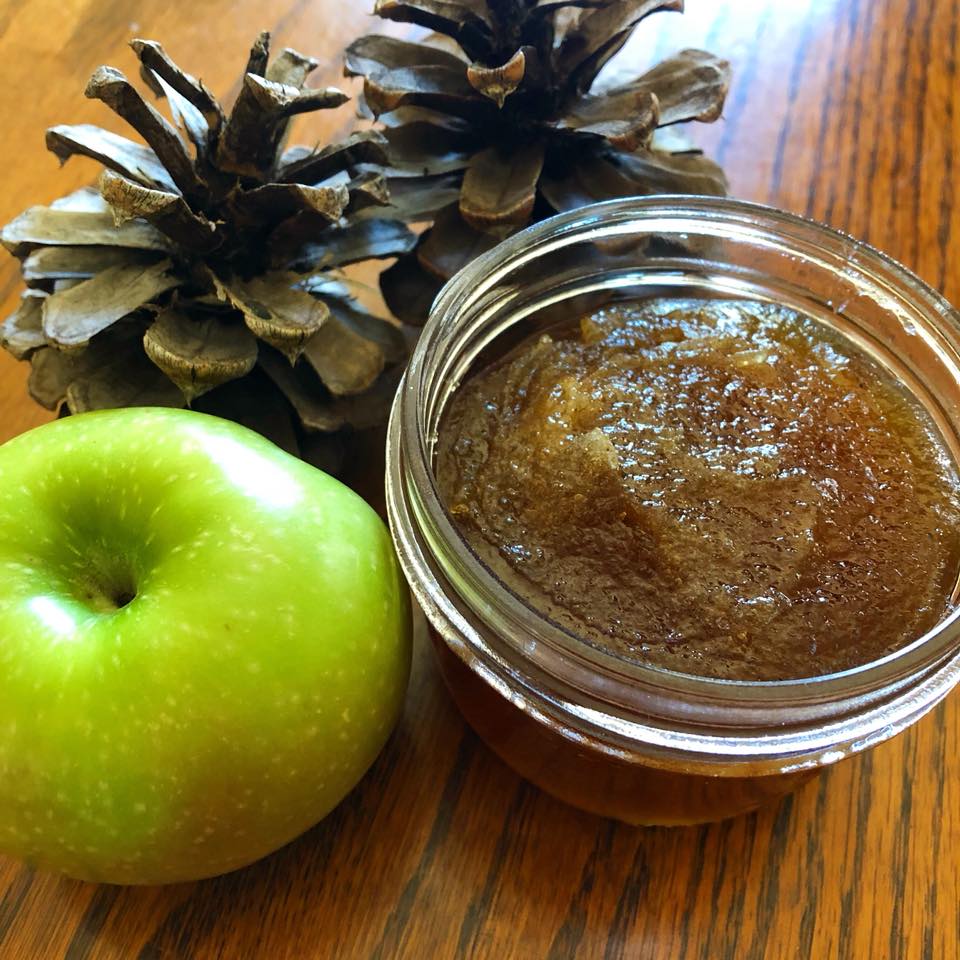
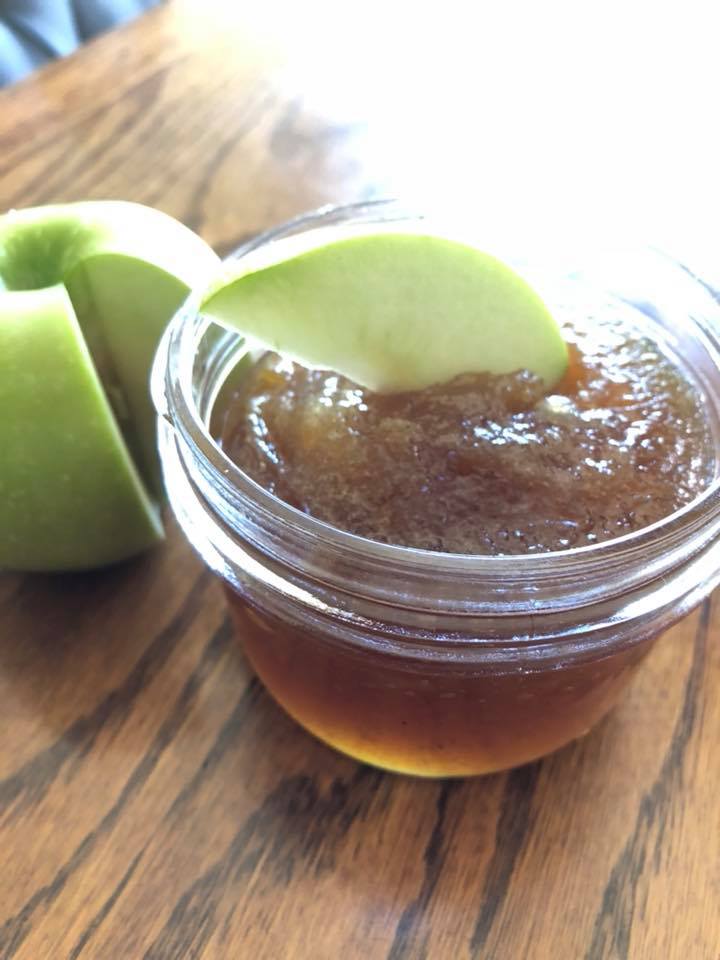
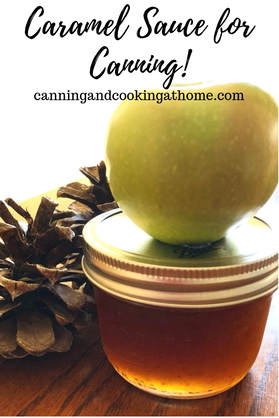
 Caramel Sauce for Canning *uses Apple Puree You cannot 'Can' traditional caramel sauce for safety reasons (the cream and the butter are unsafe for shelf stability.) That being said, you can turn fruit purees into caramel sauces for CANNING!! This recipe is for apples but, pears, strawberries, blackberries and other fruit purees all work great. Enjoy! Diane Ingredients: 1 lb. ripe apples, I used Fuji 1/2 teaspoon finely milled sea salt 1 1/2 cups granulated sugar water Yield: 2 half-pints Peel, core and chop the apples. Place them in a blender with the salt and 2 tablespoons water. Puree until smooth. You should have about 1 & 1/2 cups puree. Combine the sugar with 3/4 cup of water in a saucepan. Place over medium-high heat and simmer for 15 to 20 minutes, until the sugar reaches 250°F and darkens to the color of a tarnished copper penny. Do not stir the cooking syrup; instead, holding the handle of the pot, gently swirl it to move things around. This mixture is extremely HOT! Do NOT touch spills or drips! Once the syrup has reached 250°F, remove the pot from the heat and carefully stir in the fruit puree. It will bubble, spatter, and appear to seize up, so take care! Stir the puree into the sugar until it is a smooth sauce and return the pot to the heat. Continue stirring and cooking until the apple caramel sauce reaches 218°F Remove the caramel from the heat and funnel into the prepared jars, leaving 1/2-inch headspace. Wipe the rims, apply the lids and rings, and process in a boiling water bath for 10 minutes, or according to your altitude. Note: If your caramel sauce gets too firm to drizzle easily, place the jar in a pan of lukewarm water and slowly bring it up to a simmer, until the sauce relaxes enough to be pourable. Recipe Courtesy of Mrs Wages Photos by Canning and Cooking at Home
3 Comments
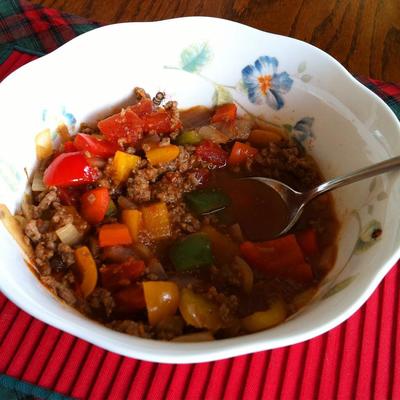
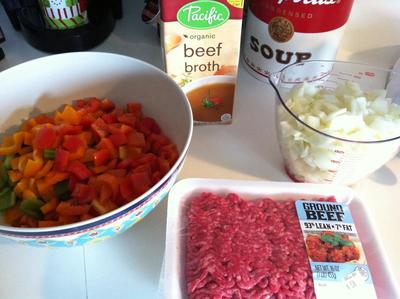
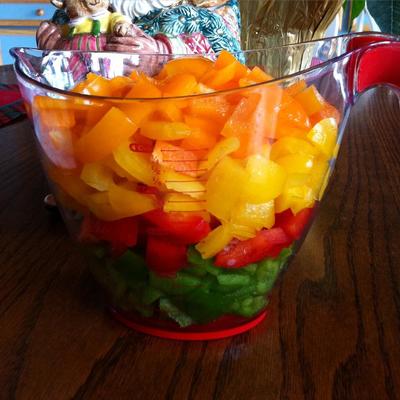
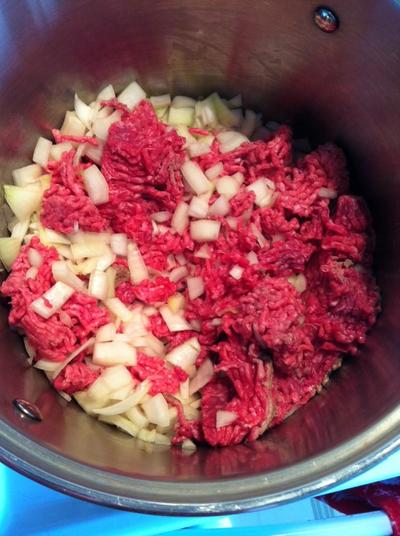
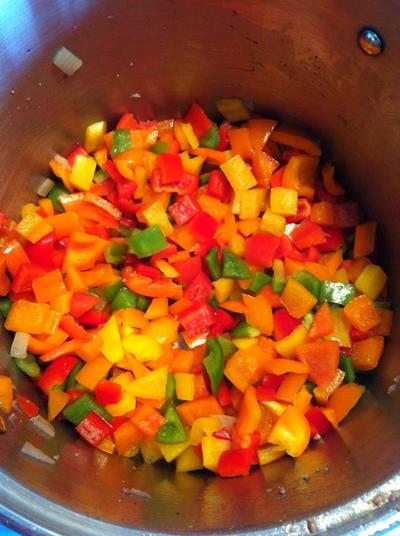
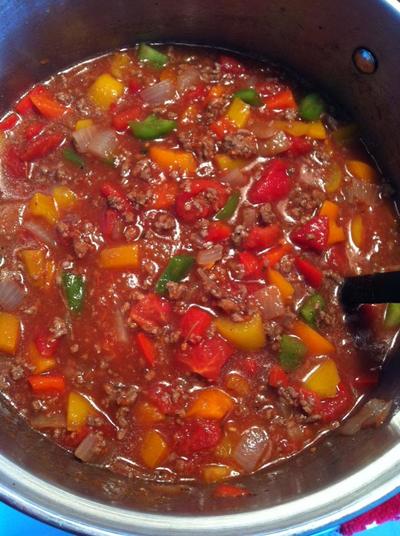
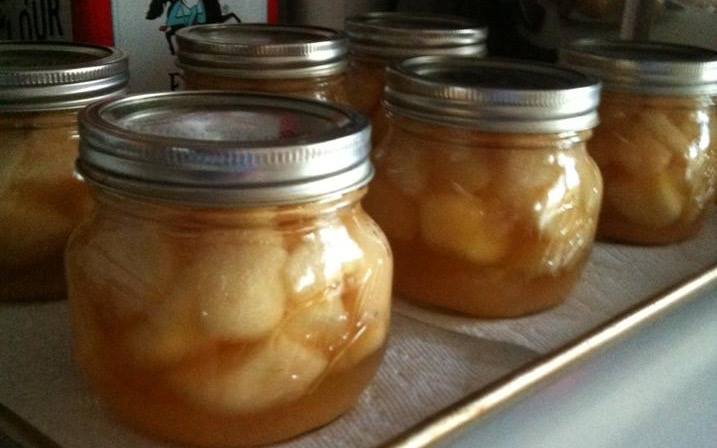
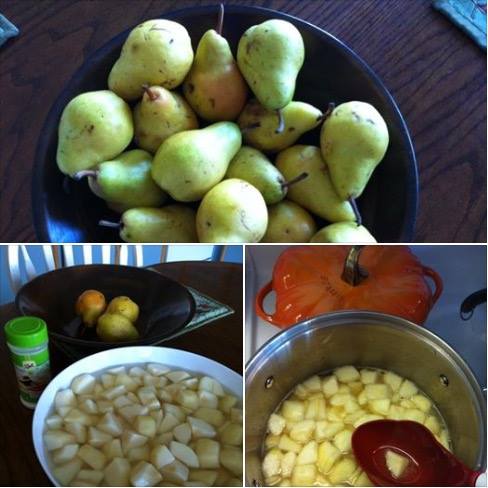
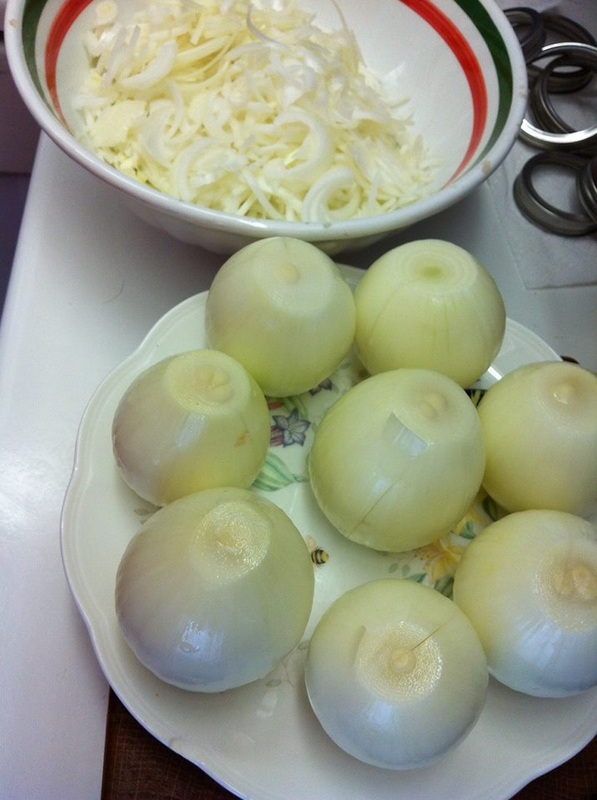
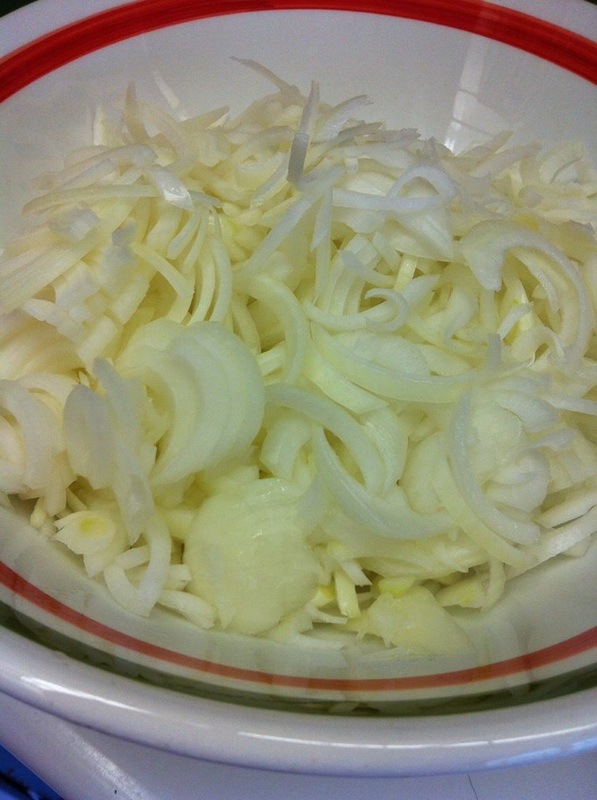
 Diane's Stuffed Pepper Soup I had someone ask the other day if you can "can" stuffed green peppers. The short answer is no but, you can pressure-can them as a soup under the NCHFP Soup Guidelines. I searched out and read up on a number of Stuffed Pepper Soups that called for various items from cider vinegar to parsley and chili powder - for this thick soup, I went with the flavor profile I prefer. I wanted a hint of basil to come through all the tomato and bell pepper goodness and a bit of sweetness from some sugar to offset any overly acidic tomatoes. From the broth to the tomatoes, onions and peppers - you can use all your own homemade or homegrown items in this soup as well. If you'd like to make this soup to serve and not 'can' it - then cut the recipe exactly in half. My canning recipe yields approximately 5 quarts total. You DO NOT CAN RICE *add rice when opening jars to heat/eat. ~Enjoy! Diane Diane's Stuffed Pepper Soup *for Pressure Canning makes 5 Quarts Ingredients: 2 Lbs Ground Beef (1 lbs 80%, 1 lbs 93%) 4 Cups Onions, chopped 1 teaspoon Salt 1/2 teaspoon Pepper 6 Cups Sweet Bell Peppers, cleaned, peeled & chopped 1-1/2 Quarts Beef Broth 1 Quart (or 28oz can) Diced Tomatoes 1/4 Cup Tomato Paste 1 teaspoon Garlic Powder 1 teaspoon Basil 1/2 teaspoon Oregano 1 Quart Tomato Sauce 1/4 Cup of Sugar Directions: Place ground beef and onions in a large soup/stock pot. Add salt & pepper over mixture, let that cook down (stir often) over medium heat for about 7 minutes, until meat is no longer pink. Place cooked onion and beef mixture into a colander over a drip bowl in sink (to let as much fat drain off as possible, use the back of a large wooden spoon to press the meat against colander. While meat is draining off fat - place all the chopped bell peppers into the stock pot and let cook for about 3 minutes, then add all the remaining ingredients, bring up to a medium heat and cook for about 10 minutes. Taste the soup for any additional seasonings. Prepare your pressure canner and jars for canning, fill jars half full with solids and top off with remaining liquid/broth from soup to 1-inch head-space. Process Quarts for 90 minutes and Pints for 75 minutes according to your canner type and altitude. (I use the higher processing time called out in NCHFP's Ground Meat for my own personal safety measure and the filling procedure and Guidelines for NCHFP's Soups - listed below.) If preferred, add in cooked rice upon heating this soup to eat as rice is unsafe to can. NCHFP Soup Guidelines: http://nchfp.uga.edu/how/can_04/soups.html Recipe & Photos by: Diane Baker for Canning and Cooking at Home Recipe Adapted/Inspired by: Cooking Classy Dianes Stuffed Pepper Soup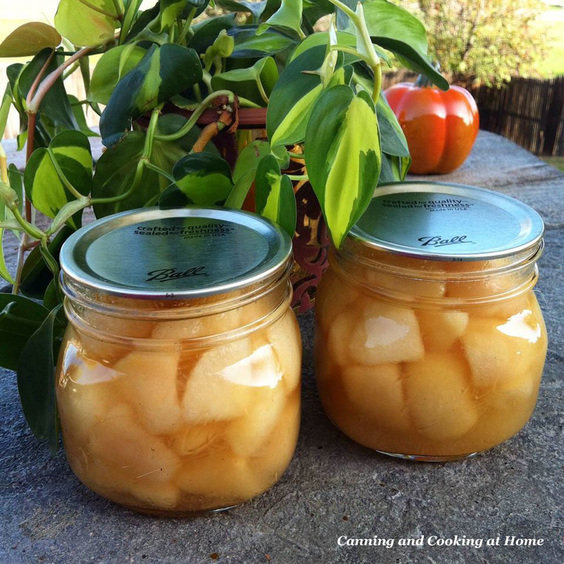 Canning fruit that is in season for Wintertime is such a treat. Knowing that I control the ingredients and the flavor profile is even better! I like when fruit has a hint of vanilla taste to it. I switched over to adding vanilla bean paste to my canning items this past year . I love seeing the vanilla bean flecks in the syrup and the bean paste withstands canning so much better then vanilla extract. When canning fruit - its always best to boil the fruit in the syrup so that you release any air trapped within the fruit, this also expands the fruit for jarring so that you don't have siphoning during canning, I believe that all fruits canned in syrup need to have what I call a "fat 1/2" of head-space" While its always best to follow the NCHFP Guidelines of 1/2" head-space, I do use 3/4" head-space when canning any fruit and have had much success in doing so, My de-bubbling tool has a 3/4" head space step on it - I use that - don't just "eye" your head-space. You need to use the tool and measure! Pears can also be canned in any syrup - from very light to heavy. You can use apple juice to water as well. I find that a mixture of sugar and honey with vanilla bean paste produces the best flavor without masking the fruit flavor. I will share my fruit syrup recipe below. I also probably go 'against the norm" by pressure canning most of my fruits when allowed by the NCHFP - I find it makes for a better product overall (personal opinion.) ~Enjoy! Diane Honey & Vanilla Pears {Pressure Canned} Six Pounds Ripe Pears, Peeled and sliced or cubed Fruit Fresh & Cold Water in a large bowl Syrup: 5 Cups Water 1 -1/4 Cup Sugar 1 Cup Light Honey 1 Tablespoon Vanilla Bean Paste Yield: Six Pint Jars **can be Pressure Canned OR Waterbath Canned Wash and peel pears, cutting into cubes, Place pears into cold water sprinkled with Fruit Fresh to preserve the fruit as you spend time peeling and cutting the remaining fruit. Once all the pears are cubed and added to the fruit fresh in water - start your syrup on the stove top and at this time prepare your canner for canning. Once your syrup is at a medium boil, drain your pears from the fruit fresh/water and add into pot with syrup. Bring mixture up to a boil. Once at a high boil, cook pears in syrup for 5 minutes, Distribute pears evenly into six pint jars and fill with syrup from pot up to 3/4" head-space. Process according to the NCHFP Guidelines for the Canning process of your choice. (see below for link) Recipe Note: I use a whisk and whisk in the vanilla bean paste into the syrup, it is the best way to get this type of vanilla product incorporated. Syrup Recipe: Diane Baker for Canning and Cooking at Home Pear Process: NCHFP Pears (CLICK HERE for processing) 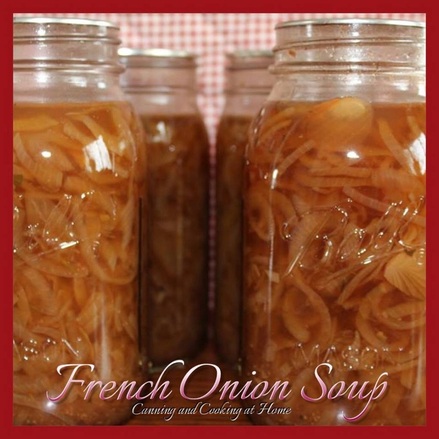 While I make a wonderful french onion soup from scratch (it is in the recipes listed on my site) and never pass up the chance to make some - I liked the idea of making a few quarts or pints for pressure canning - quick to grab, use in recipes and enjoy! French Onion Soup *for Pressure Canning makes approx. 4 quarts or 8 pints Ingredients: 6 pounds organic onions, sliced 1 Tbs butter pinch of sugar 12 cups beef broth (your own, homemade broth... or store bought will do) 3/4 cup red wine 1 bay leaf (remove before jarring broth) 1 tsp dried thyme 1 tsp dried parsley 3/4 tsp. garlic powder (or 1/2 tsp minced garlic) salt (canning or sea salt) and pepper to taste Directions:
Process Quarts of soup in Pressure Canner for 75 minutes. Process Pints for 60 minutes. NCHFP "Soups" Guidelines Here Make sure to check your altitude before canning!! To serve: Slice a baguette on a diagonal into 1/2″ pieces. Butter bread and toast lightly in a hot oven, add 2-3 Tbs. grated Gruyere or Emmentaler cheese and broil until bubbly and brown. Heat the soup to a low boil for at least 10 minutes. Serve each bowl of soup with a couple of cheese toasts. *Adding a dash of cognac before serving is optional but, traditional. Kitchen Tip: Use a Pint of this soup when making savory beef dishes like Pot Roast, Steak Tips & Gravy - it adds a depth of flavor to your final dish. Recipe and Photos by: Diane Baker for Canning and Cooking at Home PINTEREST PIN: http://www.pinterest.com/pin/530510031080591533/ |