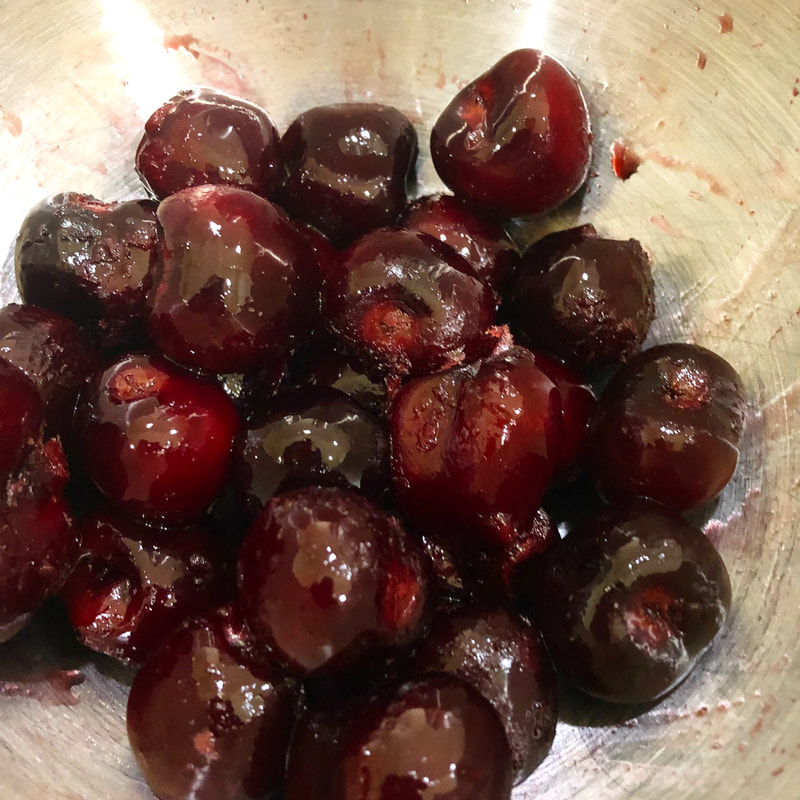
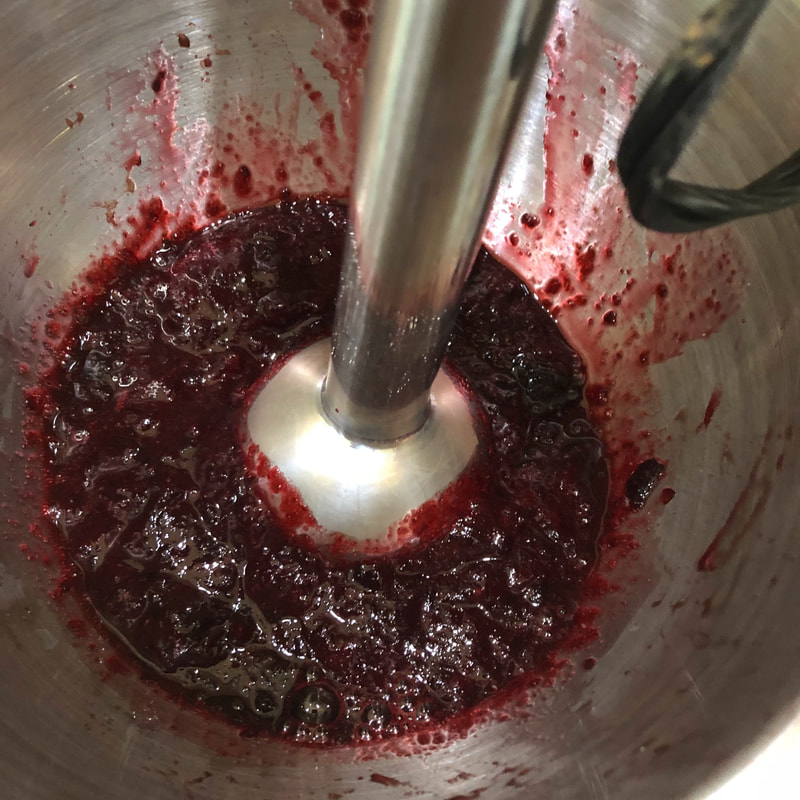
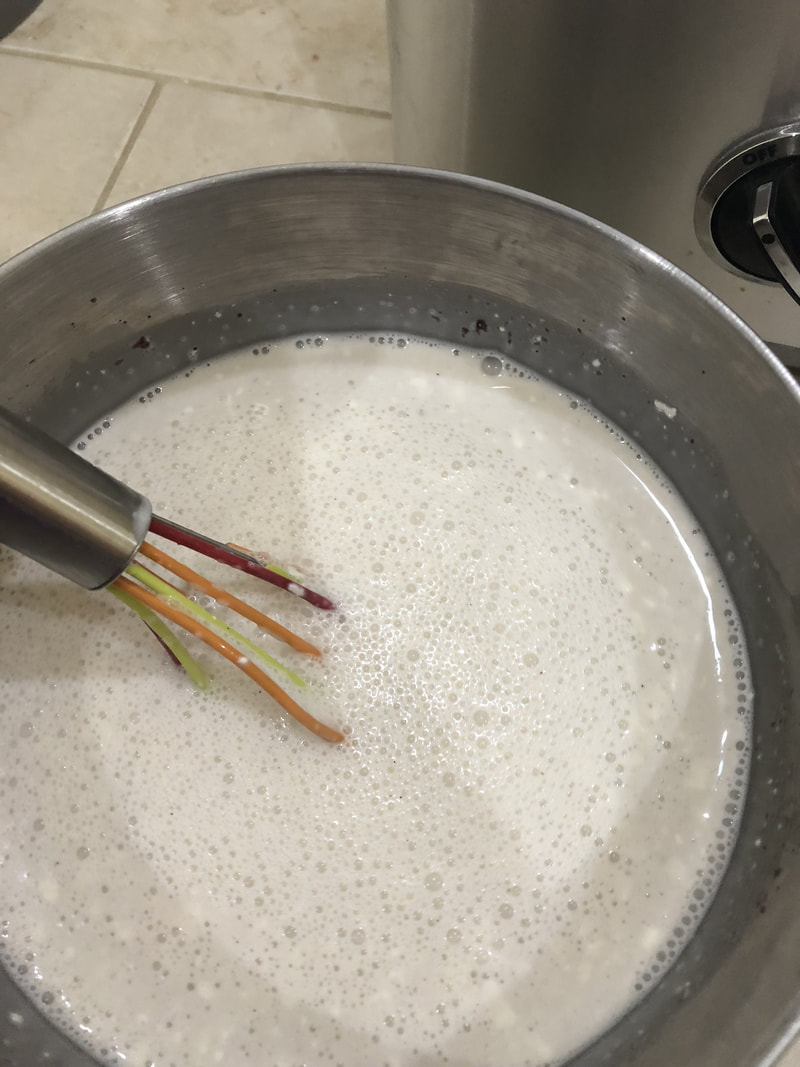
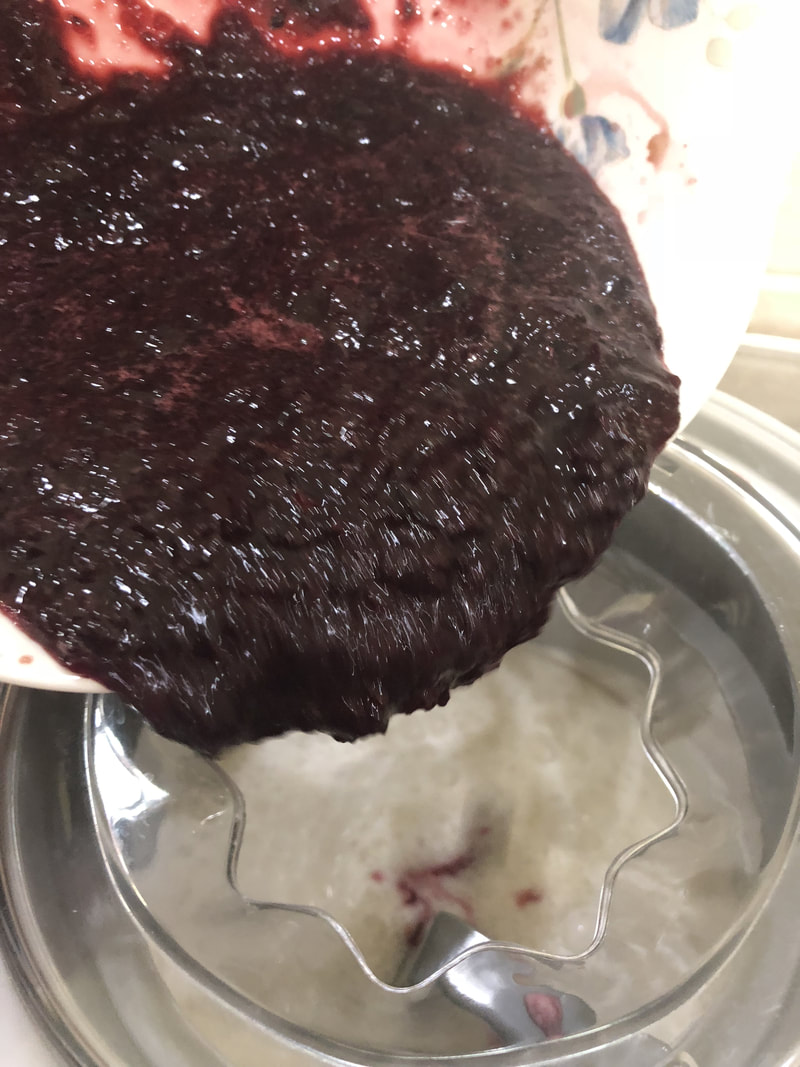
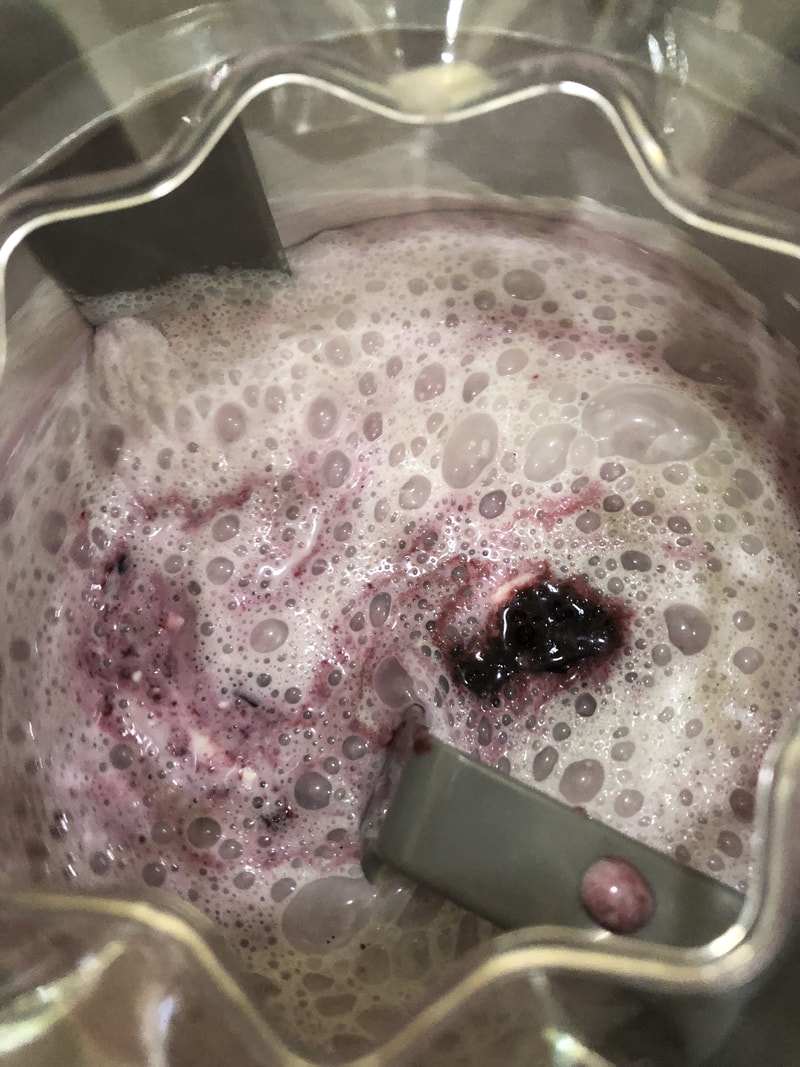
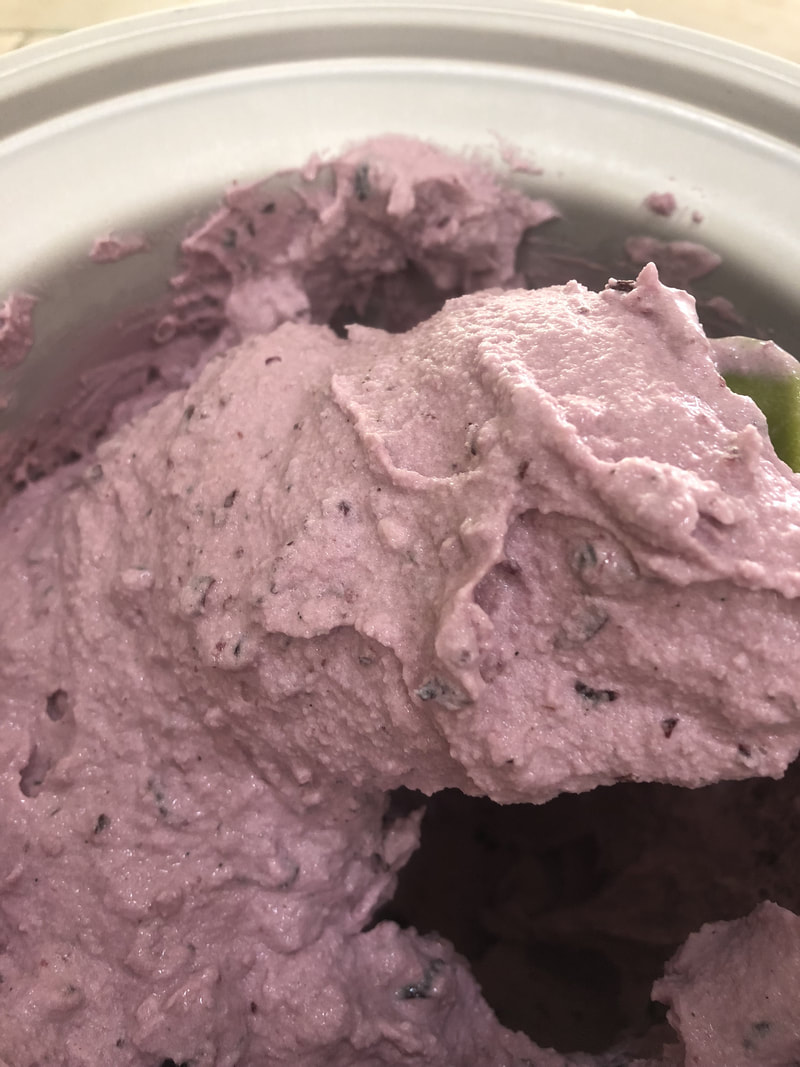
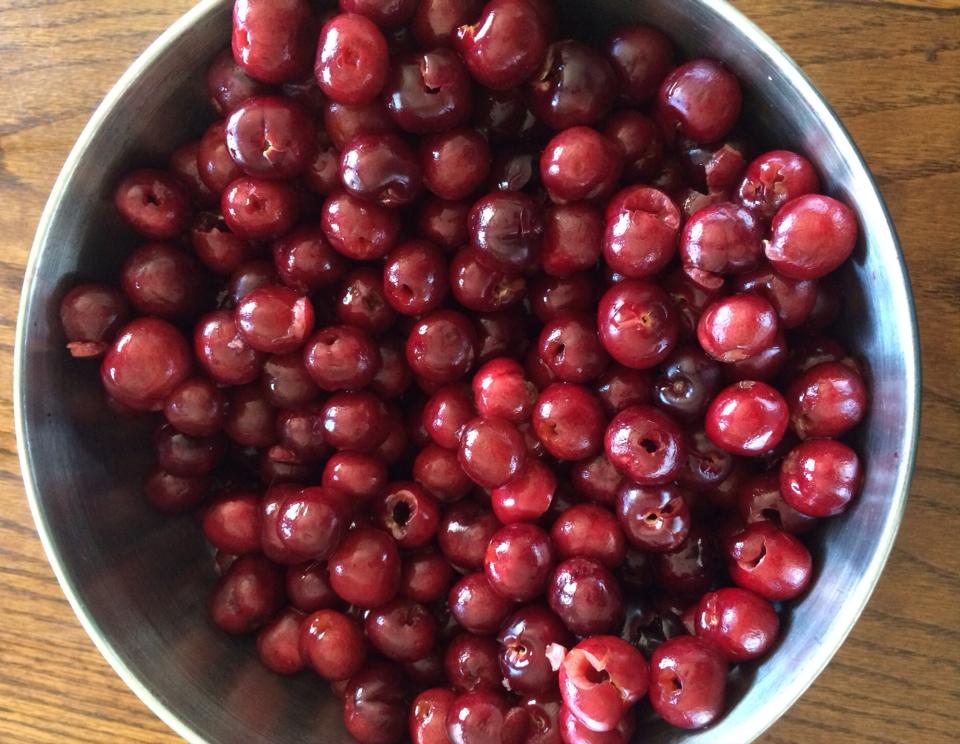
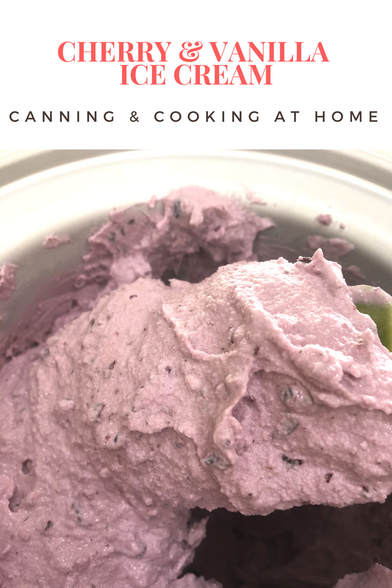
 Thanks for bearing with me guys! Most readers know that we moved! Today its officially been one month in our new house. We moved 6 hours West *over some beautiful mountain ranges to the Grand Valley of Colorado. It's a small "banana belt" where life is a little easier, slower, calmer, quieter and friendlier then what Colorado's Front Range is becoming!! I will miss friends, family and neighbors from our old home but, this change is exactly what we both were dreaming of back when we got married (coming up on 22 years ago now.) I prefer waking up to the stillness of this area, and an occasional horse whinny. The area is stunningly beautiful with a view of the "Mini Alps" (San Juan Mountains) out our front door. Well, enough about me. Let's talk homemade cherry & vanilla ice cream! I remember the days of taking turns cranking the handle of our ice cream maker, the rewards of all that hard work - yummy ice cream! Fast forward to today and the advent of electric ice cream makers which make homemade ice cream making easy, fast and more flavorful! A few years ago I gifted family members Cuisinart Ice Cream (and yogurt) Makers and reacquainted myself with ours as I found it in our basement when we were packing to move (brand new, in the box LOL) This machine is superb - I have a super simple recipe that doesn't need to be cooked down first, and using fresh fruits with quality extracts makes the perfect fast, homemade ice cream. This year I am excited to be Canbassador once again for Northwest Cherries which made the endeaver even more flavorful! The cherries this year were beyond magnificent. We, of course, ate them fresh, I pitted and vac sealed some, pickled some, jammed some and mashed portions and froze so that I could make ice cream or smoothies with them. That is truly what is great about these beautiful cherries, they withstand being frozen or canned, and don't lose their flavor! While you can use the berry of your choice - give cherries a try! you won't regret it! Make sure to check out all my cherry recipes; try making this ice cream using my Brandied Cherries or stir in some of my Cherry/Peach Jam. The ideas and combinations are endless!!!!!! ~Enjoy! Diane (p.s. some shots around our new house below) My Cherry Collection of Recipes: https://www.canningandcookingathome.com/cherry-recipes-preserving.html Homemade Cherry Ice Cream *using electric ice cream maker Ingredients:
Process:
1 Comment
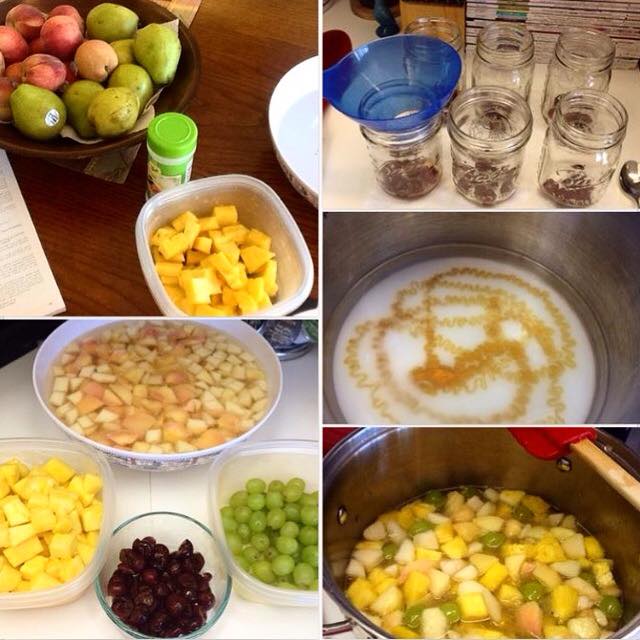
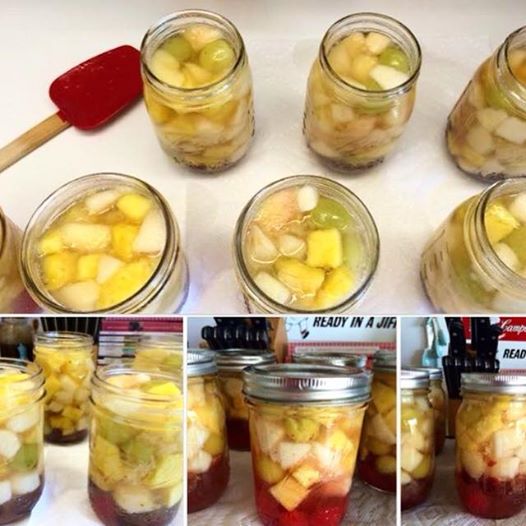
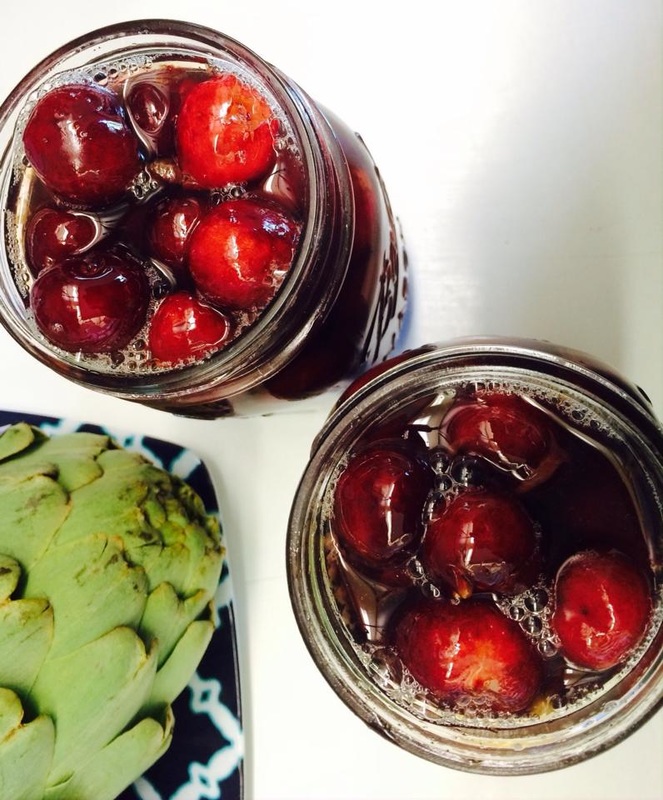
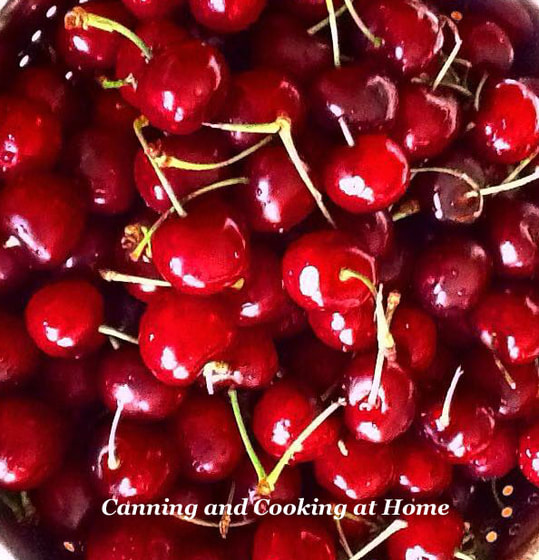 Sweet Washington State Cherries A Cherry Jubilee ~ No, don't worry - this post won't go up in flames. We are not actually making cherries jubilee - the golden rum based dessert (no flambe - not just yet anyway!) I had to share the cherry dessert recipes that I love! I often preserve my pitted cherries whole *canning in a light vanilla syrup so that I can pull a jar out when creativity strikes and make a new dessert, jam or sauce. Cherries are limitless in their use and their taste is beyond compare. I need to thank the folks at Northwest Cherries in Washington for not only asking me to be a "Canbassador" again this year but, for sending me such beautiful sweet cherries to work, create and preserve with too! I'm also excited to share a new 'sauce' and dessert with you all; A warmed spiced 'Danish Cherry Sauce' (great served as part of Risalamande: A Danish Christmas Dessert, with rice pudding and almonds). Danish Cherry Sauce can be used spooned over ice cream, drizzled over cheesecake, set atop oatmeal, swirled into a smoothie...even rolled into pastry! and this year I will be sharing a New Sweet Cherry Pie Filling recipe - this one does not require any 'thickeners' being added prior to canning. Here are my recipes from 2016 (click here) which contain a lot of great "cherry" ideas from www.sweetpreservation.com and myself. Check out my decadent cherry desserts below - made from preserved cherries... Enjoy! Diane 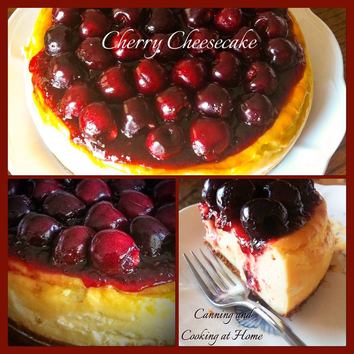 made using whole canned/preserved vanilla infused sweet cherries Why can/preserve cherries? Because they extend the harvest and let you create new and great tasting recipes year round like my Cherry Topped New York Cheesecake (photo above) My Cherry Vanilla Cream Pie and Mike's Ole Fashioned Cherry Pie (photos below) Trust me when I say - Canning and Cooking at Home means: fresh grown, fresh harvested, fresh ideas for you and your family. Preserving the Harvest is one of the best concepts to promote healthier (and tastier) living! I know what goes into each and every item can, cook, and bake. Isn't it time for you to start preserving? If so, I'm here to help! 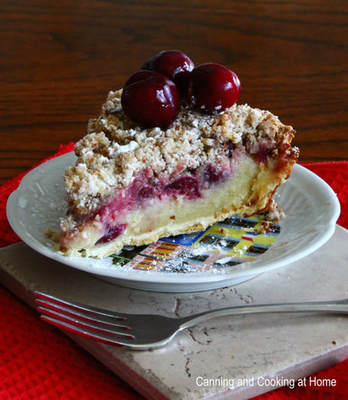 Cherry Vanilla Cream Pie ...and remember, preservation isn't JUST about creating delicious jams and sauces - it also includes decadent desserts made from preserved cherries! 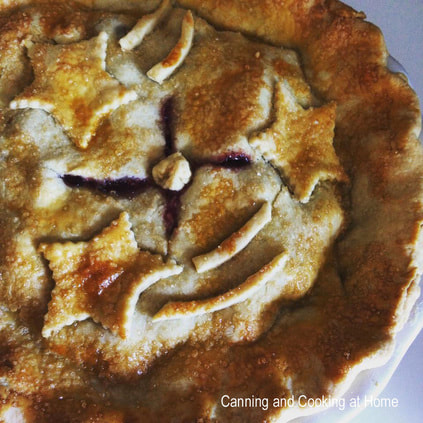 Mike's Ole Fashioned Cherry Pie  What's nice about this is that you control the syrup wanted and the fruit you want!! I chose a light syrup and used honey in place of some of the sugar (you can substitute up to half the sugar with a light honey or bland corn syrup.) I also added a large dollop of vanilla bean paste which was whisked into syrup. This gives an ever so slight vanilla flavor that compliments the honey and fruit and doesn't overpower like sugar alone can... A similar recipe from Ball and says to use your own mix of over 3 fruits for best results - I used: sweet cherries sent to me by Northwest Cherries, white peaches, anjou pears, pineapple, and green grapes ~Enjoy! Diane Homemade Fruit Cocktail 3 lbs peaches 2 lbs pears 1 lbs slightly under-ripe seedless green grapes 1 lbs pineapple 1 to 2 cups of sweet cherries Syrup: large dollop of vanilla bean paste 1 1/2 cups sugar 1/2 cup honey 5 cups water Yield: About 7 pints Procedure: Cut, core and slice pineapple into 1-inch cubes, set aside. Stem and wash grapes, and keep in ascorbic acid solution. Dip ripe but firm peaches, a few at a time, in boiling water for 1 to 1-1/2 minutes to loosen skins. Dip in cold water and slip off skins. Cut in half, remove pits, cut into 1/2-inch cubes and keep in solution with grapes. Peel, halve, and core pears. Cut into 1/2-inch cubes, and keep in solution with grapes and peaches. Cherries (stemmed & pitted) will be added directly to the bottom of each jar (do not heat) Combine sugar, honey and water in a saucepan and bring to low boil to dissolve the sugars. Drain the mixed fruit and add all fruit to the syrup until the fruit is heated through (approx 10 mins). Add 1/2 cup of hot syrup to each jar - then add a few cherries to each jar and gently fill the jar with mixed fruit, de-bubble jars and more hot syrup, leaving 1/2-inch headspace. Process pints and half-pints: 20 minutes in a boiling waterbath or according to your altitude. Recipe adapted from: Ball and NCHFP Photos by: Diane Baker for Canning and Cooking at Home Cherries by: Northwest Cherries/Washington State 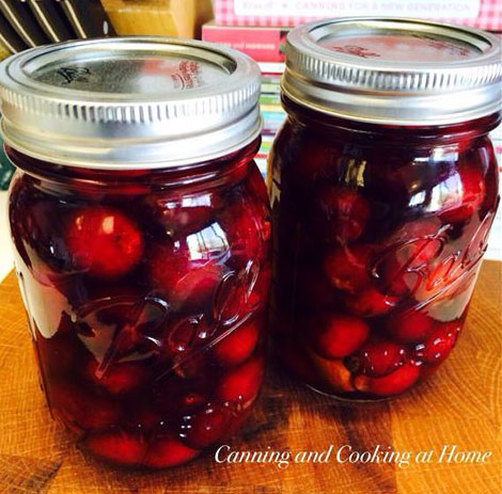 Add this recipe to your 'cherry season' line-up. I make up a jar for the fridge and can the rest - a great mixed "fruit cocktail syrup to use too! ~Enjoy! Diane Homemade Maraschino Cherries syrup ~ makes enough for one pint jar depending on the size of your cherries, you may have syrup leftover. I doubled the syrup recipe and made two pints with plenty syrup leftover for later. Ingredients: To the saucepan: 1 cup water 1 cup sugar 1 Tbsp. fresh lemon juice 1 tsp. vanilla extract To each pint jar add: 2 cups fresh sweet cherries 1 small (or piece of) cinnamon stick 4 whole allspice 1/4 tsp. almond extract In a small saucepan: over medium heat, combine water and sugar. Heat until sugar is dissolved, stirring gently. Set aside and let cool to room temperature. Add lemon juice and vanilla and stir again. In each pint jar: Add the cinnamon, allspice and almond extract. Fill your jar with the pitted cherries, leaving a 3/4 inch head-space. Pack the washed & pitted cherries in tightly without smashing. Pour in the flavored syrup, leaving a 1/2 inch head-space. Use a wooden skewer around the edges of the jar being gentle, to dislodge any air bubbles. Add more syrup if needed. Wipe the rim and place lid and band on the jar. At this point: Store the cherries in the refrigerator for up to 6 weeks. OR Water bath process OR Pressure Can them for longer storage. (See Link below) Just note that the canning does change their texture a bit. They will darken and get softer. Either way, the flavor will take at least 3 days to soak into the cherries and then they are ready to eat. NCHFP Canning Whole Cherries: Waterbath or Pressure Can http://nchfp.uga.edu/how/can_02/cherry_whole.html Recipe Adapted from: TLo's Photos by: Diane Baker for Canning and Cooking at Home |