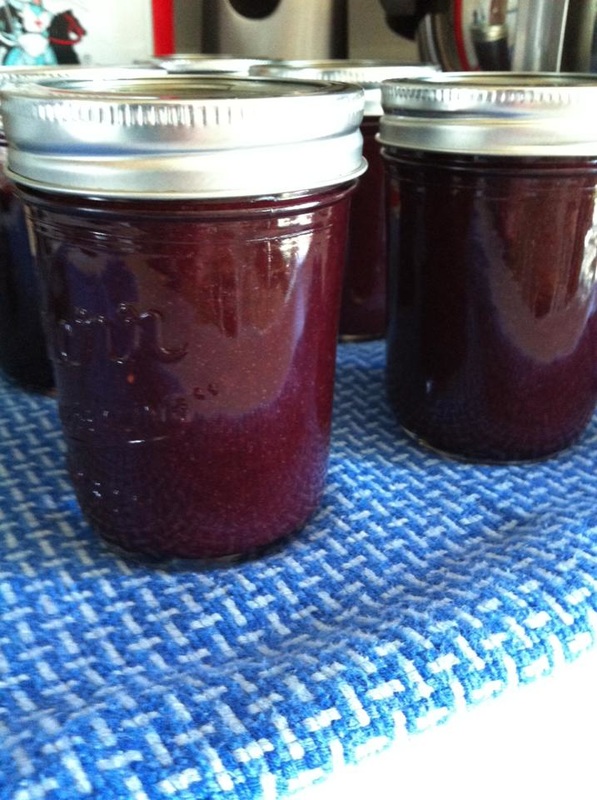
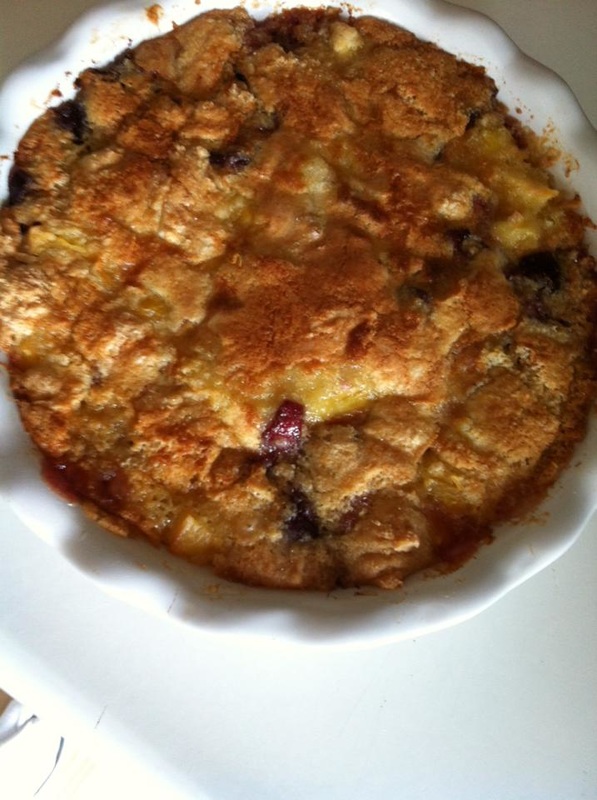
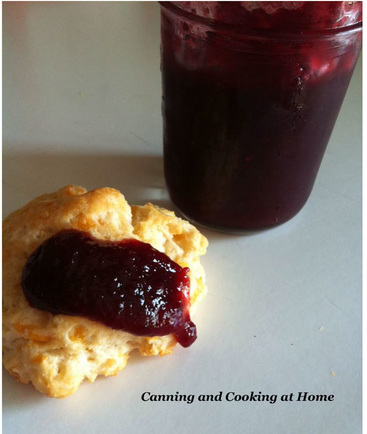
 . Step back! Hold the phone! THIS you need to make!! I love fruit butter (resembles un-gelled jam.) this Dark Cherry Fruit Butter is excellent! Its not a runny syrup or a super thick fruit butter like my Spiced Apple Butter but, great for spooning over oatmeal, swirling into ice cream, folding into baked goods, using as a sauce, and dripping over fresh scones. ~Enjoy! Diane Sweet Cherry Fruit Butter Ingredients: 3.25 lbs Sweet Cherries, stemmed & pitted juice of one large lemon & zest 1 1/2 cups sugar 1/2 cup honey 1 Tbs cherry brandy, optional Yield: 5 half pints Directions: Wash, stem and pit the cherries - you'll need 3.25 lbs after pitting. Place the cherries and 1 1/2 cups sugar in a large pot. Bring to a light boil, stirring occasionally over Medium heat.. Reduce the heat so that the mixture simmers and let the mixture cook for 60 minutes, stirring every 10 minutes or so to prevent scorching. Prepare your waterbath canner and jars as the mixture cooks down. After an hour, the cherries will have released their juices and softened. The mixture will be reduced and a deep red wine color. Take the pot off the heat and puree until smooth with an immersion blender. When the mixture is velvety smooth, add in the honey, lemon juice and lemon zest. Return the pot to the stove and place over medium heat. The fruit butter will start sputtering once heated back up. Let it cook for another minute or so, until the butter is thick and spreadable (it will thicken and set more as it cools). At this point, stir in Cherry Brandy if using. Ladle the boiling hot fruit butter into hot, sterile jars, filling them to 1/4" head-space. Wipe the rims, and add a new lid, band and process in a boiling water-bath for 10 minuted or according to your local altitude. The fruit butter should keep, unopened, for at least 6 months in your pantry. Recipe and Photos by: Diane Baker for Canning and Cooking at Home Cherries by: Northwest Cherries/Washington State
0 Comments
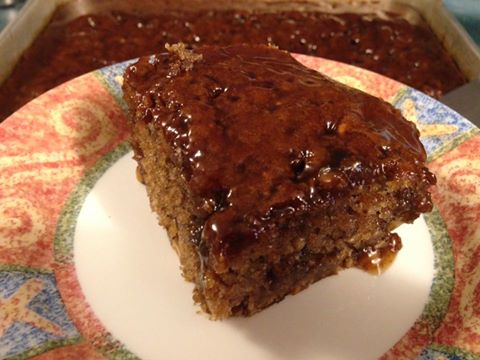 A family recipe that JD said is one of his favorites. His Aunt Deanne has been making this for years and he shares this cherry pudding cake recipe with you all.
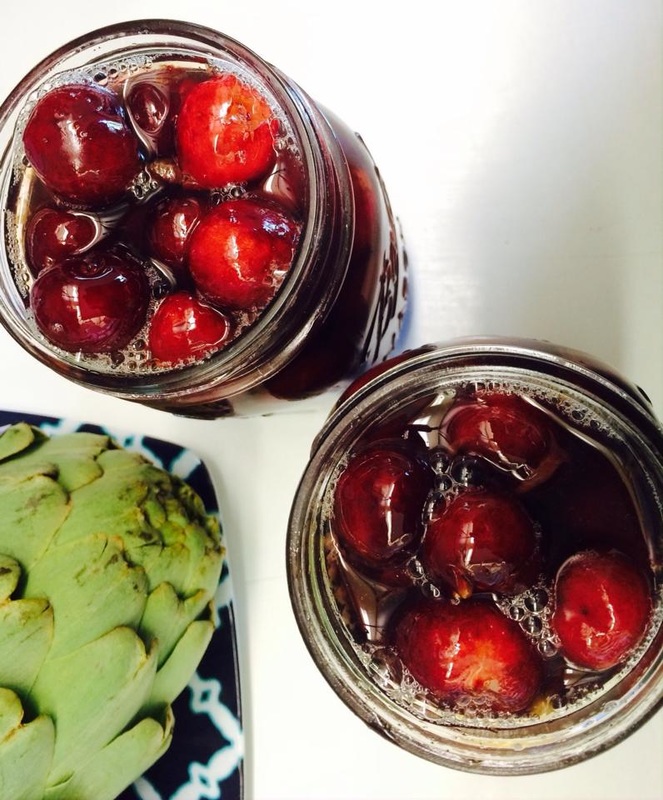
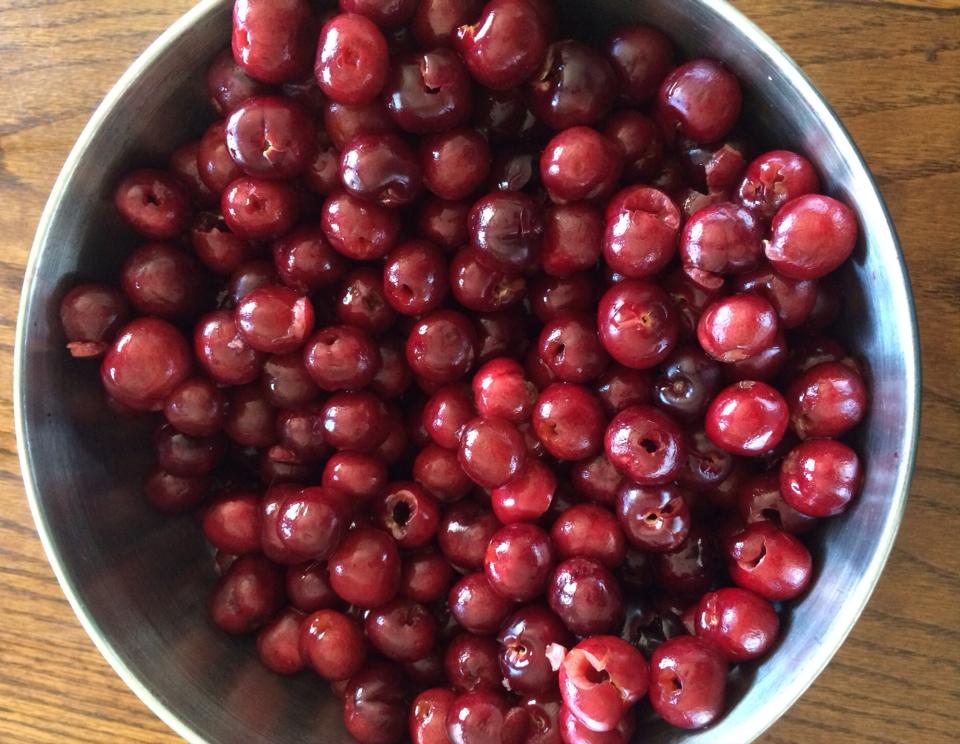
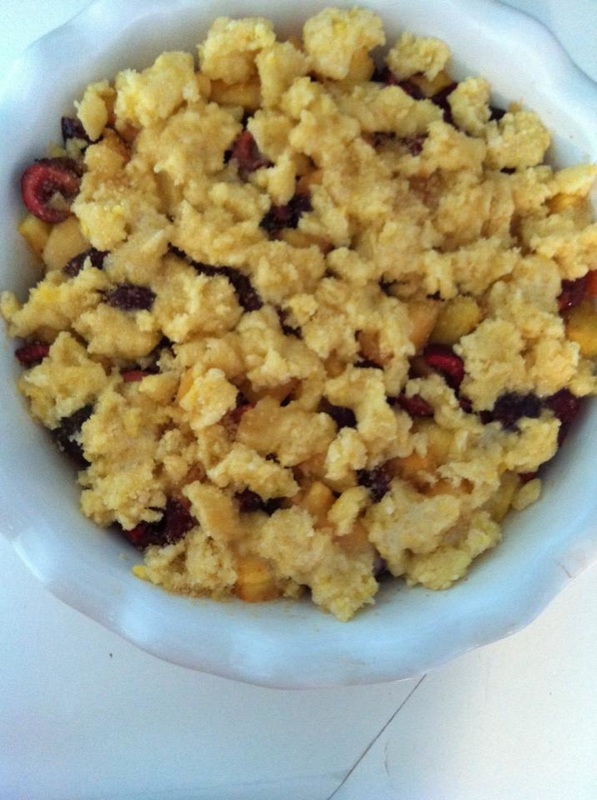
~Enjoy! Diane Cherry Pudding Cake *guest post Ingredients: 2 Cups All Purpose Flour 2 Cups Sugar 1 1/2 cups Chopped Pecans, or nuts of your choice 1 20 ounce can Pie Cherries in water 2 eggs, lightly beaten 2 Tbsp Butter, melted 2 tsp Baking soda, dissolved in 1 Tbsp Water 1/4 tsp Salt Preheat oven to 325F. Mix sugar, salt, and flour. Add beaten eggs and juice from cherries. Add melted butter, soda/water mixture. Add drained cherries and pecans. Mix well. Bake in greased and floured 13" x 9" pan until firm to touch, about 40 minutes. While baking, prepare topping as follows. Topping: 1 1/2 Cups Brown Sugar 1 1/2 Cups Water 4 Tbsp Flour 2 Tbsp Butter 2 Tbsp Vanilla Extract 1 tsp Red Food Coloring (optional) Mix flour with brown sugar in saucepan, slowly add water, add butter and vanilla. Cook until thick, about like pancake syrup or honey. Poke holes all over cake once removed from oven with a skewer or toothpick, and then pour topping over hot cake, as soon as cake comes out of oven. Serve hot or cold with whipped topping. Freezes and reheats in microwave perfectly! Recipe from: Deanne Gruben, JD Provence & Margie Slentz Photos by: JD Provence for Canning and Cooking at Home 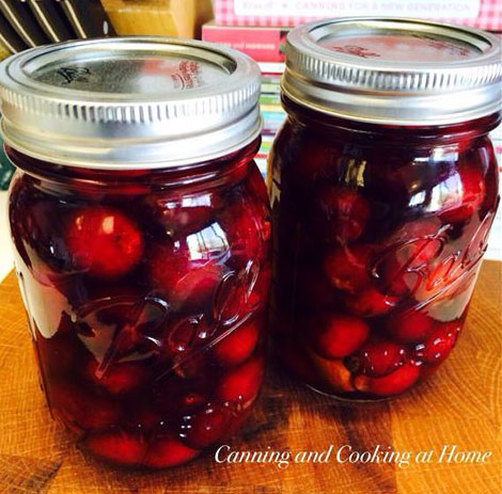 Add this recipe to your 'cherry season' line-up. I make up a jar for the fridge and can the rest - a great mixed "fruit cocktail syrup to use too! ~Enjoy! Diane Homemade Maraschino Cherries syrup ~ makes enough for one pint jar depending on the size of your cherries, you may have syrup leftover. I doubled the syrup recipe and made two pints with plenty syrup leftover for later. Ingredients: To the saucepan: 1 cup water 1 cup sugar 1 Tbsp. fresh lemon juice 1 tsp. vanilla extract To each pint jar add: 2 cups fresh sweet cherries 1 small (or piece of) cinnamon stick 4 whole allspice 1/4 tsp. almond extract In a small saucepan: over medium heat, combine water and sugar. Heat until sugar is dissolved, stirring gently. Set aside and let cool to room temperature. Add lemon juice and vanilla and stir again. In each pint jar: Add the cinnamon, allspice and almond extract. Fill your jar with the pitted cherries, leaving a 3/4 inch head-space. Pack the washed & pitted cherries in tightly without smashing. Pour in the flavored syrup, leaving a 1/2 inch head-space. Use a wooden skewer around the edges of the jar being gentle, to dislodge any air bubbles. Add more syrup if needed. Wipe the rim and place lid and band on the jar. At this point: Store the cherries in the refrigerator for up to 6 weeks. OR Water bath process OR Pressure Can them for longer storage. (See Link below) Just note that the canning does change their texture a bit. They will darken and get softer. Either way, the flavor will take at least 3 days to soak into the cherries and then they are ready to eat. NCHFP Canning Whole Cherries: Waterbath or Pressure Can http://nchfp.uga.edu/how/can_02/cherry_whole.html Recipe Adapted from: TLo's Photos by: Diane Baker for Canning and Cooking at Home 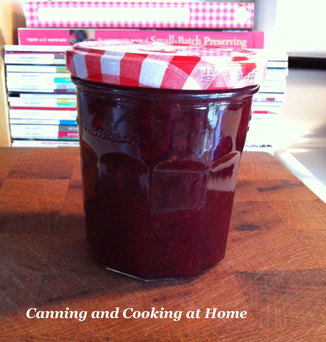 Sweet Cherry Jam with Pineapple Ingredients: 4 cups prepared fruit (buy about 3 lbs. fully ripe sweet cherries) 1 small can crushed pineapple, with juices 1/2 cup fresh lemon juice 1 box SURE-JELL Fruit Pectin 5 cups sugar, measured into separate bowl 1/4 tsp. almond extract Yield: approx 7 half-pints Directions: STEM and pit cherries. Finely chop cherries. Measure exactly 4 cups of the prepared chopped cherries into 6- or 8-qt. sauce-pot. Add in the pineapple and its juices. Stir in lemon juice. ADD pectin into fruit mixture in sauce-pot. Stir and bring mixture to full rolling boil (a boil that doesn't stop bubbling when stirred) on high heat, stirring constantly. Stir in sugar and extract. Return to full rolling boil and boil exactly 1 min., stirring constantly. Remove from heat; skim off any foam with metal spoon. To reduce foaming, add 1/2 tsp. butter to the sauce pot along with the pectin & lemon juice. LADLE immediately into prepared jars, filling to within 1/4 inch of tops. Wipe jar rims and threads. Cover with two-piece lids. Screw bands tightly. Waterbath Process 10 min. (*or according to your altitude). *ALTITUDE CHART: At altitudes above 1,000 feet, increase processing time as indicated: 1,001 to 3,000 feet-increase processing time by 5 min.; 3,001 to 6,000 feet-increase processing time by 10 min.; 6,001 to 8,000 feet-increase processing time by 15 min.; 8,001 to 10,000 feet-increase processing time by 20 min. NOTE: My Jar shown - is for fridge use only, I save commercial jars to place 'overflow' of jams into for the fridge, This recipe made 7 half pints that were water-bath canned and one fridge jar - as shown. Recipe Adapted from: Kraft Photos by: Diane Baker for Canning and Cooking at Home 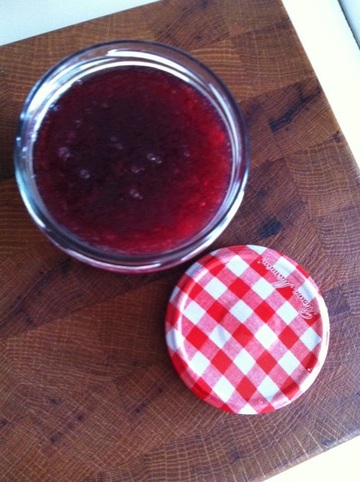 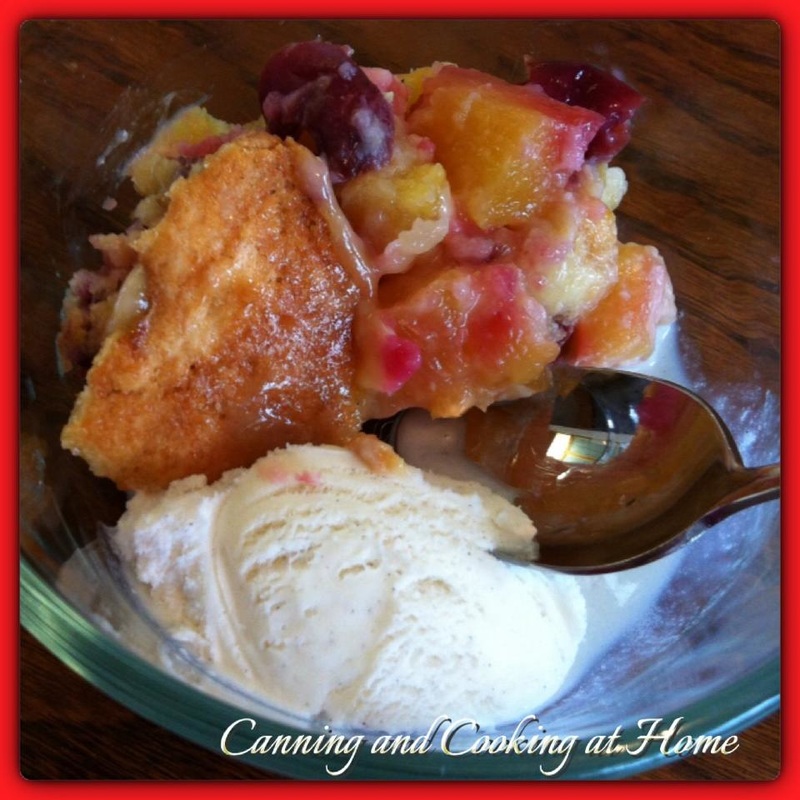 Cherry & Pineapple Cobbler Cobbler Filling: 4 Cups Fresh Fruit (cherries and pineapple mixed), diced 1 Tbs Tapioca Flour or Cornstarch 2-4 Tbs of sugar *depending on sweetness of fruit mix Cobbler Topping: In a large bowl combine: 1 cup flour 1/4 cup white sugar 1/4 cup brown sugar 1 tsp baking powder 1/2 tsp salt 6 Tbs butter, diced & cold 1/4 boiling water *as needed Directions: Clean and slice fruit (stem & pit cherries) slice and prepare pineapple (core & skin) Place diced fruit into 9" pie pan (greased lightly). Sprinkle sugar and Tapioca Flour over berries and mix until blended. Set aside. In a large bowl, blend topping mixture with a fork, or a pastry blender, until mixture resembles coarse meal. *Stir in water until just combined. Sprinkle cobbler topping mixture over mixed berries in pie plate, sprinkle with extra baking sugar over top if you want a slightly crispier cobbler topping. Bake in oven at 350 for 40-45 mins. until top is golden brown. Serve Warm. ********** Want to make a classic Peach Cobbler instead; Peach Cobbler Filling: Use 4 Cups Peaches, sliced 2 tsp tapioca flour *or cornstarch 2-4 Tbs of sugar *depending on sweetness of peaches ( add 1/4 tsp cinnamon, 1/8 tsp nutmeg to filling if preferred) Use Cobbler Topping from above but, you can also sprinkle top with a pinch of cinnamon sugar before baking ********** Recipe & Photos by: Diane Baker for Canning and Cooking at Home |