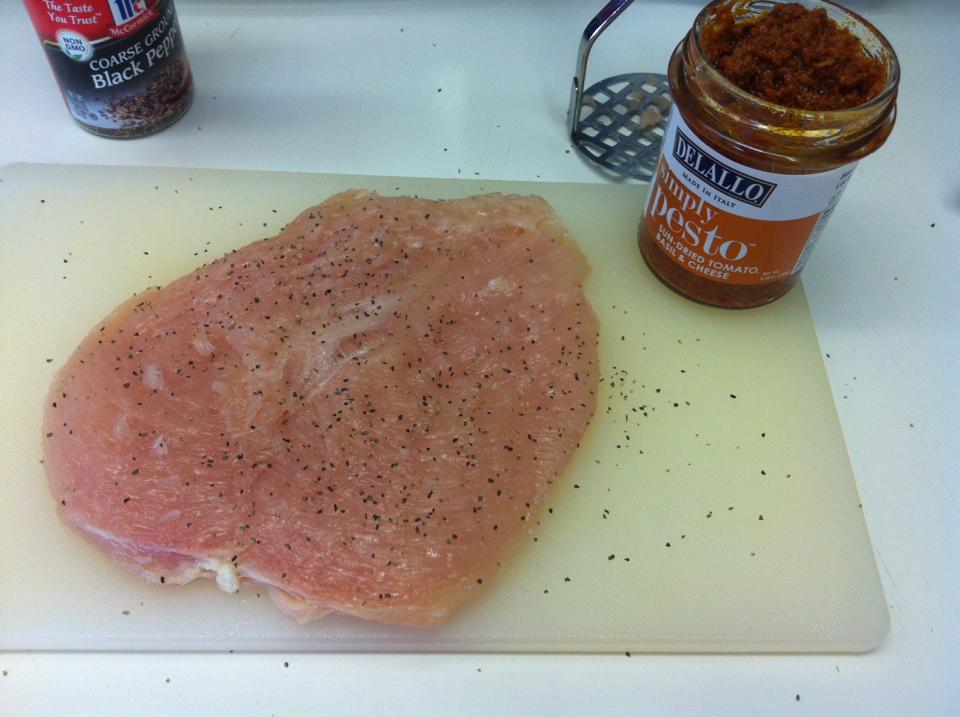
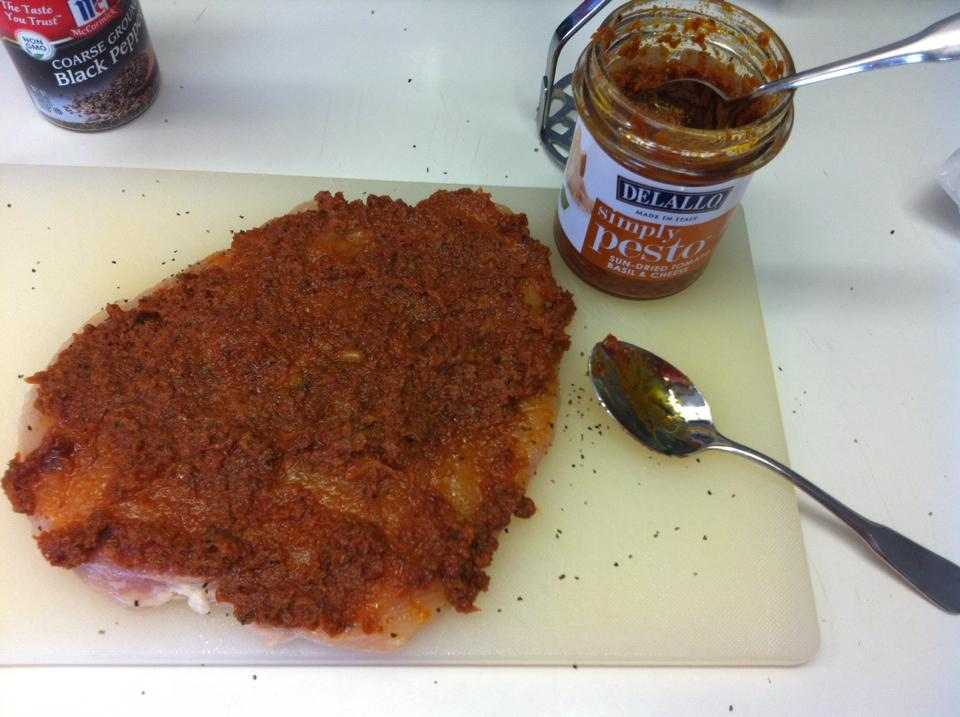
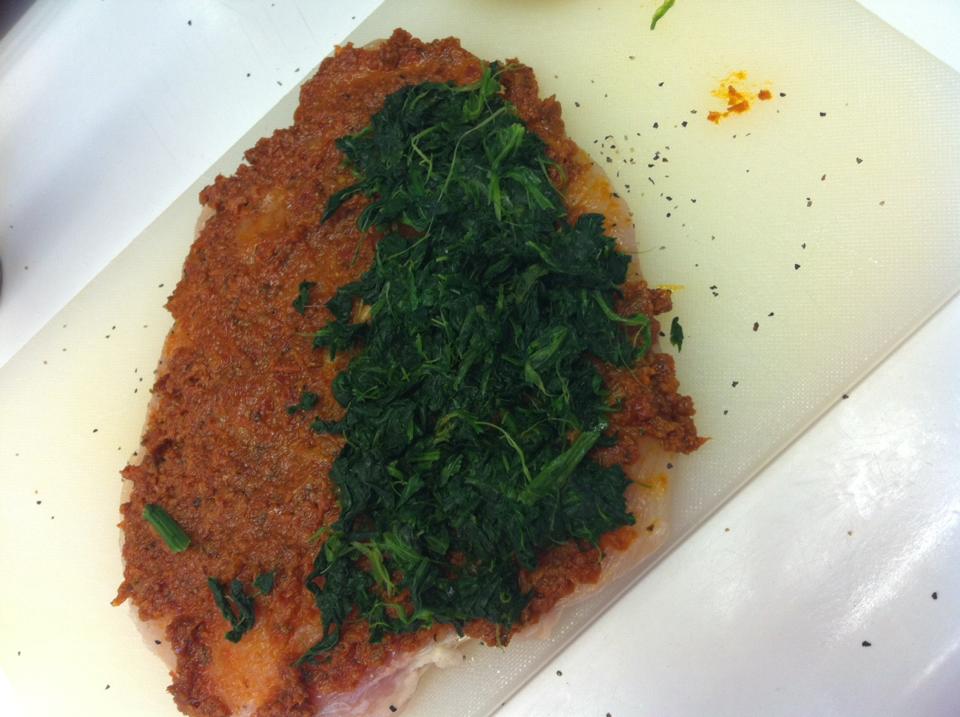
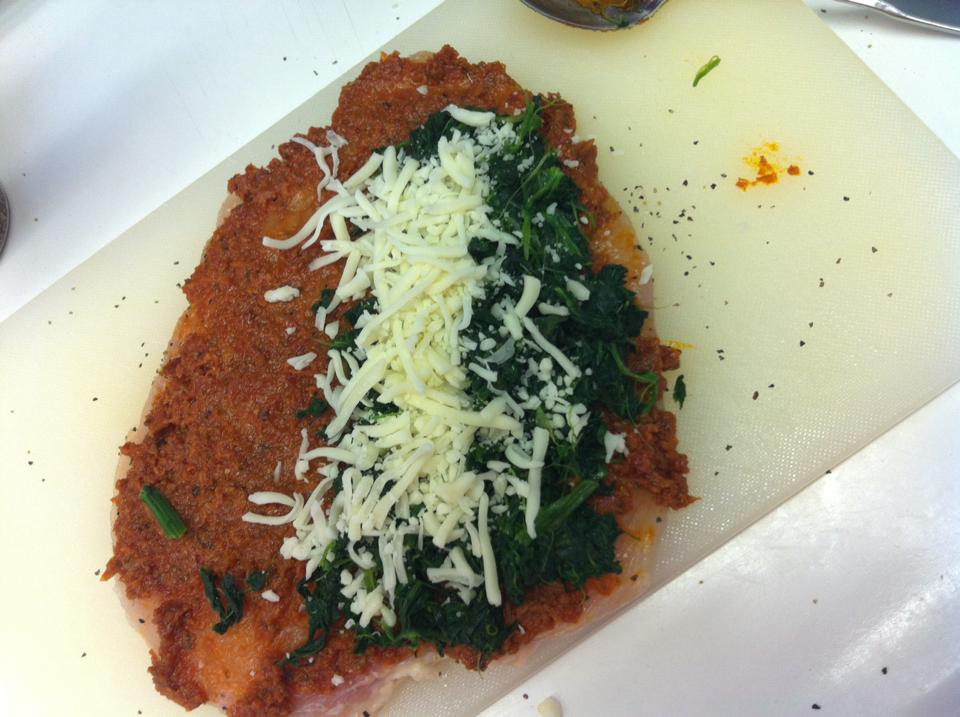
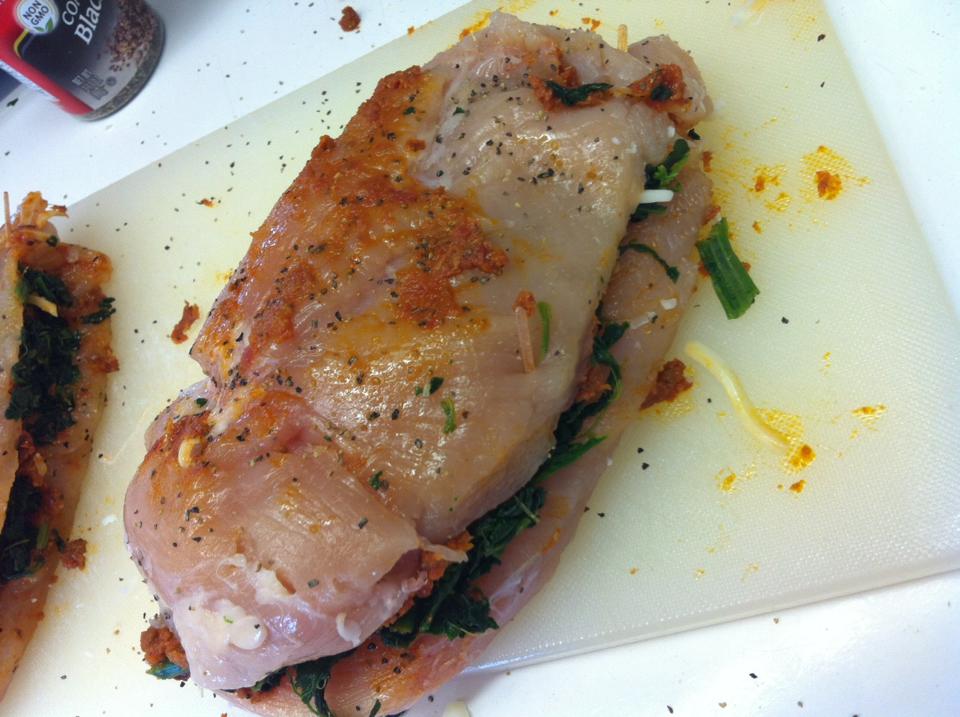
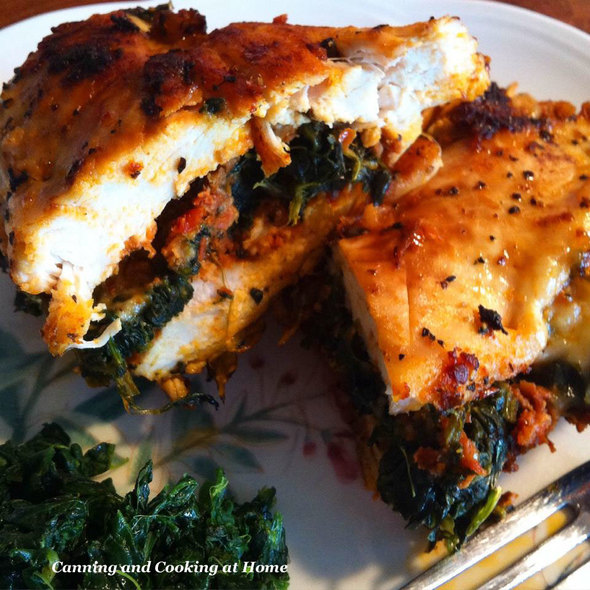
 There are so many ways to cook chicken and its various parts... Have you ever thought about stuffing just the chicken breast? It's not as hard as it sounds, in fact, its quite easy and turns out super tasty! In this recipe its best to utilize your cast iron skillet which moves from stove-top to oven. The chicken is seasoned with a wonderful sun-dried tomato and basil pesto, along with spinach and mozzarella. There are so many stuffing options as well, another family favorite is the Chicken Popper Stuffed Breast - recipe soon to follow! In the meantime, enjoy my Caprese stuffed chicken. ~Diane Skillet Caprese Stuffed Chicken Breasts 4 boneless skinless Chicken Breasts, trimmed of fat One 10 oz. box of Frozen Spinach; thawed & well drained. 1 Cup Sun-dried Tomato Pesto with basil & cheese. (I use "Simply Pesto" DeLallo brand) 2 Cups shredded Mozzarella 2-3 Tablespoons Italian Seasonings Salt & Pepper to taste 2-3 Tablespoons Olive Oil Preheat oven to 400º. Take each chicken breast and fillet in half horizontally without cutting all the way through. Open up the chicken, flatten out on your work surface and pound to 1 1/2 inch thickness if needed (this will help the chicken cook evenly.) Sprinkle with Italian seasonings, salt & pepper. Spread 1/4 cup of the tomato pesto over the entire inside surface of each chicken breast. Place spinach, and mozzarella over half the coated surface (see photos below) Fold the chicken breast back over onto itself. Secure with toothpicks. Sprinkle chicken (top & bottom) with more salt, pepper and Italian seasonings as preferred. In a large oven-safe skillet over medium-high heat, heat olive oil. Sear chicken until golden, 3 minutes per side, then transfer the skillet to the oven and cook, about 25-30 minutes until meat thermometer in thickest part of top piece of chicken reads above 165. Remove toothpicks and serve. Recipe & Photos by: Diane Baker for Canning and Cooking at Home 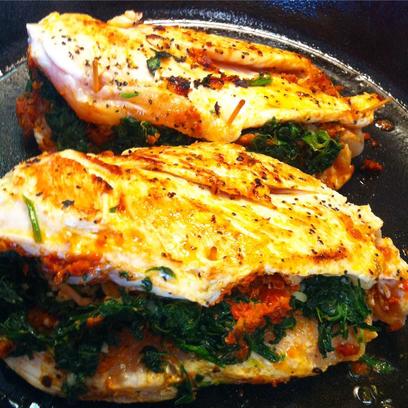
0 Comments
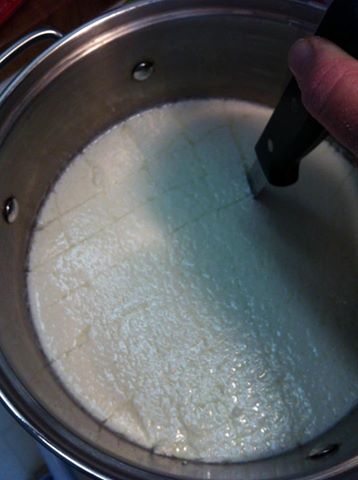
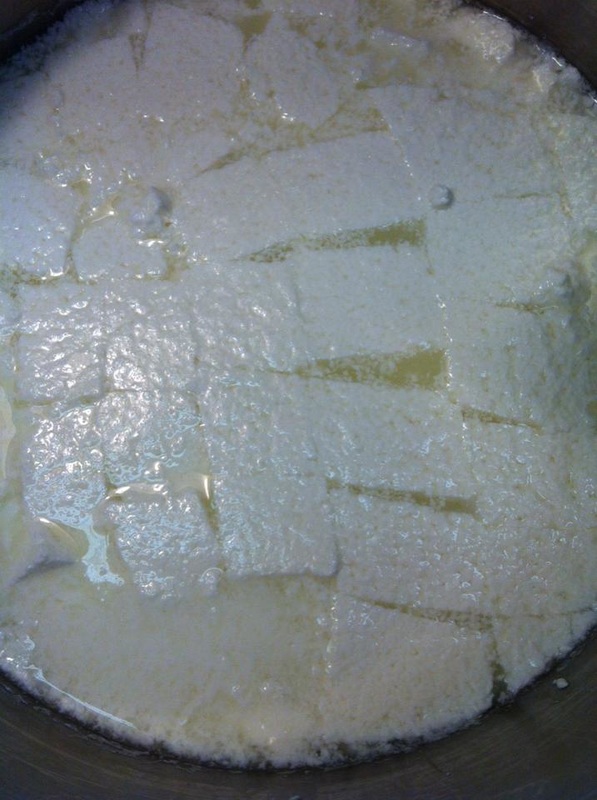
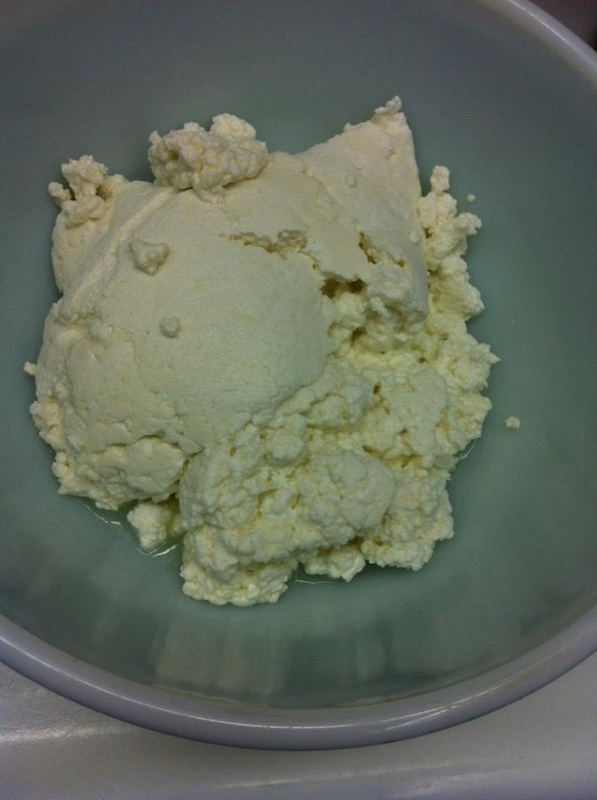
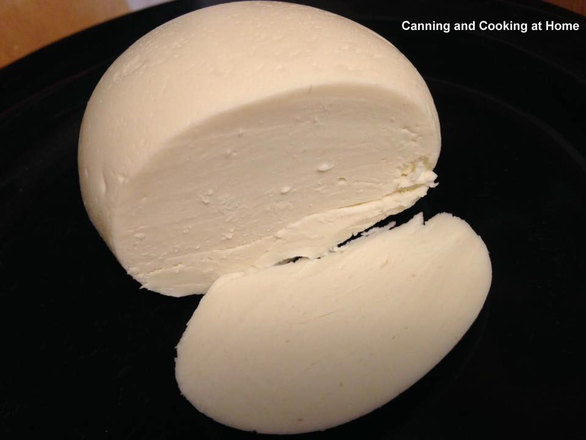 Homemade Mozzarella Ingredients 1 1/4 cup water 1 1/2 teaspoon citric acid 1/4 rennet tablet or 1/4 teaspoon liquid rennet (1/2 tablet Junket rennet) 1 gallon milk, whole, not ultra-pasteurized* 1 teaspoon kosher salt Equipment 5 quart or larger non-reactive pot Measuring cups and spoons Thermometer 8" knife, off-set spatula, or similar slim instrument for cutting the curds Slotted spoon Microwave Microwavable bowl Rubber Gloves Instructions 1. Prepare the Citric Acid and Rennet: Measure out 1 cup of water. Stir in the citric acid until dissolved. Measure out 1/4 cup of water in a separate bowl. Stir in the rennet until dissolved. 2. Warm the Milk: Pour the milk into the pot. Stir in the citric acid solution. Set the pot over medium-high heat and warm to 90°F, stirring gently. 3. Add the Rennet: Remove the pot from heat and gently stir in the rennet solution. Count to 30. Stop stirring, cover the pot, and let it sit undisturbed for 30 minutes. 4. Cut the Curds: After thirty minutes, the milk should have set, and it should look and feel like soft silken tofu. If it is still liquidy, re-cover the pot and let it sit for another fifteen minutes. Once the milk has set, cut it into uniform curds: make several parallel cuts vertically through the curds and then several parallel cuts horizontally, creating a grid-like pattern. Make sure your knife reaches all the way to the bottom of the pan. 5. Cook the Curds: Place the pot back on the stove over medium heat and warm the curds to 105°F. Stir slowly as the curds warm, but try not to break them up too much. The curds will eventually clump together and separate more completely from the yellow whey. 6. Remove the Curds from Heat and Stir: Remove the pan from the heat and continue stirring gently for another 5 minutes. 7. Separate the Curds from the Whey: Ladle the curds into a microwave-safe bowl with the slotted spoon. You can cool and save the whey for other uses (like adding to baked goods & smoothies) 8. Microwave the Curds: Microwave the curds for one minute. Drain off the whey. Put on your rubber gloves and fold the curds over on themselves a few times. At this point, the curds will still be very loose and cottage-cheese-like. 9. Microwave the Curds to 135°F: Microwave the curds for another 30 seconds and check their internal temperature. If the temperature has reached 135°F, continue with stretching the curds. If not, continue microwaving in 30-second bursts until they reach temperature. The curds need to reach this temperature in order to stretch properly. 10. Stretch and Shape the Mozzarella: Sprinkle the salt over the cheese and squish it with your fingers to incorporate. Using both hands, stretch and fold the curds repeatedly. It will start to tighten, become firm, and take on a glossy sheen. When this happens, you are ready to shape the mozzarella. Make one large ball, two smaller balls, or several bite-sized bocconcini. Try not to over-work the mozzarella. 11. Using and Storing Your Mozzarella: Mix a teaspoon of salt with a cup of cool whey and pour this over the mozzarella or dip cheese ball/balls in this mixture to coat. Wrap tightly in saran, Cover and refrigerate.The mozzarella can be used immediately or kept refrigerated for a week. Adapted from: New England Cheesemaking Supply Company Photo by: JD Provence and Diane Baker for Canning and Cooking at Home |