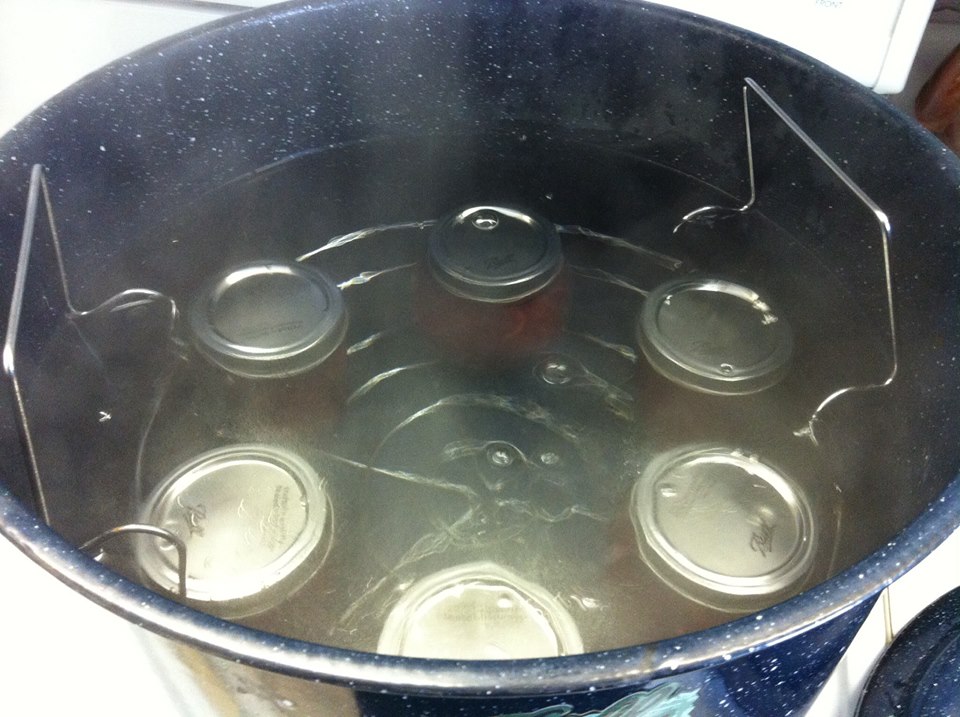
Spicy Tomato Juice *a by product of making 'Fresh Homemade or Roasted Tomato Sauce' If you have read my blog before, you know that I like to Pressure Can Fresh Homemade Tomato Sauce (without meat) and use that in soups, stews and casseroles as well as pizzas and pastas...while preparing my tomato sauce, I usually end up with tomato juice. Why not turn that into a tasty, spicy drink and Can along with your sauce - or place in fridge for immediate drinking? The time to start collection of the juice is when the sauce has cooked down 1/3 of the way in your large stockpot. At this point, I take a ladle and skim off all the "juice/water" that resides in the stockpot (it floats to the top if you let the sauce simmer without stirring for a few minutes) I run that liquid through my sieve into a large bowl, collecting the juice is a process - its not an "all at one time" collection. While the tomato sauce needs to be stirred to prevent scorching, I do lower the heat in the final step of making my sauce so that it still simmers and brings the 'water/juice' up to the top layer in the stockpot that I can skim...if I collect a bit of what I call "tomato mush" or what would look a lot like tomato puree into my sieve, I go ahead and scrape some that into the juice bowl below (it will flavor my juice that much more - I add about a cup) I spend about 30 minutes collecting the juice from the sauce pot. Once I feel confident that my tomato sauce is ready for jarring, I turn my attention to seasoning the juice. Keep in mind, all the original flavorings (spices) from making the Sauce is already in the 'juice' you've collected (onion, garlic, parsley, oregano, pepper). Take a clean tasting cup and fill - drink a bit and see where you are at. If the juice tastes too watery, take some more tomato mush/puree from your sauce and stir into juice. Most times, I feel the need to add more black pepper... To make mine a spicy tomato juice, I add a few dashes of hot sauce or cayenne powder (remember to start small, and increase the heat and taste at each addition with a new clean cup - you can add spice/heat but, you cannot take away!) Once the juice is to your liking, you can now Pressure OR Waterbath Can. Enjoy! ~ Diane Processing Times this can be waterbath OR pressure canned. My Link to My Spaghetti Sauce: Roasted Spaghetti Sauce Photos by: Diane Baker for Canning and Cooking at Home 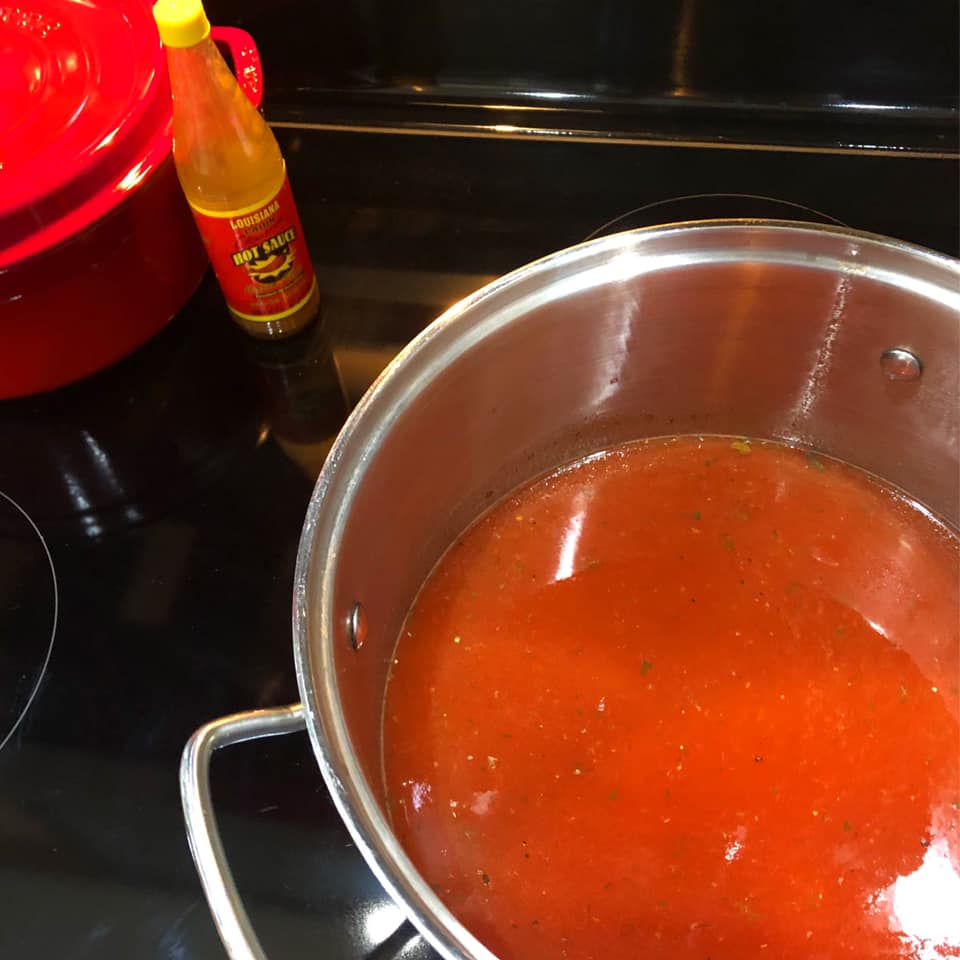
0 Comments
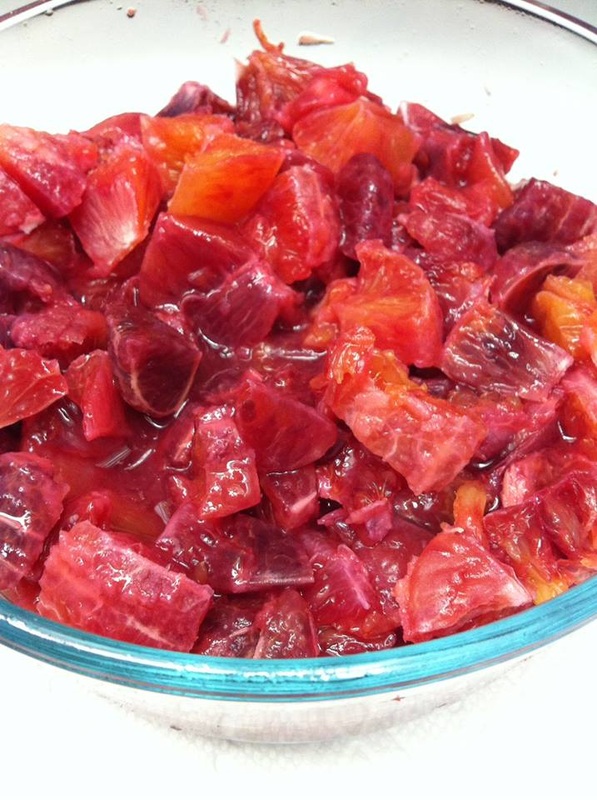
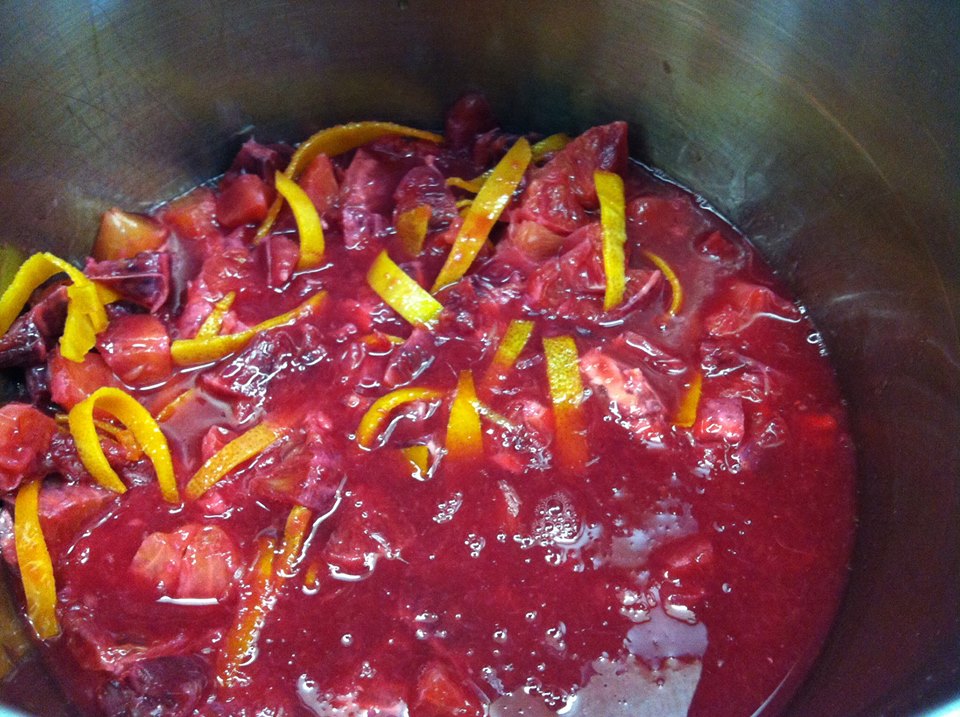
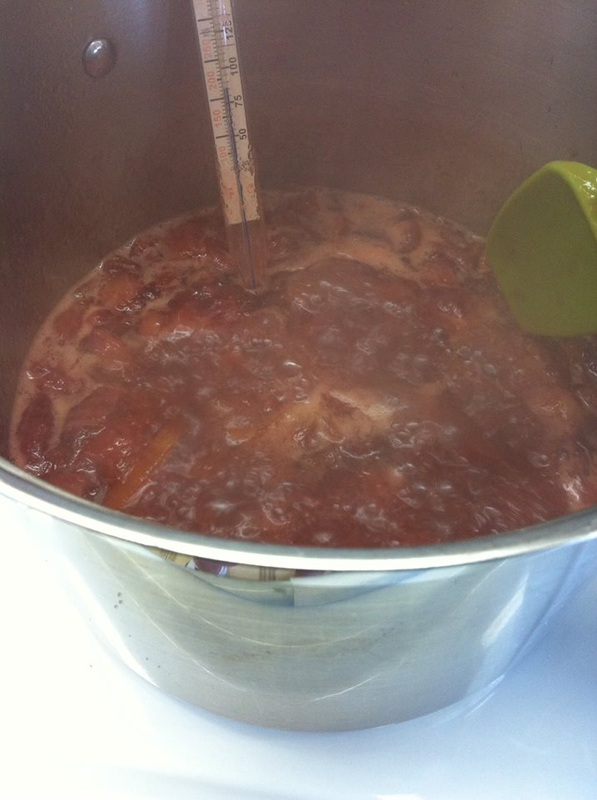
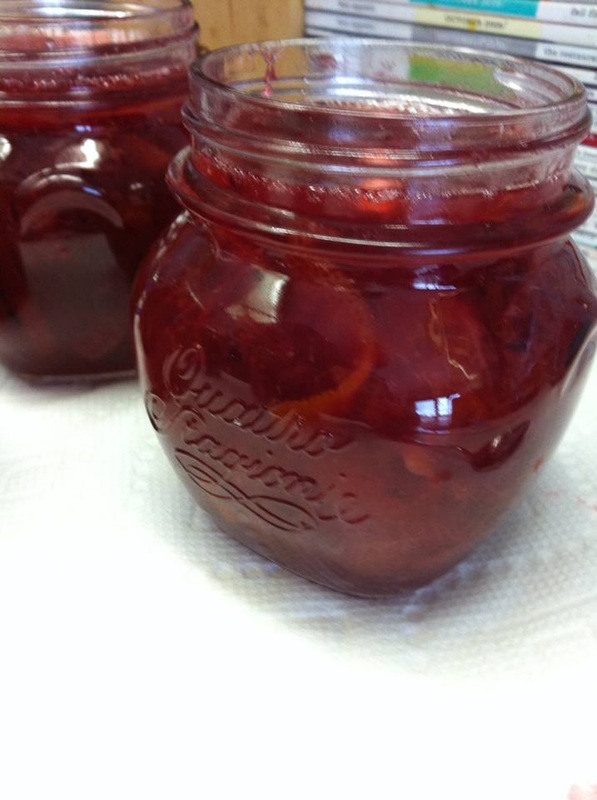
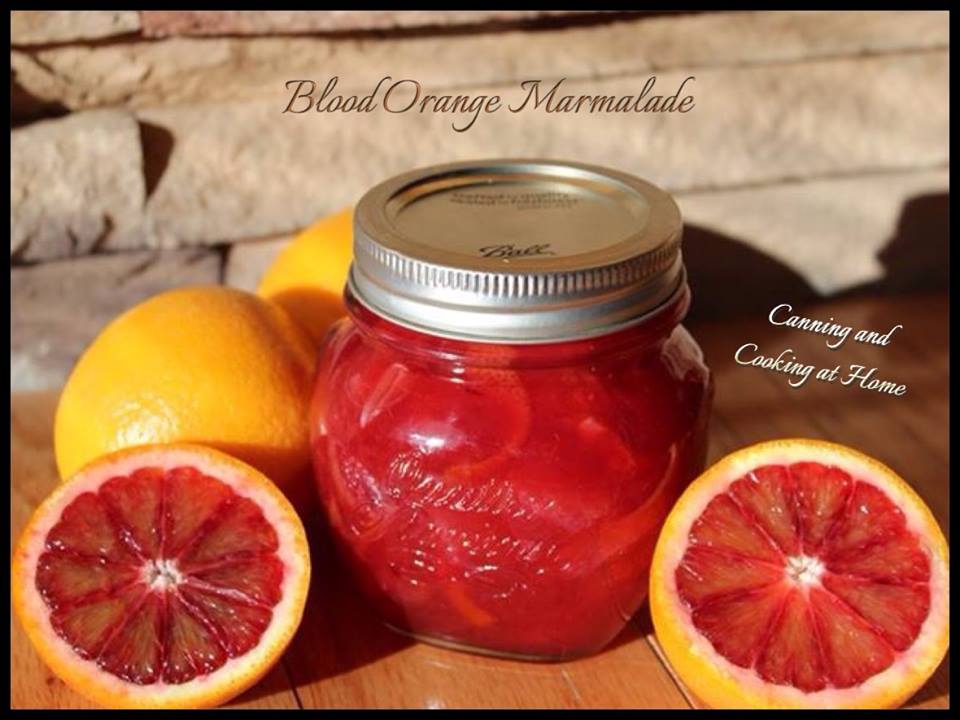 Blood Orange Marmalade makes approx 7 half pint jars Ingredients: 4 cups blood orange segments 2 cups blood orange juice 1 cup prepared orange peels 3 tablespoons fresh lemon juice 4 cups sugar 1 box low sugar sure jell pectin (pink box) Directions: **note: Since I made candied orange peels, my peels were prepared as noted below the day before but, set overnight in sugar and the 4 cups of fruit segments cut and place into a bowl overnight, as well, I juiced about 2-3 pounds of oranges to render 2 cups of fresh juice to use for canning in the morning... Peels: You will need to use a vegetable peeler, carefully remove peel from 3 or 4 oranges. Set the peels in cold water as you slice them off oranges. Once all oranges peeled, blanch the peels *in fresh water each time, 2-3 times in a boiling water bath for 2-3 minutes, draining and submerging in cold water 2 minutes, each time. Pat peels dry and mix in small bowl with 1/2 cup sugar, place in refrigerator for at least 6-8 hours. This process removes the bitterness from the peels. I used one cup of prepared peels from my candied orange rind recipe (so, my peels not only were blanched but, sat in sugar overnight) Just remember to use a sharp knife, remove any white pith from peel of the oranges.... Fruit: You need 4 cups of fruit segments, remove the white membranes and seeds from oranges. Cut oranges into small cubes (segments). Sugar/Pectin: Place half the sugar (2 cups) into a bowl with all of the pectin and mix lightly, set aside until final stage of marmalade making. The marmalade: In a large stockpot, place orange segments/pieces, orange peels, lemon juice and 2 cups sugar. Heat to boiling over medium-high heat, stirring frequently. Once boiling, reduce heat to medium; simmer about 30 minutes until reduced slightly. Bring to a full boil, Add in the bowl of remaining sugar/pectin mix. Stir without stopping until temperature reaches a full boil and 225°F on candy thermometer. Remove pot from burner and test for set. I always do the freezer plate test, placing a large spoonful of marmalade onto a plate I set in freezer right before starting my marmalade, letting set for 10 seconds and tip plate - the marmalade should not run - it's now ready to jar. Ladle hot marmalade into hot sterilized jars. Top with sterilized lids and rings. Water-Bath jars 10 minutes or according to canning pot directions and your altitude. Place jars on kitchen towel, being careful they do not touch each other. Cool completely and check that jars are sealed before storing. Photos by: Diane Baker for Canning and Cooking at Home Pinterest Pin: http://www.pinterest.com/pin/530510031080656563/ **recipe adapted from various sources: Krafts' Orange Marmalade, Mao Cuim's orange peel process** 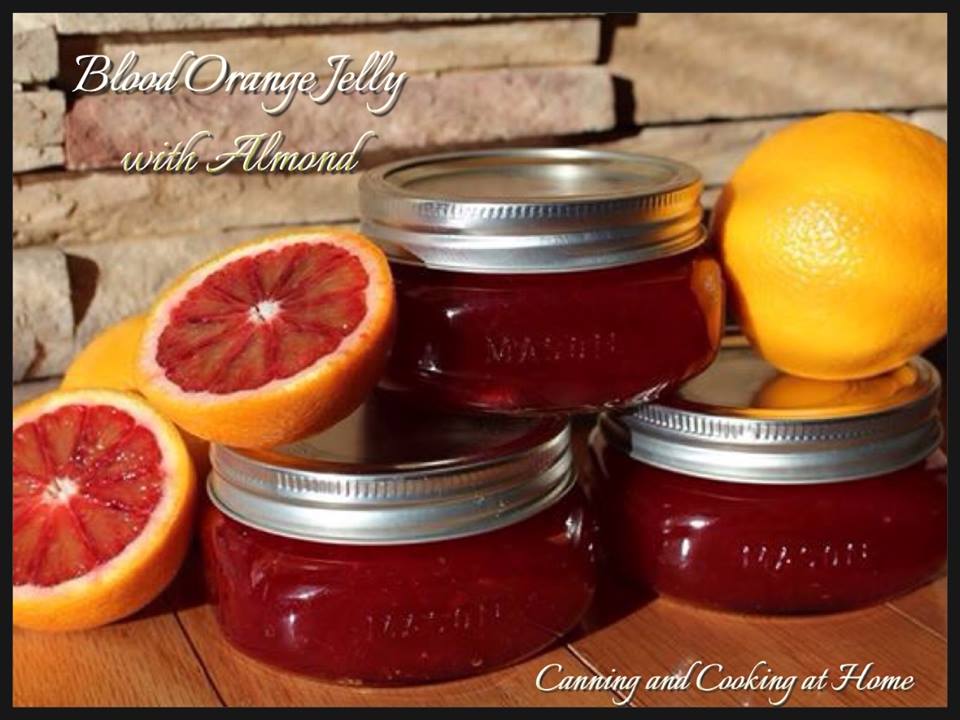 Sweet Blood Orange Jelly with Almond
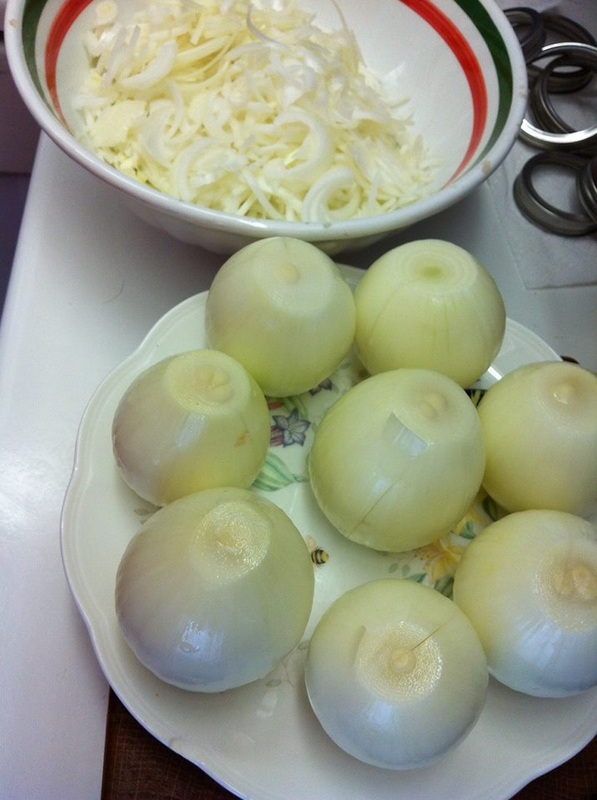
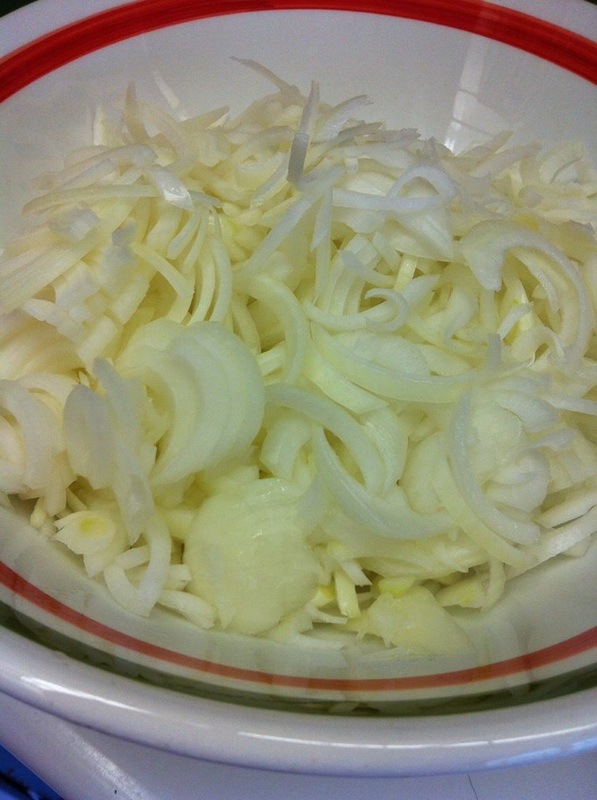
Ingredients: 2 cups blood orange Juice, fresh squeezed 1 1/2 cups sugar, divided 1/2 cup Sure Jell, low sugar pectin powder 1 tsp almond extract 1 vanilla bean, split Directions: I took the leftover 2 cups blood orange juice from making marmalade earlier in the day and added to a stock pot with 1 cup of sugar and one cup of water. I split a vanilla bean and let that steep in the juice as it came to a medium boil. I then took another 1/2 cup of sugar and approx 1/2 cup of pink box low sugar sure jell and mixed those together in a bowl...I then went back to my juice and brought to a good boil and added remaining sugar/pectin in from bowl. bringing jelly up to a FULL boil (and removed vanilla bean) until the bubbles became larger. I then placed the pot on a cool burner while I preformed the "freezer plate test" and made sure - peeking back into pot that I could see what we call in our house "grammas pantyhose" forming on the top of the jelly ((((its like a haze that wrinkles if you rock the pot a bit, that tells me the jelly is setting up.))))) I returned the pot to burner for another few mins as I stirred in about a tsp of almond extract...then jarred, leaving 1/4 headspace, and water bathed for 10 mins (I add another 10 for my altitude) This made 3 half pint jars - exactly... Recipe & Photo by: Diane Baker for Canning and Cooking at Home Pinterest Pin: http://www.pinterest.com/pin/530510031080656587/ 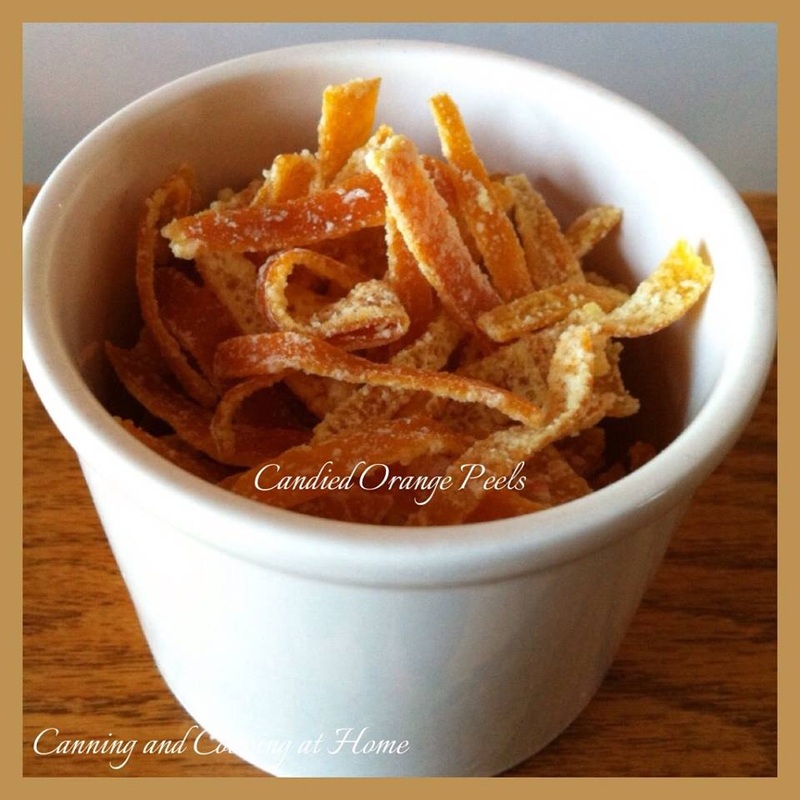 I picked up some wonderful blood oranges at the store this week. Blood oranges date back to ancient times and come into season mid January here in Colorado. I decided this year I would make the 'traditional' bitter blood orange marmalade (complete with peels and fruit segments) as well as sweet blood orange jelly. Those two recipes will be posted here soon! In the meantime, I thought I would share how you can make candy out of your orange peels. Removing the white 'pith' is the most important part of this process. The pith holds onto all the bitterness of the oranges. After blanching and macerating in sugar over night - that helped my peels cut down on the bitter bite that the peels are known for... Candied Orange Peels 5-6 Oranges 1/2 cup sugar 1/2 tsp rum *optional Directions: Wash and dry the oranges well. Sliced off tops and bottoms of the fruit, lightly score around the perimeter and remove peels. Using a sharp knife, make sure to remove all the white pith from the underside of the peel (this is where the bitterness resides) Cut peels into strips and place into cold water as you work. Let peels soak 20 mins in the cold water, drain and rinse. Place peels in a saucepan, covering with fresh water and bring to a boil, reduce to simmer 5 minutes then drain and plunge into ice water. **Repeat 2 more times, this removes more bitterness. Once done blanching the peels in boiling water, drain and pat peels dry. Place peels in a bowl and add sugar and rum. Mix well until thoroughly coated, cover and chill for at least 6-8 hours in refrigerator. Once sugar turns into a liquid state (looks like corn syrup) it's time to cook the peels. I use my non-stick pan, turn the peels out into pan along with the sugar they were soaking in...bring pan to a boil while constantly stirring peels (do not stop stirring!) lower the heat to a medium boil and keep working the peels in the pan, you are cooking off the liquid in the pan and thereby crystallizing the sugars. You will notice your pan turning more and more white as the sugar crystalizes, once the pan starts to dry out, the peels will be cooked, candied and well coated in sugar. Remove from heat and place on a drying rack. Let air dry for 6-8 hours. Store in an air-tight container and refrigerator up to 3 days. Pinterest: http://www.pinterest.com/pin/530510031080641404/ 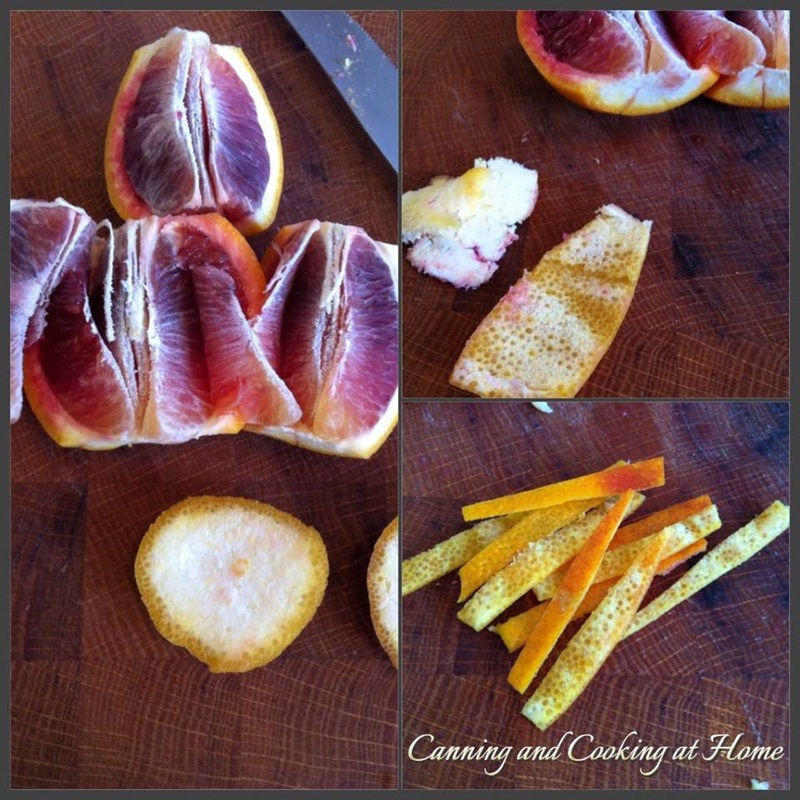 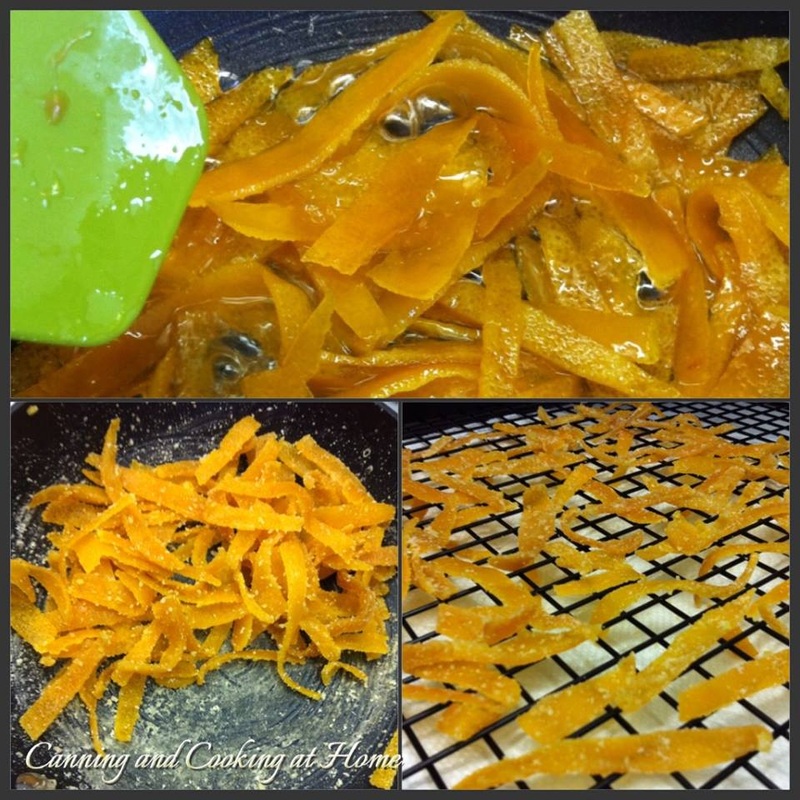 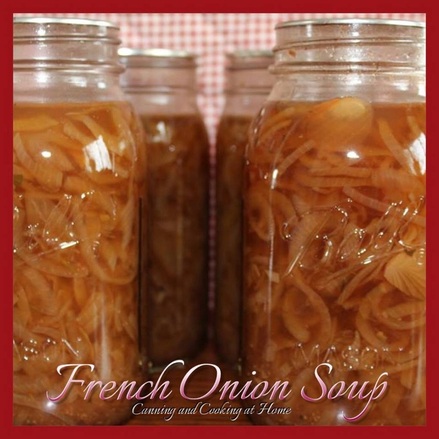 While I make a wonderful french onion soup from scratch (it is in the recipes listed on my site) and never pass up the chance to make some - I liked the idea of making a few quarts or pints for pressure canning - quick to grab, use in recipes and enjoy! French Onion Soup *for Pressure Canning makes approx. 4 quarts or 8 pints Ingredients: 6 pounds organic onions, sliced 1 Tbs butter pinch of sugar 12 cups beef broth (your own, homemade broth... or store bought will do) 3/4 cup red wine 1 bay leaf (remove before jarring broth) 1 tsp dried thyme 1 tsp dried parsley 3/4 tsp. garlic powder (or 1/2 tsp minced garlic) salt (canning or sea salt) and pepper to taste Directions:
Process Quarts of soup in Pressure Canner for 75 minutes. Process Pints for 60 minutes. NCHFP "Soups" Guidelines Here Make sure to check your altitude before canning!! To serve: Slice a baguette on a diagonal into 1/2″ pieces. Butter bread and toast lightly in a hot oven, add 2-3 Tbs. grated Gruyere or Emmentaler cheese and broil until bubbly and brown. Heat the soup to a low boil for at least 10 minutes. Serve each bowl of soup with a couple of cheese toasts. *Adding a dash of cognac before serving is optional but, traditional. Kitchen Tip: Use a Pint of this soup when making savory beef dishes like Pot Roast, Steak Tips & Gravy - it adds a depth of flavor to your final dish. Recipe and Photos by: Diane Baker for Canning and Cooking at Home PINTEREST PIN: http://www.pinterest.com/pin/530510031080591533/ |