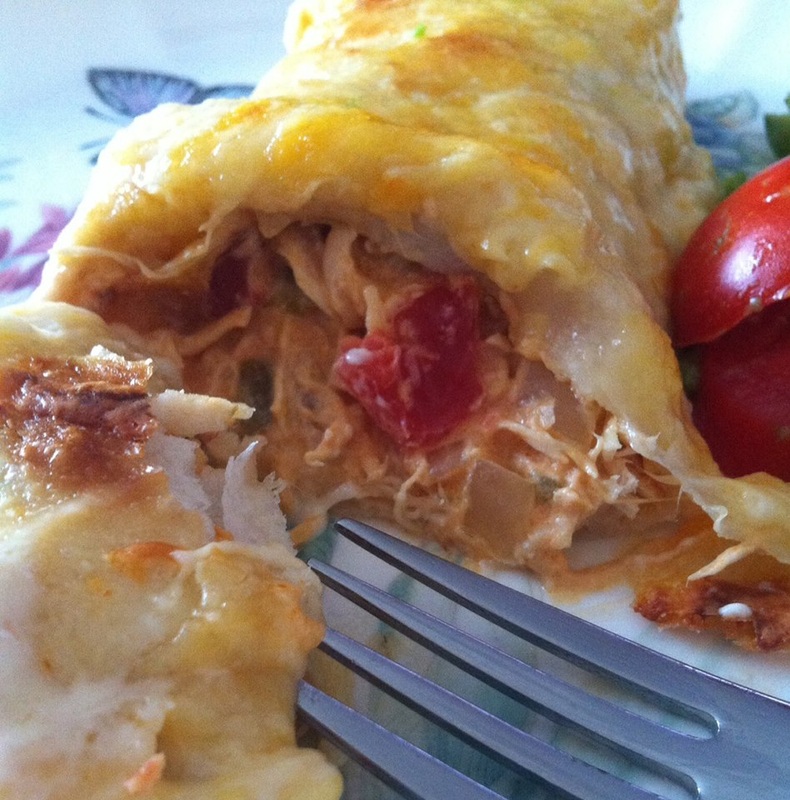
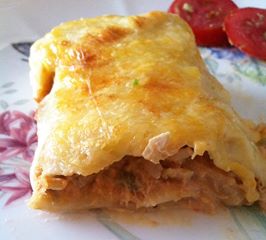
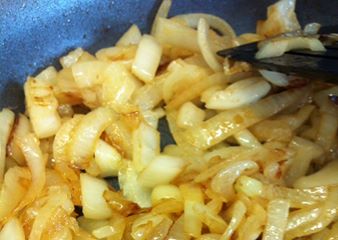
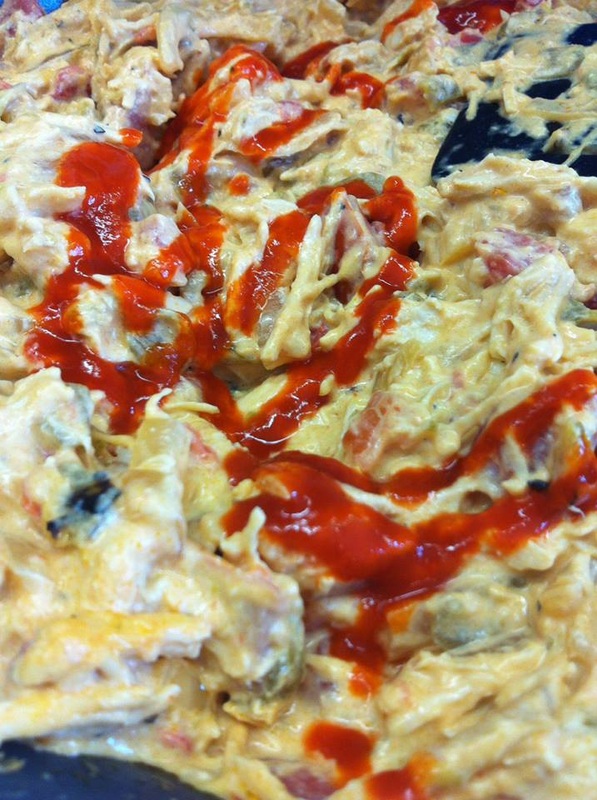
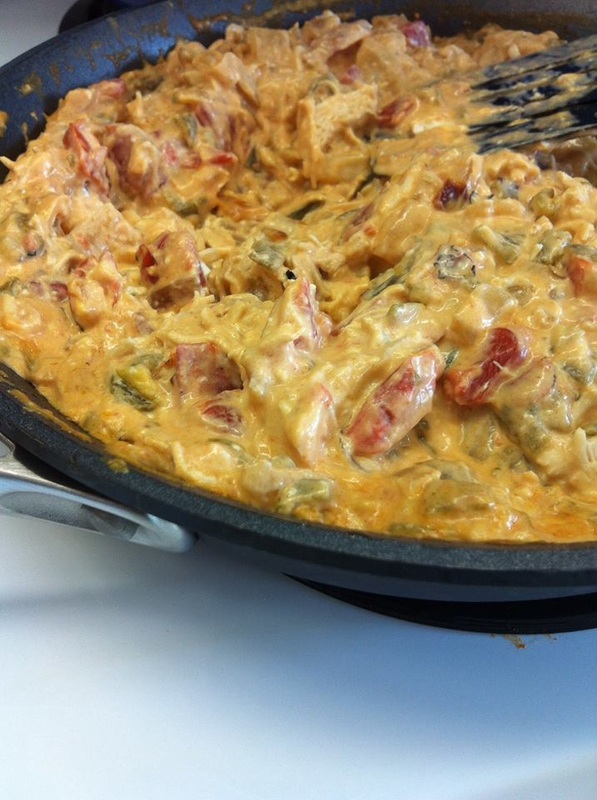
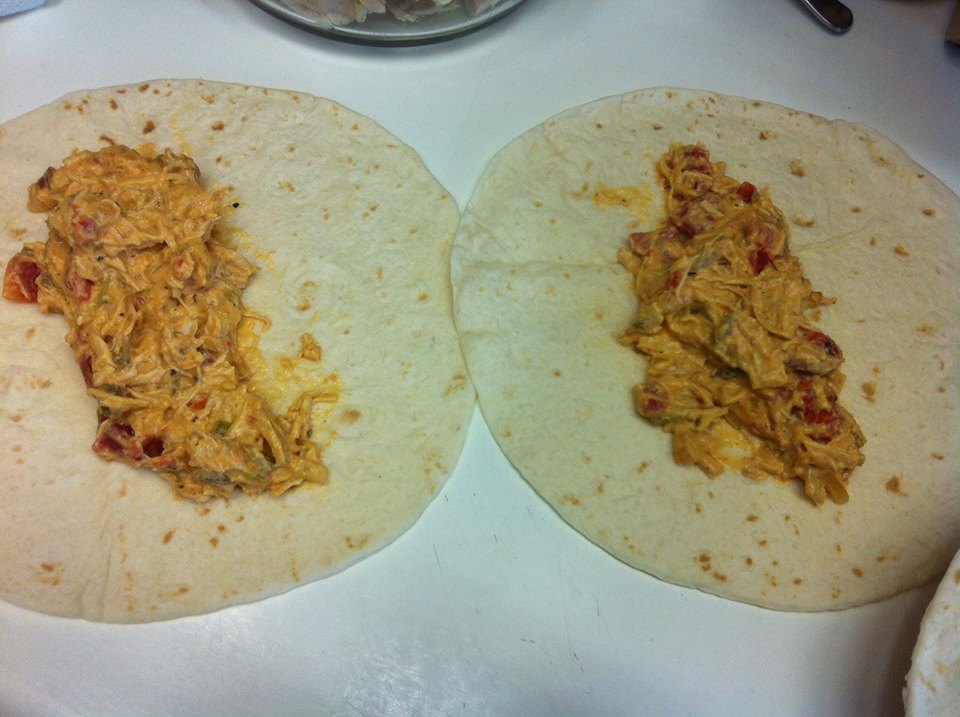
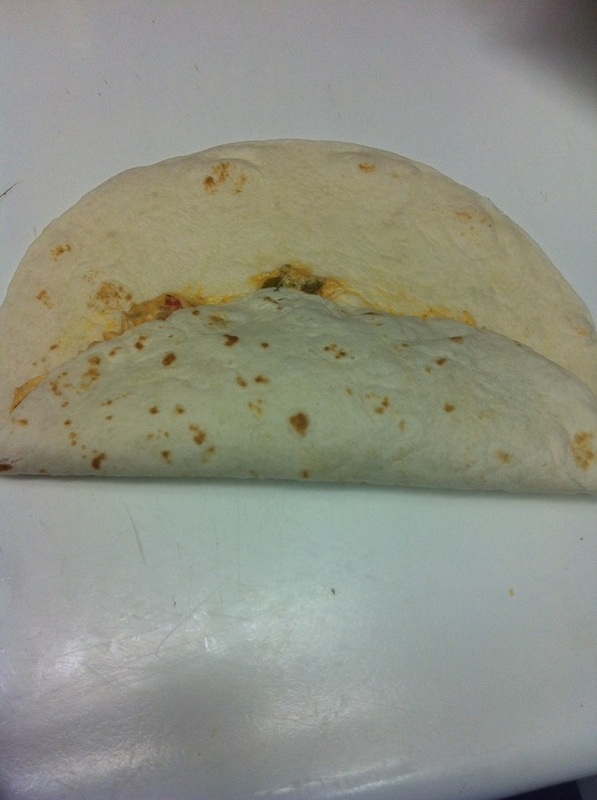
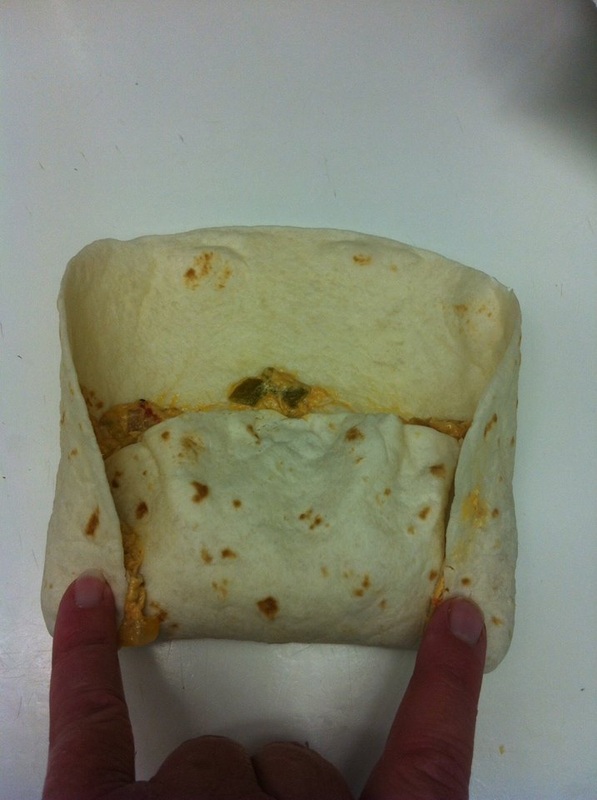
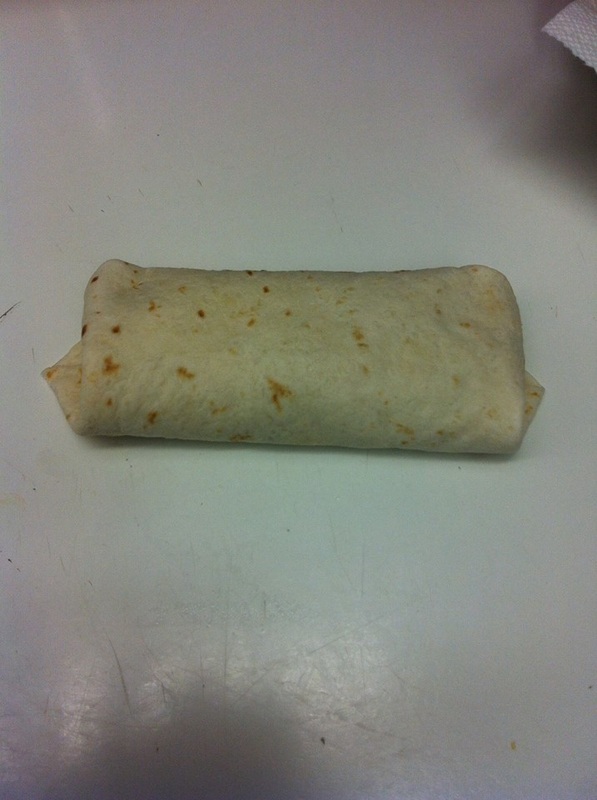
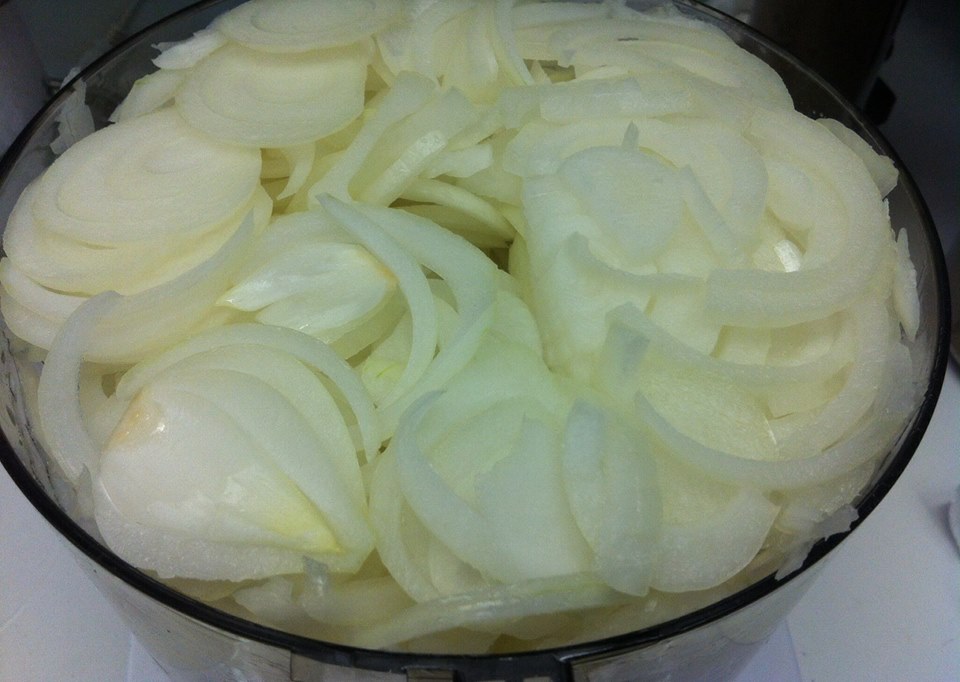
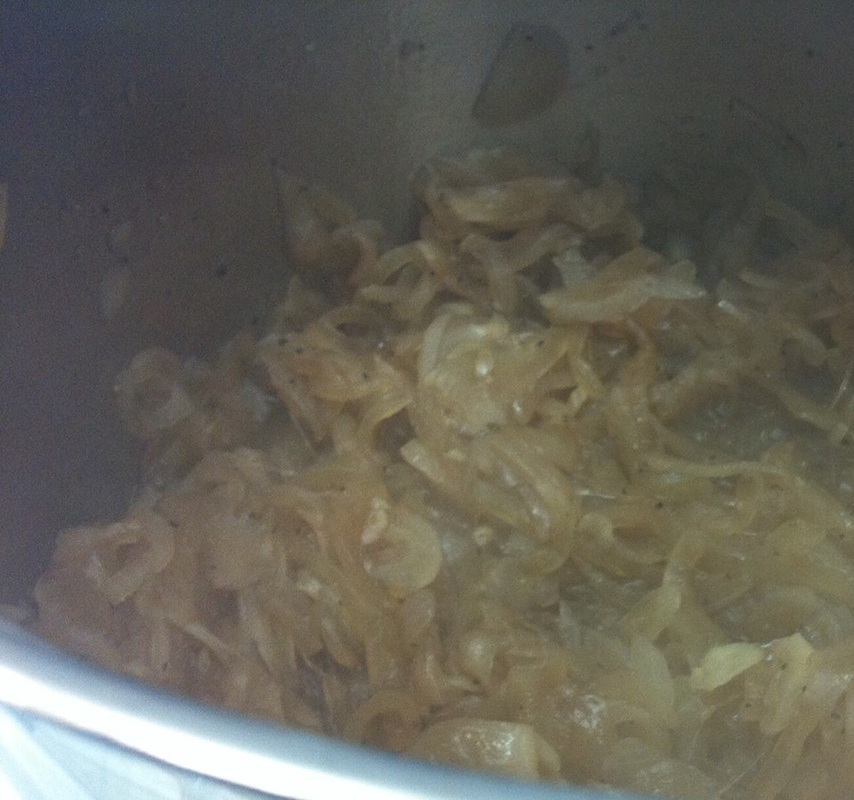
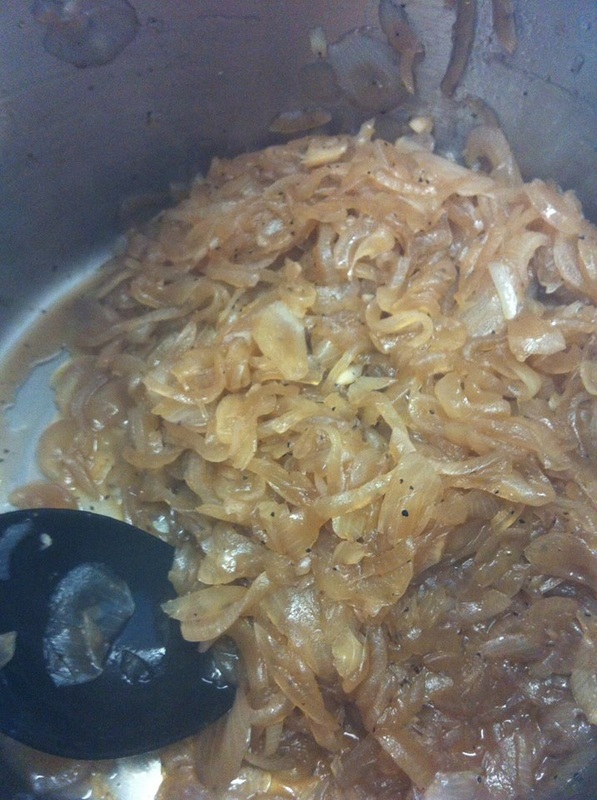
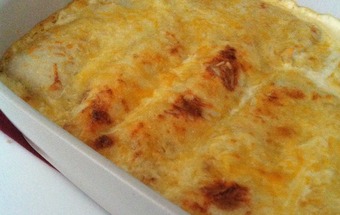
 I came across this magnificent recipe on another site when looking for a new take on enchiladas. I wanted a white sauce that blended with the cheese instead of the normal red homemade enchilada sauce I am used to making. I now prefer this to my own enchilada recipe. While the recipes are similar - adding caramelized onions to this dish with the white sauce brings such a nice balance of sweet against the spicy! I've switched up the original recipe a bit but, still same great taste! ~ Enjoy! 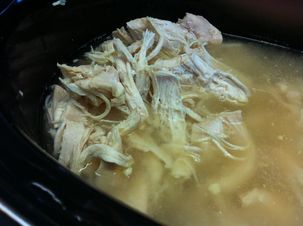 It all starts with the chicken. You can use whatever you want, shredded, cubed, diced - you can even use turkey. I had a large pack of chicken breasts that I tossed in my slow-cooker with some nice chicken broth and let that simmer all day until it was time to assemble the enchiladas. You will need 2-3 Cups of Cooked Chicken. (I've used 2 pints of Pressure Canned chicken too) Creamy, Caramelized Onion & Chicken Enchiladas Ingredients: 2 Onions, thinly sliced 2 Tbs Butter 1 tsp Sugar 3 cloves fresh Garlic, minced 2-3 Cups Chicken, cooked and shredded 4 oz Cream Cheese, softened 14 oz can Fire Roasted Diced Tomatoes * 1 small can of Mild Green Chilies, drained * (8) 8 inch soft Flour Tortillas 2 Cups of 'Four Cheese Mexican Blend' shredded cheese 2 Cups Heavy Cream 2-3 Tbs Sriracha Sauce 1 Tbs Red Hot Chili Oil *optional Salt & Pepper to taste *sliced fresh avocado, cilantro, black olives and tomato for garnish Directions: In a medium saute pan, add the butter, sliced onions, and sugar. Saute over medium heat for 20 minutes stirring often, until onions are brown in color. After the onions are caramelized, add the minced garlic to the onions and continue stirring the mixture for 2 minutes, to keep the garlic from scorching. Add the cooked chicken, tomatoes, green chilies and cream cheese to the pan with the onions. Continue cooking over medium low heat, stirring constantly until combined. Add salt, pepper and Sriracha (or red hot chili oil) to chicken mixture to your taste preference. Place cream into a sauce pan and warm slightly (you can add some Sriracha to the cream as well, to your liking) (you will be pouring this over the wrapped enchiladas) Divide the filling into 8 portions and wrap inside the tortillas. Put the tortillas side by side tightly in a lightly oiled 13x9 pan (I used light olive oil spray). See Below: 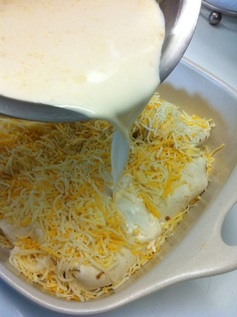 Sprinkle the top with the shredded cheese and pour the warmed cream over the top. Bake uncovered at 350 degrees for 20 minutes. You can broil the top for a minute or 2 at the end, but watch closely!! Let the enchiladas rest for 5 minutes before serving.
NOTE: IF you like it HOT & SPICY - *You can use a can of Hot Rotel and Hot Chilies in place of the Fire Roasted Tomatoes and Mild Green Chilies. Recipe Adapted from: Aunt Bee's Recipes Photos by: Diane Baker for Canning and Cooking at Home
0 Comments
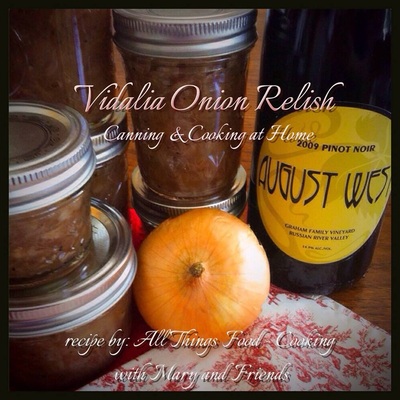 Caramelized Vidalia Onion Relish Ingredients 4 large Vidalia onions, peeled and thinly sliced *about 4 Cups 1/2 cup brown sugar, packed 1 1/2 cups red wine 1/2 cup white vinegar 6 tbls. balsamic vinegar 1 tsp. sea salt 1 tsp. course-ground black pepper Directions:
Place sliced onions and brown sugar in a large stock pot. (my vidalias were a lot smaller so, I sliced up about 4 cups in my Cuisinart) Heat over medium-high heat stirring until well combined. Cook 25 minutes (this can take longer depending on pot size and volume of onions to cook down), stirring often, until onions are soft and caramelized. Add red wine, white vinegar and balsamic vinegar and continue to cook 15 more minutes, or until almost all the liquid has evaporated (again, this may take longer) Season with salt and pepper, to taste. Ladle onions into 8 oz. sterilized canning jars leaving 1/2-inch head-space and process in boiling water-bath canner 10 minutes. (or according to local cannings regs) Remove jars from canner and let cool on a kitchen towel on your counter-top 24 hours undisturbed. Store on your pantry shelf up to 1 year. "Serve relish over crostini, grilled burgers, steaks, and more..." per Mary Makes approx 4 pint Jars. 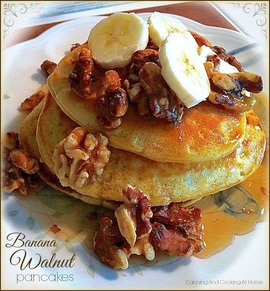 Sundays in the Summer to my family means a nice fat stack of pancakes on the patio table for breakfast. We sit and enjoy the morning sun and enjoy the warm air wafting the smells of maple syrup and toasted walnuts in the air... Face it, I love ANY topping over my pancakes and even just butter will do most times but, for that extra treat, I toast up some walnuts and slice up a banana and then always ask "Why don't I do this all the time?" LOL Enjoy ~ Diane
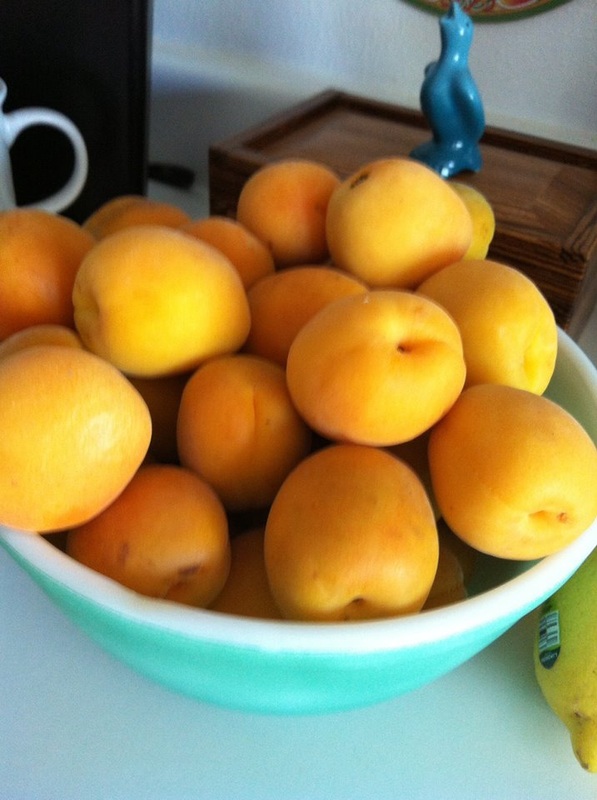
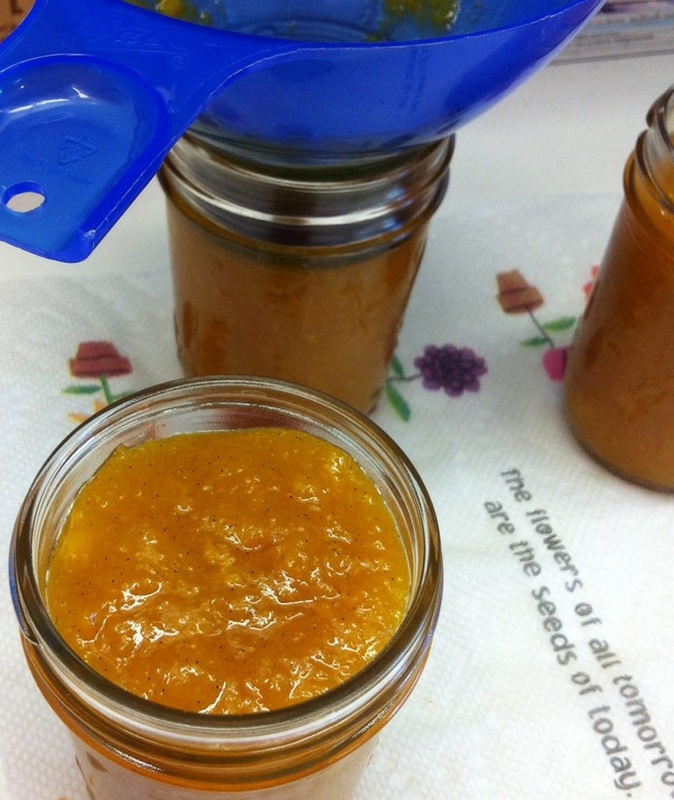
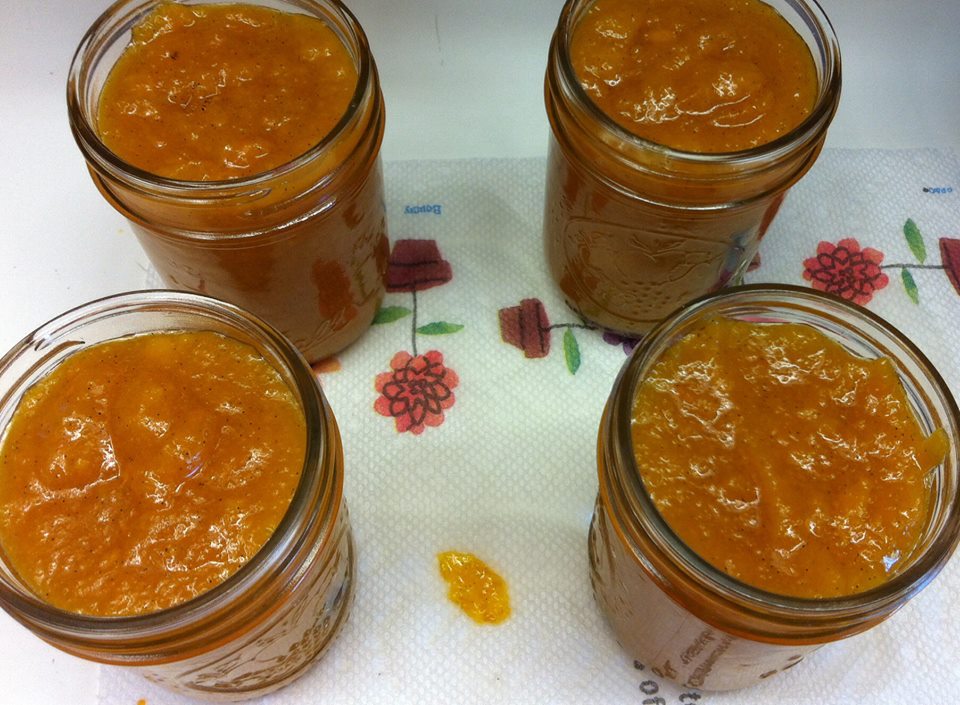
Pancakes with Toasted Walnuts and Banana Pancakes: 1 cup flour 1 teaspoon salt 1 teaspoon baking soda 1 egg 1 1/8 cups buttermilk 2 tablespoons butter, melted 1/2 tsp vanilla extract *Walnuts and Bananas used as toppings with Maple Syrup (I toast my walnuts in a dry skillet until warmed thru and smelling nutty) We use our good friend "Ken Bora's Vermont Maple Syrup"!! He taps/bottles the BEST!! Beat egg and milk together in bowl, add remaining ingredients and mix well but, leave a bit lumpy & spongy. Heat pan or griddle with a light coating of oil, until a drop of water dances when added to surface. I use a ladle to drop batter onto pan/griddle. When bubbles form and start to pop on the surface of the pancake batter, flip and cook other side. I keep my pancakes warm in a 170 oven using an oven-proof dish while other pancakes are being made. When the last pancakes are being finished up - place walnuts onto griddle/pan and lightly toast. Serve over pancakes with a sliced up banana. ***Diane Tips: *Tip: Store your walnuts in the freezer and use as needed for baking/cooking. It keeps them from turning rancid. *Tip: Microwave your maple syrup in a serving cup (25 seconds or so) and serve warm syrup with your pancakes. *Tip: Warm serving dishes in the oven while pancakes are being made. Keeps your food hotter - longer. Recipe by: Stonewall Kitchen Photo by: Diane Baker for Canning and Cooking at Home 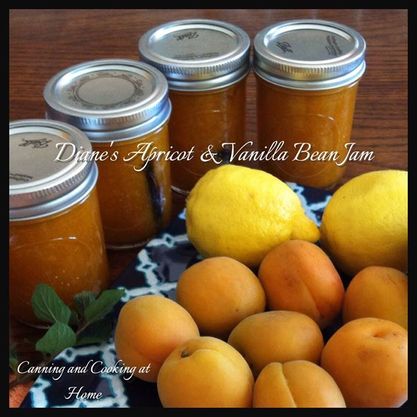 I thought I'd share the step by step process for making my Apricot & Vanilla Bean Jam with you all... This versatile jam is great on fresh homemade warm biscuits or toast but, even better: Mixed into a homemade apple galette, topped as a glaze over chicken and pork dishes, and mixed into vanilla ice cream or cobblers - a must have staple for my cooking pantry! Enjoy ~ Diane Diane's Apricot Vanilla Bean Jam Ingredients: 3 lbs apricots 2.5 cups sugar *1/2 cup sugar 1/2 cup brown sugar 2 tablespoons lemon juice (approx, the juice of one lemon) 3 tablespoons spiced rum 3 whole vanilla beans (split open for canning jars) 2 vanilla beans (insides of pods scraped into a small pile) Directions: Wash the apricot and cut each in half, remove the pits. Place the apricots in a bowl. Add 1 Cup of the sugar, toss to coat. Cover and place in the refrigerator to macerate overnight or longer *at least 24 hours. 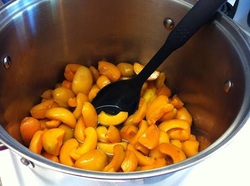 Heat the apricot-sugar mixture in a large sauce pot over medium heat, add in 1.5 cups sugar, stirring frequently, until boiling and the fruit softens, about 20 minutes. 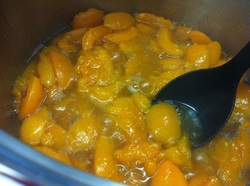 Add the lemon juice, brown sugar and scraped vanilla bean paste, stir to combine. Continue to cook the jam for another 20-30 minutes. This is a chunky jam, mash the fruit with the back of a wooden spoon or potato masher as it cooks. Once the fruit starts breaking up, use an immersion blender or food processor to break down larger chunks - stop blending when the mixture (thickness of jam) is to your liking. 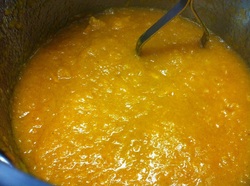 When the jam has thickened, taste and adjust for sugar. I added another *1/2 cup sugar at this point (but yours may not need it) Check for doneness to can. I use the cold plate test. 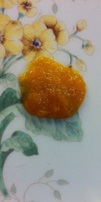 The 'cold plate test' - about 10 mins before you think your jam is ready - place a small freezer safe plate into freezer, when jam is ready - drop a spoonful of jam on plate and tilt vertical - jam should not run. ((in this photo I am holding plate perfectly vertical to the floor)) It's Ready to Can!! When jam is ready to jar, turn heat down to low and stir in the rum. place half of a vanilla bean inside each sterilized jar, and fill with jam. Remove air bubbles, wipe the rim with a damp cloth, and seal the jars. Leaving 1/4" headspace.
Process the Pint jars in a water bath for 10 minutes (or according to regs in your area.) Makes approx: 5 Pints Recipe and Photos by: Diane Baker for Canning and Cooking at Home Final Step. Eat. Enjoy! Diane 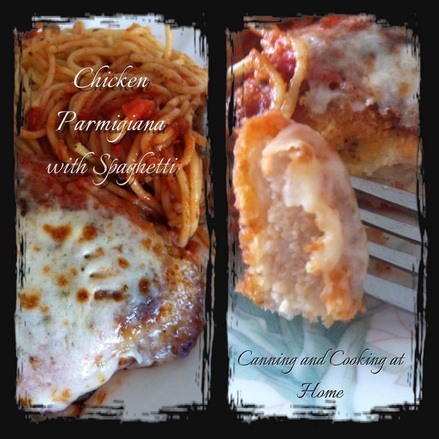 I wanted to make a nice chicken parm with no frills, just straight forward and simple - I found a great recipe from Rachel Ray and made it - I love the way this turned out - it's a winner! I will also be making/canning the pomodoro sauce with my garden fresh tomatoes as they roll in! Enjoy ~ Diane Chicken Parmigiana with Spaghetti Ingredients: *** For the pomodoro sauce: 1 tablespoon olive oil 2 tablespoons butter 1 small onion, finely chopped 4 cloves garlic, finely chopped Salt 1/2 cup chicken or vegetable stock 2 cans Italian tomatoes (28-32 ounces each) A few leaves of basil, torn **** For the chicken: 4 boneless, skinless chicken breasts (6-8 ounces each), rib meat removed Salt and pepper 1/2 cup fine breadcrumbs 1 cup panko breadcrumbs 1/2 cup grated Parmigiano Reggiano cheese, plus some for garnish 1 tablespoon parsley, finely chopped 1 sprig rosemary, finely chopped 1 tablespoon thyme, finely chopped 1 teaspoon granulated onion (1/3 palmful) 1 teaspoon granulated garlic 2 teaspoons grated lemon zest Flour, for dredging 2 large eggs, beaten Olive or canola oil for shallow frying A few leaves of basil 1 pound thin spaghetti Serves 4 Directions: For the sauce, heat the olive oil over medium heat. Add the butter and melt, then add the onion and garlic. Season with salt and cook, partially covered, until very soft. Add the stock, then the tomatoes, breaking them up with a wooden spoon. Stir in the basil; reduce the heat and simmer the sauce gently for 20-30 minutes, partially covered, stirring occasionally. Adjust the salt, to taste. Tip: For a thinner sauce or to stretch the yield, add 2 cups tomato passata or puree. Cut into the fat, rounded side of each chicken breast to butterfly them open. Place the chicken in baggies or between plastic and gently pound them into very thin, large cutlets. Season with salt and pepper on each side. Combine both breadcrumbs with the grated Parmigiano Reggiano, herbs, granulated onion and garlic, and lemon zest. Line up three dishes to dredge the cutlets; one with flour, one with the egg and one with the herbed breadcrumbs. Pre-heat the oven to 200°F and place a metal rack on a baking sheet to keep the cutlets warm while preparing them in batches. Heat a shallow layer of oil (1/8-1/4-inch) in a very large skillet over medium to medium-high heat. Heat the tomato sauce and bring a large pot of water to a boil for the pasta. Cook the pasta to al dente. While the water is coming to a boil and the pasta cooks, coat the chicken cutlets in flour and shake off the excess; drop them in the egg and drain the excess and then coat them evenly in the breadcrumb mixture. Shallow fry the cutlets one or two at a time for 3 minutes on each side. Keep the finished cutlets warm in oven as you finish the rest. To serve, place a large cutlet on a plate and top with a ladle of sauce, some Parmigiano Reggiano cheese and garnish with a basil leaf. (I let the broiler melt cheese over tops of cutlets) Drain the pasta and return it to the pot (add a pat of butter if you like). Toss with half the red sauce. Serve the pasta in shallow bowls topped with more sauce and some grated cheese. The pasta may be served as a first course or as a side dish to the chicken. Recipe by: Rachel Ray Photos by: Diane Baker for Canning and Cooking at Home |