|
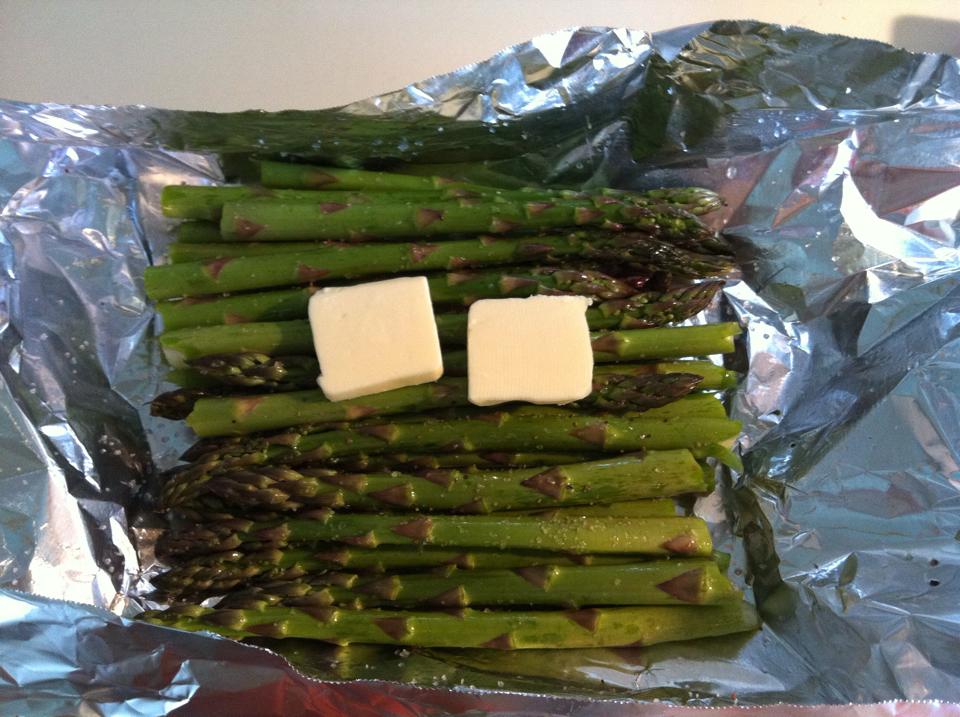
so simple. we like the foil packet method, easy grilling and easy cleanup!
clean your vegetables, arrange in single layer on lightly olive-oiled tin foil, sprinkle with your spices (we like just sea salt & pepper) and add a little butter. Seal up packet (you want to make sure you make more of a sealed boat with air at the top- then a sealed tight packet) and place on grill (indirect heat) for approx 20 mins until fork tender. Serve Hot. Recipe and Photos by: Diane Baker for Canning and Cooking at Home
0 Comments
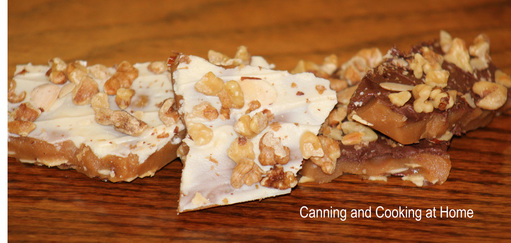 Canning has taught me the BEST Life Lesson, without me seeing it happening... I think the main lesson I learned is Patience. In my working career, everything was rush-rush, deadlines and auditors requiring strict adherence to Government and Commercial rules. I wore so many hats at work that I often felt like a clown juggling everything in the air just to keep the balls in motion... when I started Canning I was frustrated at how long every step could take: growing or buying the produce, cleaning and preparing all the items for canning and making sure to remember that Canning is a Science, not COOKING and CANNOT BE RUSHED. I always considered myself a horrible baker too! Why? because all these things need precise and quiet hands. Something I wasn't used to. I am one of "those" people that hates taking vacation because of all the work I knew I'd face upon my return, I very rarely un-clench my jaw. To this day, I detest talking on a phone. Yes, an 'Super Type A' that had earned her Masters Certs and was on my way adding another facet to my burgeoning career... and then - 'Continuing Resolution' happened. Basically, my work and the work of so many came to a screeching halt. I knew it was coming and felt lucky to have - at least - a super supportive family and husband. I remember the call, 6pm when out for dinner, it came from my Boss/President and dear friend of my company (an ex-Naval Commander) telling me no one will be returning to work the next morning. The company could not survive the 'CR' that President Obama invoked. All those years of hard work by 35 employees - flushed down the drain and left to the wind. WHO would have guessed that this horrible moment would bring calm to my life a few years later (yes, it has taken me that long to un-clench my jaw!) LOL Which brings me to in a HUGE roundabout way to making toffee!! I know, you are tired of reading this and just want the recipe but, I am making you wait and read this first to see if you have the patience to make candy? Toffee making takes time, and a watchful eye and of course, patience!! so, if you want to attempt to create the most beautiful butter toffee - you are ready for the recipe! ~Enjoy, Diane Ingredients: 2 1/3 cups sugar 2 cups Butter 1/4 cup plus 2 tablespoons water 2 tablespoons light corn syrup 1 tsp vanilla or almond extract 1 cup almond slices, toasted 1 1/2 cups chopped walnuts, toasted 1 cup semi-sweet or milk real chocolate chips 1 cup white chocolate chips *made best using a Candy thermometer Directions: Butter 15x10x1-inch baking pan; set aside. If your pan is larger, use tin foil to create a foil 'damn' to shrink the pan to the proper size so that your toffee doesn't spread too thin... Spread nuts in a single layer on a baking sheet lined with parchment paper and toast for 13-15 minutes at 350. Once toasted, remove from oven and set aside. Combine all ingredients except nuts and chocolate chips in heavy 3-quart saucepan, I used my enameled cast iron pot. Cook over medium heat, stirring constantly, until butter is melted. Reduce heat to medium-low. Cook 25-40 minutes, stirring occasionally, until candy thermometer reaches 300F or small amount of mixture dropped into cold water forms hard brittle strands. Keep in mind that your altitude will change what temperature you will need to cook to (called the Hard Crack Stage for Candy making) I am at 5250Ft. above sea level, thus my temp needs to cook to 290F. ((basic rule is to subtract 1 degree for every 500 feet above sea level that you are)) Spread toasted almonds in a single layer over your buttered, prepared baking pan. Pour mixture into prepared pan; spread to desired thickness. Sprinkle chocolate chips over hot candy, I used one side dark chocolate and one side white chocolate; let stand 5 minutes. Spread melted chocolate evenly over candy. Sprinkle with nuts. Cool at least 3 hours. Break into pieces. Store in container with tight-fitting lid, in cool dry place, up to 3 weeks. NOTE: If your toffee separates during cooking, carefully and slowly add 1/4 to 1/2 cup hot water, 1 tablespoon at a time. Stir constantly until mixture goes back together. Recipe Adapted from: LandOLakes Photos by: Diane Baker for Canning and Cooking at Home 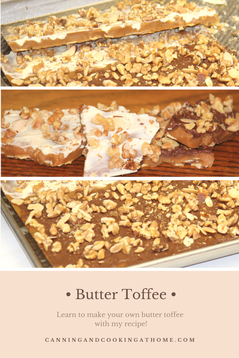 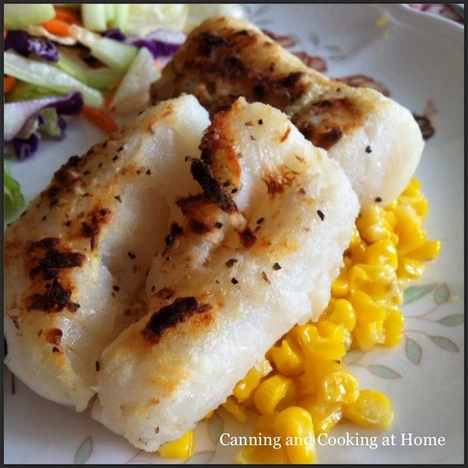 Oven Baked Cod
Ingredients: 1 pound cod fish fillets, cleaned and pat dry with paper-towel 1 Tablespoon lemon juice 2 Tablespoon softened butter 2 teaspoons of grated onion Directions:
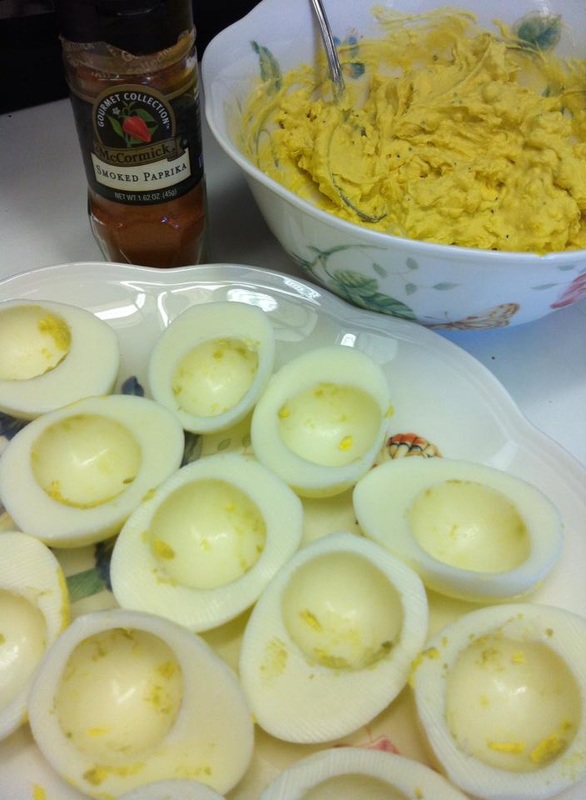
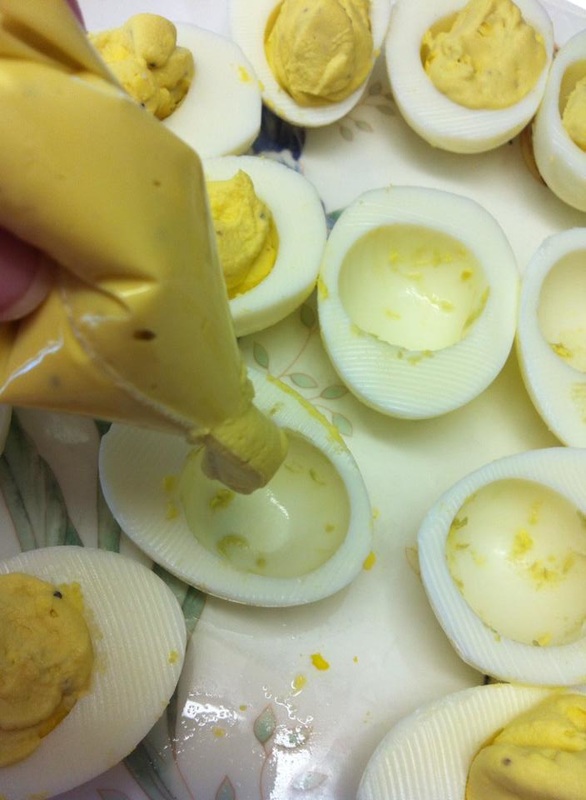
Recipe & Photo by: Diane Baker for Canning and Cooking at Home 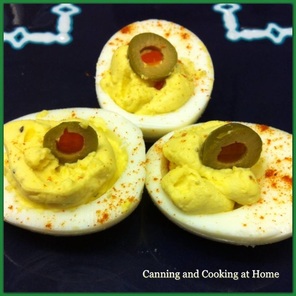 Classic Deviled Eggs I had to make some deviled eggs for a luncheon and decided that as mundane as they seem - they are the most popular and first item at most parties to 'disappear' the fastest. I am sharing my simple and classic recipe - the question is - "do you olive top or not?" ~Enjoy! Diane Classic Deviled Eggs Ingredients: for every 6 Eggs: 1/4 cup mayonnaise 1 teaspoon white vinegar 1 teaspoon yellow mustard 1/8 teaspoon salt course ground black pepper Smoked Spanish paprika, sprinkled on top of eggs for garnish Green Olive Slices, optional garnish on top of finished eggs Directions: Place eggs in a single layer in a saucepan and cover with enough cold water that there's one inch of water above the eggs. Heat on high until water begins to boil, then turn the heat down to medium and cook for 15 minutes. Remove from heat and rinse under cold water continuously for 1 minute. Refrigerate overnight OR crack egg shells and carefully and peel under cool running water (if refrigerated overnight, no need to run under cold water - just crack & peel.) Gently lay peeled eggs on paper towel. Slice the eggs in half lengthwise, removing yolks to a bowl, and placing the whites on serving platter. Mash the yolks into a fine crumble using a fork. Add mayonnaise, vinegar, mustard, salt, and pepper, and mix well. Evenly disperse heaping teaspoons of the yolk mixture into the egg whites. Sprinkle with paprika and a slice of green olive and serve. **NOTE: I like using a piping bag to dispense yolk mixture into whites - I find it is a lot faster too Don't have a piping bag? No problem, fill a sandwich bag with the mixture and smooosh down into one corner, twist top of bag so that the mix presses against corner of bag, cut the corner with scissors and that makes an instant piping bag... Recipe & Photos by: Diane Baker for Canning and Cooking at Home 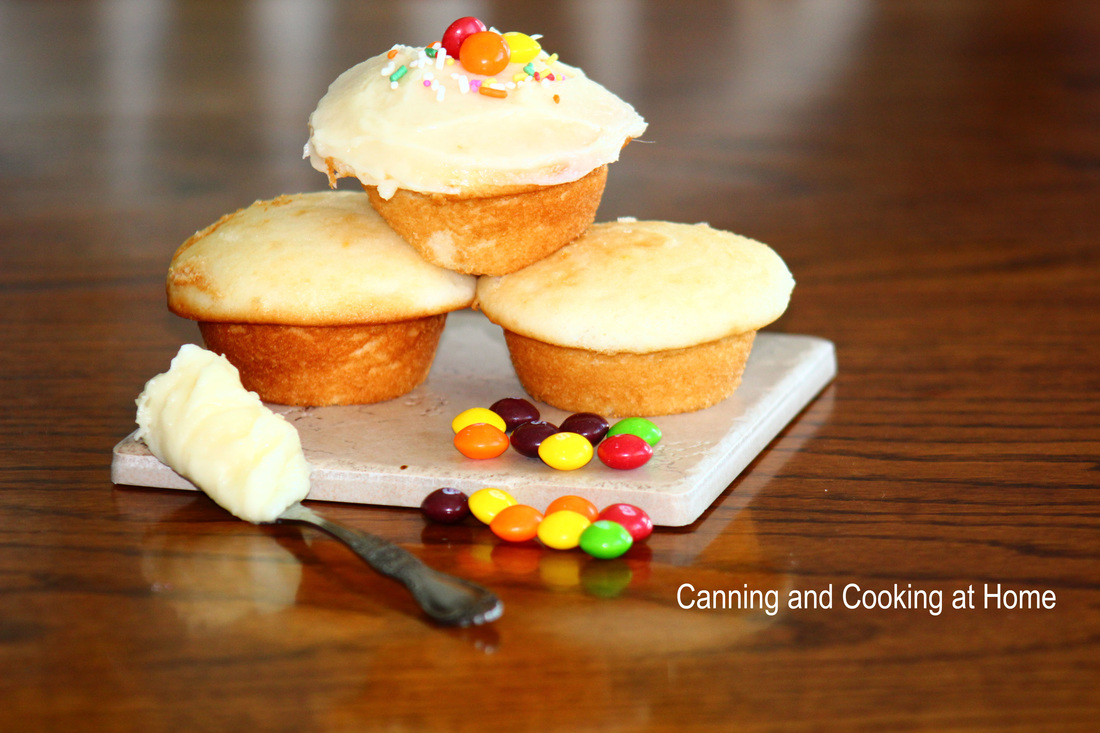 These aren't your average cupcakes! these are light and airy, a lot like angel food cake. They are perfect for a bridal shower or party...I sometimes make these and split off the tops, pipe in some strawberry preserves and leave deconstructed on a plate with a nice dollop of homemade whipped cream, and fresh berries. Dressed up or dressed down - these truly eat more like a decadent CAKE. I have never used cupcake liners when making these as they ARE best eaten with a fork & plate! This time when I made them, I let the kids that were at our party decorate their own and they had a blast - it's fun, simple and most of all - 'super duper deliciousness' as my friends son remarked... ~Enjoy! Diane Decadent Almond Vanilla {cup}CAKES Cupcakes: 1 and 2/3 cups all-purpose flour, sifted 1/2 teaspoon baking powder 1/4 teaspoon baking soda 1/2 teaspoon salt 1 cup granulated sugar 1/2 cup unsalted butter, melted 1/4 cup vanilla flavored yogurt, room temperature 3/4 cup whole or buttermilk, room temperature 2 egg whites, room temperature 2 teaspoons vanilla extract 1 teaspoon almond extract For Cream Cheese Frosting: 4-ounce (half) package cream cheese, softened 1/4 cup butter or margarine, softened 1 cups sifted confectioners' sugar 1/2 teaspoon vanilla extract (1-3 added drops of food coloring if wanted) Preheat oven to 350 Either spray ‘no stick spray’ into a 12 count muffin tin, or use cupcake liners. Cupcakes: In a large bowl, mix flour, baking powder, baking soda, and salt together. Set aside. In a medium microwave-safe bowl, melt butter in the microwave. Whisk in the sugar - mixture will be gritty. Whisk in vanilla yogurt, milk of choice, and both extracts until well combined. Slowly mix dry ingredients into the wet ingredients, until no lumps remain. Batter will be thick. Do not over mix. Set aside. Using a whisk or a mixer with a whisk attachment - beat the egg whites until until thick and foamy, about 3 minutes. Fold gently into cupcake batter. The batter will be smooth, velvety, and slightly thick. Divide batter among 12 cupcake liners (or 24 mini) and bake for 20 minutes or until a toothpick inserted in the center comes out clean. Bake for 8-9 minutes if making mini cupcakes. Allow cupcakes to cool before frosting. Frosting: In the bowl of a stand mixer fitted with the paddle attachment combine the cream cheese and butter until smooth. Add the sugar and mix at low speed until combined. Stir in the vanilla and mix again. NOTE: Unfrosted cupcakes can be made one day in advance and stored, covered at room temperature. Frosting can also be made one day in advance, covered and stored in the refrigerator until ready to use. Decorate cupcakes immediately before serving. Leftover cupcakes keep well covered, in the refrigerator for 3 days. Recipe Adapted from: Sally Quinn Photo by: Diane Baker for Canning and Cooking at Home |