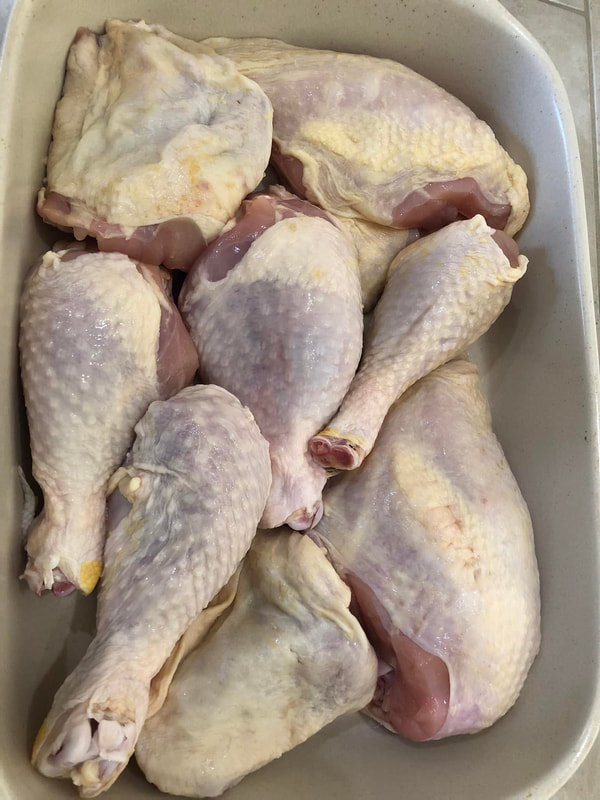
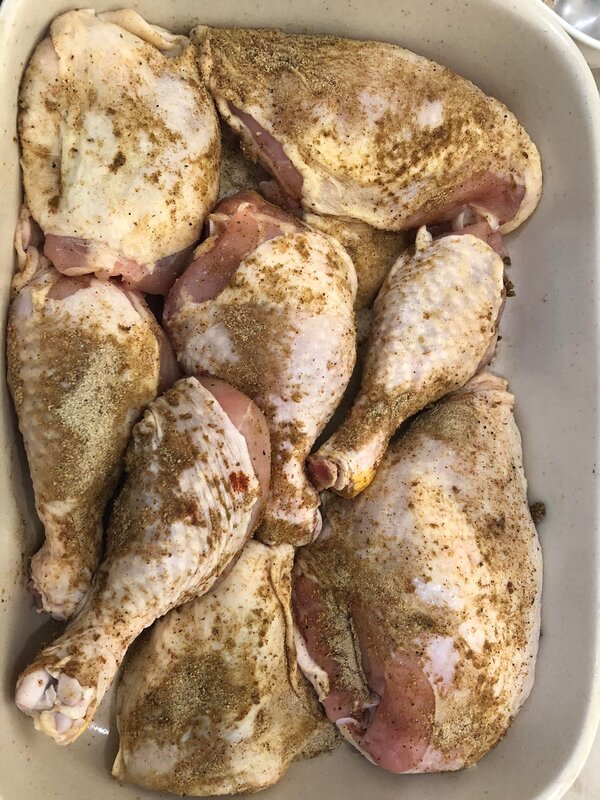
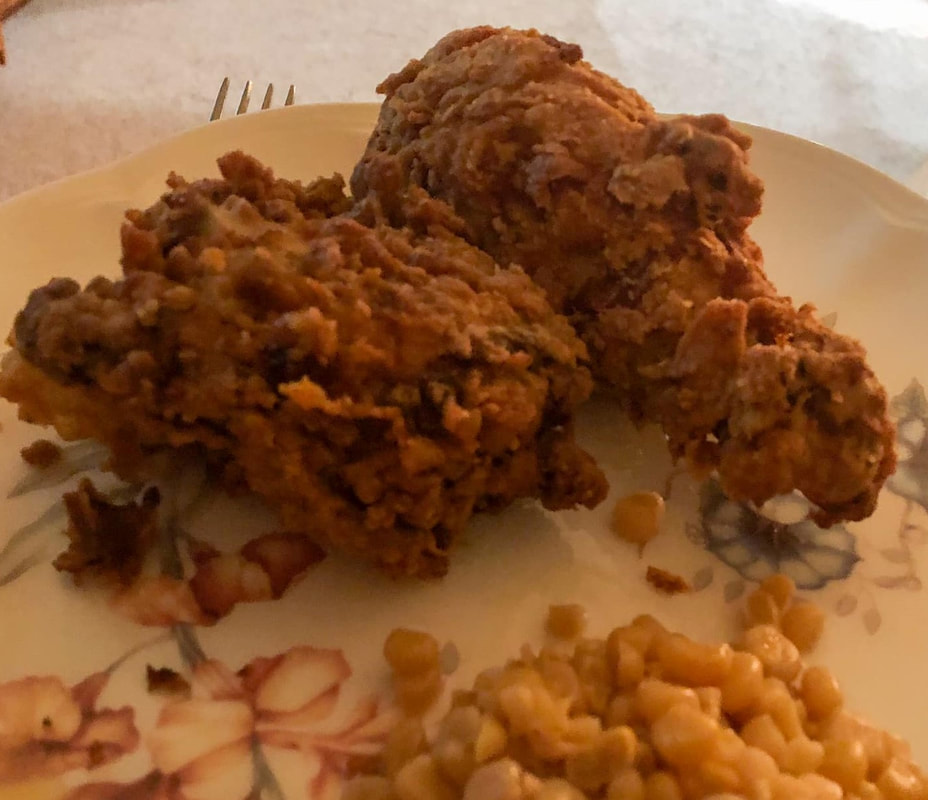
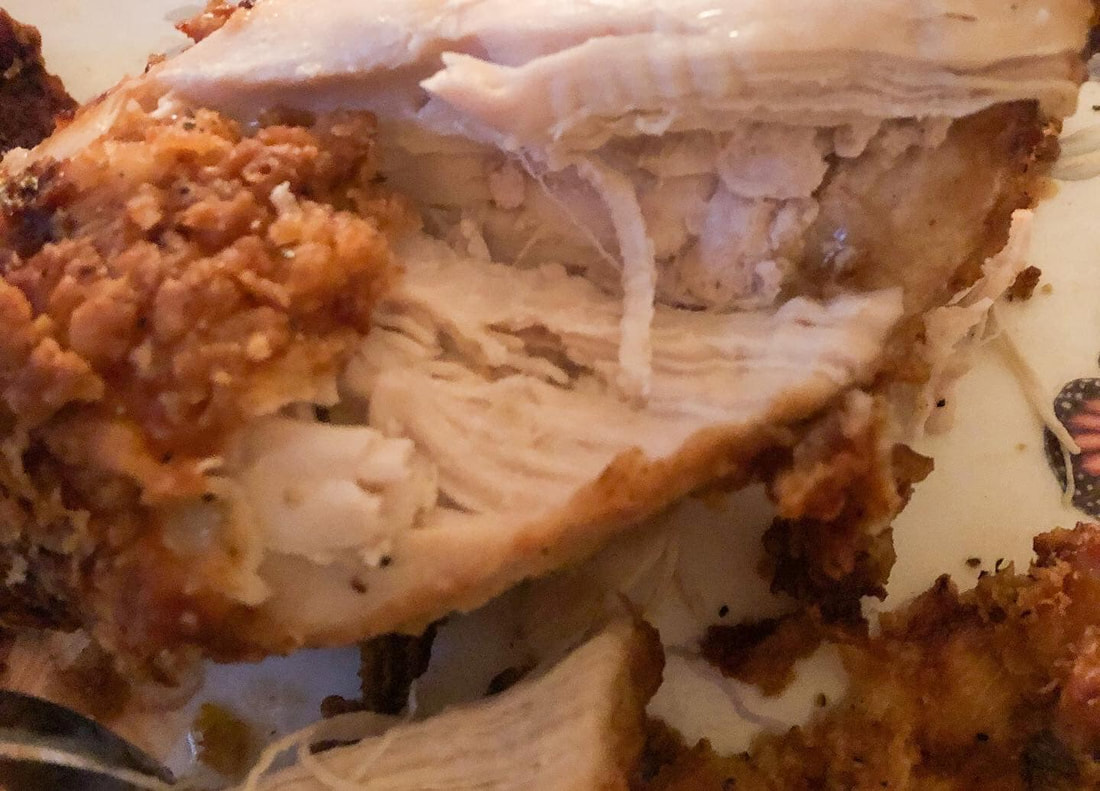
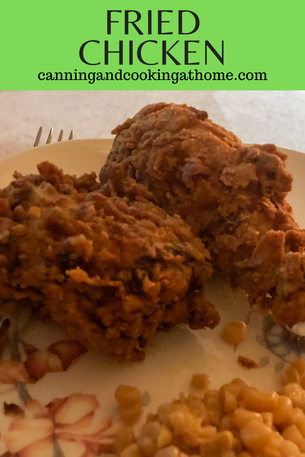
 This is just a nice recipe to have in your back pocket! You can make batches for picnics as this chicken is just as good cold. As well, you can adjust the spices to your liking adding more salt and pepper, adding some hot sauce to your buttermilk. Enjoy! Diane Fried Chicken Ingredients:
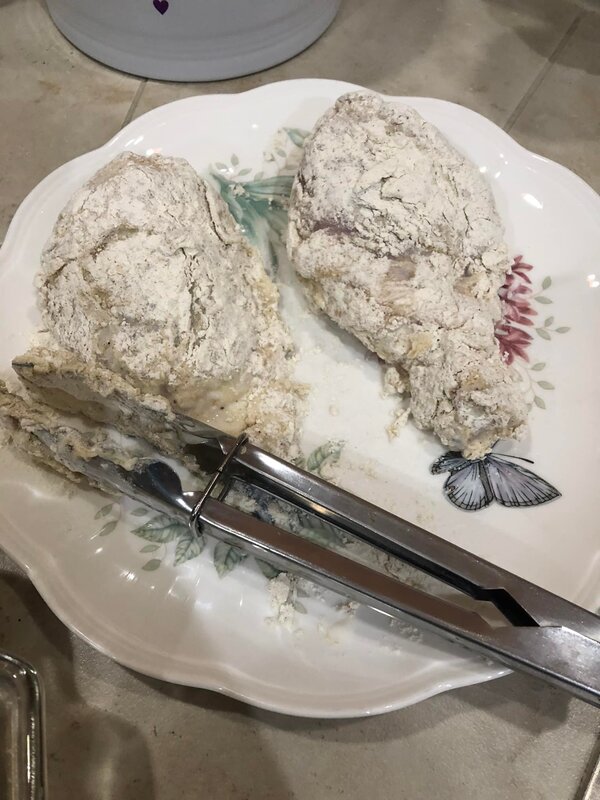
Spice Blend:
Instructions
0 Comments
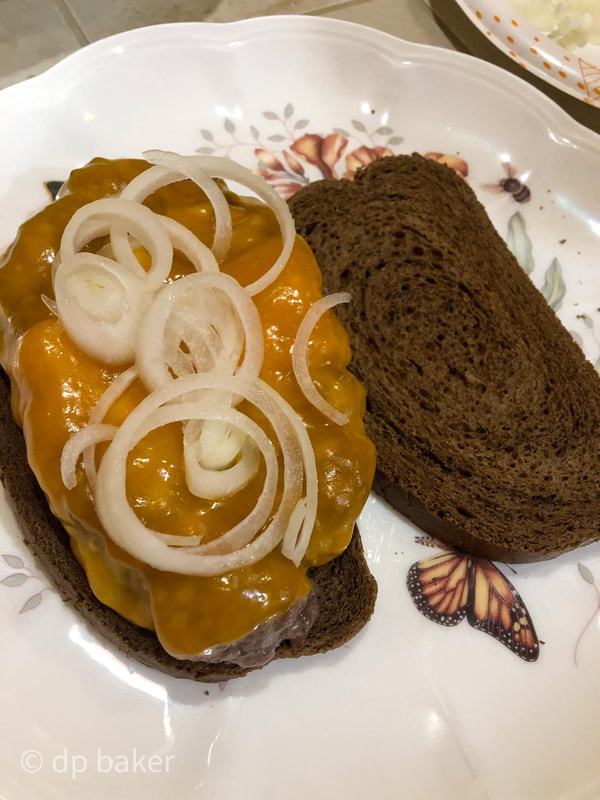
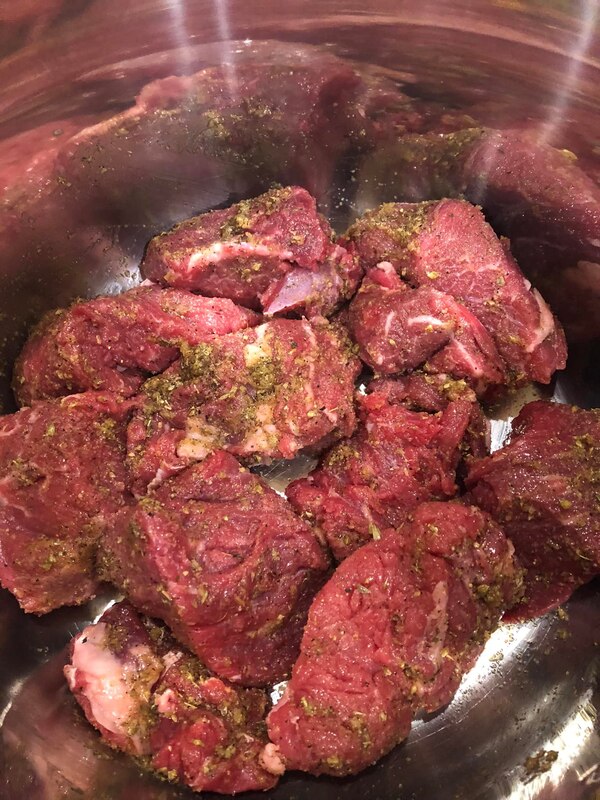
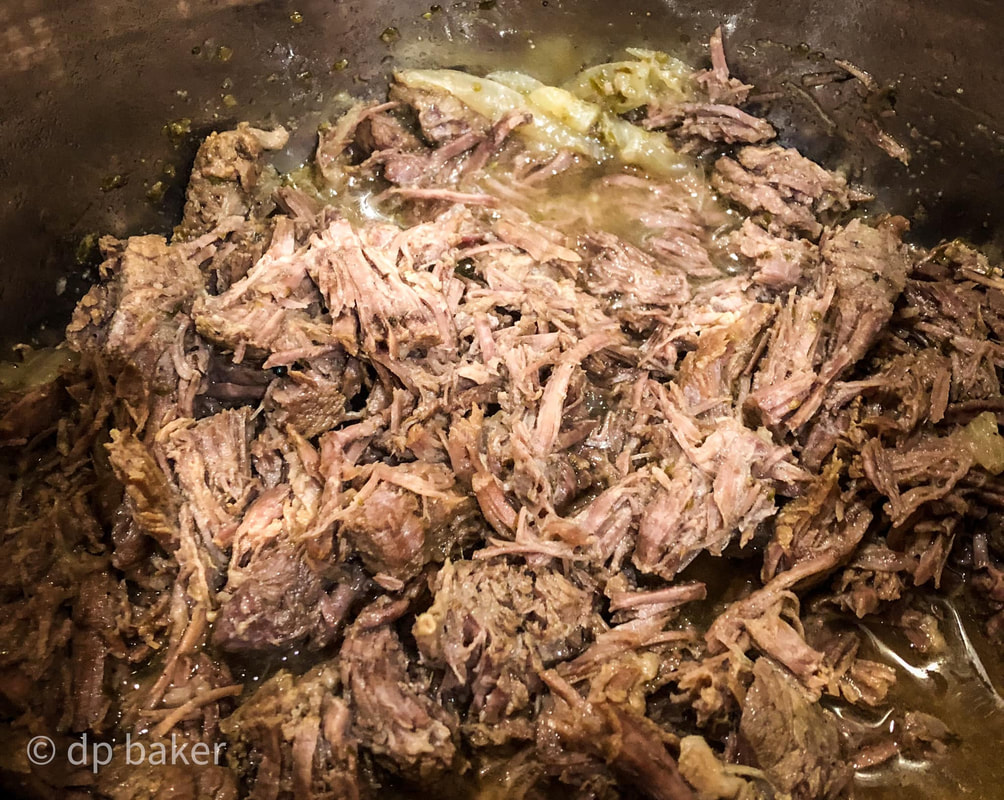
 Diane's Hackney Burger Ingredients: 1/2 pound 85% ground beef 1/2 pound 93% ground beef 1/2 teaspoon garlic powder 1/2 teaspoon salt 1/4 teaspoon black pepper 4 Dark Rye Slices (oblong) Directions: Add all spices to ground beef; lightly knead spices into beef and divide into two (your making two 1/2 pound burgers.) Shape each section into an oblong patty the shape of the bread. Make an indentation in the middle of the oblong patties (a large in width and length indentation - so when beef cooks - the patty stays flat.) Heat some ghee in a non-stick pan large enough to hold both patties. Lay the beef down once pan is hot and do not move patty. Let the beef cook at least 3 minutes before flipping to other side. A "medium" cooked burger will take about 9 minutes *temp meat to ensure doneness. Add cheese slices over the top of patties - turn heat off burner and place lid onto pan; let cheese melt - then serve hot on dark rye. Burger is best served with thinly slices onions and ketchup only. Yield: Two Hackney Burgers 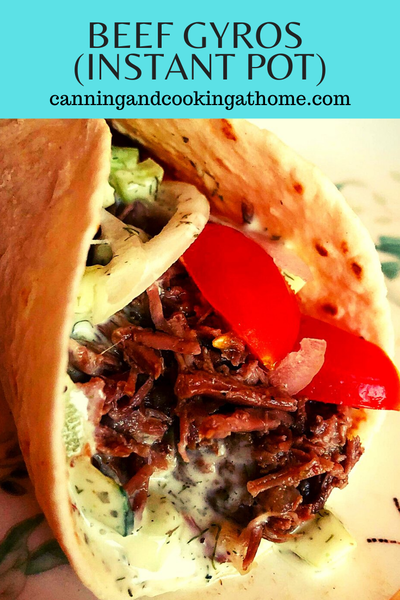 Most know that I live in Colorado but, grew up in the Midwest. We had this tiny restaurant that was known for its Greek Gyros. It was a treat to get a gyro from Sam who manned the spits that turned with the cooked gyros lamb meat. We don't have anything comparable here for a gyro (Yeh-roh) so, I decided to grab the flavors I could remember and recreate my own using beef (chuck roast) and my instant pot. I hope you try this recipe - its super easy and all the flavors really work well - just like I remembered!! from the sweet tomatoes, cool raw onions and refreshing cucumber tzatziki sauce - so glad I have this recipe in my arsenal now! Enjoy! Diane Beef Gyros Ingredients: 2.25 pound beef chuck roast, cut into chunks and fat removed 1/2 cup beef broth or stock 1 large onion, sliced Spice Paste Mix: 1 teaspoon salt 1/2 teaspoon ground pepper 3 Tablespoons olive oil 2 teaspoons garlic powder 1 1/2 teaspoons oregano, dried 1 teaspoon Greek seasoning blend* 2 Tablespoons lemon juice Directions:
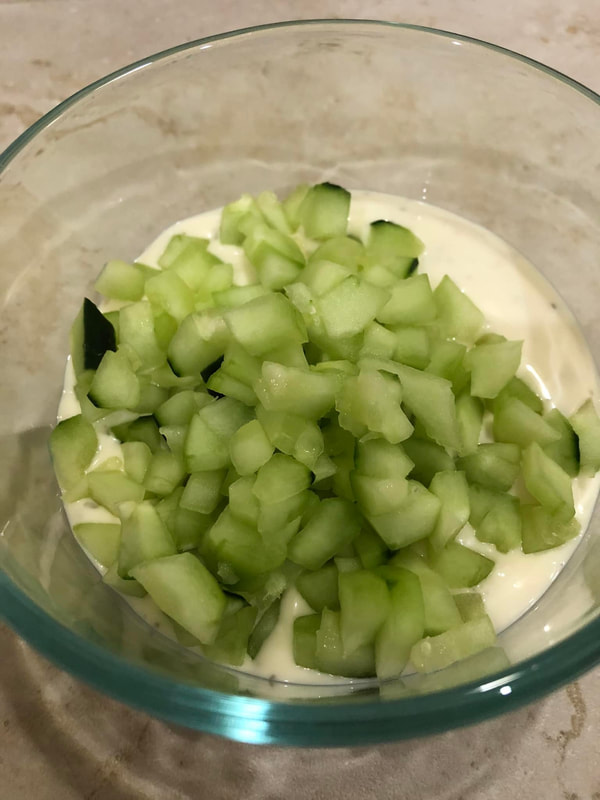
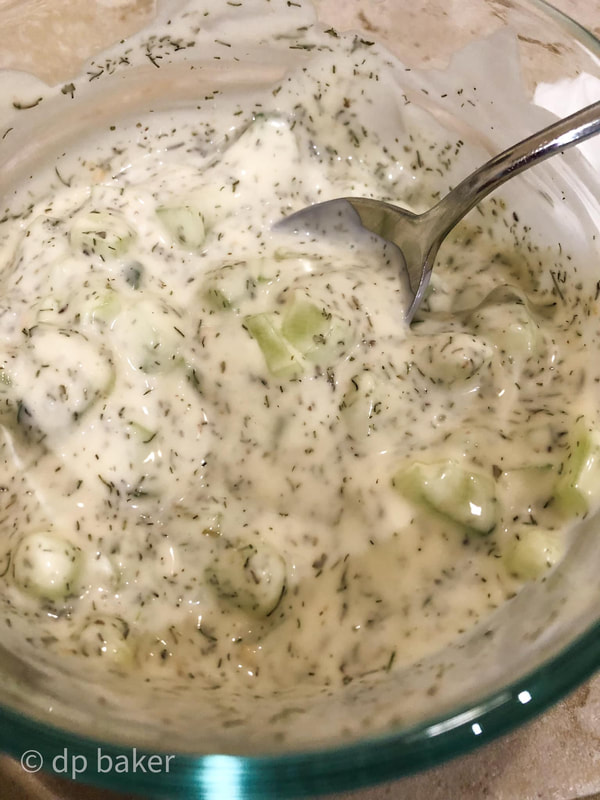
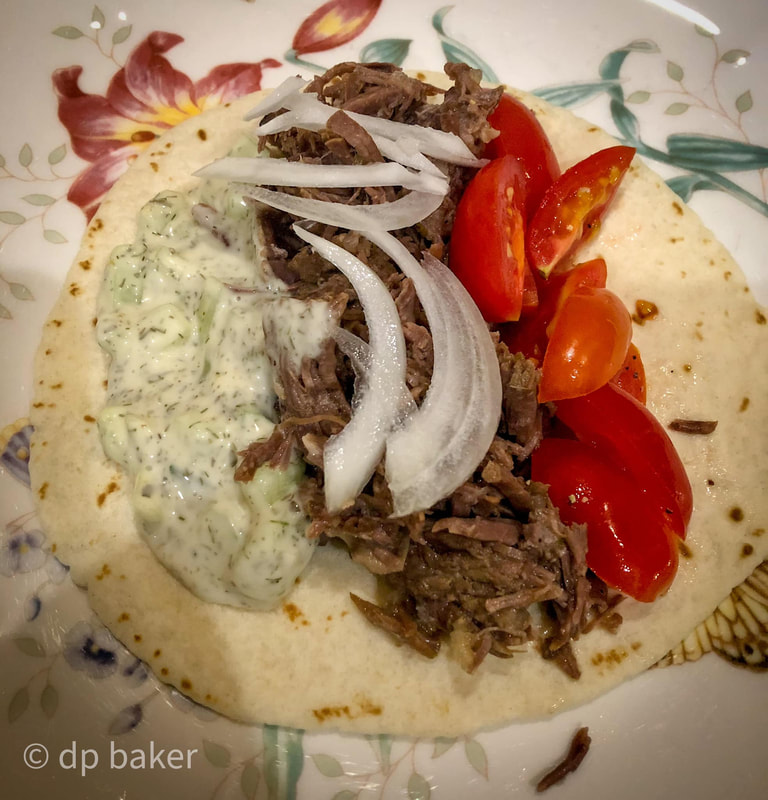
Serve: Serve gyros on either warmed pita bread or on warmed flour tortillas with sliced tomato, thin sliced onion and fresh cucumber tzatziki sauce. (Flour tortillas will do if you cannot find pita bread but, keep in mind the tortilla is thinner and will be just slightly harder to handle.) We wrap the ends of our gyros in foil to keep dripping to a minimum. Tzatziki Sauce: You can buy store bought sauce, make your own or doctor up a ranch dressing. I will list below what I do.
*I use The Spice House, Greek Town Seasoning. 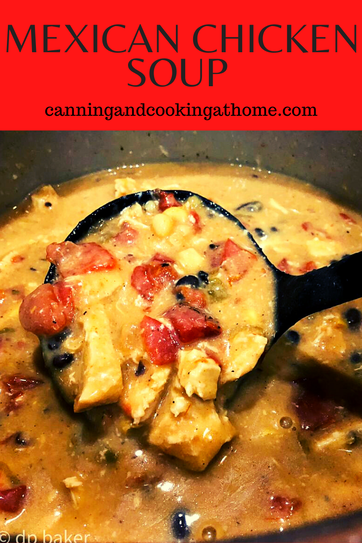 I love writing new recipes for soup. This is a savory, delicious and slightly spicy recipe and is quickly becoming one of our favorite soups. I hope you try this recipe. The Mexican Spice Mix is great to have on hand - I do suggest making a batch! You can use it for anything from tacos to fajitas...and now - SOUP! Enjoy. Diane Kitchen Note: This recipe cannot be safely canned due to the cream of chicken soup being used. Mexican Chicken Soup (Caldo de Pollo) Ingredients: 3 chicken breasts (about 1 1/2-2 pounds) 2 cups corn 1 can (15oz) black beans, drain & rinse 1 can (14.5oz) diced fire roasted tomatoes 1 small can (4oz) chopped green chiles 1 large can (22.6oz) condensed cream chicken soup OR 2 regular cans (10.5oz) 2 Tbs my premade (link here) Mexican spice dry mix *or see below IF you're not making a large batch of my Mexican spiced dry mix then use this: 2 teaspoons chili powder 1/2 Tablespoon smoked paprika 1 teaspoon granulated onion 1/2 teaspoons garlic powder 2 heaping teaspoon cumin 1/8 teaspoon of cayenne 1/2 teaspoon salt 1/4 teaspoon ground pepper 1 cup chicken broth or water (do NOT stir the water into soup - leave on top) Directions:
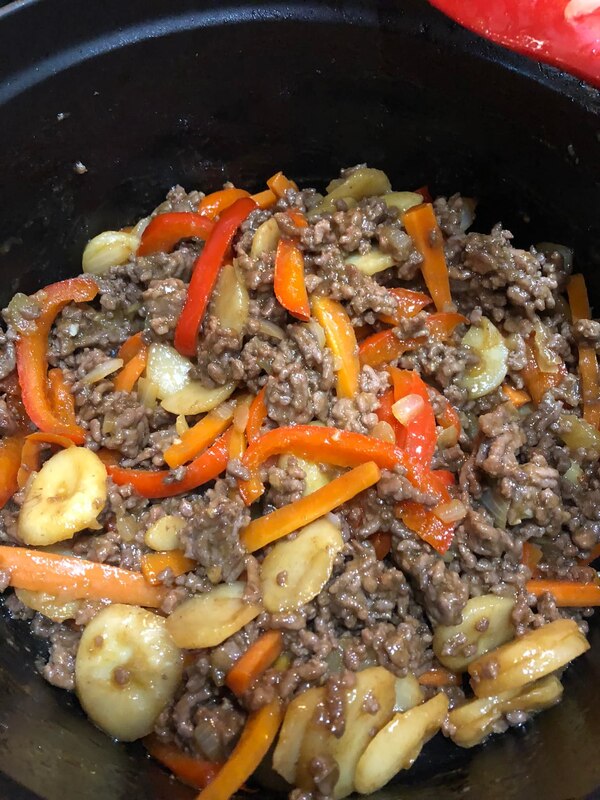
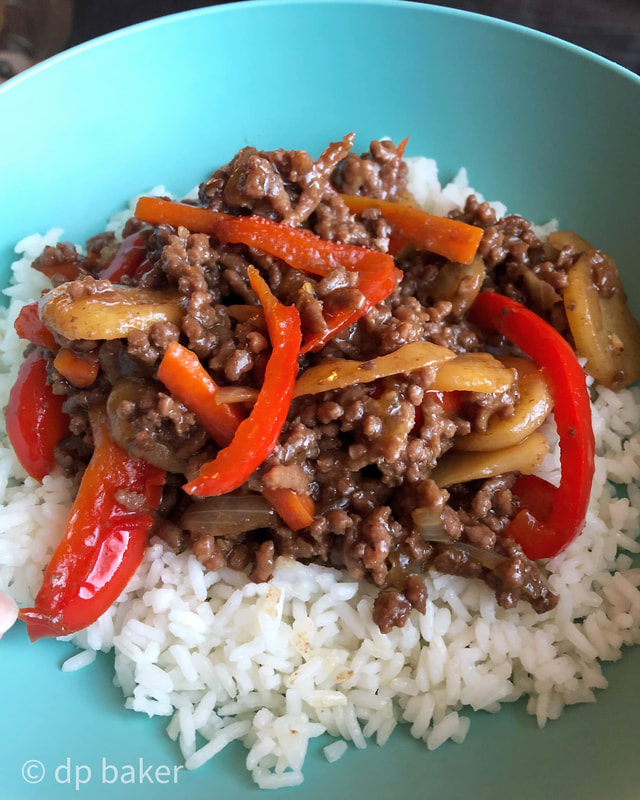
Toppings: You can stir shredded cheese into your soup, top with slices of avocado and sour cream, add a sprinkle of tortilla strips and or cheese. Yield 3-4 quarts 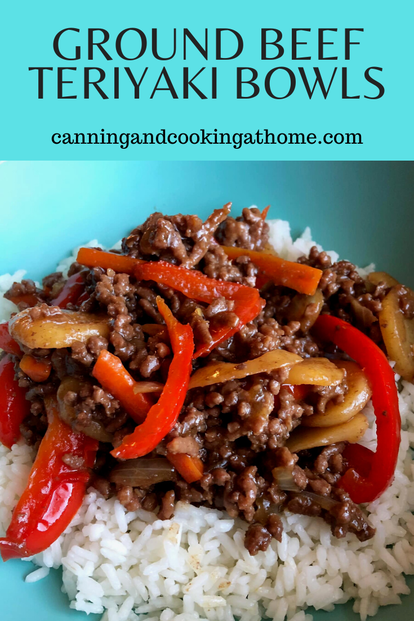 Want a quick one pan meal made in under 30 minutes? Try my recipe for Ground Beef Teriyaki Rice Bowls. I keep a bottle of "PF Changs Home Menu Teriyaki Sauce" in my pantry for quick meals like this...you can also make minute rice which also saves on time. Feel free to use any rice and any teriyaki sauce you prefer (a homemade recipe provided below.) Enjoy! Diane Ground Beef Teriyaki Rice Bowls Ingredients: 1 pound ground beef 1 small can water chestnuts 1 red bell pepper, sliced thin 2 small carrots, sliced into thin matchsticks 1 small onion, diced 2 cloves garlic, minced 1/2 Bottle PF Changs Home Menu (thick) Teriyaki Sauce ** 3 cups cooked rice, for serving salt & pepper to taste hot chili oil or red pepper flakes to taste, if preferred 1 Tablespoon ghee or butter, for sautéing vegetables Yield: 3 Adult portions recipe can be doubled Directions:
**You can use any thick teriyaki sauce you prefer; some people make their own homemade sauce. You need a good cup of sauce for this recipe. Homemade Easy Teriyaki Sauce Basic Easy Teriyaki Sauce
|