|
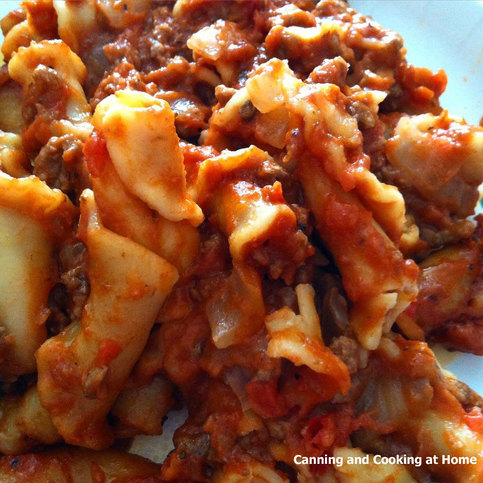
Do you want some comfort food without all the commercially added sodium and who knows what else (preservatives) add in? Try my Homemade "Hamburger Helper" it's better tasting, and you know exactly what goes into the dish! A bonus, this is a "one pot meal'!!! Homemade Hamburger Helper (30 minute; One Pot Meal) Ingredients: 1 Tbs olive oil 1 large onion, chopped 1 pound ground beef 2 cloves garlic, minced 1 28oz can crushed tomatoes 2 Tbs tomato paste 2 cups chicken broth **see note below 1/4 cup milk 2 cups shredded cheddar cheese 1/2 tsp chili powder 1/2 tsp dried oregano salt & pepper to taste 12 oz dried pasta **see note below Directions: In a large pot or dutch oven on your stove top - heat olive oil and add in chopped onions, saute about 7 minutes. Raise heat to Medium-High and add in ground beef, minced garlic and season with salt & pepper. Break up ground beef and cook until no longer pink. Add in all the remaining ingredients except the cheese, raising heat to high - bring everything to a high bubbling simmer before lowering heat and leaving at a medium simmer. Cook for 10-12 minutes, or until the pasta is cooked and the liquid is almost all absorbed. Mix in the shredded cheese and cook 2 minutes longer or until cheese is melted. NOTE: I use a 'thicker' noodle (Campanelle) which needs about 15 minutes to cook in this dish - so, I add in an additional 1/2 cup of chicken broth to my overall ingredients so I get the same quality results with the slightly extended cook time. Also note, most dried pastas come in 16 oz containers - make sure to only use 3/4 of the container (you only want 12 oz of dried pasta) Elbow Macaroni is another great noodle (traditional to this dish) and would be used without increasing the overall broth quantity. Yield: approx 4-6 adult servings. Recipe & Photo by: Diane Baker for Canning and Cooking at Home
0 Comments
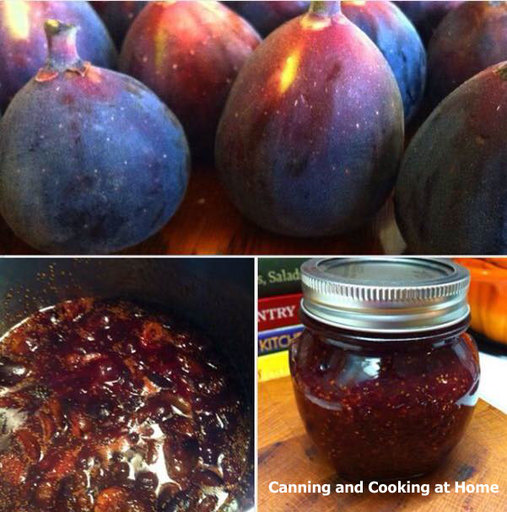
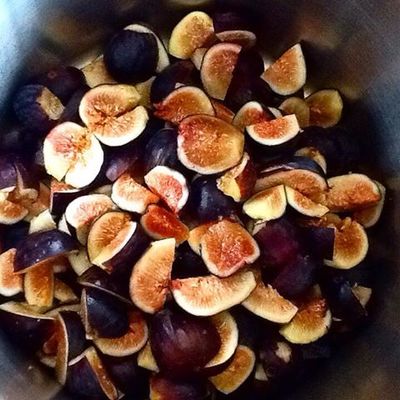
Fig & Orange Jam 5 pounds fresh figs (I used Black Figs) 3/4 cup water 6 cups sugar, divided 2 Tbs fresh lemon juice 4 Tbs fresh orange juice 2-3 Tbs fresh orange zest Yield: About 10 half-pint jars Directions: Carefully clean figs under running water, do not scrub, Stem figs and quarter into a bowl. Take 1 cup of the sugar, 2 Tbs orange juice and sprinkle over the figs, set aside for one hour to macerate in the sugar (stir occasionally.) In a large pot or jam pan, add water and the remaining sugar. Slowly bring to a boil, stirring occasionally until sugar dissolves. Scrape figs and all contents from macerating bowl into jam pan, add in the lemon juice, remaining orange juice and zest - cook over medium-high heat until thick - this can take 30-40 minutes. Stir frequently to prevent sticking. Once jam is to your preferred thickness, use an immersion blender to break up large chunks of figs until you reach the consistency that you prefer (I go slow with my immersion blender and leave a thicker fruited jam) You can also use a potato masher. Pour hot jam into hot, sterilized jars, leaving 1/4-inch head-space. Wipe rims of jars with a water dampened clean paper towel; adjust two-piece metal canning lids. Process in a Boiling Water Canner. Half Pints and Pints: 0 - 1,000ft 5 minutes 1,001 - 6,000ft 10 minutes 6,001ft and above 15 minutes NOTE: **want to make Drunken Orange Figs Jam? omit the lemon juice and orange juice and add in 2/3 cup Grand Marnier or Cointreau in its place. (add in a little at a time until the jam suits your taste.) Recipe Adapted from: NCHFP Fig Jam Photos by: Diane Baker for Canning and Cooking a Home Canned Lemon Curd
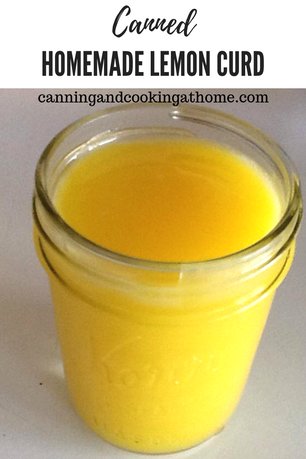
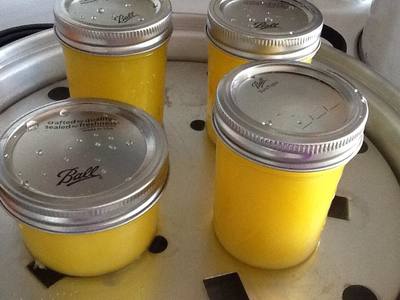
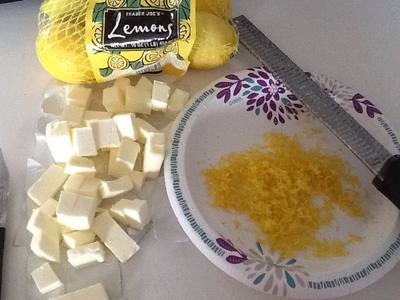
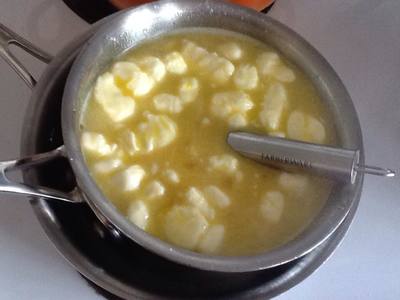
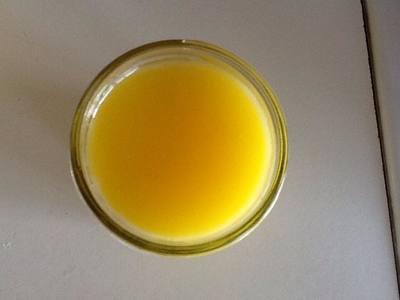
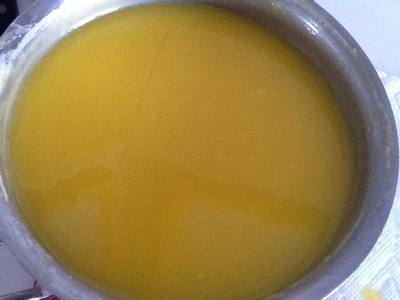
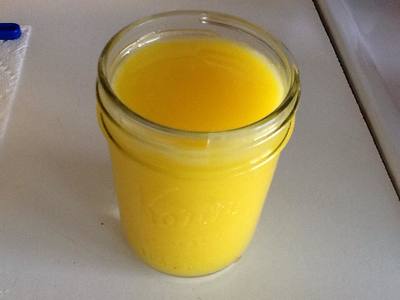
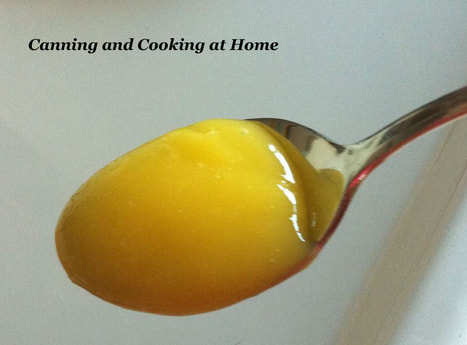
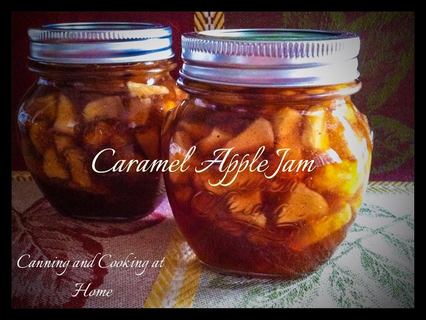
Special Equipment Needed: lemon zester, balloon whisk, 1½ quart double boiler*** (the top double boiler pan should be at least 1½-quart volume), strainer, kitchen thermometer measuring at least up to 180°F, glass or stainless steel medium mixing bowl, silicone spatula or cooking spoon, and equipment for boiling water canning. Yield: About 4 half-pint jars Procedure: Wash 4 half-pint canning jars with warm, soapy water. Rinse well; keep hot until ready to fill. Prepare canning lids according to manufacturer's directions. Fill boiling water canner with enough water to cover the filled jars by 1 to 2 inches. Use a thermometer to preheat the water to 180°F by the time filled jars are ready to be added. Caution: Do not heat the water in the canner to more than 180°F before jars are added. If the water in the canner is too hot when jars are added, the process time will not be long enough. The time it takes for the canner to reach boiling after the jars are added is expected to be 25 to 30 minutes for this product. Process time starts after the water in the canner comes to a full boil over the tops of the jars. Combine the sugar and lemon zest in a small bowl, stir to mix, and set aside about 30 minutes. (I did not use super fine sugar - instead I used granulated white sugar and placed that and the lemon zest in my Cuisinart and pulsed until it was blended and superfine.) Pre-measure the lemon juice and prepare the chilled butter pieces. Heat water in the bottom pan of the double boiler until it boils gently. The water should not boil vigorously or touch the bottom of the top double boiler pan or bowl in which the curd is to be cooked. Steam produced will be sufficient for the cooking process to occur. In the top of the double boiler, on the counter top or table, whisk the egg yolks and whole eggs together until thoroughly mixed. Slowly whisk in the sugar and zest, blending until well mixed and smooth. Blend in the lemon juice and then add the butter pieces to the mixture. Place the top of the double boiler over boiling water in the bottom pan. Stir gently but continuously with a silicone spatula or cooking spoon, to prevent the mixture from sticking to the bottom of the pan. Continue cooking until the mixture reaches a temperature of 170°F. Use a food thermometer to monitor the temperature. Remove the double boiler pan from the stove and place on a protected surface, such as a dish cloth or towel on the counter top. Continue to stir gently until the curd thickens (about 5 minutes). Strain curd through a mesh strainer into a glass or stainless steel bowl; discard collected zest. Fill hot strained curd into the clean, hot half-pint jars, leaving 1/2-inch head-space. Remove air bubbles and adjust head-space if needed. Wipe rims of jars with a dampened, clean paper towel; apply two-piece metal canning lids. Process in the prepared boiling water canner 15 minutes 0 - 1,000ft 20 minutes 1,001 - 6000ft 25 minutes above 6,001ft Let cool, undisturbed, for 12 to 24 hours and check for seals. Shelf Life: For best quality, store in a cool, dark place (away from light). Plan to use canned lemon curd within 3 to 4 months. Browning and/or separation may occur with longer storage; discard any time these changes are observed. Prepared lemon curd can also be frozen instead of canned for up to 1 year without quality changes when thawed. Package in freezer containers after straining and cooling to room temperature. To thaw, place container in a refrigerator at 40°F or lower for 24 hours before intended use. After thawing, consume within 4 weeks. Preparation Notes: * If superfine sugar is not available, run granulated sugar through a grinder or food processor for 1 minute, let settle, and use in place of superfine sugar. Do not use powdered sugar. ** Bottled lemon juice is used to standardize acidity. Fresh lemon juice can vary in acidity and is not recommended. *** If a double boiler is not available, a substitute can be made with a large bowl or saucepan that can fit partway down into a saucepan of a smaller diameter. If the bottom pan has a larger diameter, the top bowl or pan should have a handle(s) that can rest on the rim of the lower pan. Variation: For Lime Curd, use the same recipe but substitute 1 cup bottled lime juice and ¼ cup fresh lime zest for the lemon juice and zest. Other citrus or fruit curds are not recommended for canning at this time. Two Great references/reads: NCHFP Lemon Curd Recipe Link Great Article (.pdf) from NCHFP on Lemon Curd Recipe by: NCHFP Photos by: Diane Baker for Canning and Cooking at Home From my caramel apple jam to brandied apples for canning and my spiced apple butter apple galette for baking, I've got you covered for "All things Apple"
Link to Recipes - Click here! http://www.canningandcookingathome.com/dianes-blog/canning-baking-recipes-for-fall-apples |

