CANNING AND COOKING AT HOME
  • Home
  • Diane's Blog
  • Canning 101
  • Pickling
    • My Pickle Creations
    • Pickle Recipes
  • Recipe Index
    • Canning Recipes >
      • Jams/Jellies/Fillings/Butters/Juices
      • Meats/Other
      • Pressure Canned Soups
      • Tomatoes
    • Cooking Recipes >
      • Breads
      • Breakfast
      • Instant Pot Recipes
      • Main Dishes
      • Soups
      • Sweets
      • Drinks
      • Sauces/Apps/Sides
    • Recipe Collections >
      • The Apple Cart
      • Asian Inspired Recipes
      • Bundts to Bake
      • Cherry Recipes (preserving)
      • Easter Menu Ideas
      • Freezer to SlowCooker
      • Irish Fare
      • Jelly & Jam Recipes
      • Mexican Inspired Recipes
      • Pickle Recipes
      • Soups
      • Summer Grillin' Guide
  • Work with Me
    • Privacy Policy
    • Give Aways
  • Recipes Via Email

Fried Zucchini Bites

4/19/2018

0 Comments

 
Picture
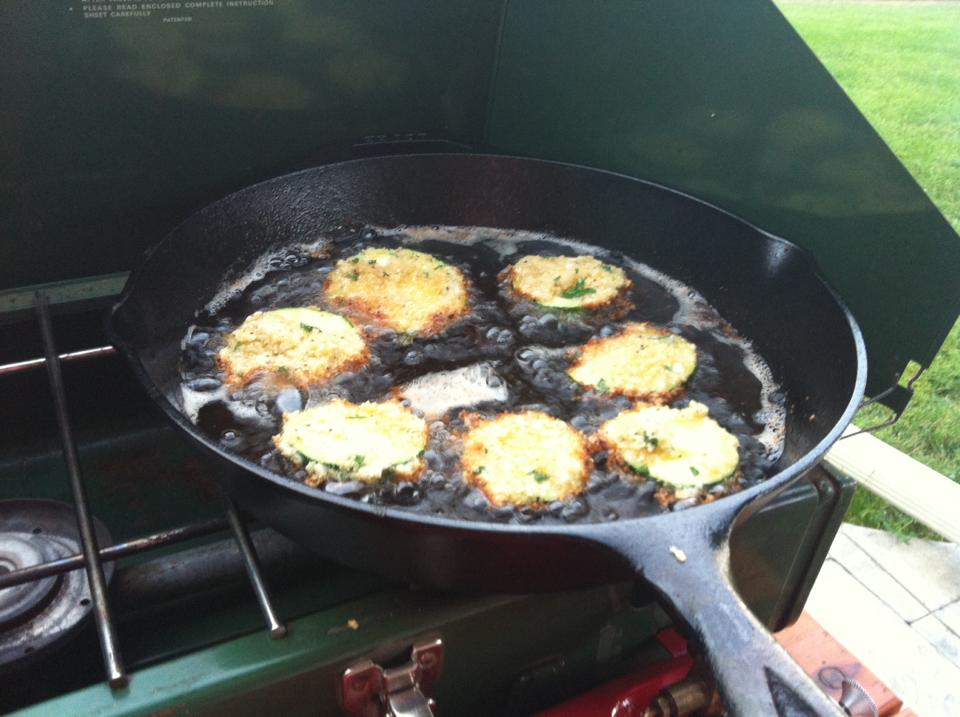
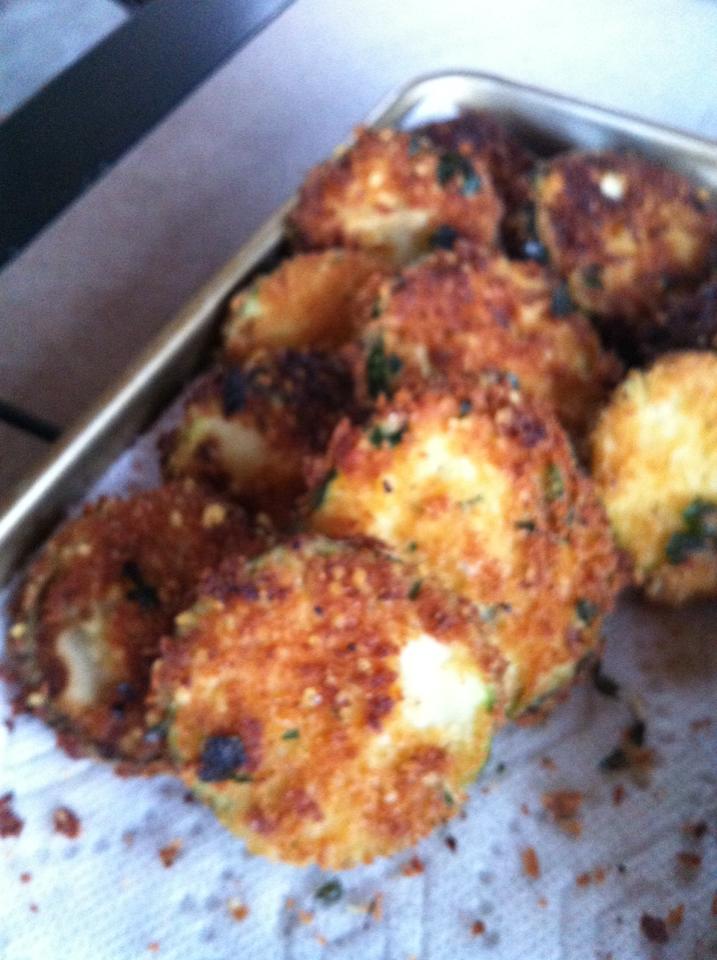
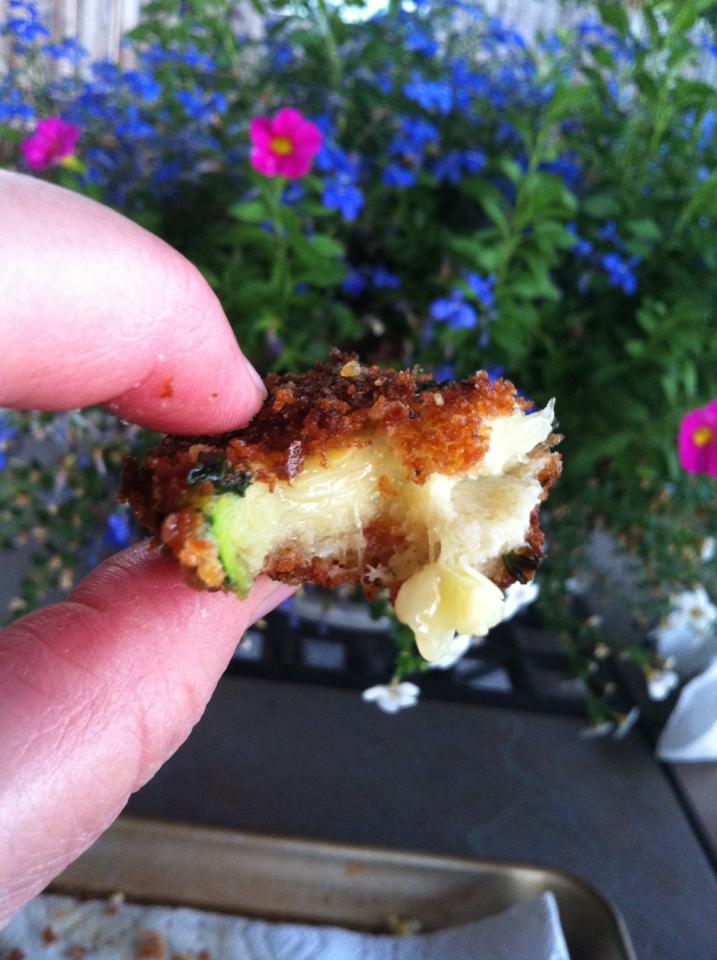
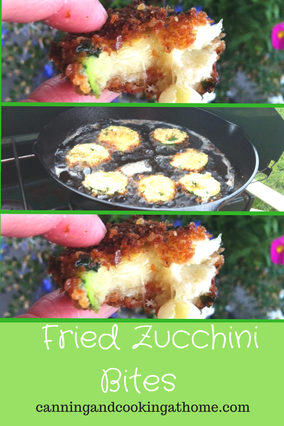
     Every year we are inundated with zucchini from our garden, and of course I Can, Freeze and Bake with zucchini but, one of our favorite treats are Fried Zucchini Bites.  I love the lightness that the panko coating brings and the Parmesan ups the overall flavor profile. You can certainly add in different dry spices to the panko coating, try spicy creole seasoning - yum!  Keep this recipe handy and plan on making these this year with zucchini from your garden, farmers market or grocery store...  Enjoy! Diane 

Fried Zucchini Bites 
Ingredients:
2 zucchini, sliced to 1/4-inch thick rounds
​1/2 cup vegetable oil
1 cup Panko crumbs
1/2 cup grated Parmesan cheese
1/2 cup all-purpose flour
2 large eggs, beaten

Directions:
  • Heat vegetable oil in a large skillet over medium high heat.
  • In a large bowl, combine Panko and Parmesan; set aside.
  • Working in batches, dredge zucchini rounds in flour, dip into egg, press in Panko mixture to coat zucchini.
  • Add zucchini rounds to the skillet, 5 or 6 at a time, and cook until evenly golden and crispy, about 1 minute on each side. Transfer to a paper towel-lined plate before serving.
0 Comments

Grilled Maui Shrimp

4/18/2018

0 Comments

 
Picture
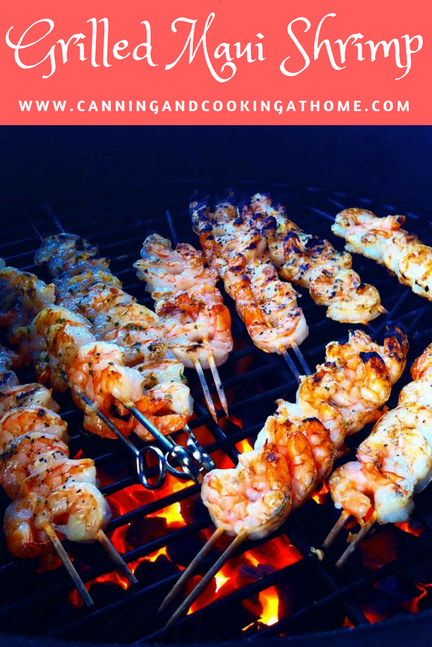
     Grilling season is fast approaching (I know, some of you are lucky enough to grill year round - believe me, I am jealous about that!) Give this citrus inspired recipe a try.  I prefer to just grill the shrimp by themselves (not adding any other vegetables to the skewers) Serve these skewers with grilled pineapple and steamed rice, such a great taste explosion. Enjoy!~Diane 

Ingredients
For Maui Marinade:
  • 1/2 cup coconut milk
  • 4 teaspoons Tabasco
  • 2 teaspoons soy sauce
  • 1/4 cup fresh squeezed orange juice
  • 1/4 cup fresh squeezed lime juice 
 For Skewers:
  • 1 pound large (31-40 count) shrimp, peeled/deveined (fresh or frozen)
 
Instructions
  1. Place coconut milk, Tabasco sauce, soy sauce, orange juice and lime juice in a medium-sized bowl. Stir well, to combine. Reserve a little bit of the citrus marinade in separate cup to brush on the skewers while grilling.
  2. Add peeled and deveined shrimp to medium bowl with marinade; turn to completely coat. Cover and refrigerate for 1-2 hours (longer, if desired), turning the shrimp occasionally.
  3. Remove shrimp from marinade and thread the skewers.  Heat your grill to a medium-high heat level. Lightly brush the grill with oil, then place the skewers onto the grill. Cook the skewers for 3 minutes, brushing with the reserved sauce. Turn the skewers over and cook the other side of the skewers for 2-3 minutes, until shrimp turn pink and are cooked through. When the shrimp are done, remove skewers from grill and place onto serving platter.  Serve shrimp still on the skewers, or remove/slide food from skewers onto individual plates and serve while hot.  
Diane's Kitchen Notes:
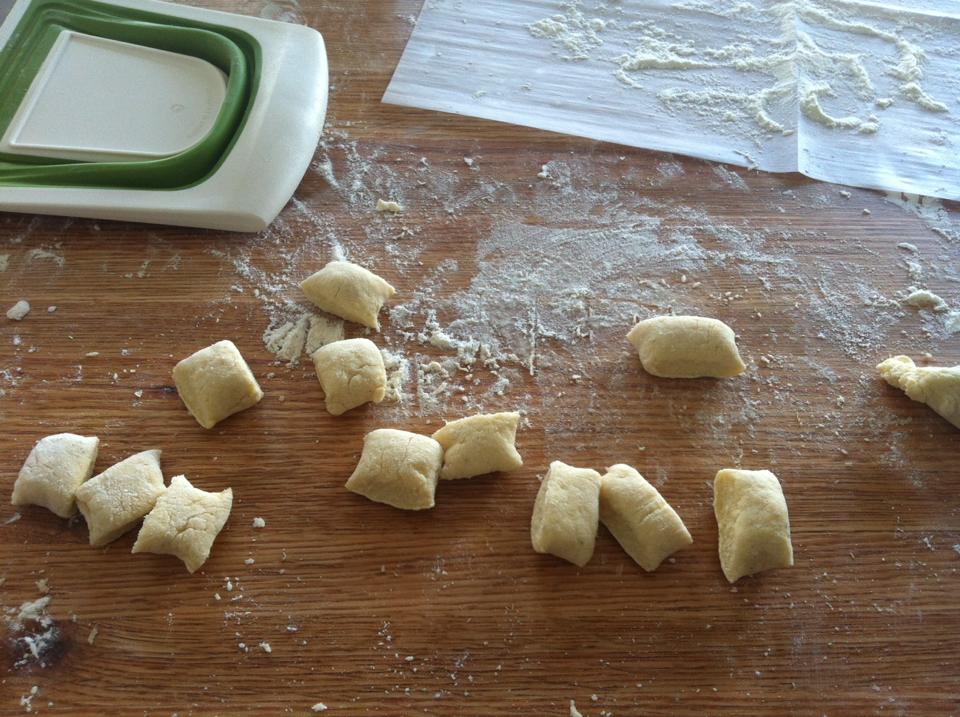
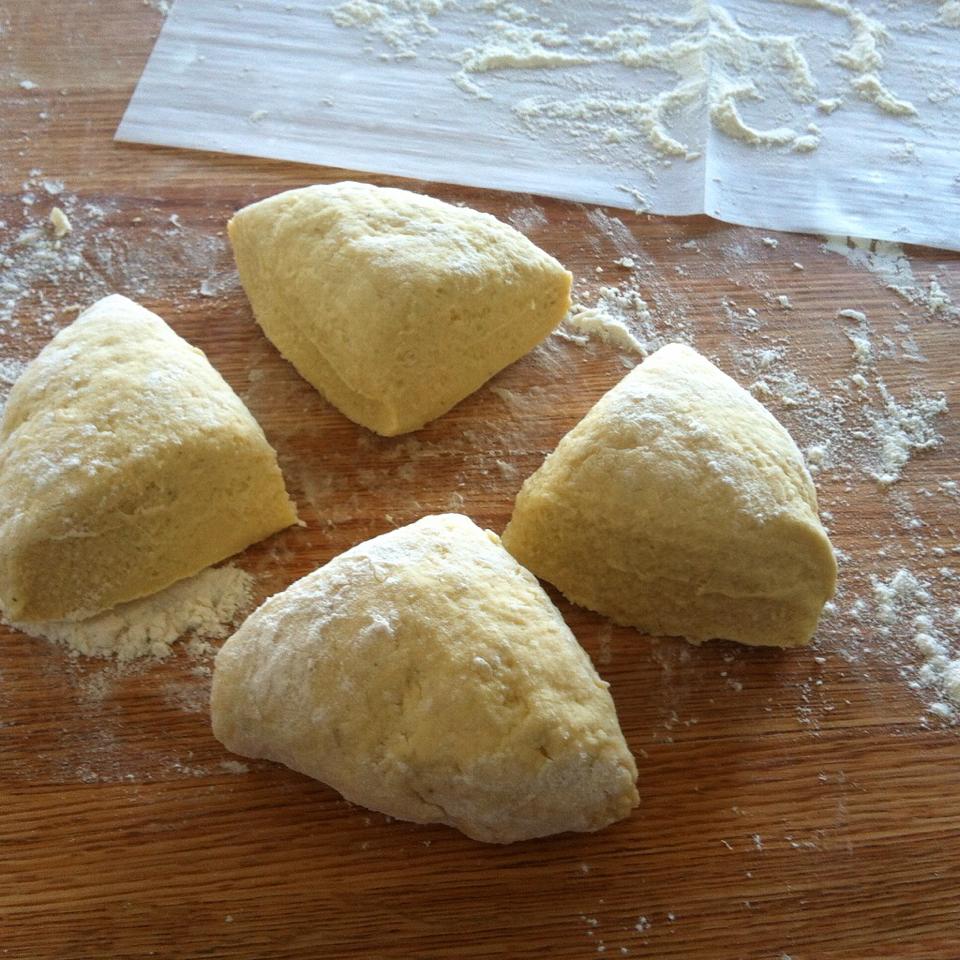
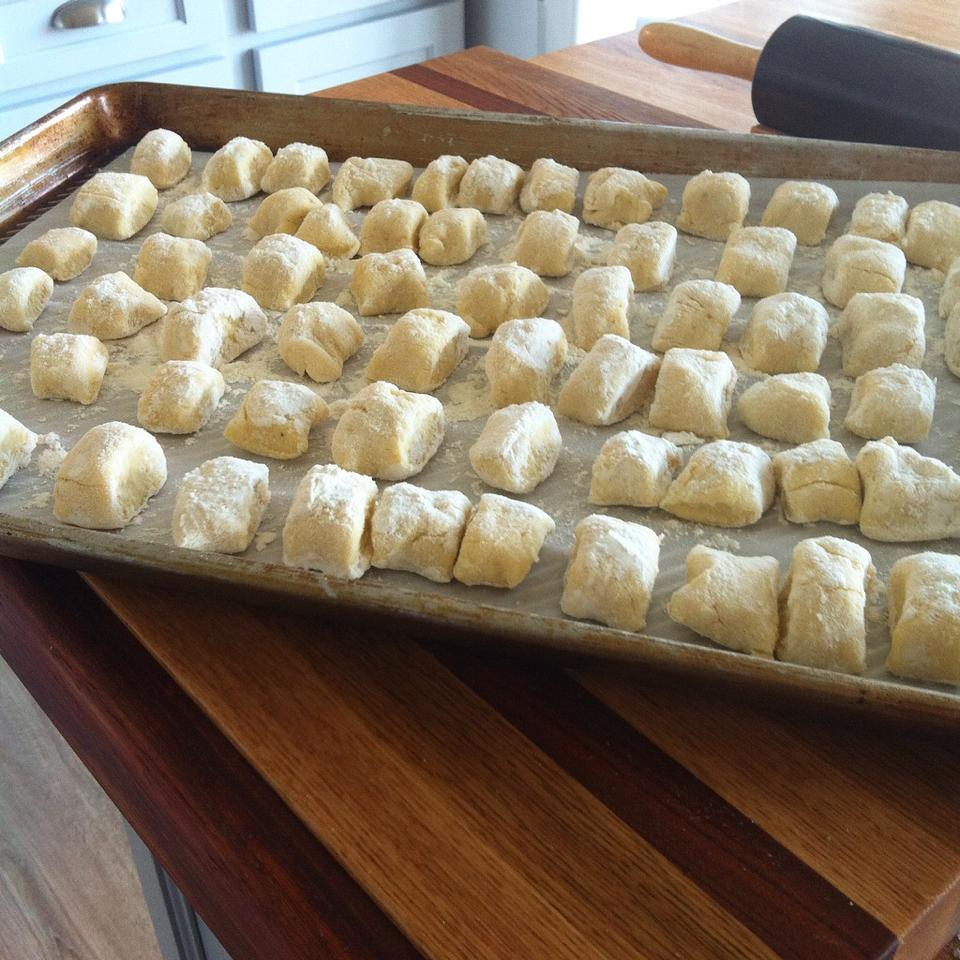
I used metal skewers, but if you will be using wooden skewers, soak them in water for at least thirty minutes to an hour before threading the shrimp so the skewers won't catch fire on the grill. If using canned coconut milk, you will have some extra. It freezes well, so you can save it to use on another recipe.
0 Comments

Homemade Ricotta Gnocchi

4/9/2018

0 Comments

 
Homemade Ricotta Gnocchi

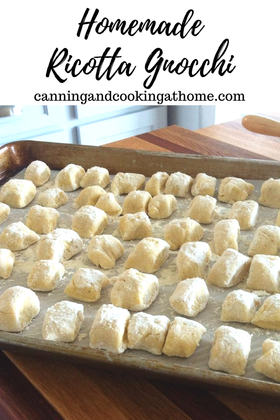
     Taking my homemade ricotta cheese and turning it into tiny, fluffy pillows of ricotta 'dumplings' aka Italian Ricotta Gnocchi.  One of the easiest recipes to make but, does take some practice as you don't want to add so much flour that the dumplings are too heavy - start with 1 cup of flour and add in flour until your dough is no longer sticky, keep your work surface floured (and hands), once the dough can be brought together in a ball, lightly knead the dough for 3 minutes before rolling and cutting... Be sure to serve these hot with in a light sauce as these are filling!  I prefer a light pesto, light marinara but, a brown butter mixed with some herbs is my favorite! ~Enjoy! Diane 


Homemade Ricotta Gnocchi

Ingredients: 
1 cup ricotta cheese, well strained 
2 eggs
1/2 cup fresh finely grated Parmesean cheese
1/4 tsp salt
1/4 tsp ground pepper
1 pinch red pepper flakes 
1 cup all purpose flour, plus more as needed 


Directions: 
     In a large bowl, stir together the ricotta cheese, eggs, Parmesan Cheese, salt, and pepper until evenly combined.
     Mix in 1 cup of flour. Incorporate flour until a dough ball starts to form, turn dough out onto a floured work surface.  Add in additional flour as needed to form a soft dough.

     Divide the dough into 4 quarters, and roll into 1/2-inch-thick ropes on a floured surface. Cut each rope into 1-inch pieces, and place on a lightly floured baking sheet covered in parchment paper.
     Place baking sheet, covered in saran, in the refrigerator until ready to cook.
  Fresh gnocchi should be cooked within a few hours, if not frozen for use later.  
    Add fresh gnocchi to salted, boiling water for 2-3 minutes (they should drop to the bottom of the pot when added and rise to the top when cooked.) Do not over cook the gnocchi, or they will turn mushy.  These are best served in a light browned butter sauce (you can flavor your butter with any herb of choice *sage and rosemary being most popular.)


0 Comments
    F I N D  A  R E C I P E 

         PRINT OR SAVE TO .PDF 
    Print Friendly and PDF


    RSS Feed

    Archives

    February 2023
    January 2023
    December 2022
    November 2022
    October 2022
    September 2022
    July 2022
    June 2022
    May 2022
    March 2022
    February 2022
    January 2022
    December 2021
    October 2021
    September 2021
    July 2021
    February 2021
    January 2021
    December 2020
    November 2020
    October 2020
    September 2020
    August 2020
    July 2020
    June 2020
    May 2020
    April 2020
    March 2020
    February 2020
    December 2019
    November 2019
    October 2019
    September 2019
    August 2019
    July 2019
    May 2019
    April 2019
    March 2019
    February 2019
    January 2019
    December 2018
    November 2018
    October 2018
    September 2018
    August 2018
    July 2018
    April 2018
    March 2018
    February 2018
    January 2018
    December 2017
    November 2017
    October 2017
    September 2017
    August 2017
    July 2017
    June 2017
    May 2017
    April 2017
    March 2017
    February 2017
    January 2017
    December 2016
    November 2016
    October 2016
    September 2016
    August 2016
    July 2016
    June 2016
    May 2016
    April 2016
    March 2016
    February 2016
    January 2016
    December 2015
    November 2015
    October 2015
    September 2015
    August 2015
    July 2015
    June 2015
    May 2015
    April 2015
    March 2015
    February 2015
    January 2015
    December 2014
    November 2014
    October 2014
    September 2014
    August 2014
    July 2014
    June 2014
    May 2014
    April 2014
    March 2014
    February 2014
    January 2014

Picture
© Copyright 2023, Canning and Cooking at Home.
All images & content are copyright protected. Please do not use my images on your own site/page without prior permission. Sharing, pinning, and tweeting is always appreciated as long as the shares and pins link back to this website and recipe.  Canning and Cooking at Home claims NO liability for the safety of ANY recipe or advice contained within this website.  Always consult with the NCHFP to ensure Canning Safety. 

  • Home
  • Diane's Blog
  • Canning 101
  • Pickling
    • My Pickle Creations
    • Pickle Recipes
  • Recipe Index
    • Canning Recipes >
      • Jams/Jellies/Fillings/Butters/Juices
      • Meats/Other
      • Pressure Canned Soups
      • Tomatoes
    • Cooking Recipes >
      • Breads
      • Breakfast
      • Instant Pot Recipes
      • Main Dishes
      • Soups
      • Sweets
      • Drinks
      • Sauces/Apps/Sides
    • Recipe Collections >
      • The Apple Cart
      • Asian Inspired Recipes
      • Bundts to Bake
      • Cherry Recipes (preserving)
      • Easter Menu Ideas
      • Freezer to SlowCooker
      • Irish Fare
      • Jelly & Jam Recipes
      • Mexican Inspired Recipes
      • Pickle Recipes
      • Soups
      • Summer Grillin' Guide
  • Work with Me
    • Privacy Policy
    • Give Aways
  • Recipes Via Email