CANNING AND COOKING AT HOME
  • About Diane
  • Diane's Blog
  • Work with Me
  • Pickle Collection
  • Cooking Recipes
    • Breads
    • Breakfast
    • Instant Pot Recipes
    • Main Dishes
    • Soups
    • Sweets
    • Drinks
    • Sauces/Apps/Sides
  • Canning Recipes
    • Canning 101
    • Meats/Other
    • Pressure Canned Soups
    • My Pickle Creations
    • Tomatoes
  • Recipe Collections
    • The Apple Cart
    • Asian Inspired Recipes
    • Bundts to Bake
    • Cherry Recipes (preserving)
    • Cookie Time!
    • Easter Menu Ideas
    • Freezer to SlowCooker
    • Irish Fare
    • Jelly & Jam Recipes
    • Mexican Inspired Recipes
    • Pickle Recipes
    • Soups
    • Summer Grillin' Guide

Spinach & Ricotta Ravioli Primavera

5/20/2017

0 Comments

 
Picture
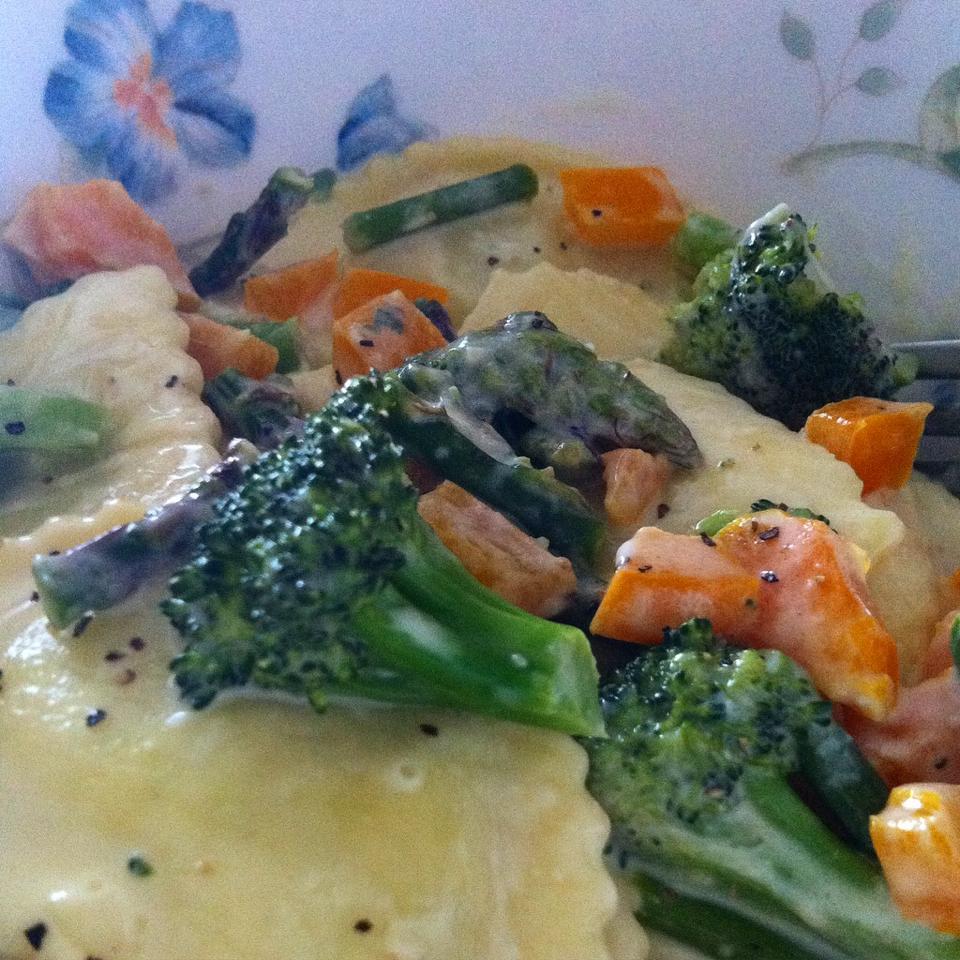
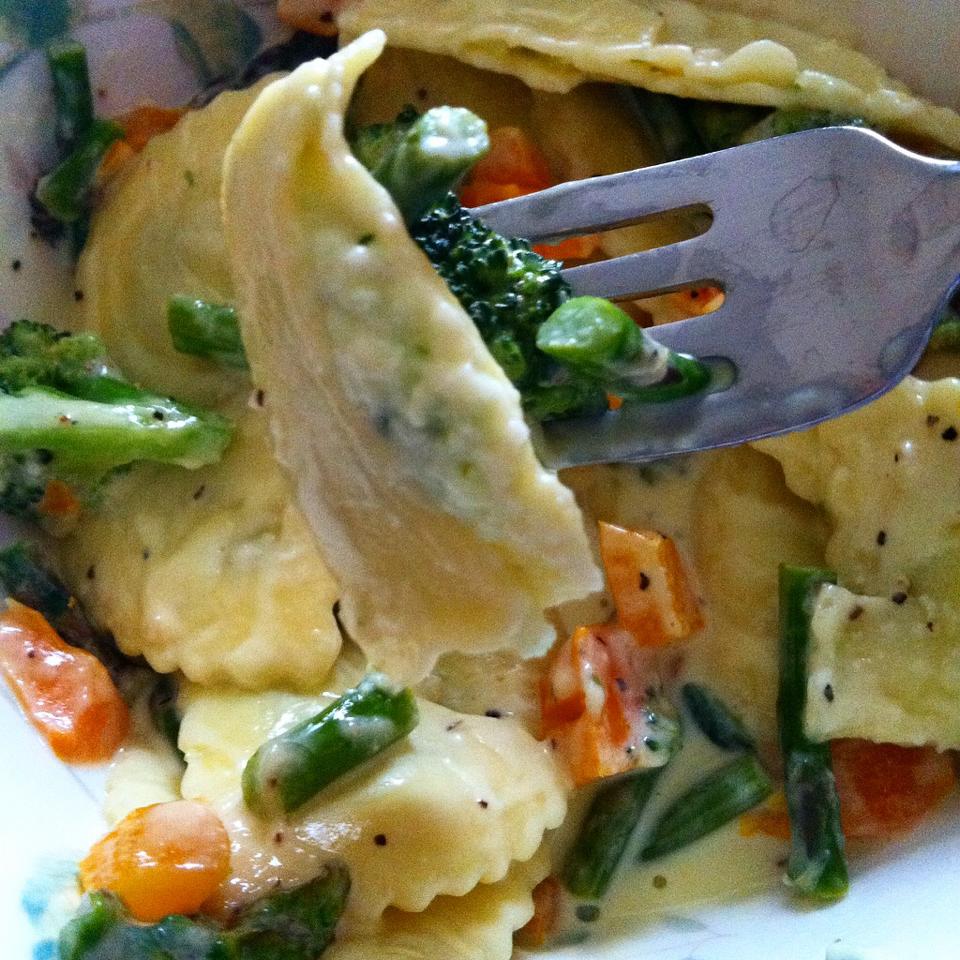
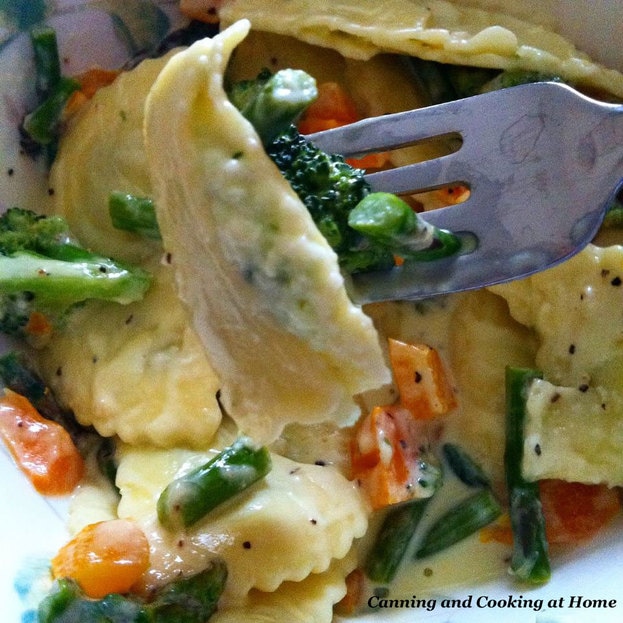
    Pasta is so versatile - and the basic cream sauce in this dish makes it easy to switch ingredients around (the types of pasta and the vegetables your prefer)  Try this recipe first before making any changes - if I make a plain pasta (such as linguine) I usually make sure to add in and wilt down fresh spinach into my skillet. This is also great with some cooked/grilled chicken or shrimp added in near the end...  Enjoy! Diane 

Spinach & Ricotta Ravioli Primavera

 
Ingredients:
 
Spinach & Ricotta Ravioli – approx 30 large pieces
(use homemade, fresh or frozen ravioli: prepare according to package or recipe)
 
1 Tbs Butter
3/4 Cup diced sweet pepper: red, yellow or orange
2 Cloves Garlic, minced
1 Cup Fresh Asparagus, cut into ½” pieces
2 Cups Fresh Broccoli Florets
1 small Lemon, zested and juiced
1 Cup Heavy Whipping Cream
1 Cup Fresh Parmesan Cheese, grated
1 tsp Salt
Pinch of Pepper 
 
Directions:
 
Melt butter in a large skillet on stove-top. Add diced sweet peppers and cook for about 3 minutes. Add in minced garlic and continue cooking an additional 1 minute (stir often to prevent scorching of garlic)
 
Blanch the Asparagus and Broccoli in boiling water for 1 minute, drain and set aside.
 
Zest Lemon, set aside.
 
Add Cream, lemon juice, salt & pepper to skillet along with the blanched vegetables.
 
Let the Cream come up to a simmer over Medium heat. Add in all but, 1/4 cup of the
Parmesan cheese and let simmer and stir everything together so that the cheese melts down and the Cream starts to thicken. This can take up to 5 minutes.
 
Taste test sauce to see if any additional salt & pepper is needed. Add in your cooked
Ravioli and stir everything together to coat and reheat the ravioli.  Once the sauce is thickened, and ravioli is hot - serve topped with a light sprinkle of lemon zest and the remaining Parmesan cheese.
 
Recipes by: Louisa Pasta  
Photos by: Diane Baker for Canning and Cooking at Home 
0 Comments

Homemade Marshmallows

5/18/2017

0 Comments

 
Picture
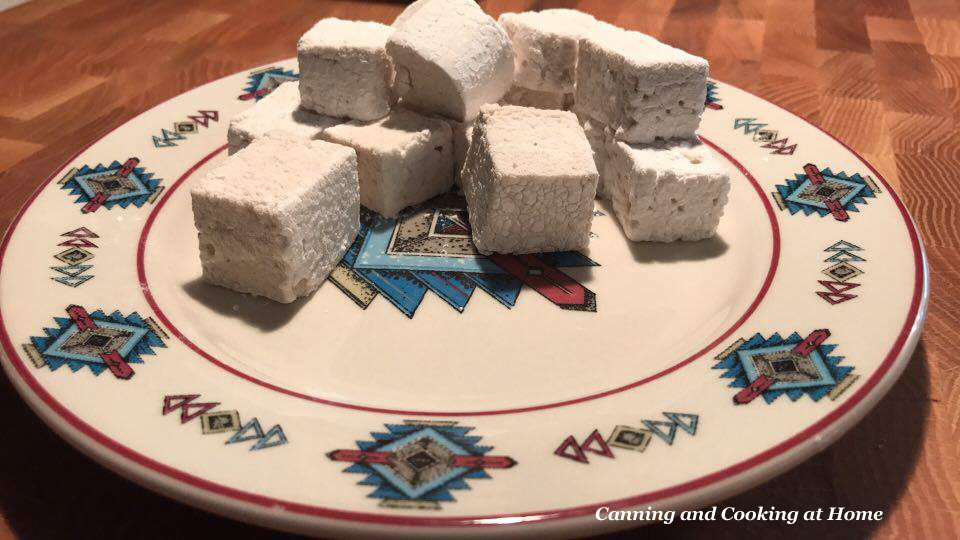
   Making homemade marshmallows couldn't be easier - thanks to JD, he tells us how easy! 
I love the looks of the toasted one he did on a stick - YUM!  Thanks JD for this guest post! 
~Enjoy! Diane 
​
Homemade Marshmallows

Ingredients: 
3 packages unflavored gelatin

12 ounces ice cold water, divided
12 ounces granulated sugar, approximately 1 1/2 cups

1 cup light corn syrup
1/4 teaspoon kosher salt
1 teaspoon vanilla extract

for the pan: 

Nonstick spray 
1/4 cup powdered sugar
1/4 cup cornstarch
 

Directions: 
 
Mix the powdered sugar and cornstarch together in a small bowl, set aside. 

Pour half the ice cold water into mixing bowl and sprinkle gelatin on top.

In a small saucepan, add remaining water, granulated sugar, corn syrup, salt and cover,
Cook over Medium High heat 5-7 minutes, until sugar dissolves. Remove lid and continue cooking until mixture reaches 135 degrees.

Use a mixer, with a whipping attachment and on Low, slowly pour the sugar mixture, down side of the mixing bowl with gelatin. Increase mixer speed to High, and whip 13 minutes, add in vanilla extract and continue whipping 2 minutes more. .


Prepare 9x14 pan by spraying lightly with non-stick spray, then coat with powdered sugar/corn starch mixture.

Pour the sugar mixture into prepared pan and spread mixture evenly with spatula - allow to set at least 4 hours, overnight is better.
​

Flip pan over onto dusted counter-top, cut, with an oiled pizza cutter or oiled long knife, into 1" strips. Dust the edges of the strips with additional powdered sugar/cornstarch mixture , and cut into 1" cubes. Dust cubes again to prevent sticking, allow to set 2-3 hours before storing in airtight container. Consume within 1 week or freeze. May be used in any recipe calling for standard marshmallows.

Photos by:  JD Provence for Canning and Cooking at Home 
Recipe adapted from:  Alton Brown's Good Eats.
Picture
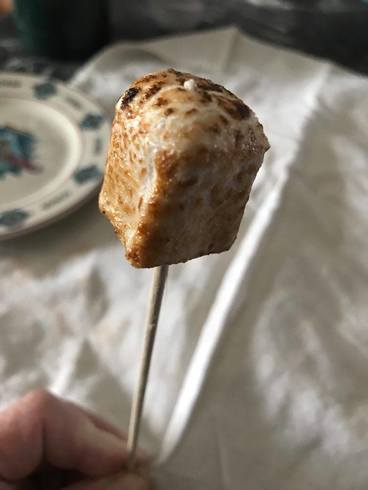
toasted - even better!!
0 Comments
    F I N D  A  R E C I P E 

       PRINT OR SAVE TO .PDF 
    Print Friendly and PDF


    Archives

    December 2024
    November 2024
    June 2024
    December 2023
    August 2023
    July 2023
    April 2023
    February 2023
    January 2023
    December 2022
    November 2022
    October 2022
    September 2022
    July 2022
    June 2022
    May 2022
    March 2022
    February 2022
    January 2022
    December 2021
    October 2021
    September 2021
    July 2021
    February 2021
    January 2021
    December 2020
    November 2020
    October 2020
    September 2020
    August 2020
    July 2020
    June 2020
    May 2020
    April 2020
    March 2020
    February 2020
    December 2019
    November 2019
    October 2019
    September 2019
    August 2019
    July 2019
    May 2019
    April 2019
    March 2019
    February 2019
    January 2019
    December 2018
    November 2018
    October 2018
    September 2018
    August 2018
    July 2018
    April 2018
    March 2018
    February 2018
    January 2018
    December 2017
    November 2017
    October 2017
    September 2017
    August 2017
    July 2017
    June 2017
    May 2017
    April 2017
    March 2017
    February 2017
    January 2017
    December 2016
    November 2016
    October 2016
    September 2016
    August 2016
    July 2016
    June 2016
    May 2016
    April 2016
    March 2016
    February 2016
    January 2016
    December 2015
    November 2015
    October 2015
    September 2015
    August 2015
    July 2015
    June 2015
    May 2015
    April 2015
    March 2015
    February 2015
    January 2015
    December 2014
    November 2014
    October 2014
    September 2014
    August 2014
    July 2014
    June 2014
    May 2014
    April 2014
    March 2014
    February 2014
    January 2014

Picture
© Copyright 2025, Canning and Cooking at Home.  Established 2013.
All images & content are copyright protected. Please do not use my images on your own site/page without prior permission. Sharing, pinning, and tweeting is always appreciated as long as the shares and pins link back to this website and recipe.  Canning and Cooking at Home claims NO liability for the safety of ANY recipe or advice contained within this website.  Always consult with the NCHFP  to ensure Canning Safety.