CANNING AND COOKING AT HOME
  • About Diane
  • Diane's Blog
  • Work with Me
  • Pickle Collection
  • Cooking Recipes
    • Breads
    • Breakfast
    • Instant Pot Recipes
    • Main Dishes
    • Soups
    • Sweets
    • Drinks
    • Sauces/Apps/Sides
  • Canning Recipes
    • Canning 101
    • Meats/Other
    • Pressure Canned Soups
    • My Pickle Creations
    • Tomatoes
  • Recipe Collections
    • The Apple Cart
    • Asian Inspired Recipes
    • Bundts to Bake
    • Cherry Recipes (preserving)
    • Cookie Time!
    • Easter Menu Ideas
    • Freezer to SlowCooker
    • Irish Fare
    • Jelly & Jam Recipes
    • Mexican Inspired Recipes
    • Pickle Recipes
    • Soups
    • Summer Grillin' Guide

Roasted Tomato & Green Chile Salsa

8/31/2020

0 Comments

 
Picture

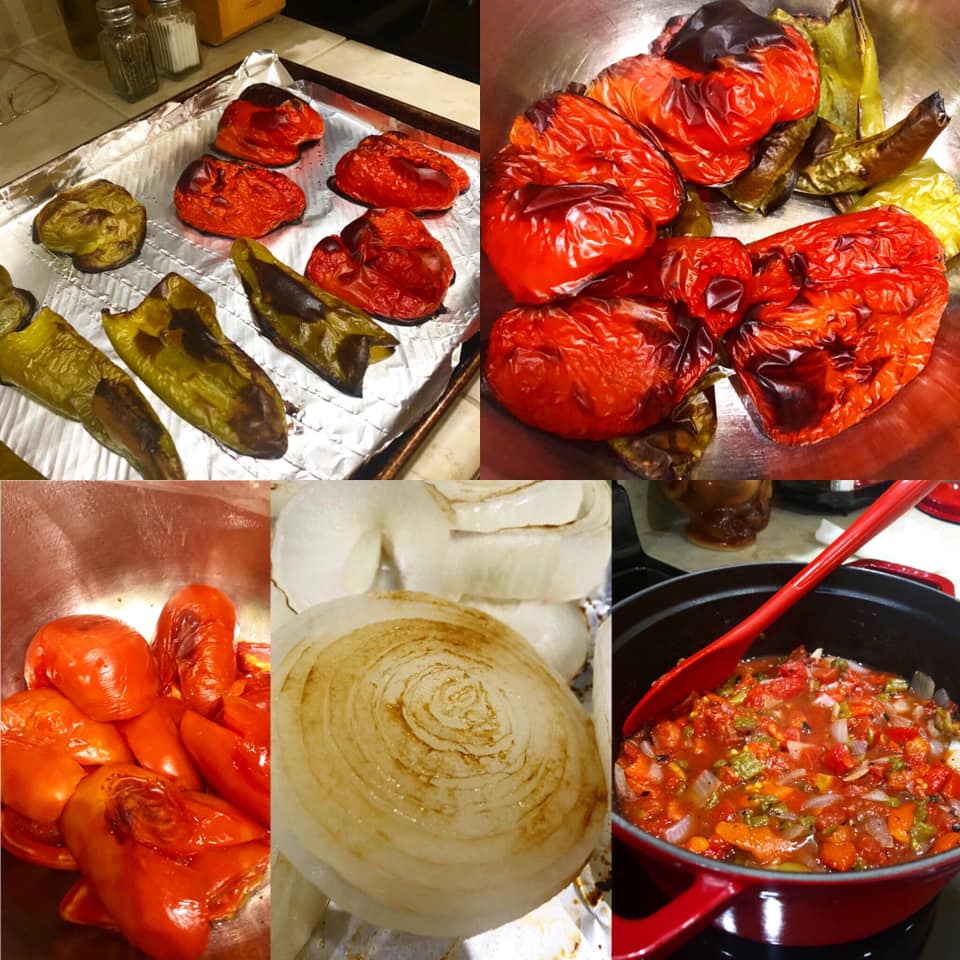
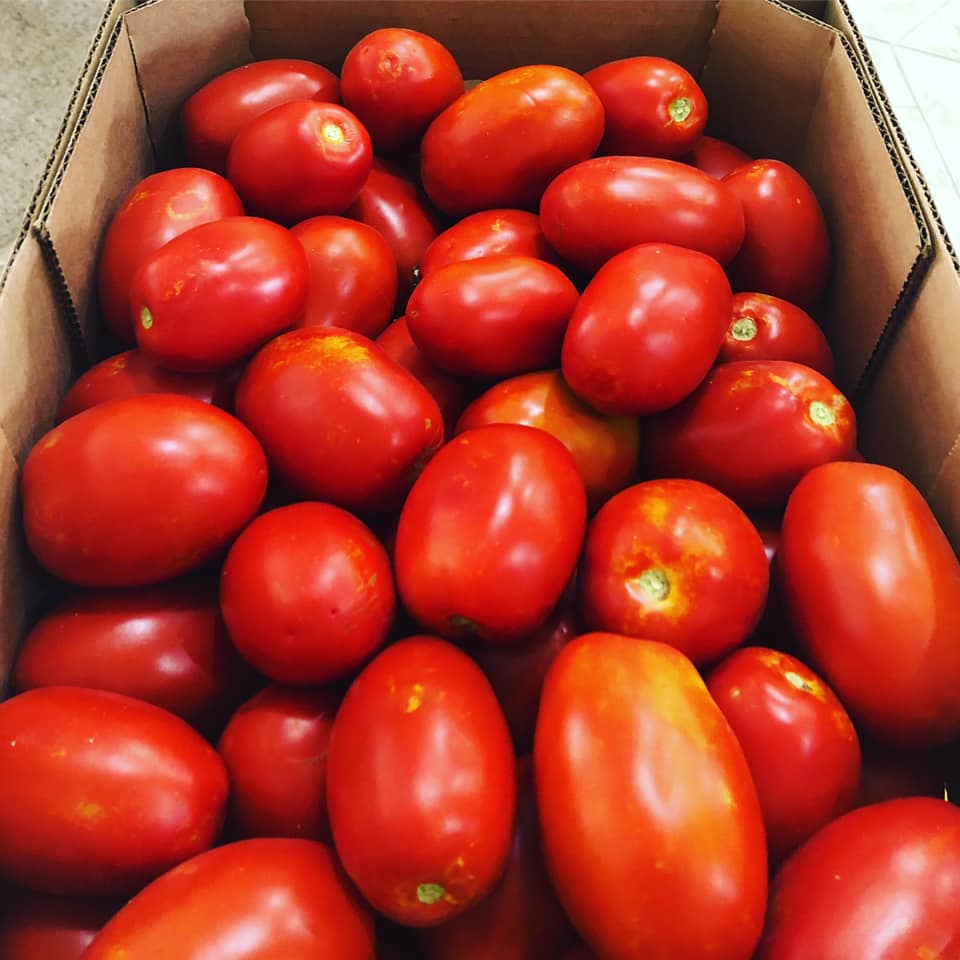
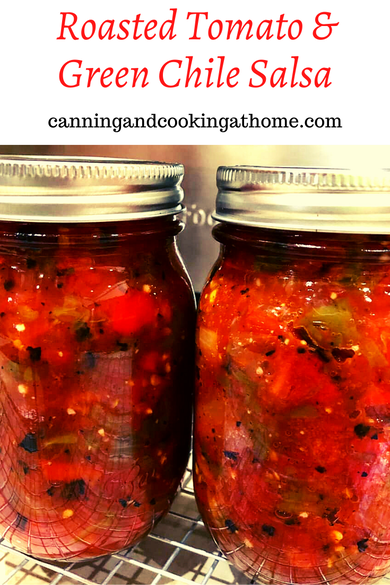
Roasted Tomato & Chile Salsa

Ingredients: 
2 pounds Roma tomatoes
1 medium onion
2 Anaheim peppers* you can use 2 jalapenos 
1 teaspoon salt
1/4 Cup Cilantro, finely chopped
1/2 teaspoon black pepper
2 cloves garlic, minced
1/2 Cup fresh lime juice (about 6 limes) 

Yield: approx. 6 half-pints 

Directions: 
    Preheat oven to 450F. 
  • Line two baking sheets with parchment paper or nonstick foil. 
  • Wash the peppers;  De-stem and de-seed the peppers, cut in half and lay flat side down on one of the baking sheets.  *wear gloves when handling spicy peppers. 
  • Wash and core tomatoes, slice onion.  Cut the tomatoes in half lengthwise and lay on on half of second baking sheet.  Cut onion into slices and place on other half of baking sheet. 
  • Place both baking sheets into oven and roast in your oven for 40-60 minutes until the peppers are charred and blistered all over.  Remove from oven and place in a large bowl, cover with saran and let sit for about 20 minutes so the steam can help the peppers release their skins.  You want your tomato skins and onion slices to be roasted but, not burnt.  Let your tomatoes cool before handling to slip their skins off after being roasted.  
  • Once the peppers are cooled, put your gloves back on and remove any skin/peel remaining on the pepper.  
  • Once all peppers and tomatoes have their skins removed. Chop all, along with the onion slices; into a dice. 
  • Place all vegetables into a large pot on your stovetop.  Bring everything to a boil, then lower to a simmer. 
  • Add your spices and lime juice and let the entire mixture cook for 5 minutes.
  • Ladle hot salsa into hot jars leaving 1/2" headspace.  Remove Air Bubbles. 
  • Process jars in a water-bath or steam canner for 20 minutes, adjusting for your altitude. 

**photo note: I oven roasted some red bell peppers I had on hand - its a great way to prep those for later use too - if you ever see red bells on sale - buy them and roast them!!  they are great in so many dishes!  I cut and pack my finished red pepper strips into a half pint canning jar and top off with olive oil and store in fridge. 

Recipe Adapted from: Ball's All New Book of Canning "Salsa Ranchera" 
0 Comments

Salisbury Steak for Canning

8/29/2020

4 Comments

 
Picture
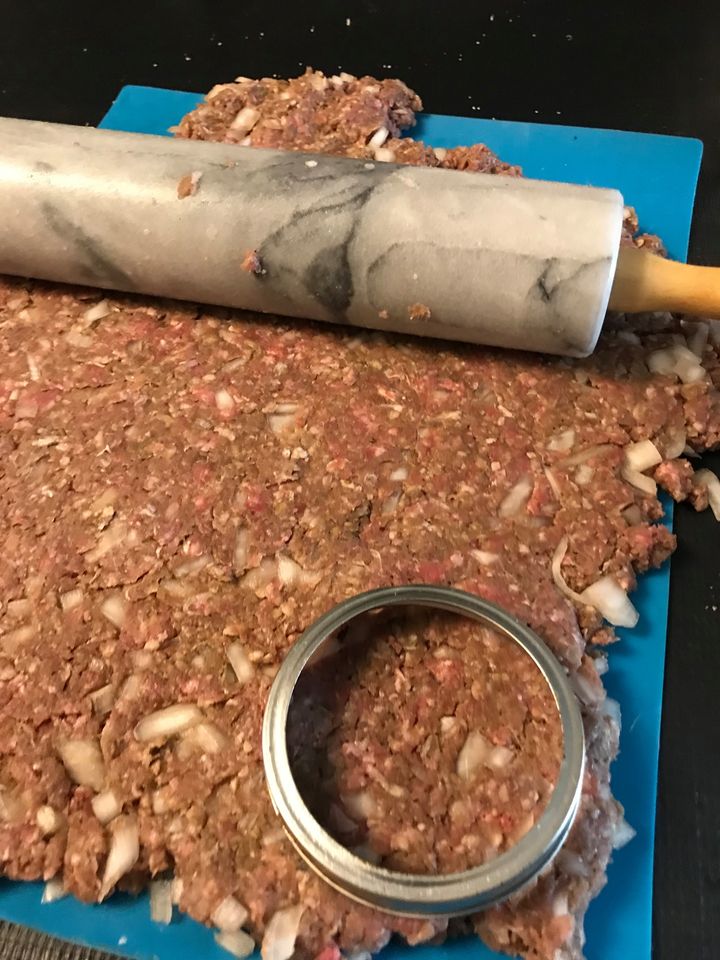
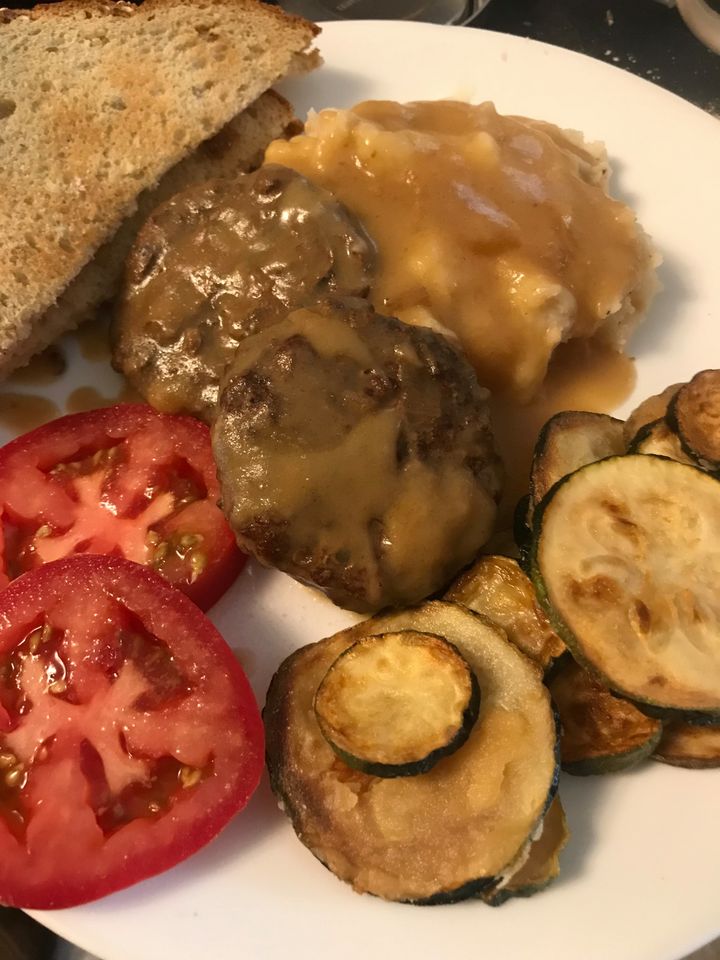
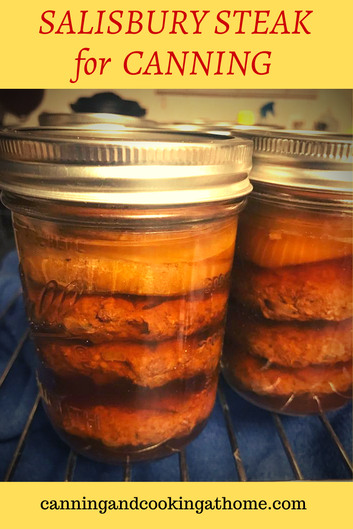
      Would you like to can up something new? An item that can be quickly made into a meal in minutes!  This recipe is brought to you by JD Provence.  He followed the NCHFP Guidelines to ensure safety pertaining to this recipe.  Remember that you cannot add any "binders" to your patties when canning (such as bread or eggs.)  I can't wait to can some of these up and have on hand for busy nights where dinner needs done - fast! 
Enjoy! Diane  

Salisbury Steak

Ingredients:
5 pounds lean ground beef
4 medium onions, 2 minced, 2 sliced
1 Tablespoon garlic powder
1 Tablespoon sea salt
2 quarts beef broth
9 Wide Mouth Canning Jars 
​
Yield:  9 wide mouth pints
(27 patties with 3 in each jar)

Directions:
  • Combine ground beef, minced onion & spices together. 
  • Spread/roll meat mixture out on a flat work surface, to approximately 1 inch thick.
  • Using a wide mouth jar ring, cut out beef patties, and pat smooth.
  • Arrange patties onto broiler trays, or use whatever cooking method you prefer, and cook patties until well done.
  • Bring beef broth to boil. Place 3 meat patties and 1-2 onion slices into each prepared, clean wide-mouth pint jar.
  • Top off each jar with beef broth to 1 inch headspace.
  • Wipe jar rims with vinegar moistened towel, affix a new lid & band, place into pressure canner.
  • Process Pints 75 minutes or 90 minutes Quarts for your canner type and altitude.


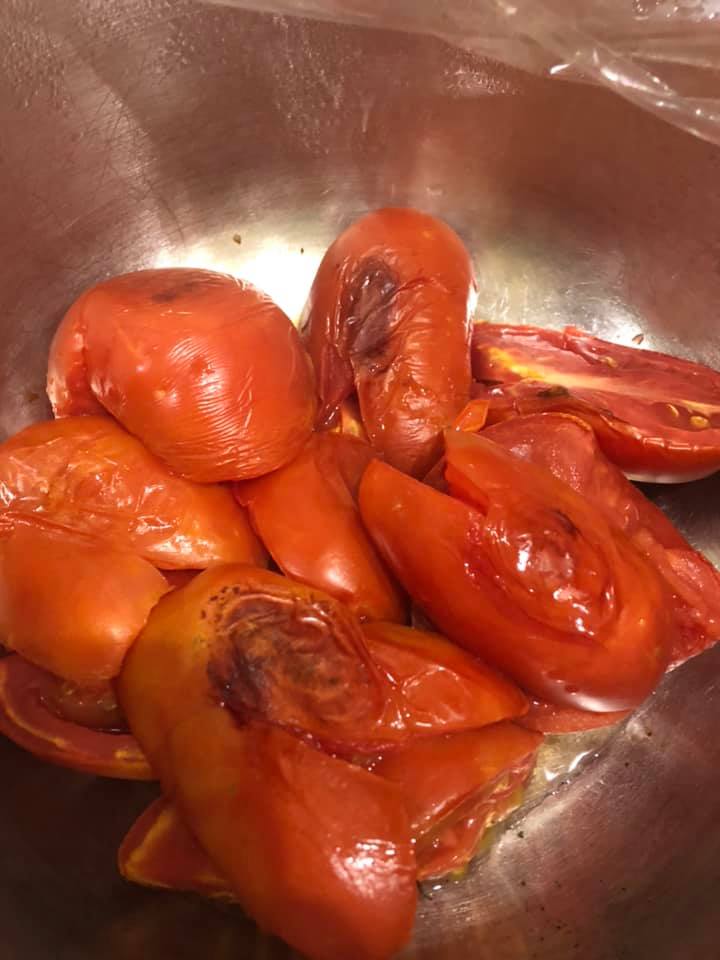
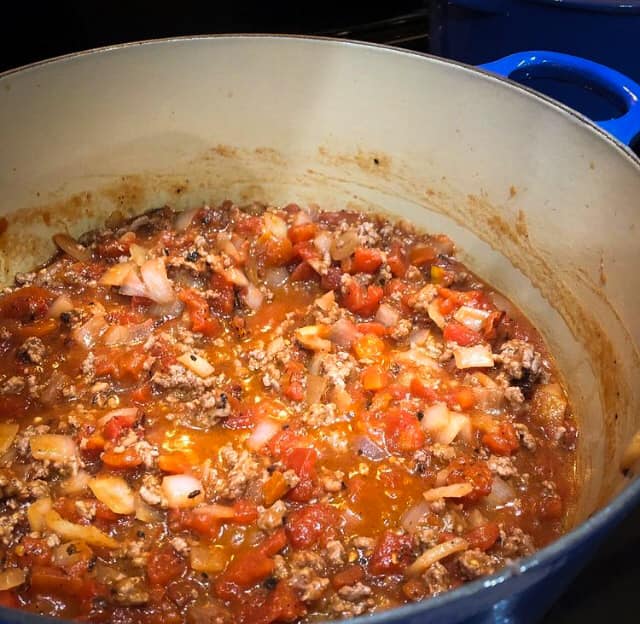
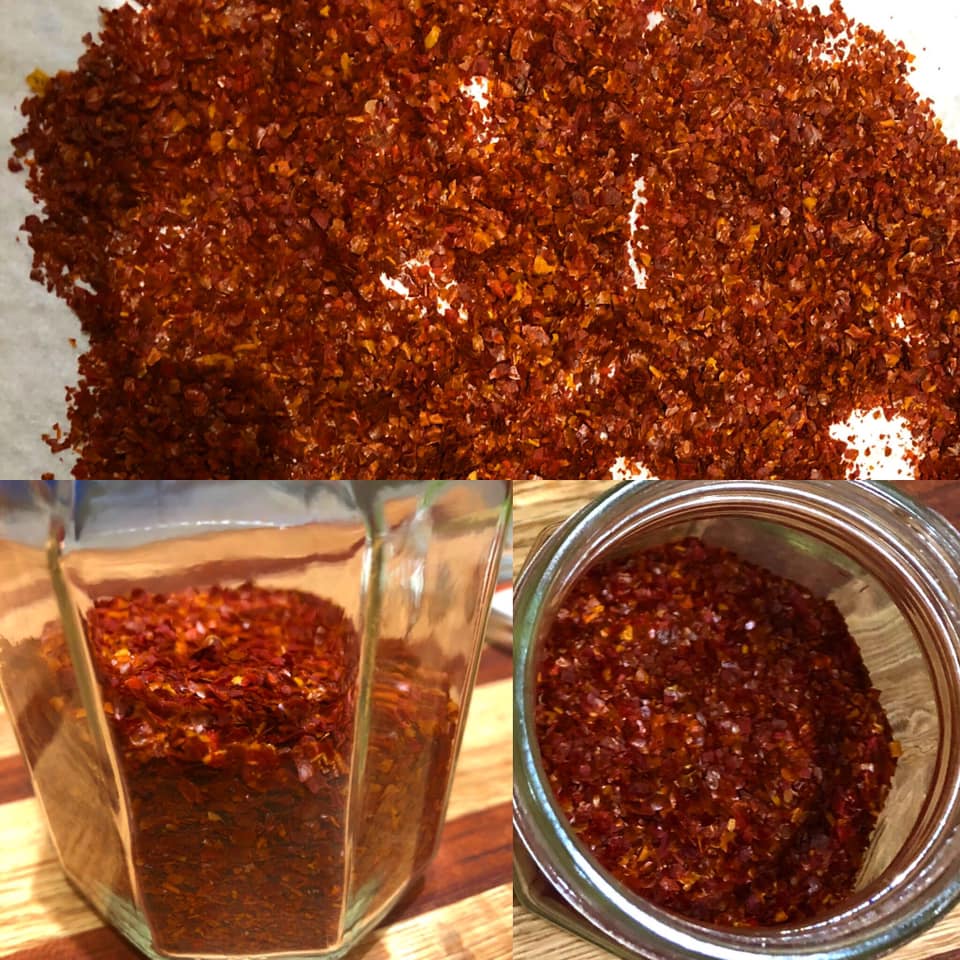
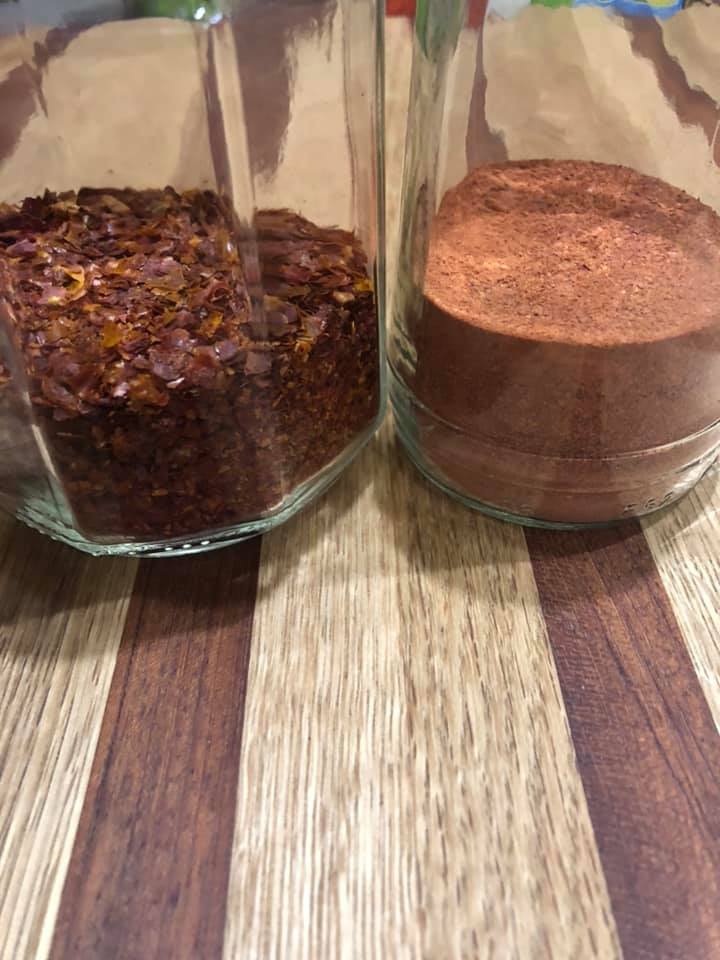
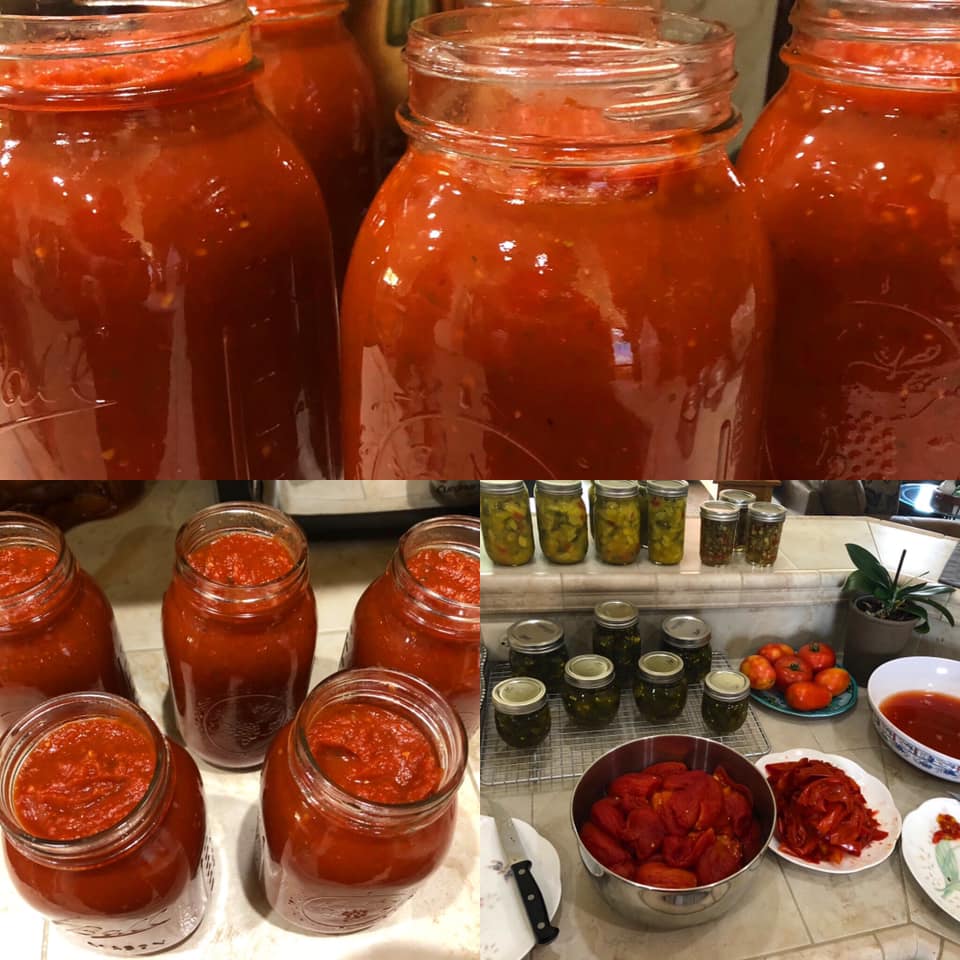
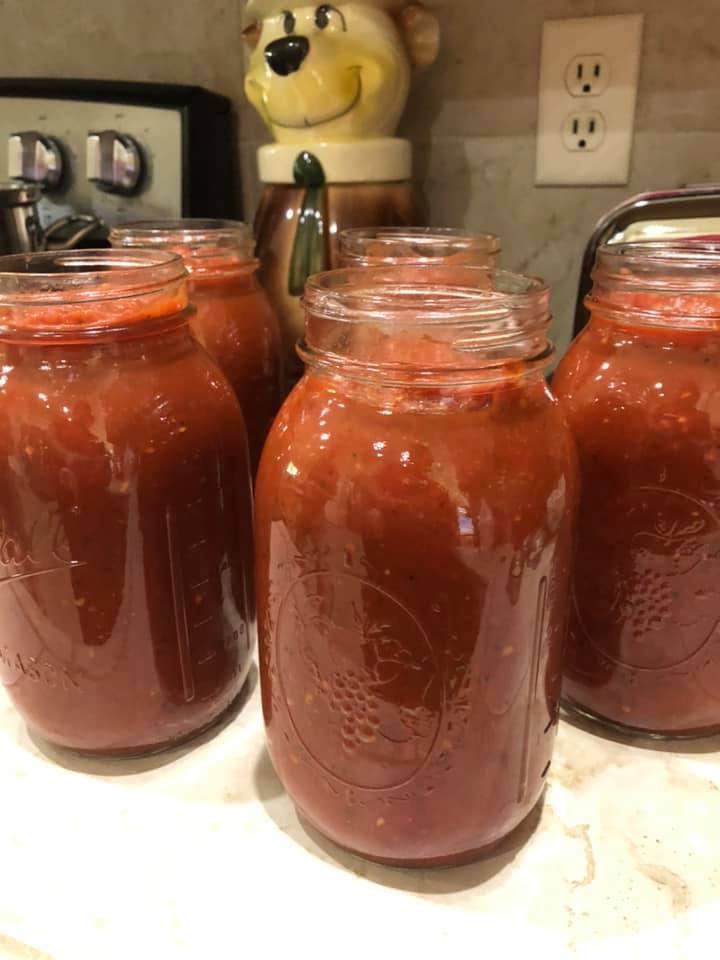
NOTE:  To prepare for meal, make a roux or use cornstarch to thicken juice from jar, creating a "gravy".  Add salt and pepper to taste.   


Recipe & Photos Shared by: JD Provence for Canning and Cooking at Home

4 Comments

Tomato Flake & Powder - Dehydrating Tomato Skins

8/29/2020

0 Comments

 
Picture
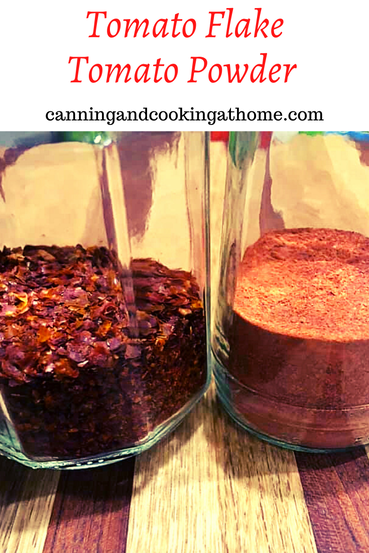
     Processing a lot of tomatoes this Summer?  Why not take a few extra steps and treat yourself to an overlooked by-product of tomatoes!  When you blanch or roast your tomatoes for your various canning or cooking projects - make sure to give your tomatoes a good wash in a white vinegar & water bath...that removes any debris and dirty bits from the skins, once tomatoes are then blanched or roasted and you have the skins - save them!  I place mine in a large Ziplock bag as I go along and keep in the refrigerator.  I then lay the skins out flat on my dehydrator trays and dry until crisp.  We do not have much (if any) humidity here so this takes me about 3-4 hours on the highest heat setting.  IF you don't have a dehydrator - place skins in a single layer, flat on parchment paper on a baking sheet and dehydrate in your oven at 200F for about 2-3 hours.   
     Once the skins are crisp and dry, place them in the bowl of a food processor and whirl until you get your tomato flakes as small as the processor will let you...IF at this time you think your flakes feel "damp" - place back in the oven on parchment paper for 60 minutes at the 200F until your flakes are completely dry.  Once dried, let the flakes cool and place in an airtight container for use as flakes.  IF you want to go one step further and get tomato powder - take the flakes and fill a spice grinder with them and process into a finer powder.  I process mine into half flakes, half powder... 

Enjoy! Diane     
0 Comments

Roasted Spaghetti Sauce *for Canning

8/28/2020

0 Comments

 
Picture
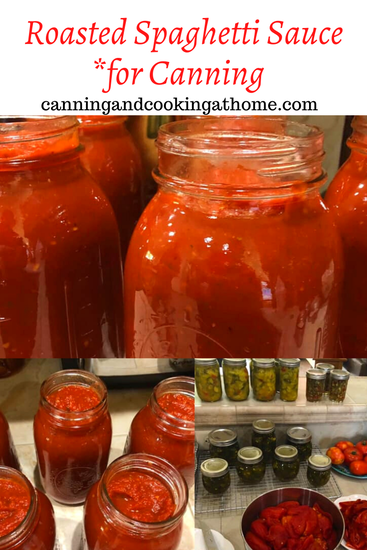
    We've been tweaking the base NCHFP spaghetti sauce without meat recipe over the years - tweaking by way of spices!!  We also prefer to omit mushrooms and green peppers from the original recipe.  This year we decided to try roasting the tomatoes instead of blanching them to remove skins.  Thanks to my friend Mary for pointing out what a time-saver roasting tomatoes for sauce is!!!!  Our recipe must be pressure canned.  Enjoy! Diane 

Baker Roasted Spaghetti Sauce 
Yield: About 5 Quarts 

Ingredients:
25-30 pounds Roma Tomatoes
1/4 Cup White Vinegar *divided 
1 teaspoon Vegetable Oil
1 Cup Chopped Onion
1 1/2 teaspoons dried minced Garlic 
4 1/2 teaspoons Pink Salt 
2 Tablespoons dried Oregano
2 Tablespoons dried Parsley
1 Tablespoon Italian Seasoning
1/4 Cup Brown Sugar
1/4 Cup Soy Sauce *can omit if canning 
Citric Acid

Directions: 
    Preheat Oven to 425F.
  • Fill a large pot in your sink with 2 Tablespoons White Vinegar and water. Wash all your tomatoes really well in the vinegar water.  Rinse cleaned tomatoes, core and cut in half lengthwise. 
  • Lay tomatoes in an over-lapping layer in a deep roasting pan (you will have juice accumulate in the pan as the tomatoes cook down.)  Place roasting pans in oven and let the tomatoes roast for 30-40 minutes *stirring twice while cooking to prevent scorching. 
  • While tomatoes are roasting; sauté your onion in vegetable oil until softened and slightly browned.  Set aside.  
  • Once done roasting, remove pans from oven and let the tomatoes cool down.  Once cooled - slip the skins off the tomatoes, placing skinned tomatoes in a large stockpot and tomato skins in a large bag or bowl (you can dehydrate those skins later.)  At this time add your cooked onion to the skinned tomatoes. 
  • Pour any "liquid" from the roasting pans into a large pot and set aside.
  • Using an Immersion Blender; blend/break-down the tomatoes to your liking. Bring stockpot with tomatoes up to a boil and then reduce to a simmer for 15 minutes.  If your sauce seems too thin, let simmer longer. If your sauce is too thick, use the reserved liquid from roasting pans to thin your sauce. 
  • Add in your spices and continue simmering your sauce for another 15 minutes. 
  • Prepare your canner and jars for pressure canning.   

  • NOTE: IF you are going to be turning your reserved liquid from roasting pan into canned tomato vegetable juice - make sure to take 1 cup of final tomato sauce and add to liquid. 

  • Add 1/2 teaspoon of citric acid directly to the bottom of each Quart Canning Jar. 
  • Fill Jars with hot finished sauce up to 1" headspace.  De-Bubble Jars Wipe Rims with a paper-towel dampened with white vinegar to remove any residue before placing on a new lid.  
  • Add a splash of White Vinegar to your pressure canners water.  Fill canner with water required by canner type.  Process Quarts for 25 minutes according to your canner type and altitude.  

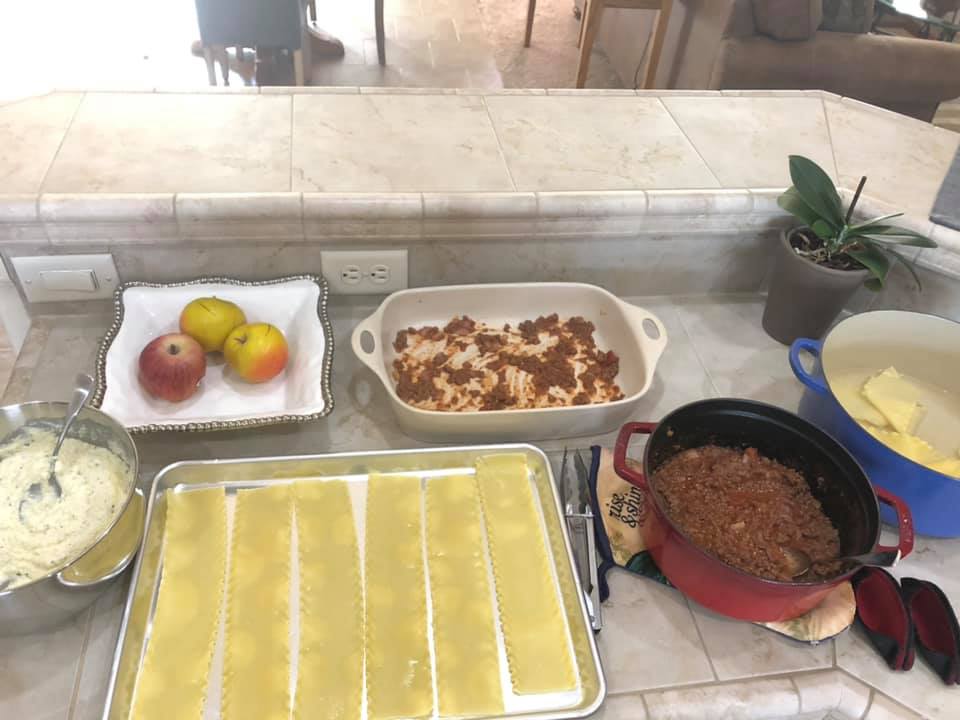
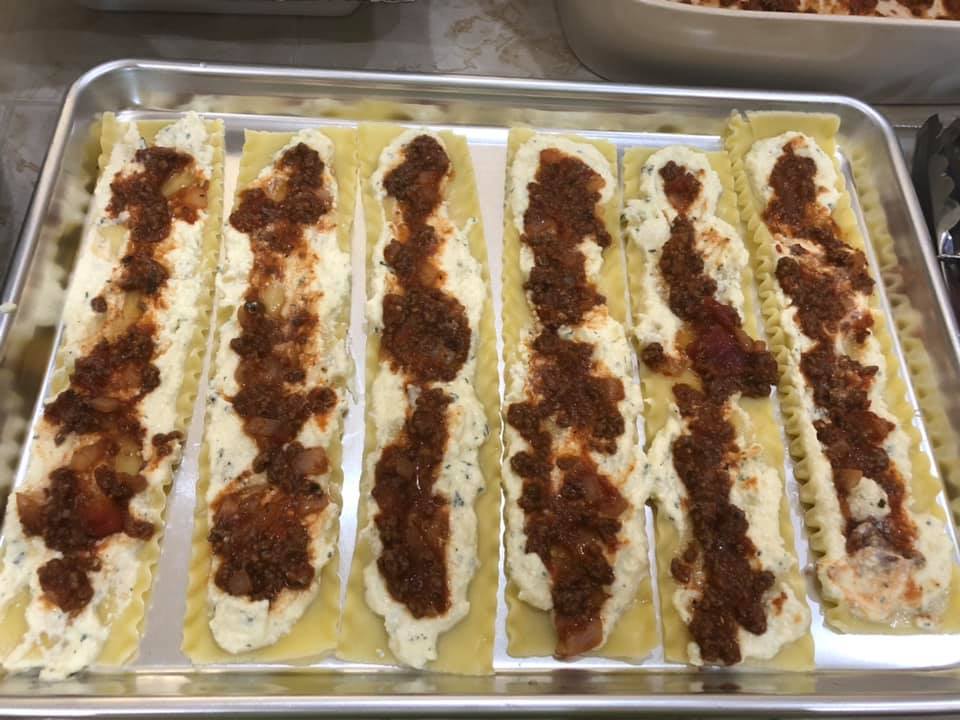
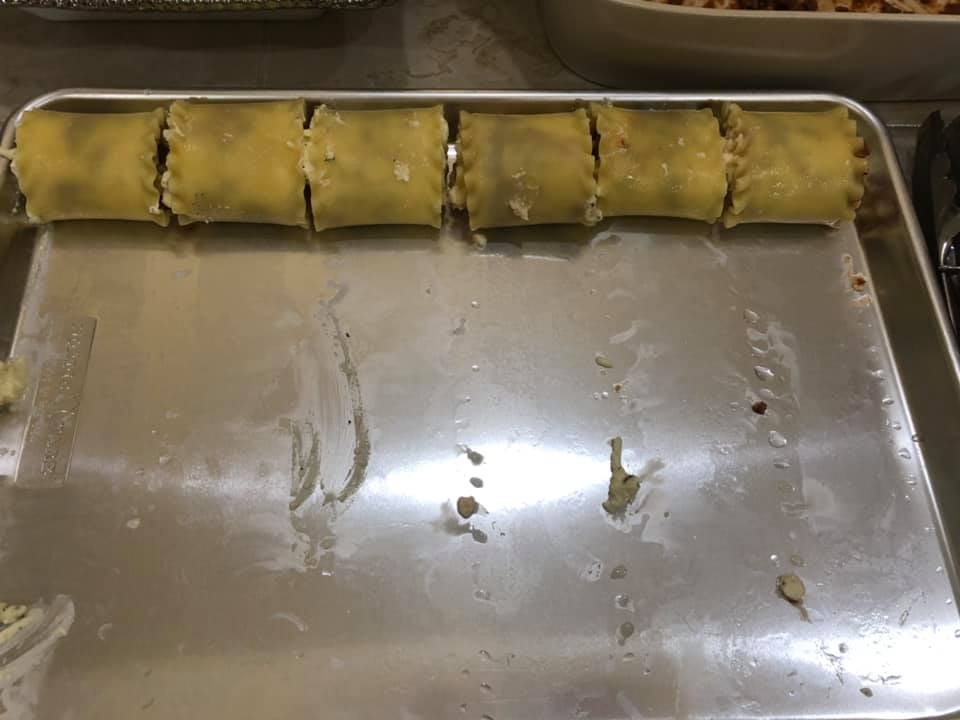
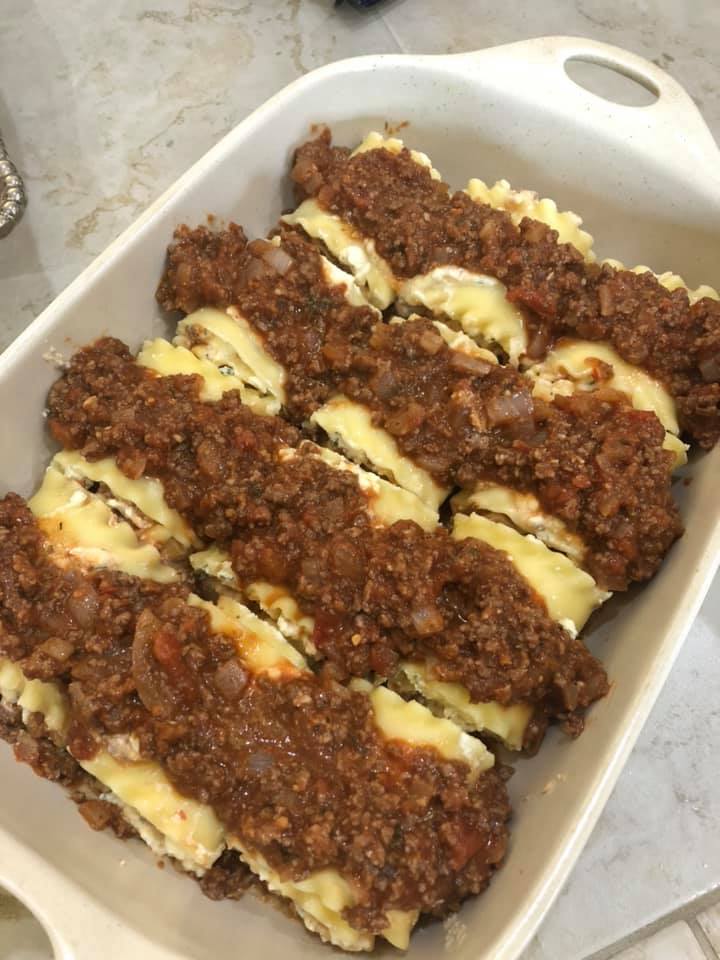
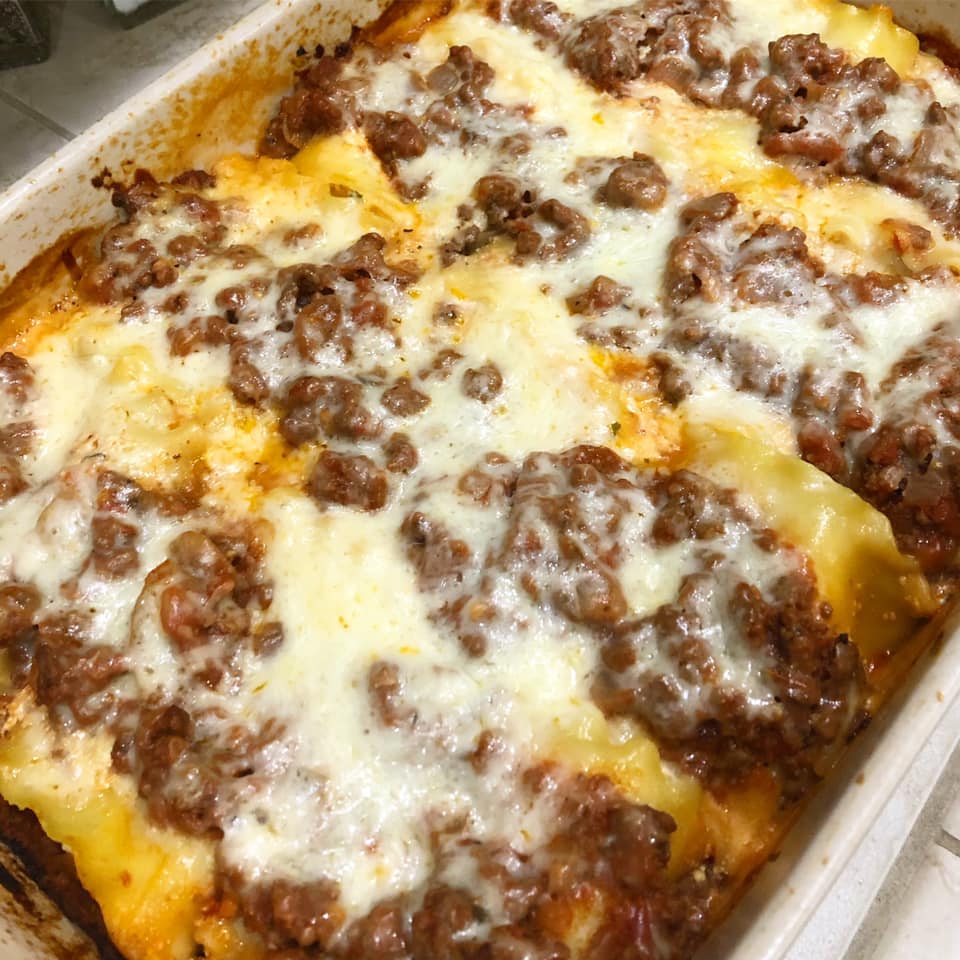
 Save your skins to Dehydrate Skins into Tomato Flake or Tomato Powder
 Save your 'reserved' liquid from roaster to turn into Spicy Tomato Juice.
 

0 Comments

Lasagna Roll Ups

8/23/2020

0 Comments

 
Picture
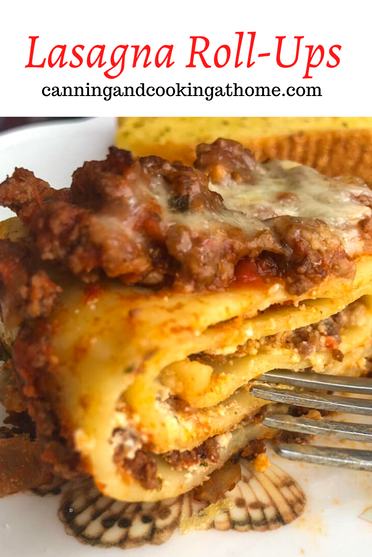
     I've made different versions of these and this recipe mimics a true lasagna more closely.  If you want a lite version with no meat or a spinach alfredo version you can visit those recipes here: 
Meatless Rollups
Spinach Alfredo


Lasagna Roll Ups 

Ingredients
  • 12 lasagna noodles
MEAT FILLING: 
  • 1 1/2 lbs. lean ground beef
  • 32 oz Jar of your favorite pasta sauce or marinara
  • 1 small onion, diced 
  • 3 garlic cloves, minced
  • 1 tsp sea salt 
  • 1/2 tsp black pepper 
  • 1/2 tsp dried oregano
CHEESE FILLING:
  • 15 oz ricotta cheese
  • 1 large egg
  • 2 teaspoons dried parsley 
  • 1/4 cup parmesan cheese, shredded
  • 2 cups mozzarella cheese, shredded & divided

Directions: 
  1. If Baking and eating right away - Preheat oven to 375˚F.
  2. Cook noodles in a large pot of salted water according to package instructions then drain and fill pot with cold water to halt the cooking process and help keep the noodles from sticking together.
  3. In a large pan, over medium-high heat, cook ground beef until no longer pink. Drain off any fat. Add diced onion and cook until softened. Add garlic, salt, pepper and oregano; sauté for about a minute. Add jarred sauce, bring to a simmer then turn off the heat.
  4. Spread 1/2 cup meat sauce over the bottom of a 9x13 casserole dish.
  5. In a large bowl, stir together: ricotta, egg, parmesan cheese, 1 cup mozzarella cheese and parsley.
  6. Use a large baking sheet and arrange noodles over sheet in a single layer. Spread 1/4 cup of cheese mixture over the top of each noodle. Add a heaping Tablespoon of meat sauce in a strip down the center of the noodle. Roll noodles up and arrange in the prepared casserole dish seam side down.
  7. Spread remaining meat sauce over the tops of roll-ups and sprinkle on the remaining mozzarella cheese. Cover with foil, making sure foil isn't touching cheese.
  8. Bake covered at 375˚F for 40 minutes. Remove foil and broil another 2-3 minutes or until cheese is lightly golden.

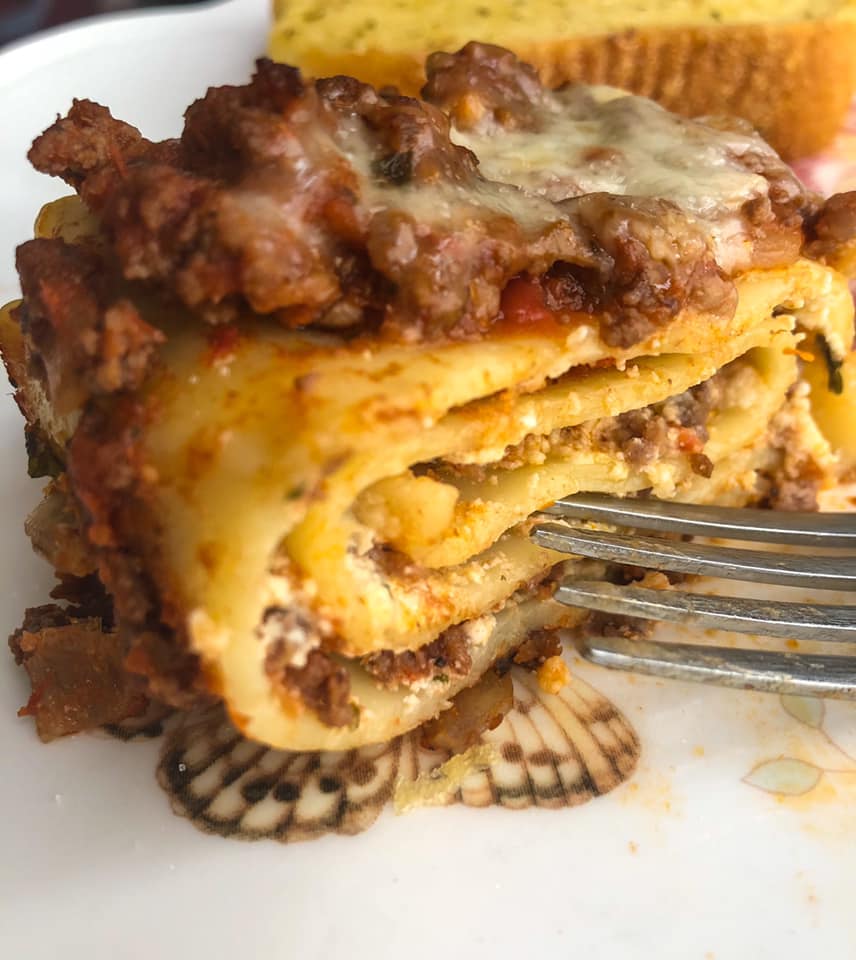
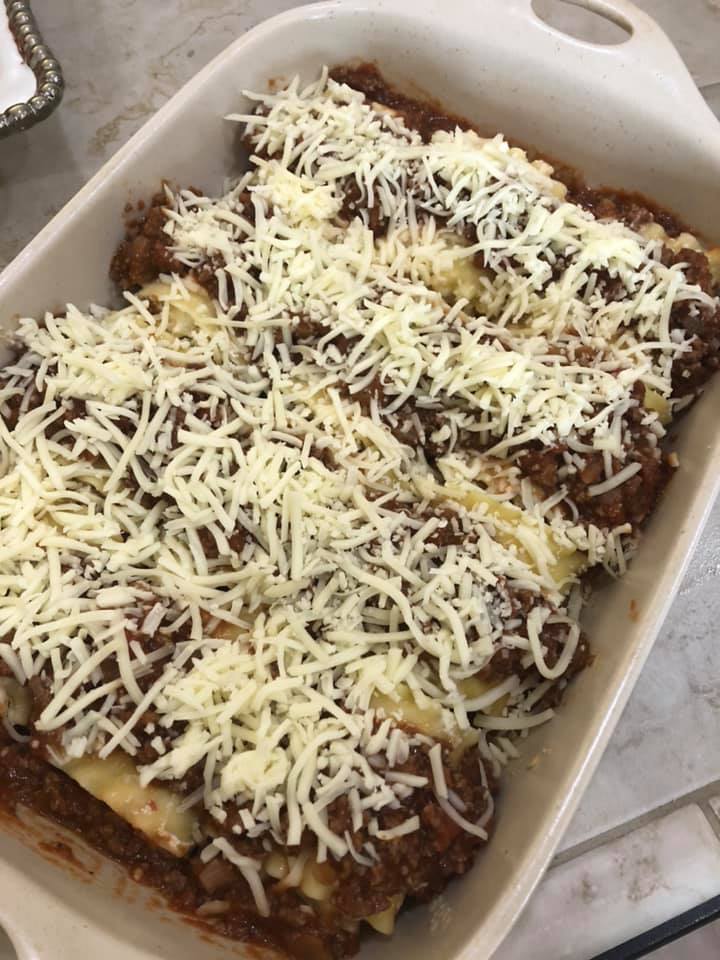
**If you aren't baking right away - cover with foil and place in refrigerator.  Preheat oven to 400F. bake for 55-70 minutes.  Finish off under broiler. 
0 Comments
<<Previous
    F I N D  A  R E C I P E 

       PRINT OR SAVE TO .PDF 
    Print Friendly and PDF


    Archives

    December 2024
    November 2024
    June 2024
    December 2023
    August 2023
    July 2023
    April 2023
    February 2023
    January 2023
    December 2022
    November 2022
    October 2022
    September 2022
    July 2022
    June 2022
    May 2022
    March 2022
    February 2022
    January 2022
    December 2021
    October 2021
    September 2021
    July 2021
    February 2021
    January 2021
    December 2020
    November 2020
    October 2020
    September 2020
    August 2020
    July 2020
    June 2020
    May 2020
    April 2020
    March 2020
    February 2020
    December 2019
    November 2019
    October 2019
    September 2019
    August 2019
    July 2019
    May 2019
    April 2019
    March 2019
    February 2019
    January 2019
    December 2018
    November 2018
    October 2018
    September 2018
    August 2018
    July 2018
    April 2018
    March 2018
    February 2018
    January 2018
    December 2017
    November 2017
    October 2017
    September 2017
    August 2017
    July 2017
    June 2017
    May 2017
    April 2017
    March 2017
    February 2017
    January 2017
    December 2016
    November 2016
    October 2016
    September 2016
    August 2016
    July 2016
    June 2016
    May 2016
    April 2016
    March 2016
    February 2016
    January 2016
    December 2015
    November 2015
    October 2015
    September 2015
    August 2015
    July 2015
    June 2015
    May 2015
    April 2015
    March 2015
    February 2015
    January 2015
    December 2014
    November 2014
    October 2014
    September 2014
    August 2014
    July 2014
    June 2014
    May 2014
    April 2014
    March 2014
    February 2014
    January 2014

Picture
© Copyright 2025, Canning and Cooking at Home.  Established 2013.
All images & content are copyright protected. Please do not use my images on your own site/page without prior permission. Sharing, pinning, and tweeting is always appreciated as long as the shares and pins link back to this website and recipe.  Canning and Cooking at Home claims NO liability for the safety of ANY recipe or advice contained within this website.  Always consult with the NCHFP  to ensure Canning Safety.