CANNING AND COOKING AT HOME
  • Start Here
  • Diane's Blog
  • Pickling
    • My Pickle Creations
    • Pickle Recipes
  • Canning 101
  • Cooking Recipes
    • Breads
    • Breakfast
    • Instant Pot Recipes
    • Main Dishes
    • Soups
    • Sweets
    • Drinks
    • Sauces/Apps/Sides
  • Canning Recipes
    • Meats/Other
    • Pressure Canned Soups
    • Tomatoes
  • Recipe Collections
    • The Apple Cart
    • Asian Inspired Recipes
    • Bundts to Bake
    • Cherry Recipes (preserving)
    • Easter Menu Ideas
    • Freezer to SlowCooker
    • Irish Fare
    • Jelly & Jam Recipes
    • Mexican Inspired Recipes
    • Pickle Recipes
    • Soups
    • Summer Grillin' Guide

Low Sugar Peanut Butter Cookies

2/23/2022

0 Comments

 
Picture
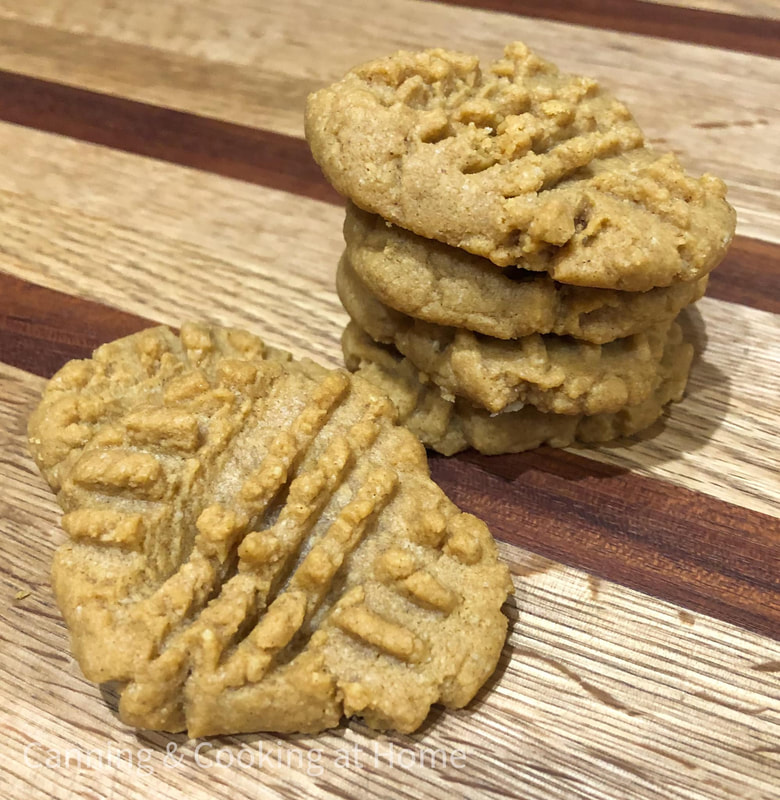
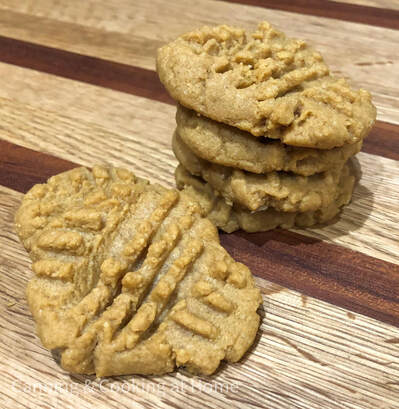
    Thankful to good friends!  We happened to be talking about making lower sugar baked goods.  My friend handed me this recipe and I made it right away as it's my favorite cookie!!  I love all things peanut butter!!  You can use any sugar substitute you prefer as long as it's designated for baking.  Enjoy! Diane 

Low Sugar Peanut Butter Cookies 

Ingredients: 
1 egg
1 cup Splenda
1 teaspoon baking powder 
1/2 teaspoon vanilla extract 
1 cup creamy peanut butter (*I'm a Jif Girl) 
1 teaspoon water 

Directions: 
    Preheat oven to 350 
Add all ingredients to a mixing bowl. Beat together until well incorporated.  Measure out a heaping teaspoon, roll quickly in the palm of hand and placed on a parchment lined cookie sheet.  Using a fork, lightly make crosshatch indentations on each cookie *if the fork stick just lightly spray with cooking spray.   Bake 12-14 minutes. Once firm and slightly browned, let baked cookies cool at least 3 minutes before moving off cookie sheet to final cooling rack. 

Eat and ENJOY! 
0 Comments

Canning Potatoes

2/12/2022

0 Comments

 
Picture

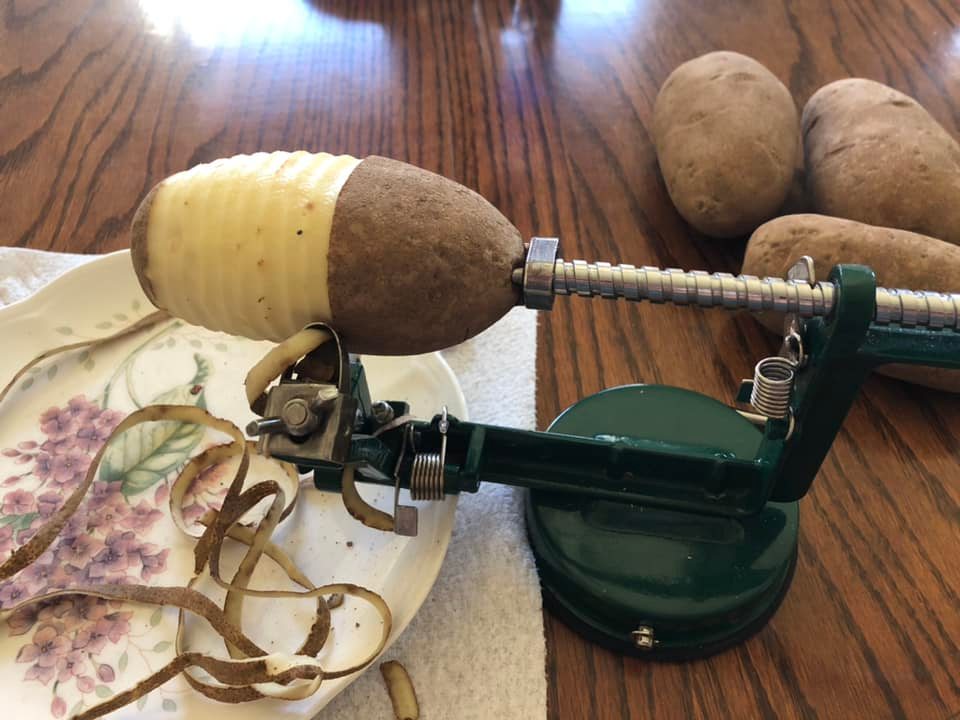
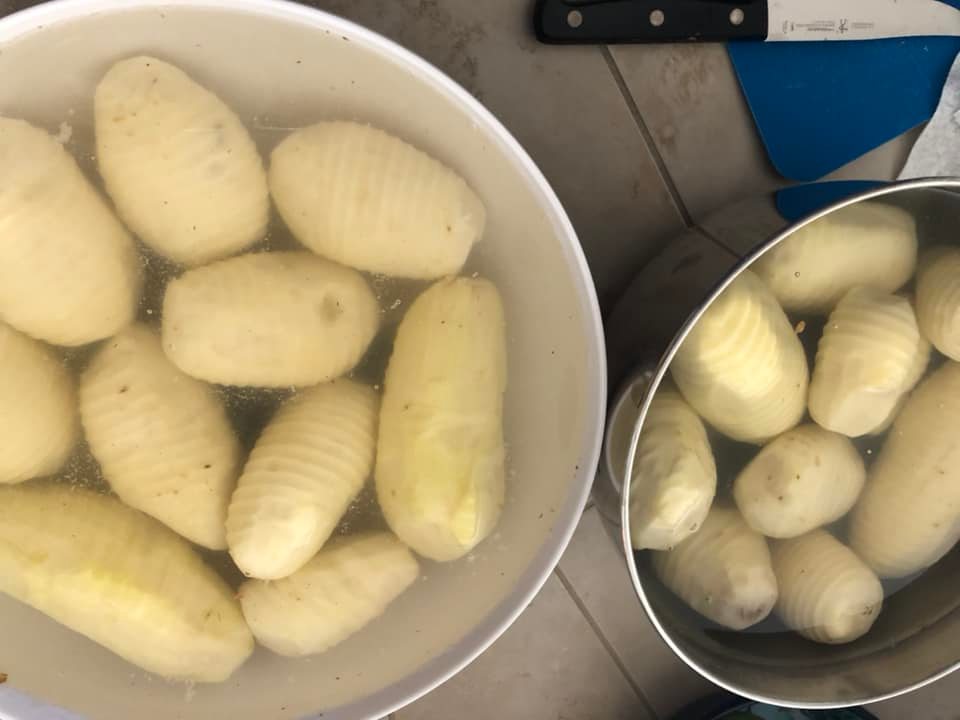
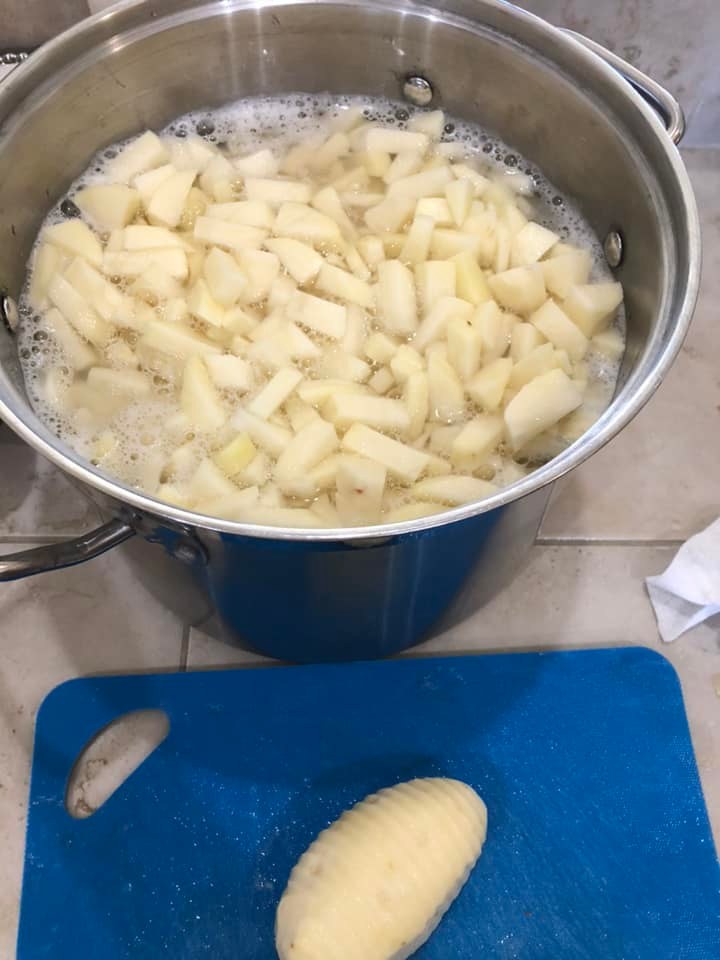
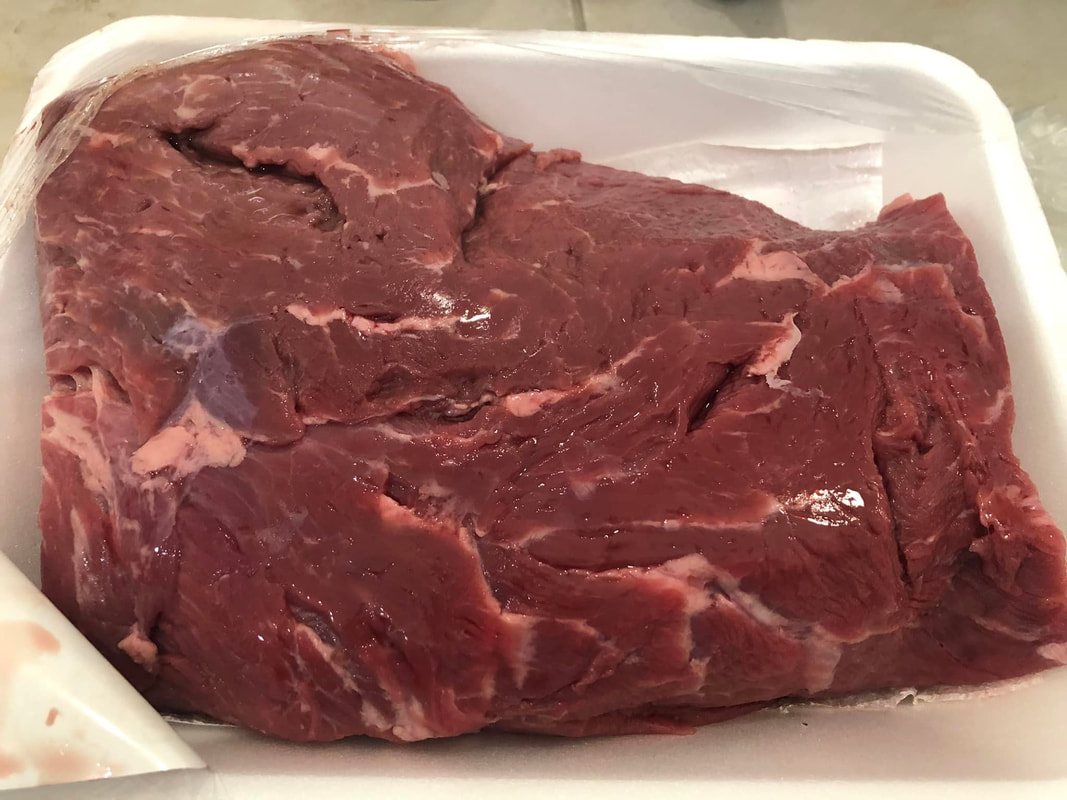
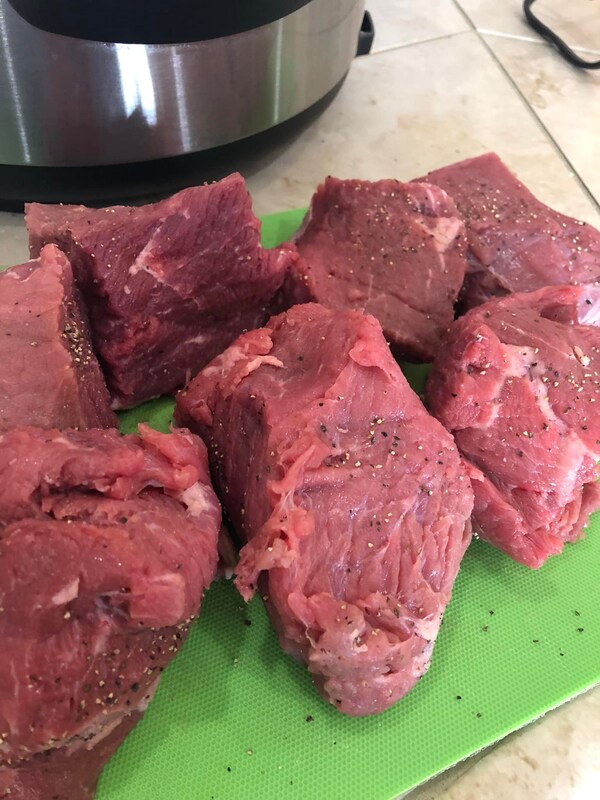
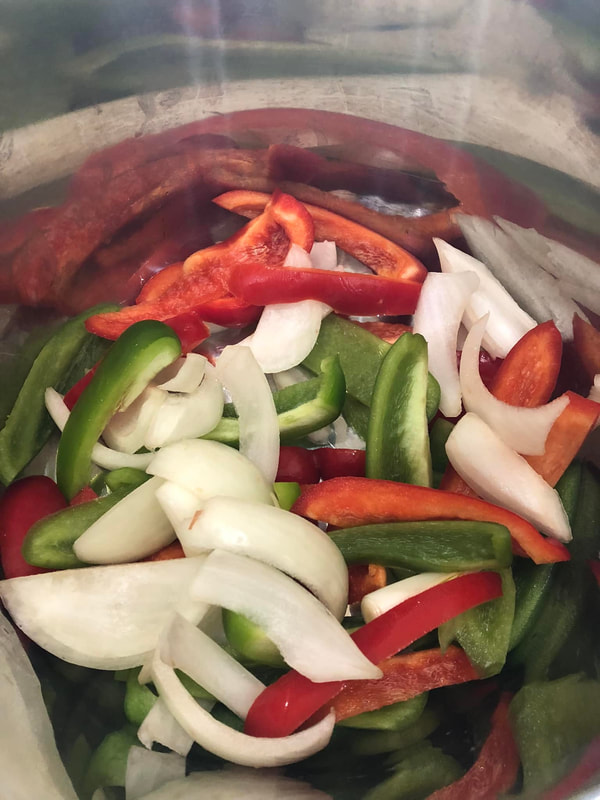
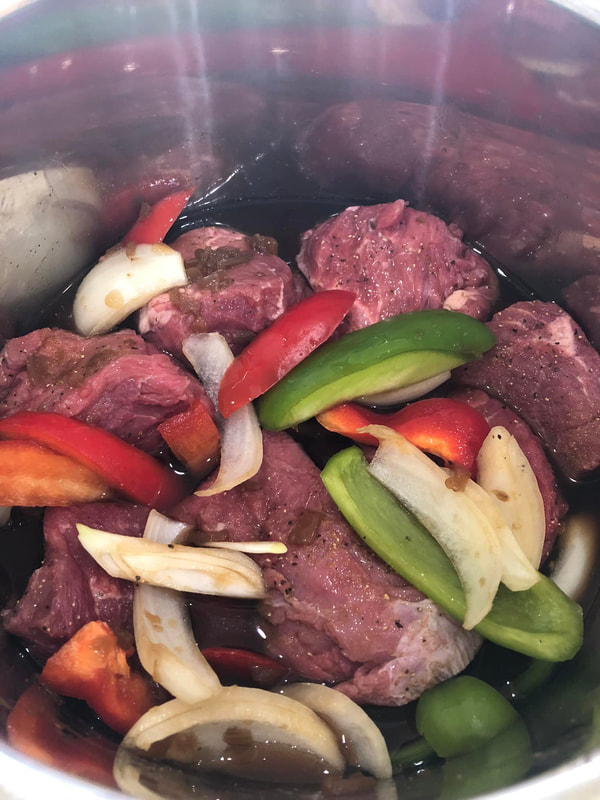
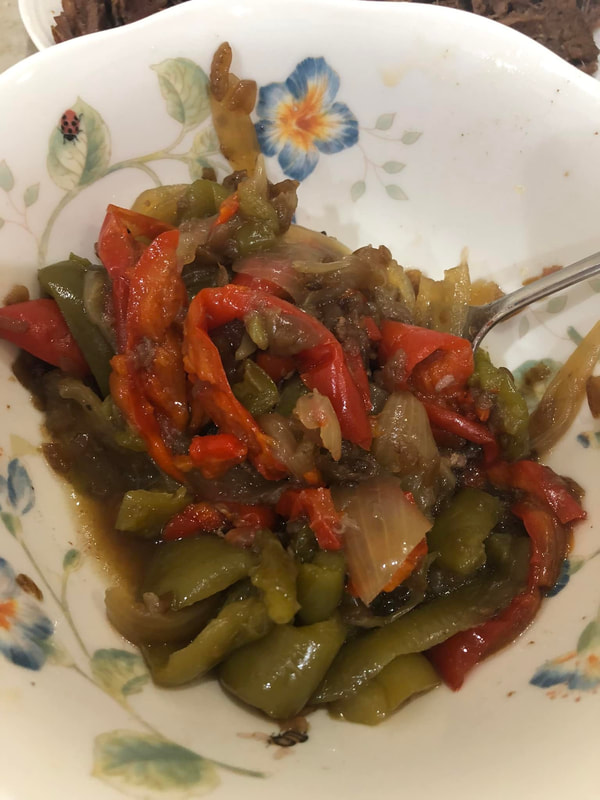
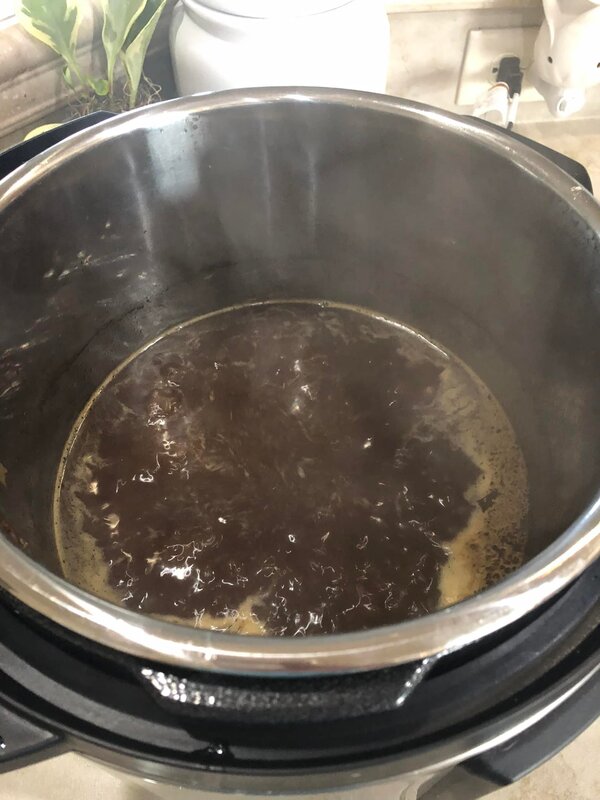
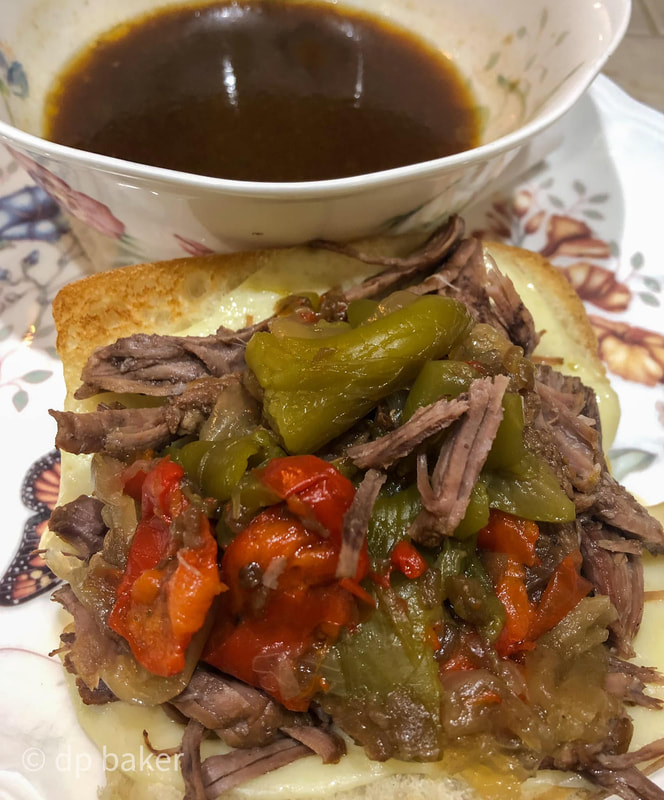
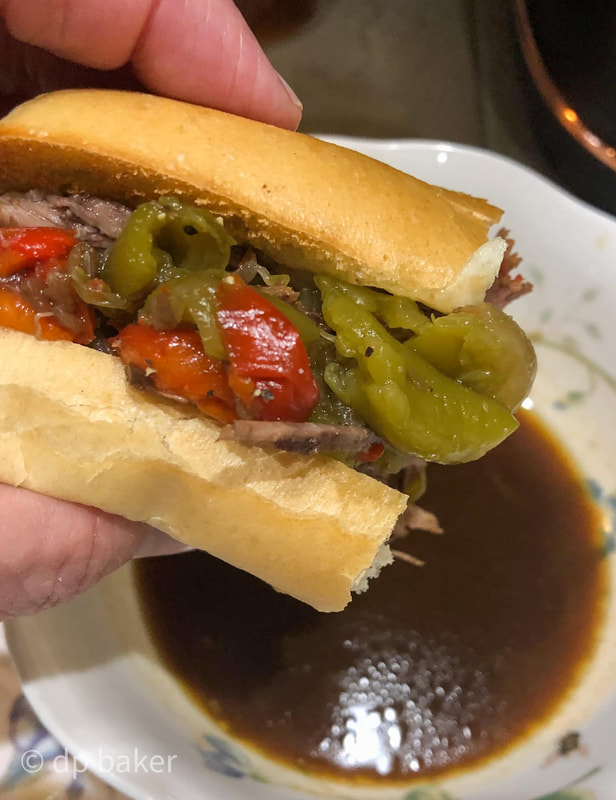
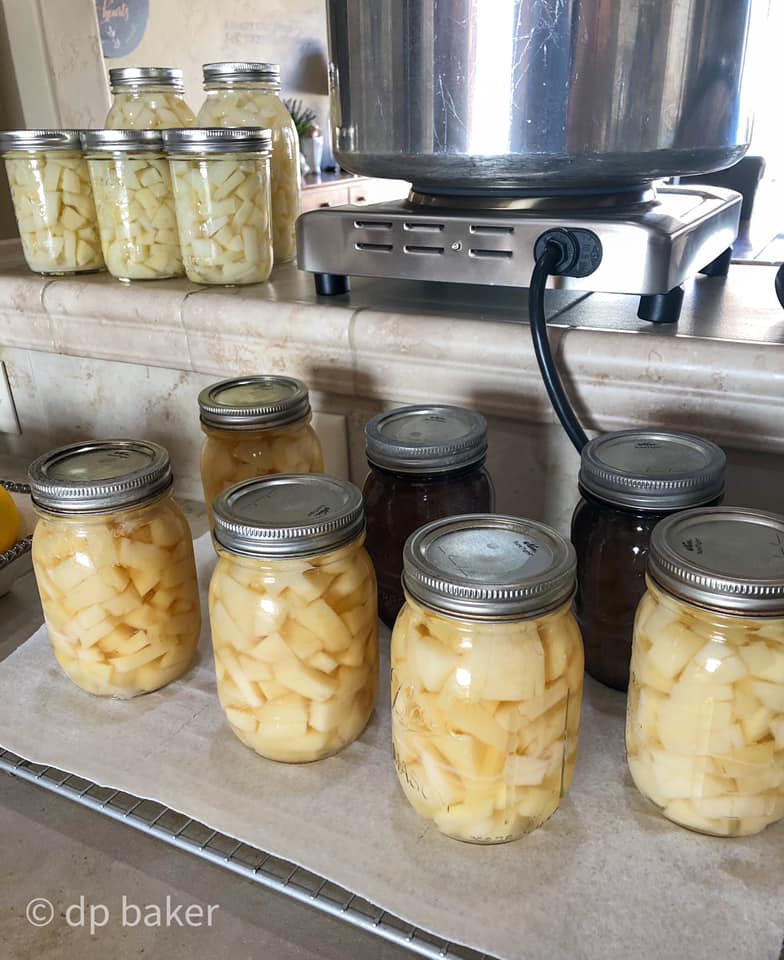
   Canning Potatoes; White 

    No matter what people tell you, potatoes need peeled before being pressure canned.  Did you know? The bacteria load resides highest in the skins of root vegetables and tomatoes so, peel your potatoes please! 
      This is what I do: I wash my potatoes. I use my apple peeler to peel off the skin from the body of each potato (and a handheld peeler to take off the peel from each end.)  I place my peeled potatoes in cold water that has 'Fruit Fresh' sprinkled in which prevents browning.  Dice each potato into 1" cubes/chunks. and place back into the acidulated water. 
      Once all potatoes are diced, drain and place the cut potatoes in a strainer and rinse well.  Place rinsed potatoes in a large stockpot and fill with fresh water.  Bring water to a boil and boil 2 minutes.  Pack clean prepared jars with hot potatoes to 1" headspace. Using fresh boiling water pour into each jar to 1" headspace.  Add kosher salt to each jar if preferred (1/2 tsp for pints; 1 tsp for quarts.)  De-bubble jars and process in a Pressure Canner according to the NCHFP (full instructions here.)  

*According to your altitude
35 minutes for Pints 
40 minutes for Quarts 
0 Comments

French Dip in the Instant Pot

2/3/2022

0 Comments

 
Picture
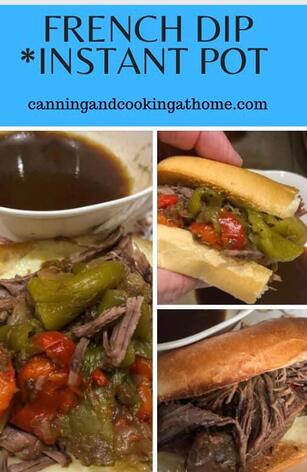
     I redesigned my French Dip recipe so that we could make it in the Instant Pot.  We really liked this version, and the instant pot left the beef super tender!  Enjoy! Diane 

French Dip *instant pot version

Ingredients: 
  • 3 pounds chuck roast; fat trimmed
  • 1 teaspoon onion powder
  • 1 teaspoon salt
  • 1 teaspoon ground black pepper
  • 1 Tablespoon soy sauce
  • 1 (10.5oz) can beef consommé or beef broth
  • 1 (10.5oz) can french onion soup
  • 1 green bell pepper, sliced lengthwise
  • 1 red bell pepper, sliced lengthwise
  • 1 medium onion, large slice
  • 1 (1oz) packet of dry Au Jus Gravy
  • 16 slices Provolone Cheese  

This recipe makes about Eight 6" or Four 12" Sandwiches.
I buy French/Steak Rolls or if I have time, I bake NOLA Rolls (recipe here) 


Directions: 
  • Trim your chuck roast and cut into large chunks.
  • Season the beef with half your salt, pepper and onion powder. 
  • In the bowl of your IP place all the sliced vegetables along with the french onion soup and half the beef consommé. Sprinkle your remaining spices over vegetables. 
  • Nestle your seasoned beef into the vegetables and pour the remaining consommé over everything (do not stir in.) 
  • Place lid onto IP and set to "Manual" and be sure control knob is on "Sealing." (Cook your dish for 25 minutes per pound of beef. 3-pound roast = 75 minutes.)  
  • Let the dish natural release for one hour before removing lid. 
  • Once cooked, remove lid and strain out all meat onto a plate and shred meat using two forks.
  • Remove all vegetables into one bowl, set aside. 
  • Set your IP on Sauté and whisk in the dry Au Jus Packet.  Let that come to heat and cook while you are prepping the bread rolls and cheese. 
  • I take my rolls and lay open faced on a baking sheet. I cover the bread with sliced provolone cheese *keep in mind that any uncovered bread spots can burn if left unattended too long. (I tear one cheese slice and cover the bare spots.) 
  • Place your cheese bread under broiler and let the cheese melt. 
  • Once melted; build your sandwiches using the shredded beef and cooked vegetables. 
  • Place Au Jus into serving bowls alongside the sandwiches. 
  • Serve & enjoy! 
0 Comments

Easy Korean Beef & Rice Bowls

2/1/2022

0 Comments

 
Picture
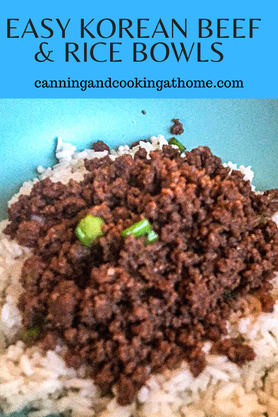
     Need a quick dinner.  Fast and easy dish that comes together quickly.  You can add in any additional fresh vegetables you prefer.  I've added matchstick carrots, peas, water-chestnuts and broccoli in the past.  This dish has a slight spice to it but, its evened out with the sweet kick as well.  Enjoy! Diane 

Ingredients:
  • 1-pound lean ground beef 93% lean
  • 3 garlic cloves minced
  • 1/4 cup packed brown sugar
  • 1/4 cup soy sauce
  • 2 teaspoons sesame oil
  • 1/4 teaspoon ground ginger
  • 1/4 teaspoon crushed red pepper flake or hot chili oil 
  • 1/4 teaspoon ground black pepper
  • 2 cups cooked rice: your choice of rice. 
  • 3 sliced green onions
  • toasted sesame seeds, for garnish

Directions:  
  • In a skillet or dutch oven, cook the ground beef over medium heat until no longer pink.  Add in the garlic and cook 3 minutes, careful not to scorch the garlic or it can taste bitter. 
  • In a small bowl whisk together the brown sugar, soy sauce, sesame oil, ginger, red pepper flakes or chili oil and black pepper.
  • Pour sauce over the ground beef and let simmer for two minutes.
  • Spoon over hot cooked rice.
  • Garnish with sliced green onion and toasted sesame seeds.

0 Comments

Chocolate Chip Pudding Cookies

2/1/2022

0 Comments

 
Picture
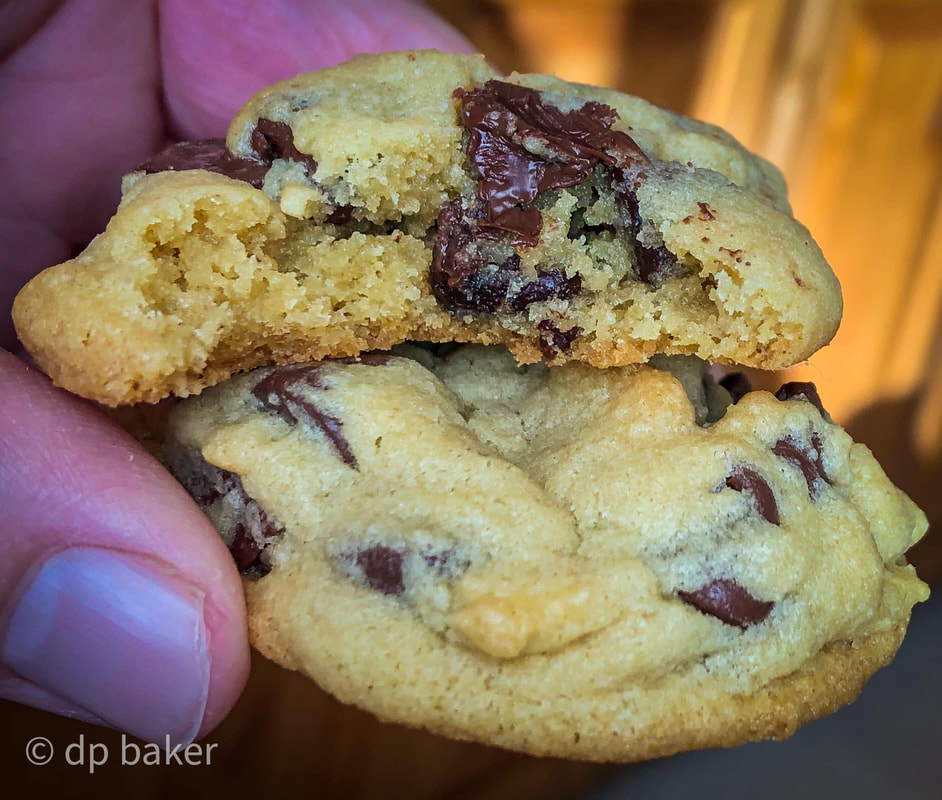
      Someone messaged me asking for a good chocolate chip cookie recipe.  I've used this one in that past and it's always been a hit.  We also like making this with Instant Chocolate Pudding in the mix and some toasted walnuts with chocolate chips (oh SO decadent!)  Enjoy! Diane 

Ingredients:  
  • 2 1/4 cups all-purpose flour
  • 1 teaspoon baking soda
  • 1 cup butter, softened
  • 3/4 cup light brown sugar, packed
  • 1/4 cup white sugar
  • 1  3.4 oz package instant vanilla pudding
  • 2 eggs, room temp
  • 1 teaspoon vanilla extract
  • 2 cups semi-sweet chocolate chips
Directions
  • Preheat oven to 350 degrees.
  • Sift together flour and baking soda and set aside.
  • Using a stand mixer; cream butter and sugars together. 
  • Add in the pudding mix and beat until light and fluffy.
  • Add the eggs one at a time and vanilla; beat until smooth.
  • Slowly add in the flour mixture, making sure that it is well incorporated.
  • Last, add the chocolate chips and stir well to mix them into the dough.
  • Use a small or medium scoop to make the cookies an even size.
  • Bake on parchment lined baking sheets for 11 minutes. 
  • Let baked cookies cool on the sheet for 5 minutes and then remove to wire racks to finish cooling. 
0 Comments
    F I N D  A  R E C I P E 

       PRINT OR SAVE TO .PDF 
    Print Friendly and PDF


    Archives

    August 2023
    July 2023
    April 2023
    February 2023
    January 2023
    December 2022
    November 2022
    October 2022
    September 2022
    July 2022
    June 2022
    May 2022
    March 2022
    February 2022
    January 2022
    December 2021
    October 2021
    September 2021
    July 2021
    February 2021
    January 2021
    December 2020
    November 2020
    October 2020
    September 2020
    August 2020
    July 2020
    June 2020
    May 2020
    April 2020
    March 2020
    February 2020
    December 2019
    November 2019
    October 2019
    September 2019
    August 2019
    July 2019
    May 2019
    April 2019
    March 2019
    February 2019
    January 2019
    December 2018
    November 2018
    October 2018
    September 2018
    August 2018
    July 2018
    April 2018
    March 2018
    February 2018
    January 2018
    December 2017
    November 2017
    October 2017
    September 2017
    August 2017
    July 2017
    June 2017
    May 2017
    April 2017
    March 2017
    February 2017
    January 2017
    December 2016
    November 2016
    October 2016
    September 2016
    August 2016
    July 2016
    June 2016
    May 2016
    April 2016
    March 2016
    February 2016
    January 2016
    December 2015
    November 2015
    October 2015
    September 2015
    August 2015
    July 2015
    June 2015
    May 2015
    April 2015
    March 2015
    February 2015
    January 2015
    December 2014
    November 2014
    October 2014
    September 2014
    August 2014
    July 2014
    June 2014
    May 2014
    April 2014
    March 2014
    February 2014
    January 2014

Picture
© Copyright 2023, Canning and Cooking at Home.  Established 2013.
All images & content are copyright protected. Please do not use my images on your own site/page without prior permission. Sharing, pinning, and tweeting is always appreciated as long as the shares and pins link back to this website and recipe.  Canning and Cooking at Home claims NO liability for the safety of ANY recipe or advice contained within this website.  Always consult with the NCHFP to ensure Canning Safety.