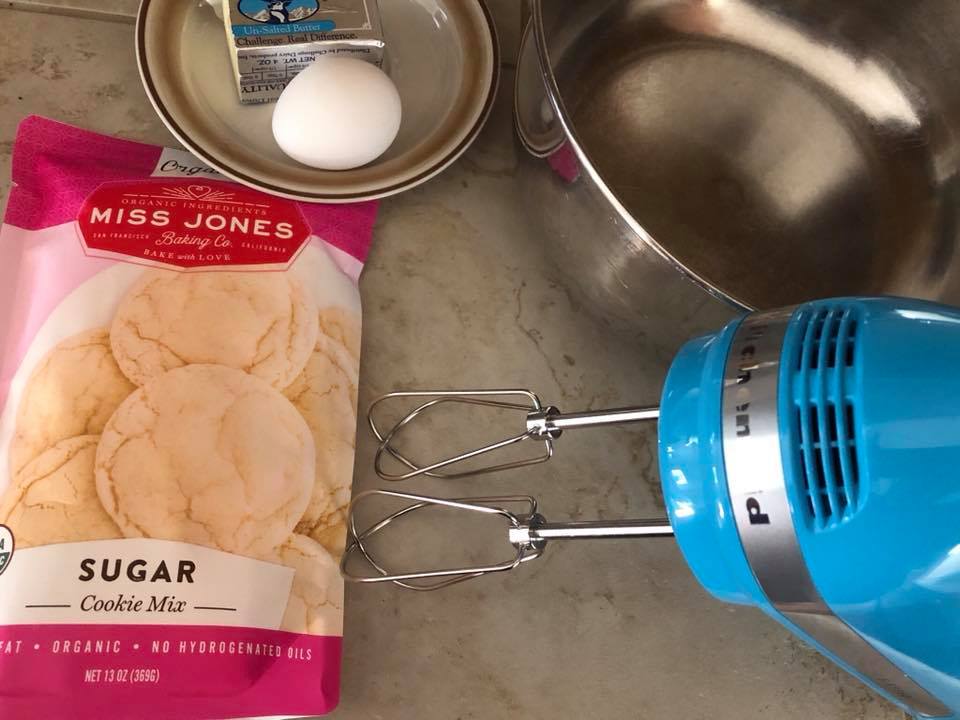
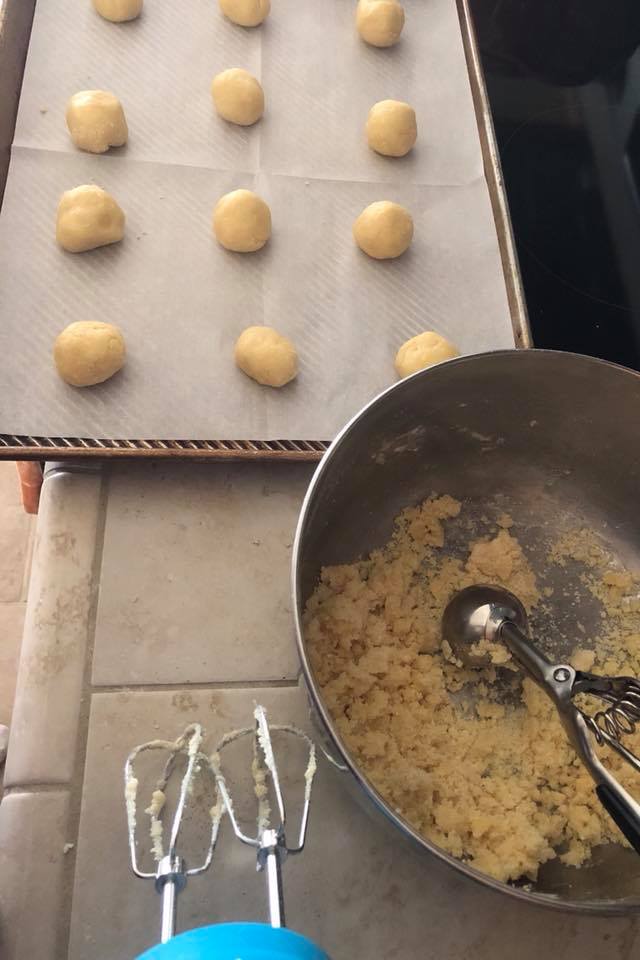
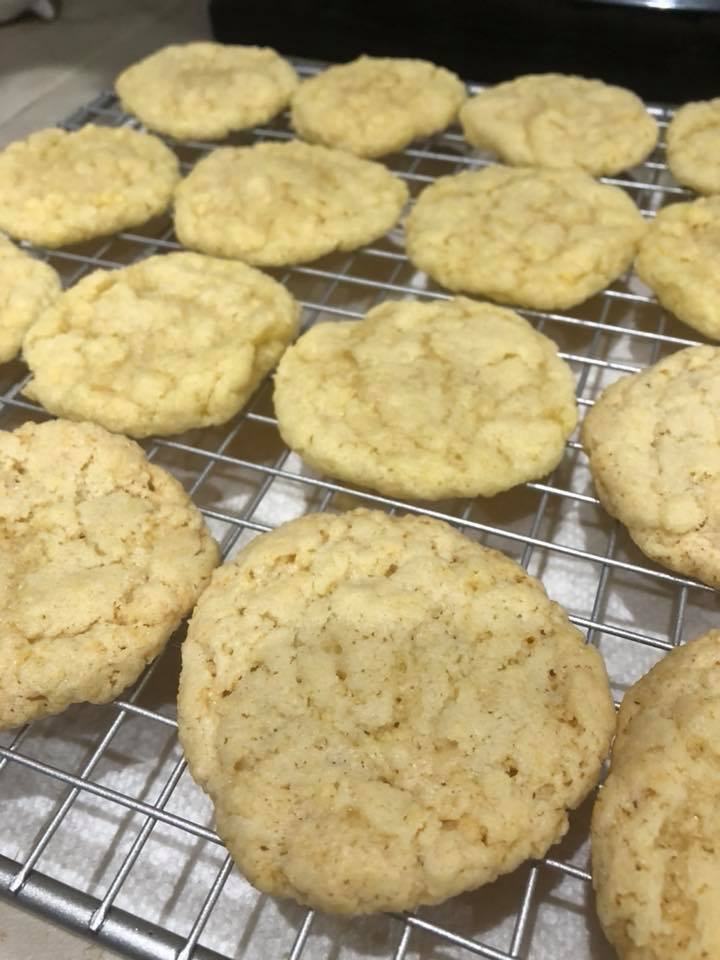
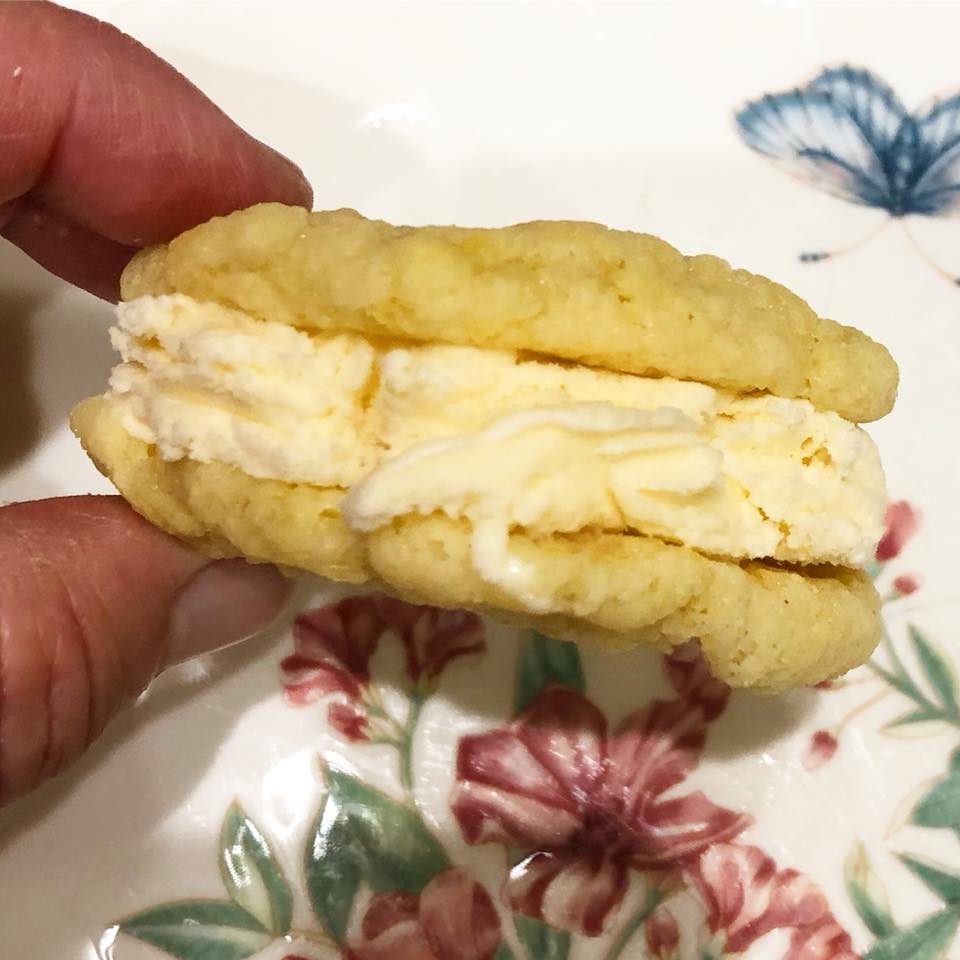
 I was asked to try the Organic Sugar Cookie mix from Miss Jones Baking Company. They are 'the creators of the first ever ready-to-use organic frostings and baking mixes.' I was happy to bake some of their Sugar Cookies as we were having company and I needed a quick dessert. This mix was perfect! The cookies are easy to make and bake up soft and flavorful. The cookies worked great when making some homemade ice cream sandwiches with my homemade ice cream. Everyone commented that the cookies were rich and flavorful, and made dessert more 'special.' I look forward to trying more mixes from Miss Jones Baking Company - I hear they have a new and exciting microwaveable dessert in a cup! Yes Please!! You know I love my desserts!! Do yourself a favor and stock up on some of their mixes for the upcoming Holidays - you never know when you'll need a cookie or dessert 'fix.' ~Enjoy! Diane 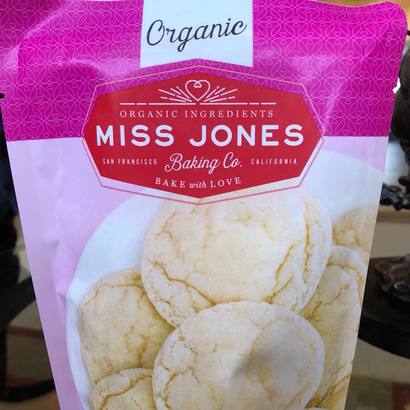
0 Comments
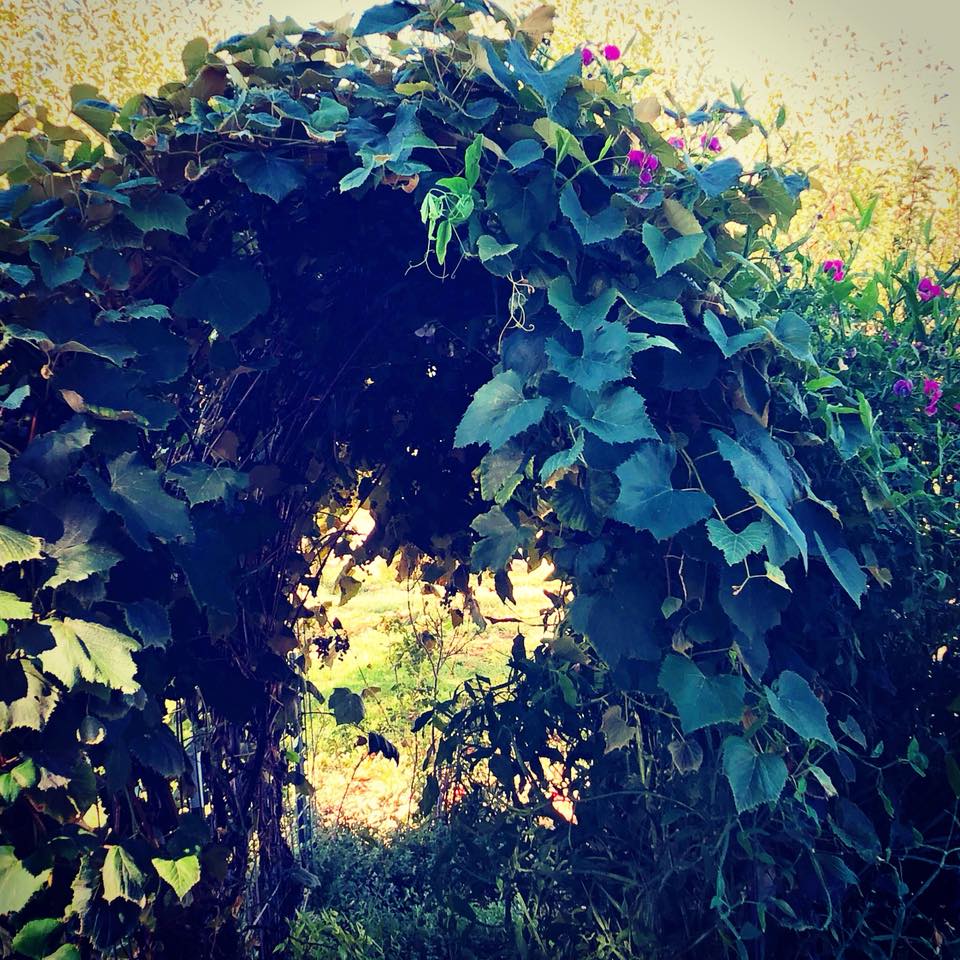
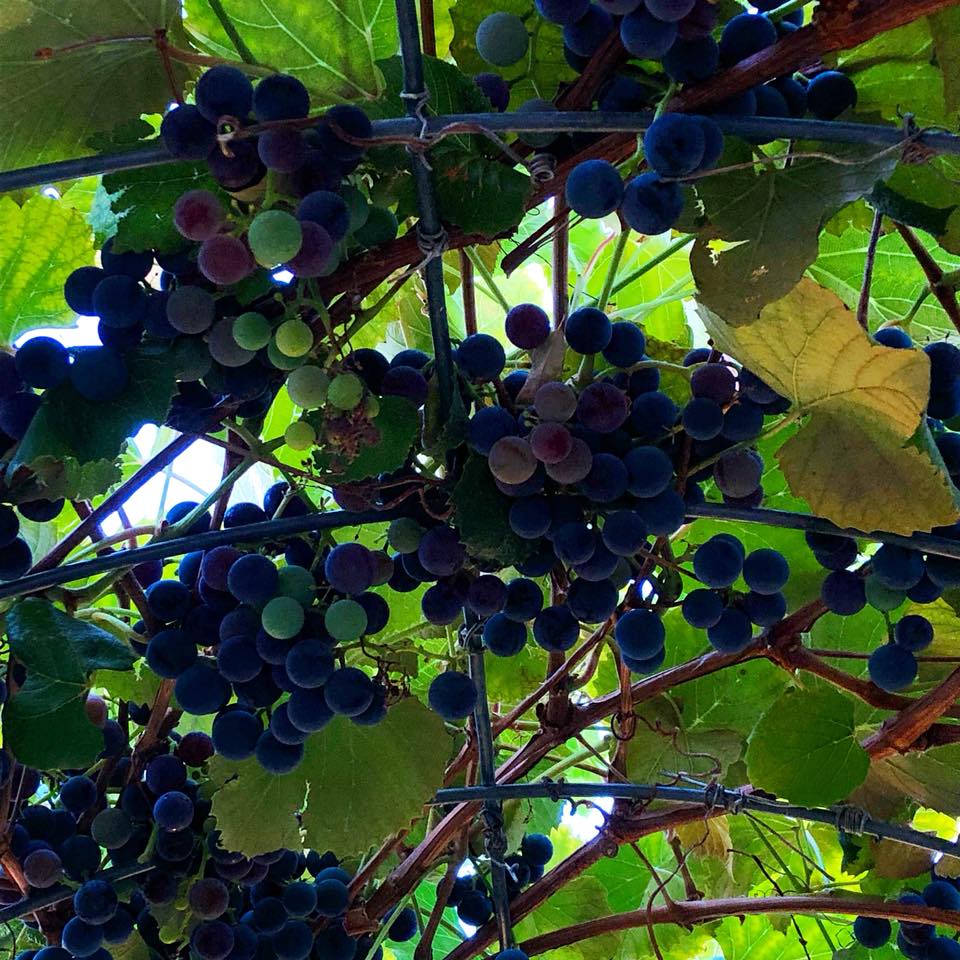
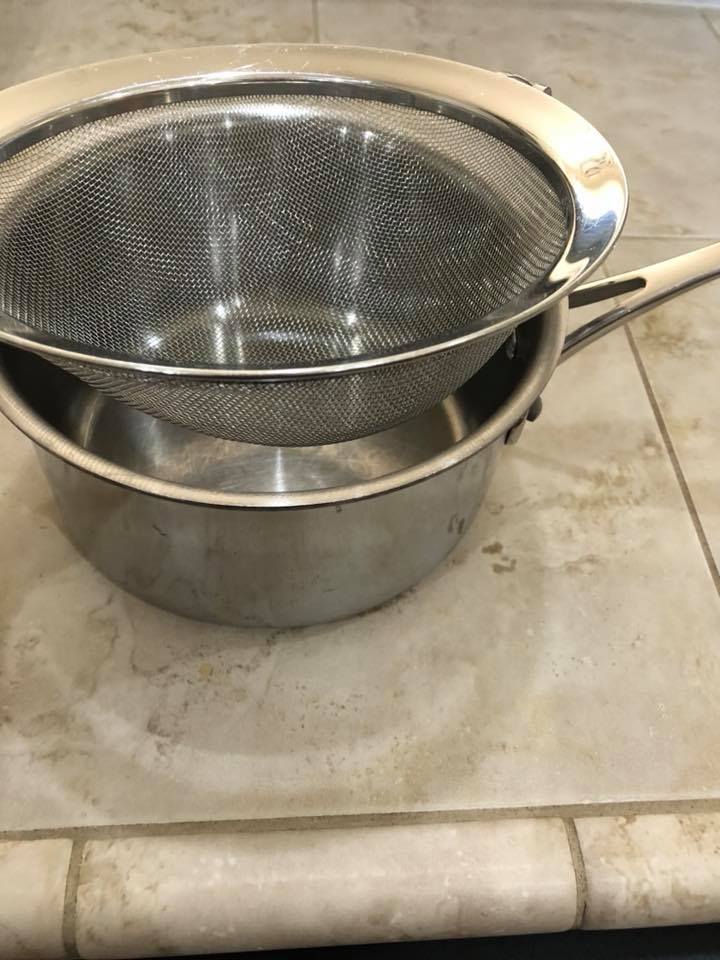
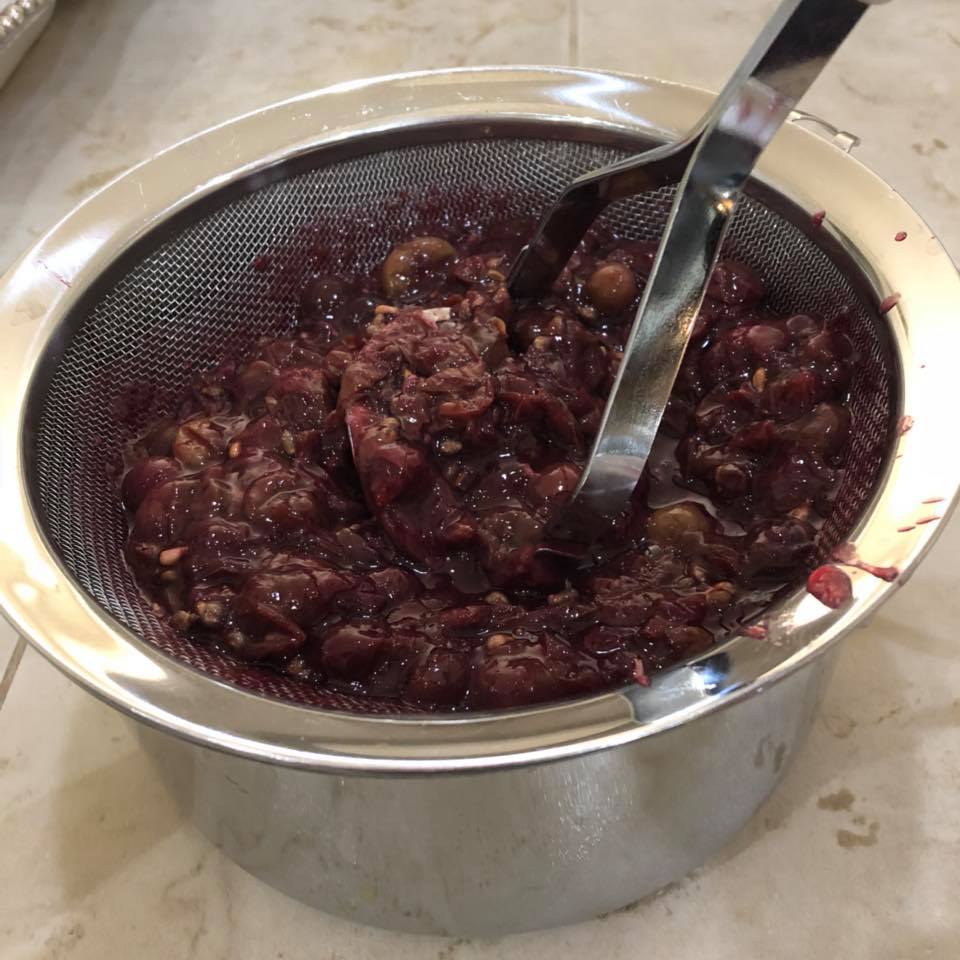
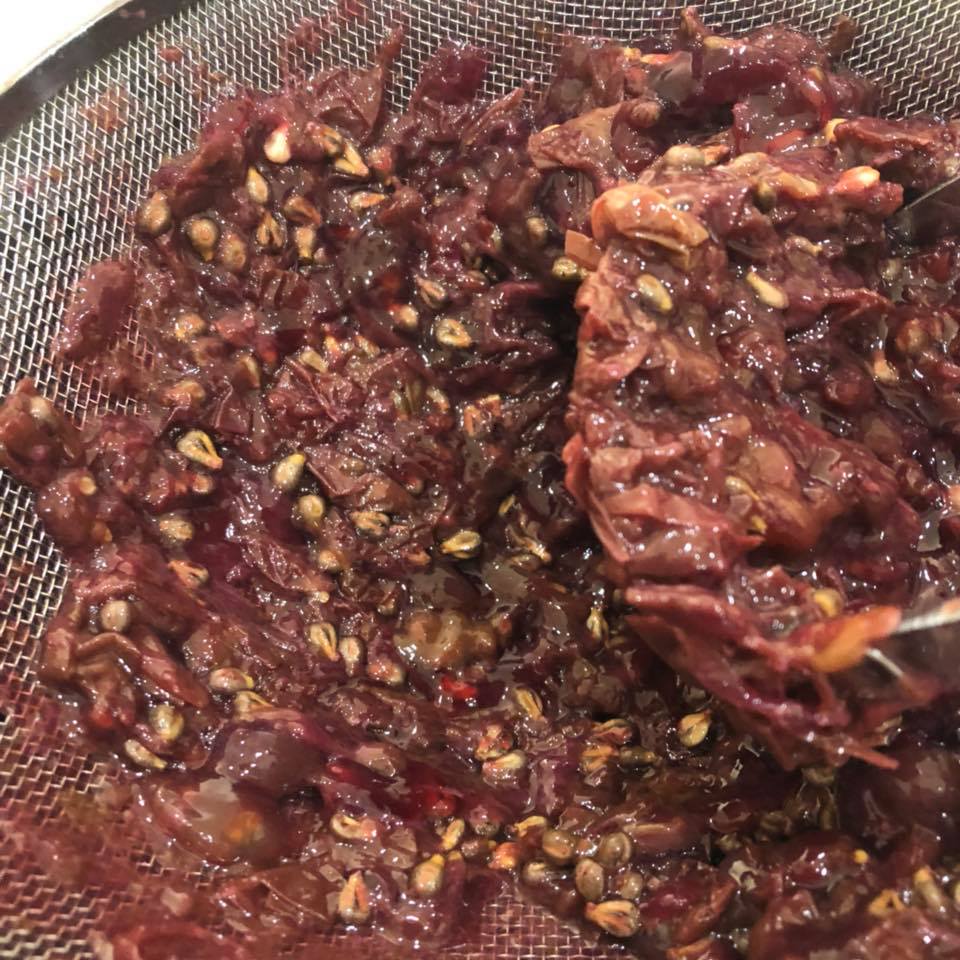
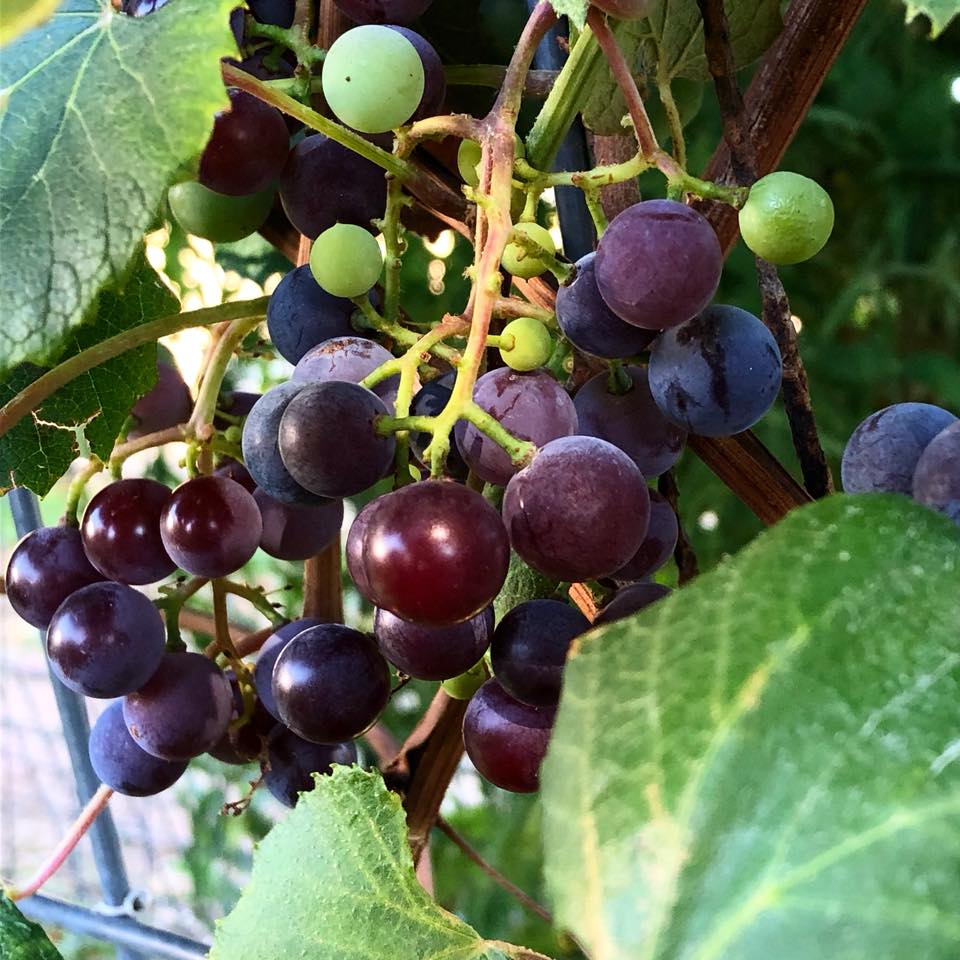
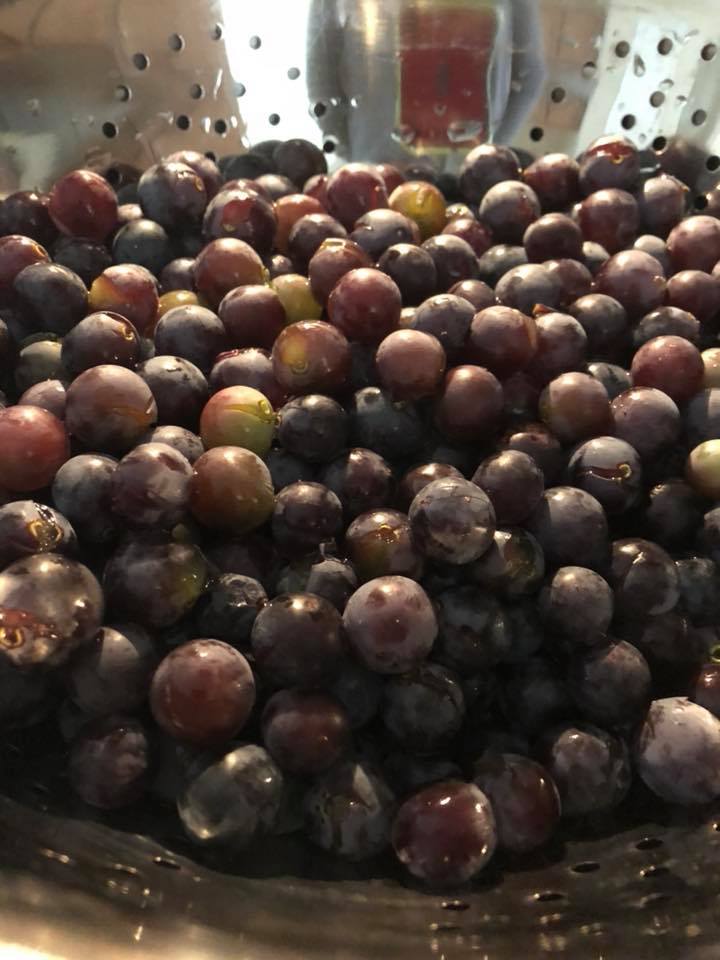
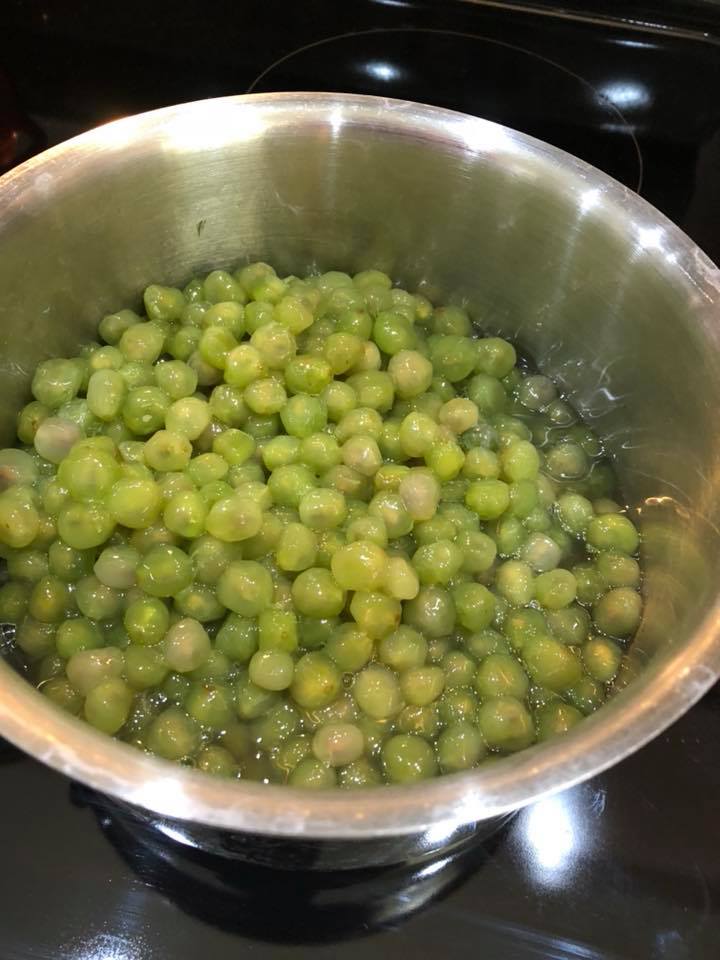
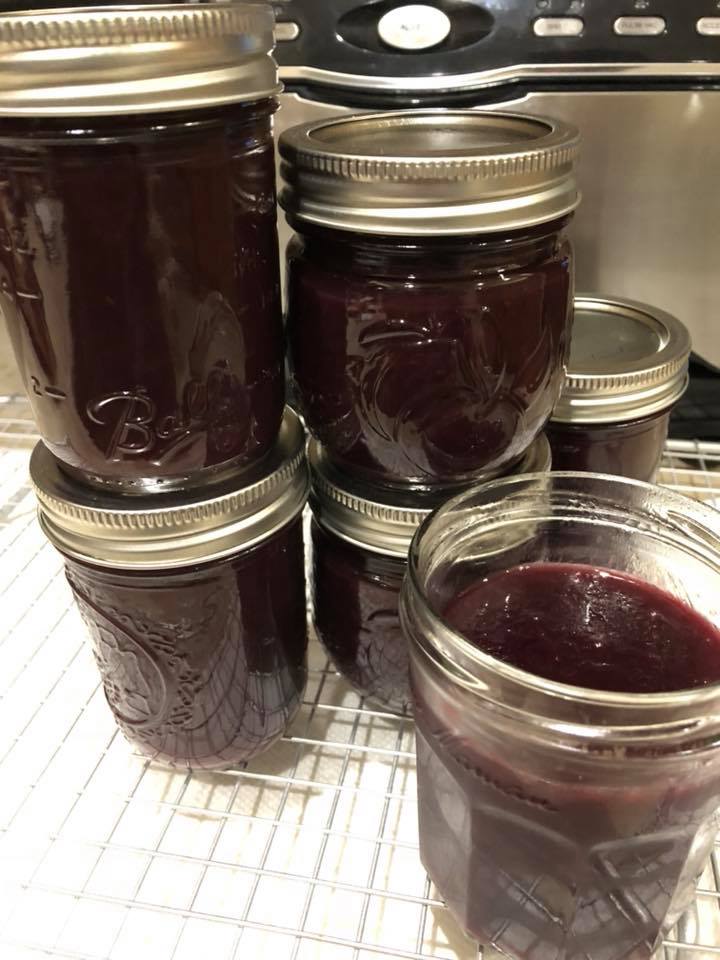
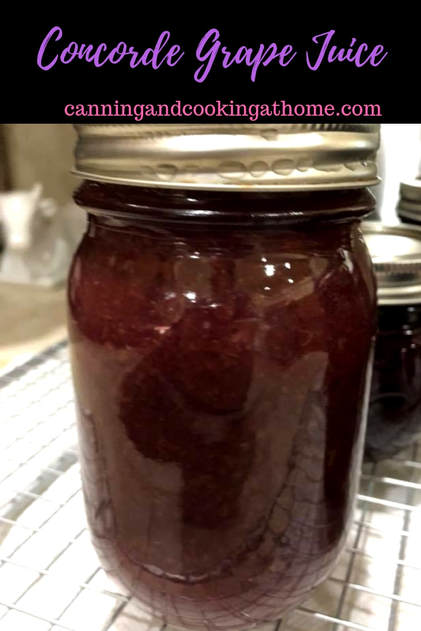 This recipe is pretty simple and easy to make. Take Concorde grapes, wash under running water and stem. Place grapes in a large pot over low heat with 1/2 cup water and 1/2 cup sugar, let grapes heat until the fruit is softened - about 30 mins. Turn off stove and let sit to cool a bit - then smoosh grapes thru a fine sieve by hand with potato masher. Take the juice below sieve and measure it - I had 6 cups juice and I add water as a 1:1 ratio (Adding 6 cups water) and taste to see if any more sugar is needed - usually not but, a 1/2 sugar more is sometimes preferred... Bring juice to a quick boil and jars to 1/4" headspace & process in waterbath or steam canner for 10 minutes pints and quarts *adjusting for your altitude. 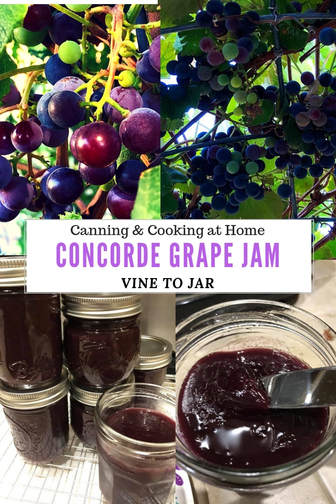 Concorde Grape Jam A friend of ours invited me to their home and property to pick grapes and apples...such a wonderful day. Blue skies, light winds, beautiful property and amazing fruit to harvest! I had a wonderful time gathering Concorde grapes inside their beautiful grape laden arbor! Sometimes its good to be tall as I could reach bunches that were perfectly ripe for the picking and the smell inside the arbor (pictured below) was amazing, very floral and grape scented. The grapes themselves are amazing and although they take more work to process for canning, its worth the time and effort. The seeds are almost as hard as rocks so, running through a hand crank food- mill is preferred *even KitchenAid doesn't want you to run the seeds through their food-mill attachment, because it will destroy it! Slipping the skins is a process, don't get me wrong - I was glad when I was DONE! I hope you do try this jam if you have access to Concordes! Enjoy! Diane Concorde Grape Jam Ingredients:
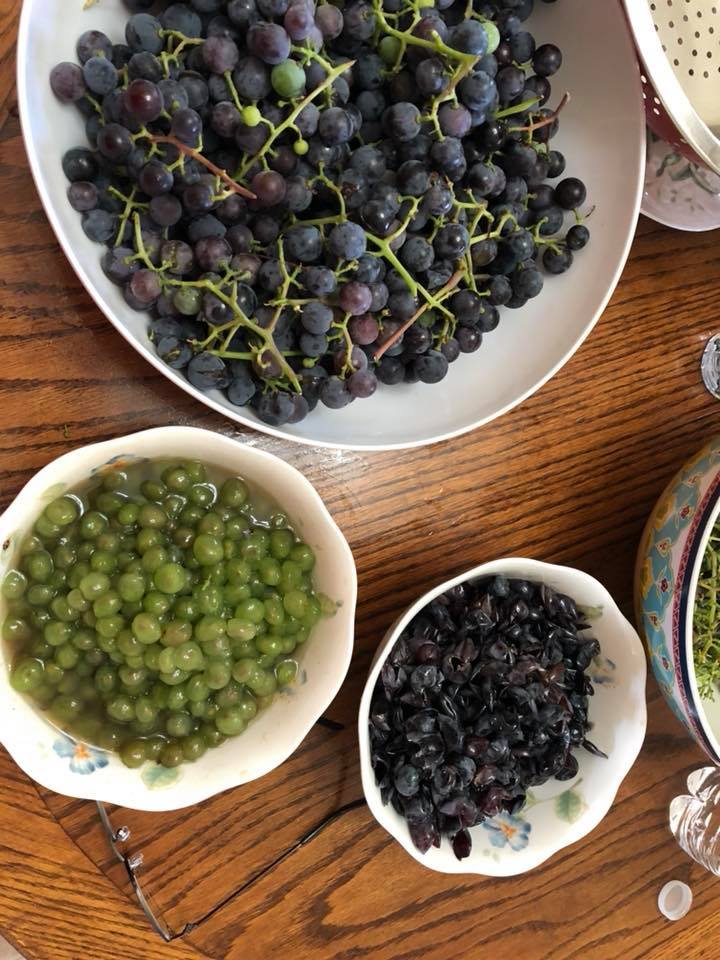
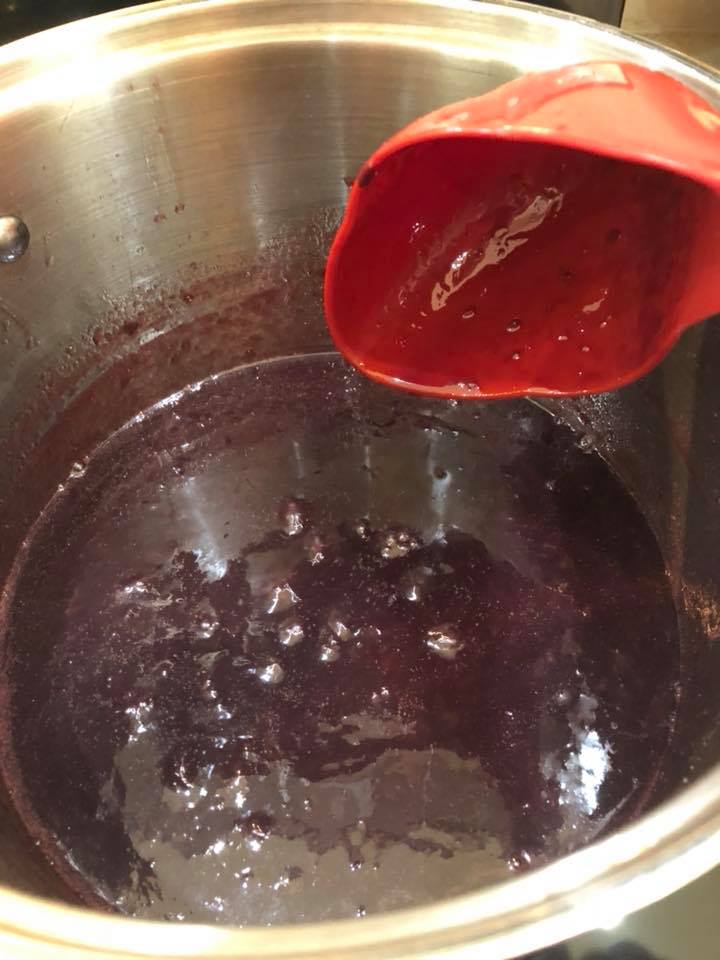
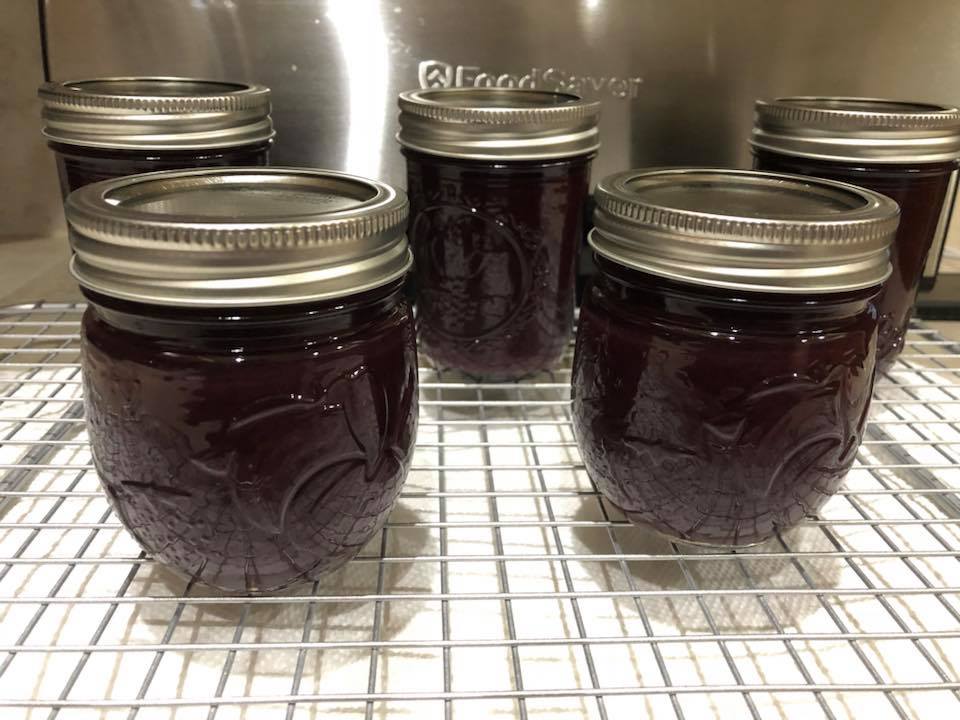
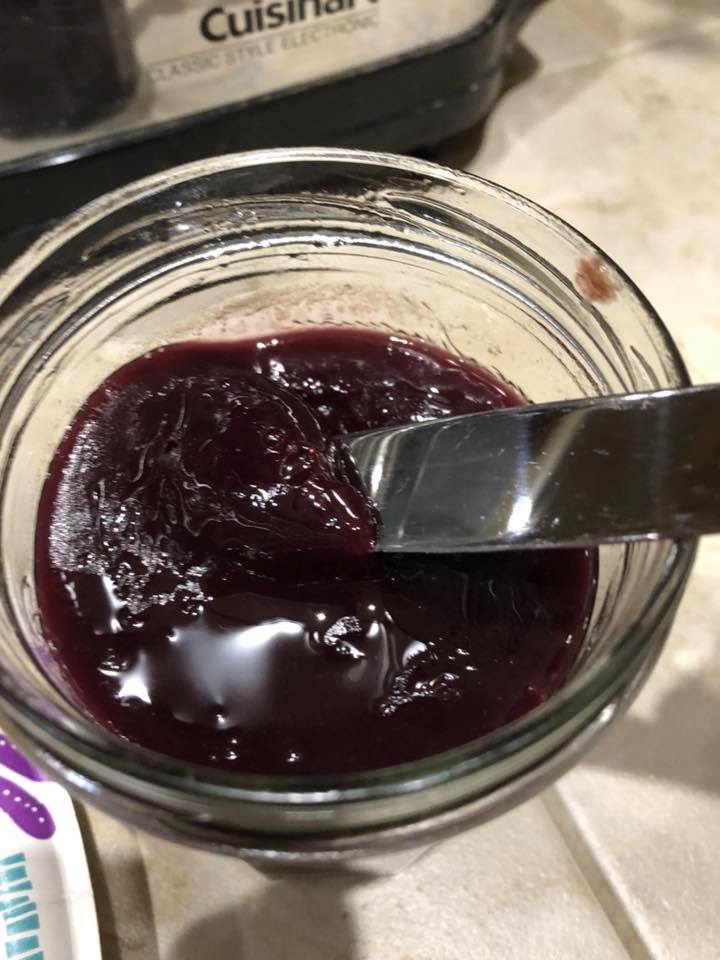
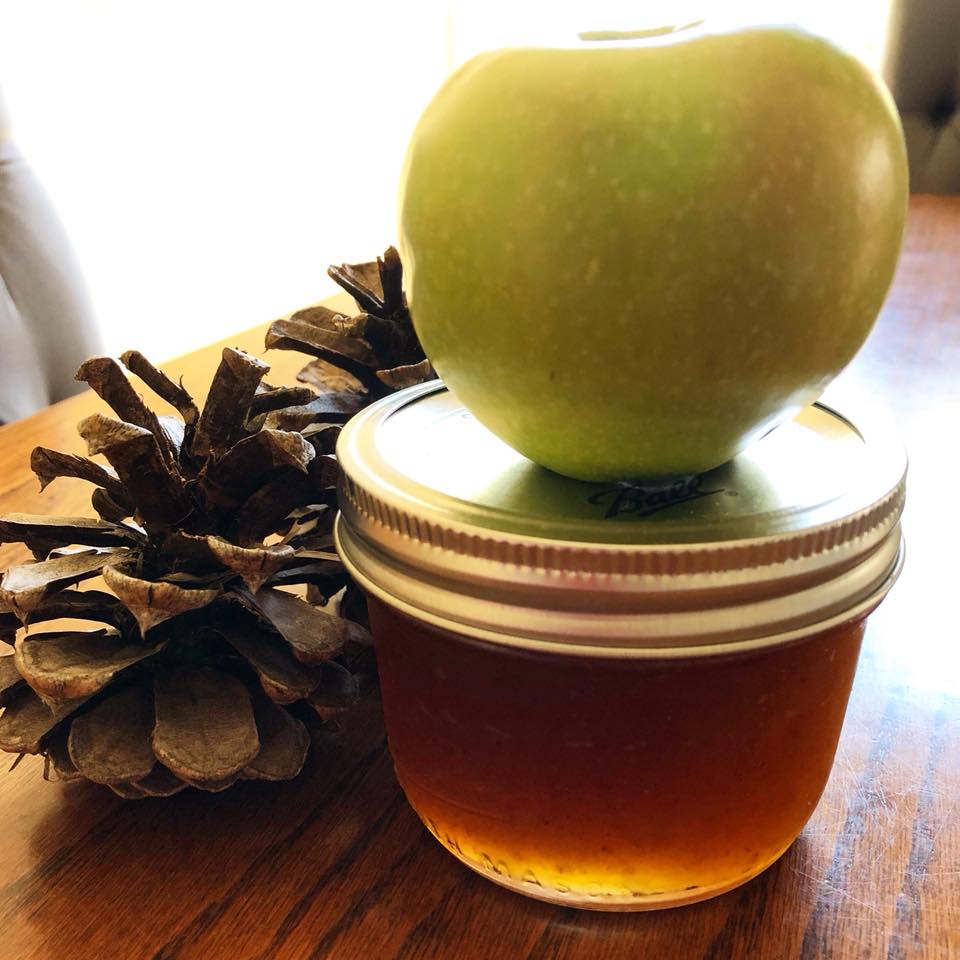
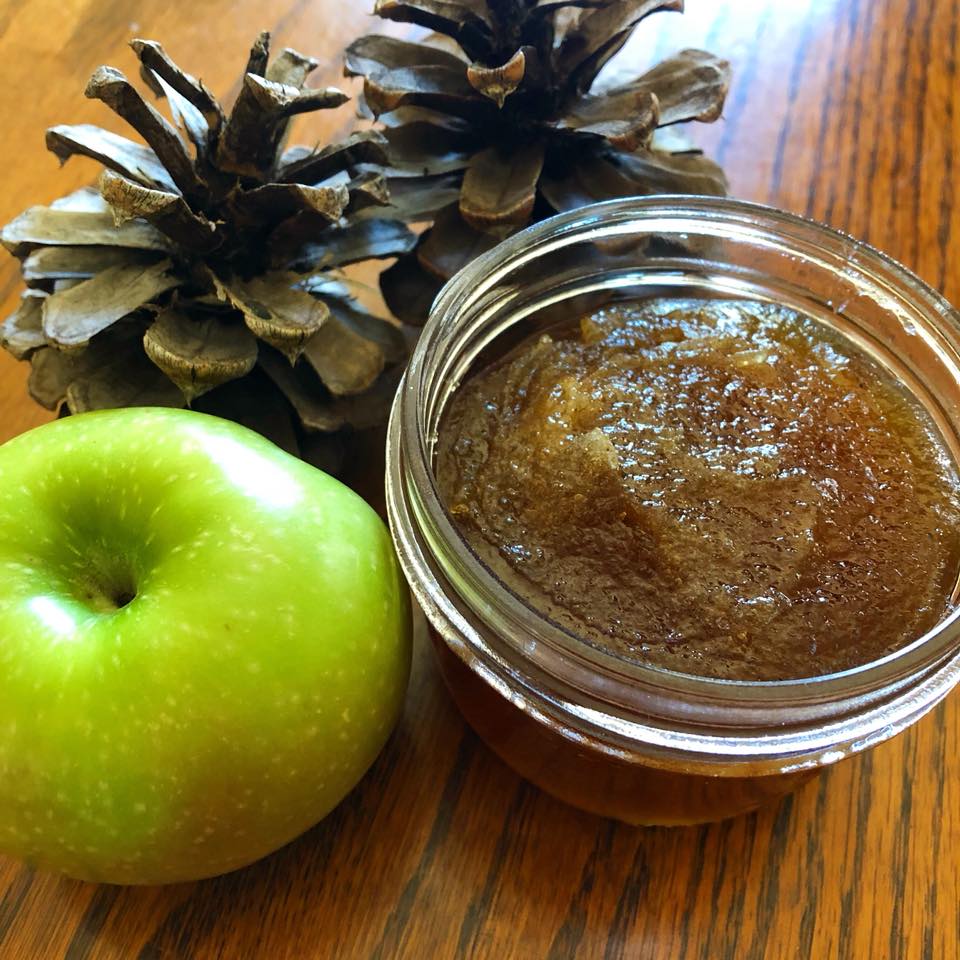
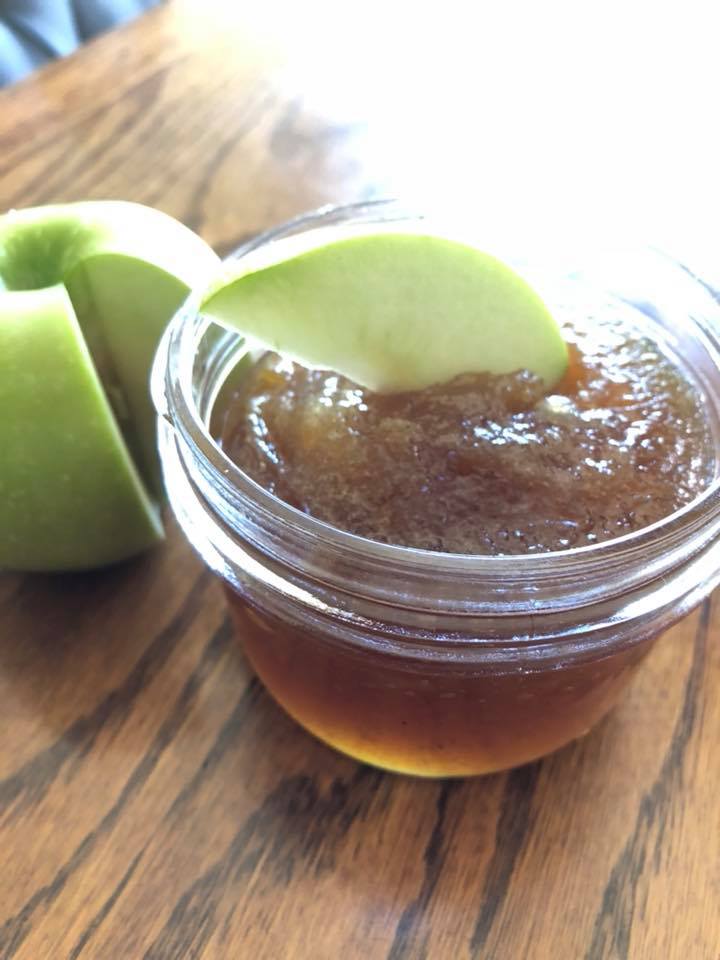
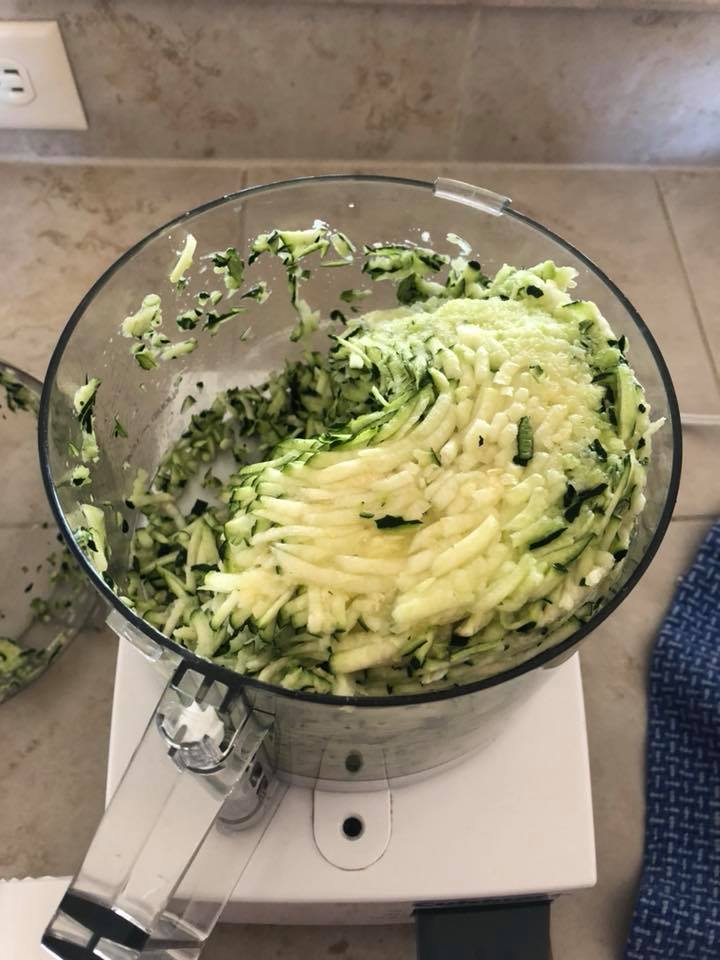
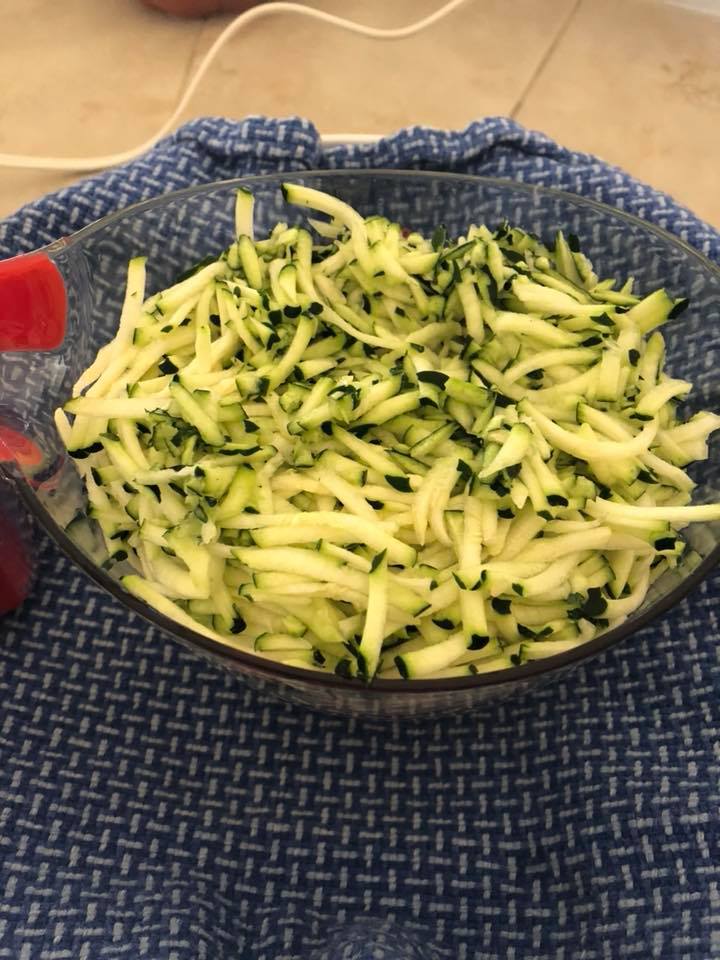
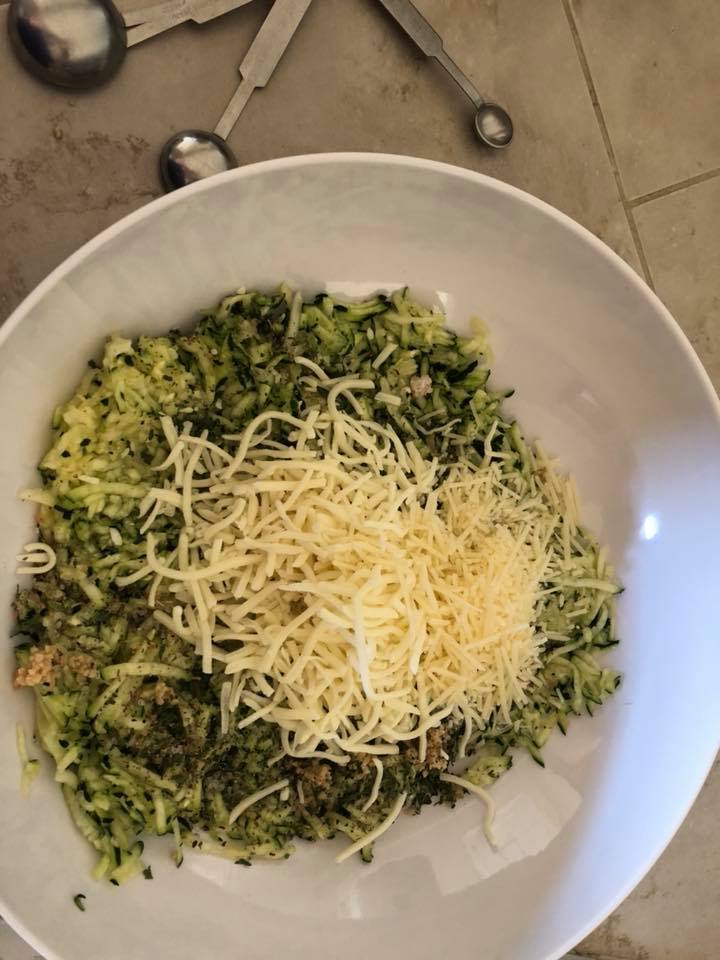
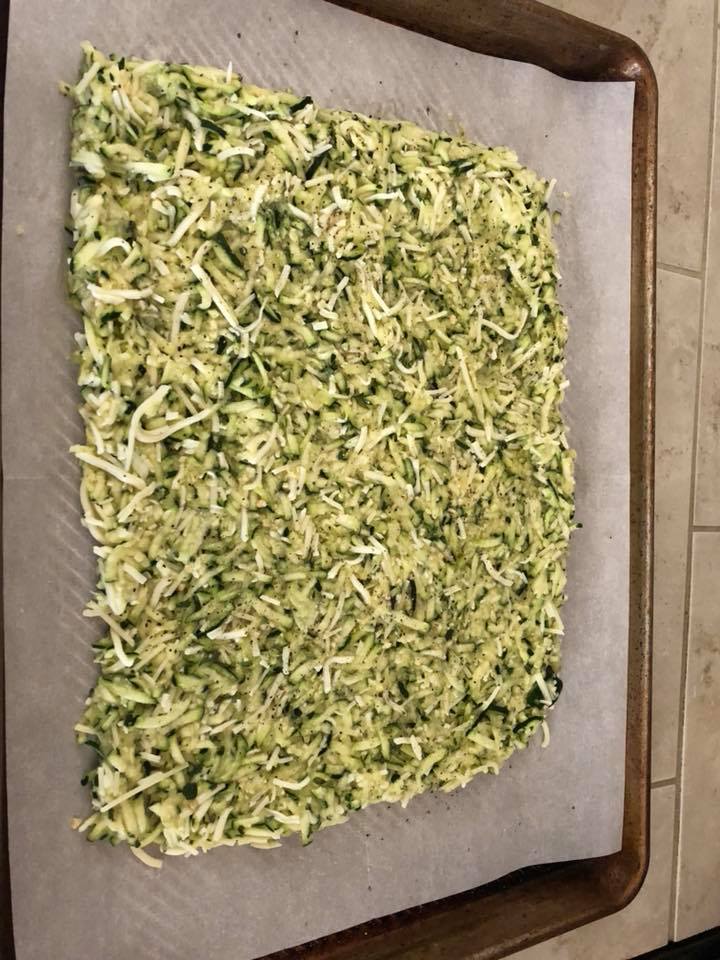
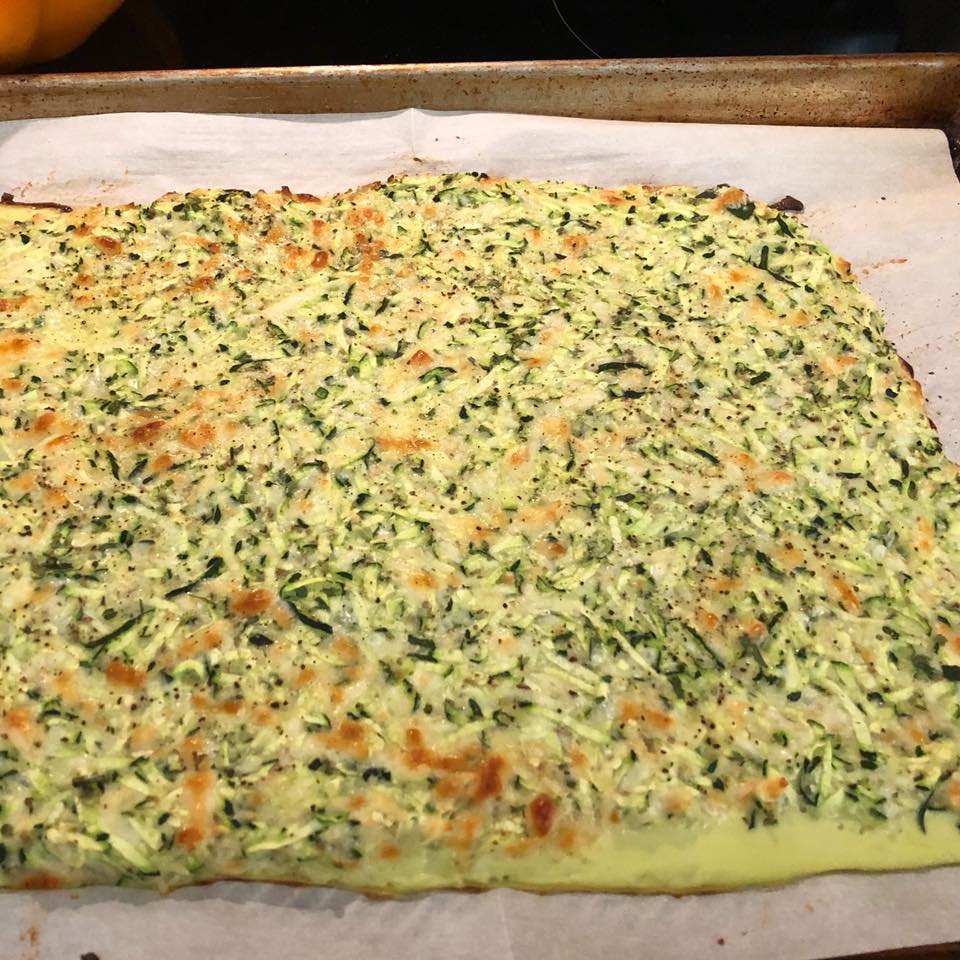
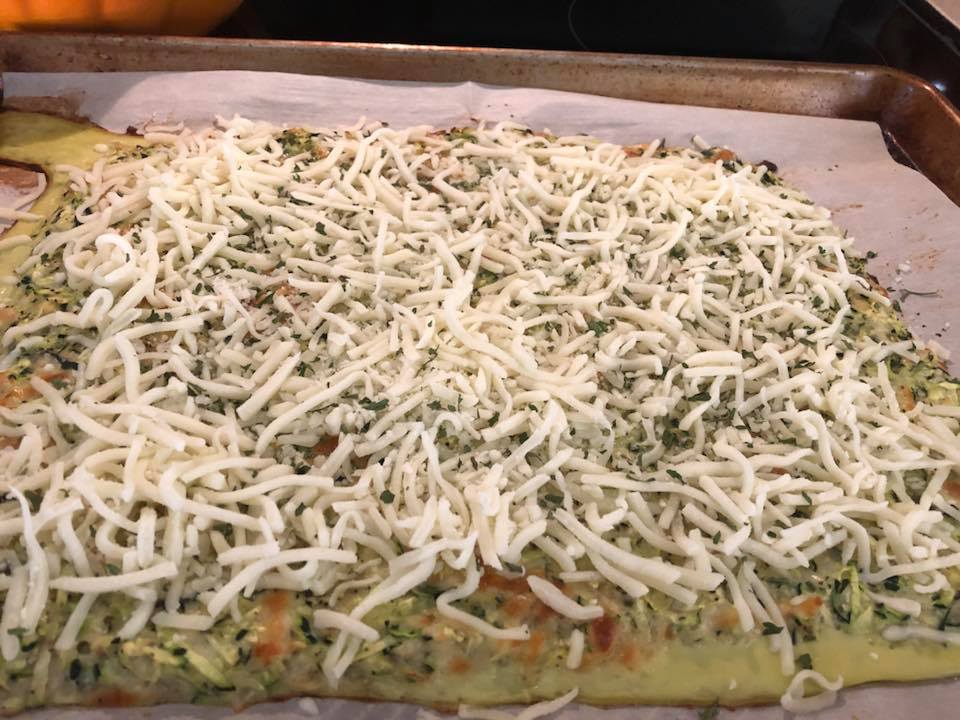
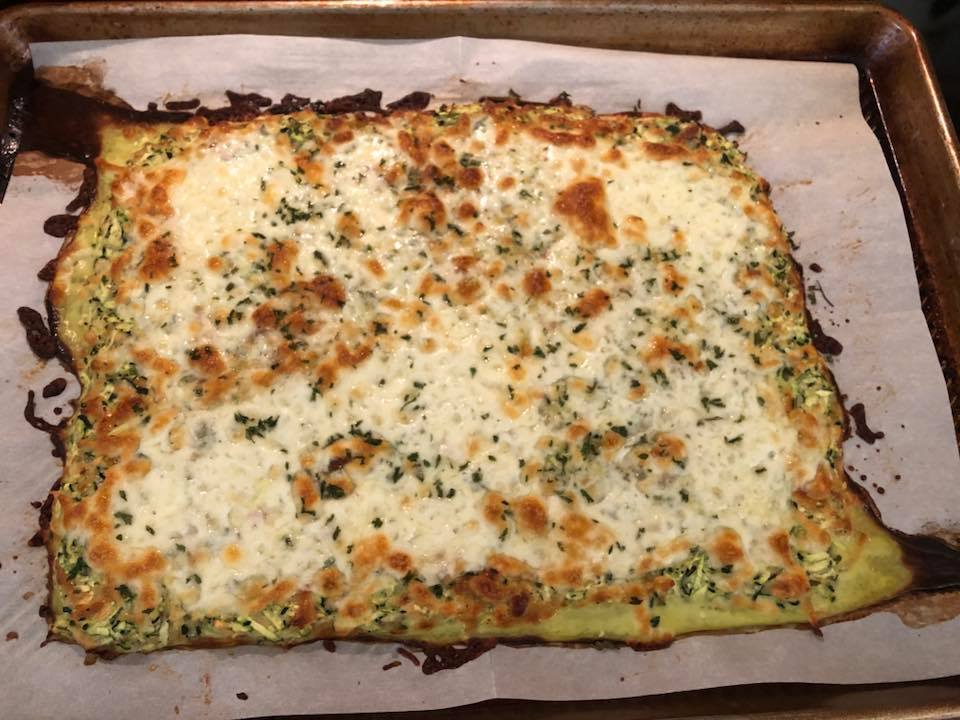
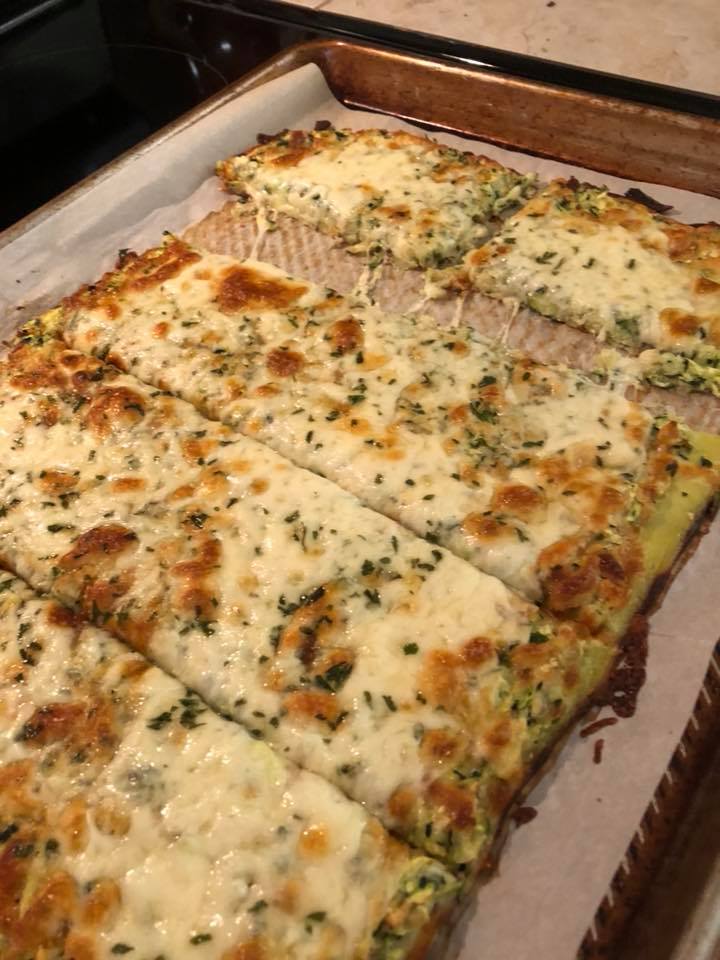
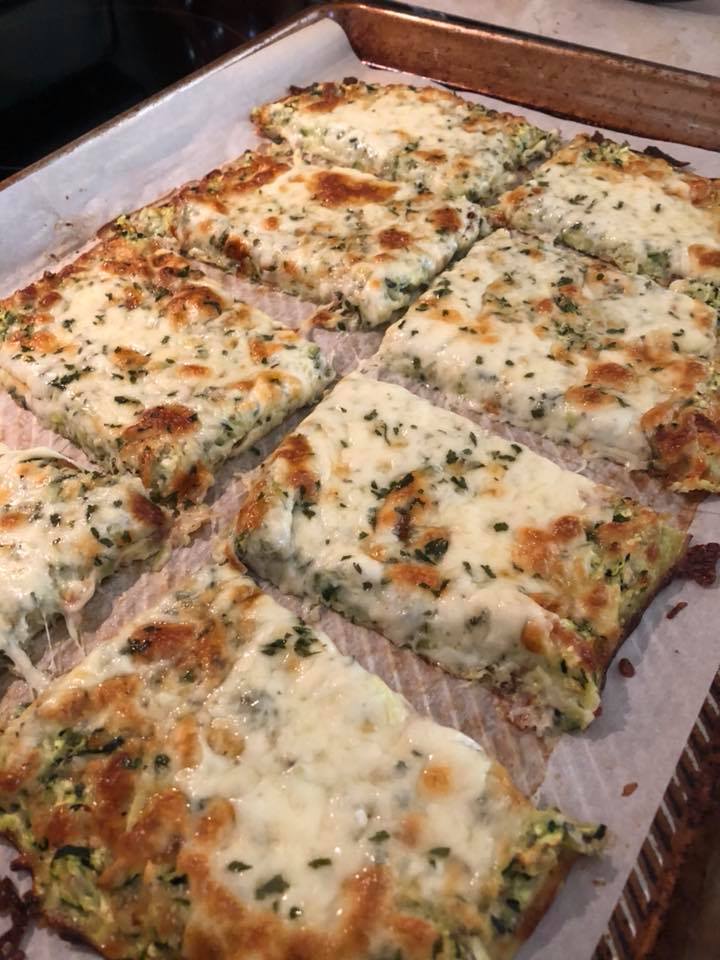
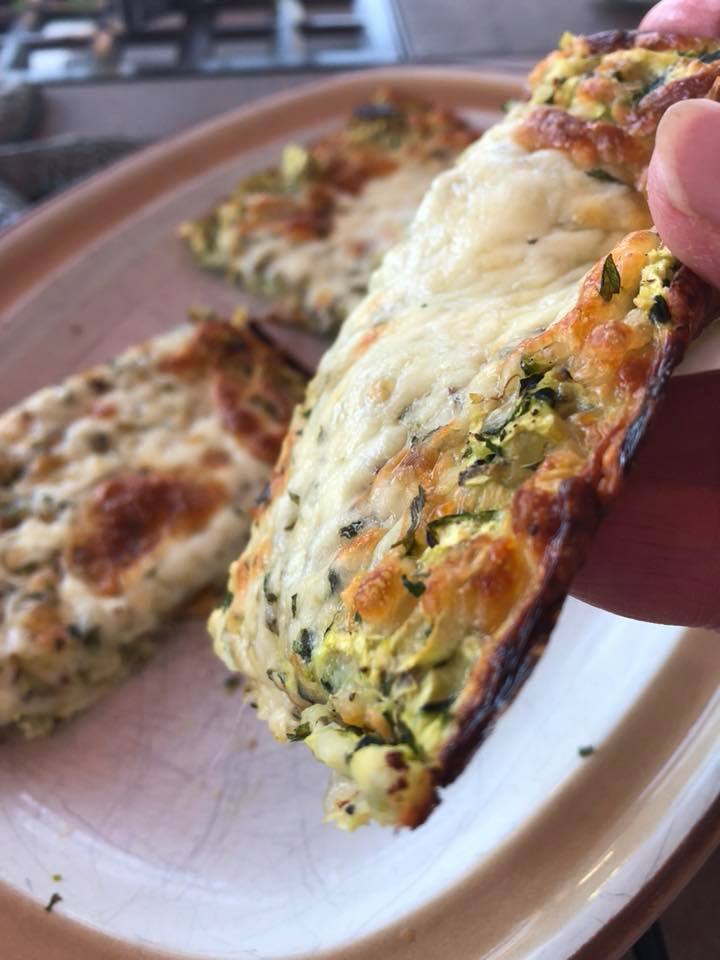
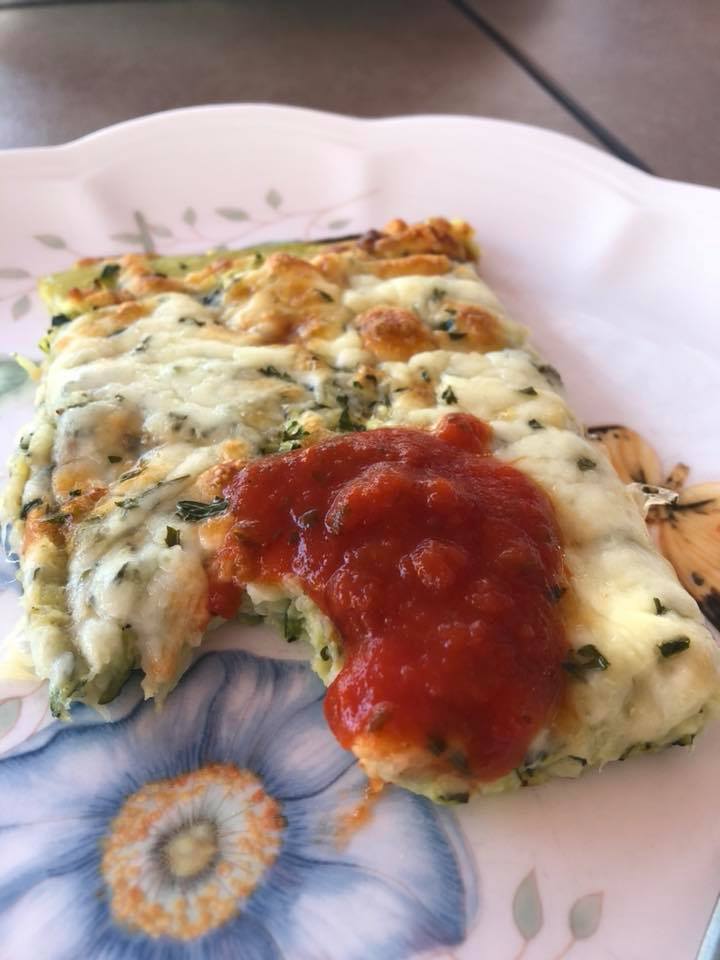
Yield: About 6 half-pint jars Procedure: Wash your grapes in cool running water, stem grapes and as you stem them - "slip the skins" which means you separate pulp from skins of grapes by pinching the skins off. I placed the pulp/grape ball in one bowl and the skins in another. I measured out 4 cups of grape pulp/balls. Take all the skins and process skins in a food processor/blender or chopper. Cook skins gently 15 to 20 minutes, adding only enough water to prevent sticking (about 1/2 cup). Cook pulp/balls without water until soft; press through a sieve or food mill to remove seeds. Combine pulp, skins, sugar and honey. Bring to medium heat and let mixture cook down, about 30 minutes. As mixture thickens, stir frequently to prevent sticking. If you feel you won't get a good jam set - add 1/2 package of low sugar sure jel pectin with a bit of sugar to the mixture - bring to a hard boil for one minute, then reduce heat and jar. Fill hot jam into hot jars, leaving 1/4 inch headspace. Wipe rims of jars with a dampened clean paper towel; adjust two-piece metal canning lids. Process in a Boiling Water Canner or Steam Canner, 5 minutes and adjust for your altitude. 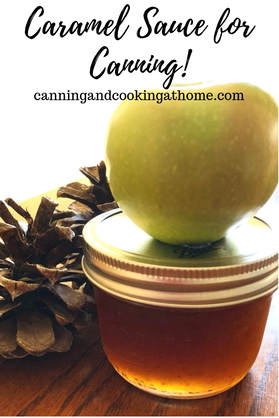 Caramel Sauce for Canning *uses Apple Puree You cannot 'Can' traditional caramel sauce for safety reasons (the cream and the butter are unsafe for shelf stability.) That being said, you can turn fruit purees into caramel sauces for CANNING!! This recipe is for apples but, pears, strawberries, blackberries and other fruit purees all work great. Enjoy! Diane Ingredients: 1 lb. ripe apples, I used Fuji 1/2 teaspoon finely milled sea salt 1 1/2 cups granulated sugar water Yield: 2 half-pints Peel, core and chop the apples. Place them in a blender with the salt and 2 tablespoons water. Puree until smooth. You should have about 1 & 1/2 cups puree. Combine the sugar with 3/4 cup of water in a saucepan. Place over medium-high heat and simmer for 15 to 20 minutes, until the sugar reaches 250°F and darkens to the color of a tarnished copper penny. Do not stir the cooking syrup; instead, holding the handle of the pot, gently swirl it to move things around. This mixture is extremely HOT! Do NOT touch spills or drips! Once the syrup has reached 250°F, remove the pot from the heat and carefully stir in the fruit puree. It will bubble, spatter, and appear to seize up, so take care! Stir the puree into the sugar until it is a smooth sauce and return the pot to the heat. Continue stirring and cooking until the apple caramel sauce reaches 218°F Remove the caramel from the heat and funnel into the prepared jars, leaving 1/2-inch headspace. Wipe the rims, apply the lids and rings, and process in a boiling water bath for 10 minutes, or according to your altitude. Note: If your caramel sauce gets too firm to drizzle easily, place the jar in a pan of lukewarm water and slowly bring it up to a simmer, until the sauce relaxes enough to be pourable. Recipe Courtesy of Mrs Wages Photos by Canning and Cooking at Home 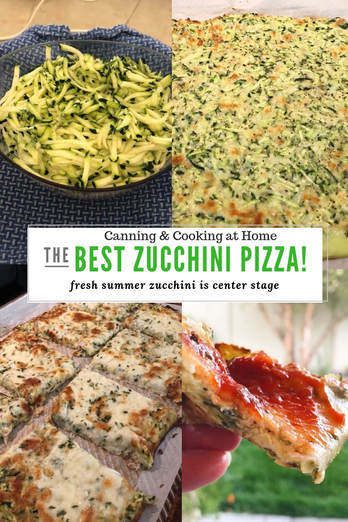 Zucchini Pizza! I wish I could take credit for this recipe but, I cannot! My husband saw this one day and sent the recipe to me, it was from there that I gathered the ingredients and set out to bake one up - doubting the entire way that this would turn out - at all. This zucchini pizza not only turned out beautiful - its fantastic! The two of us at this for dinner and were fully satiated and enjoyed each bite thoroughly. I have always shred my garden zucchini in 2 cup portions for zucchini bread but, now I will be adding 4 cup portions to my freezer for this recipe needs to be made on a more consistent basis!! It's 'guilt-free' and again - its TASTY!!!!!!! Don't forget you can add your own twists to the ingredients but, important note: always use parchment paper to bake this on, and always wring your zucchini out really well!! I use my jelly bag in place of a kitchen towel to wring out all the excess water from my zucchini - works like a charm! Enjoy! Diane Ingredients 4 cups grated zucchini, about 3-4 medium zucchini 2 large eggs, lightly beaten 2 cloves garlic, minced 1/2 teaspoon dried oregano 3 cups shredded mozzarella, divided: reserve 2 cups for topping pizza 1/2 cup finely shred Parmesan 1/4 cup cornstarch 1 teaspoon kosher salt, or adjust to your liking 1/2 teaspoon ground black pepper, or adjust to your liking 2 teaspoons dried parsley flake: to top pizza Marinara sauce for dipping bake pizza Preheat oven to 425F Line a baking sheet with parchment paper. Using a clean kitchen towel, wring out excess water/moisture from the zucchini *important step to get a good bake! Place zucchini in a large mixing bowl, add eggs, garlic, oregano, 1 cup of the mozzarella, the parmesan, cornstarch, salt & pepper. Stir until well combined. Spread out zucchini mixture onto the prepared baking sheet and pat into a 'crust'. Bake until golden and dried out, approximately 25 minutes. Remove from oven and top with remaining mozzarella cheese, and sprinkle on the parsley. Bake once again until cheese is melted, approximately 8-10 minutes. Slice and serve with marinara. Enjoy! Diane Baker for Canning and Cooking at Home |