CANNING AND COOKING AT HOME
  • Home
  • Diane's Blog
  • Canning 101
  • Pickling
    • My Pickle Creations
    • Pickle Recipes
  • Recipe Index
    • Canning Recipes >
      • Jams/Jellies/Fillings/Butters/Juices
      • Meats/Other
      • Pressure Canned Soups
      • Tomatoes
    • Cooking Recipes >
      • Breads
      • Breakfast
      • Instant Pot Recipes
      • Main Dishes
      • Soups
      • Sweets
      • Drinks
      • Sauces/Apps/Sides
    • Recipe Collections >
      • The Apple Cart
      • Asian Inspired Recipes
      • Bundts to Bake
      • Cherry Recipes (preserving)
      • Easter Menu Ideas
      • Freezer to SlowCooker
      • Irish Fare
      • Jelly & Jam Recipes
      • Mexican Inspired Recipes
      • Pickle Recipes
      • Soups
      • Summer Grillin' Guide
  • Work with Me
    • Privacy Policy
    • Give Aways
  • Recipes Via Email

Diane's Cherry Berry Jam

7/31/2018

0 Comments

 
Picture
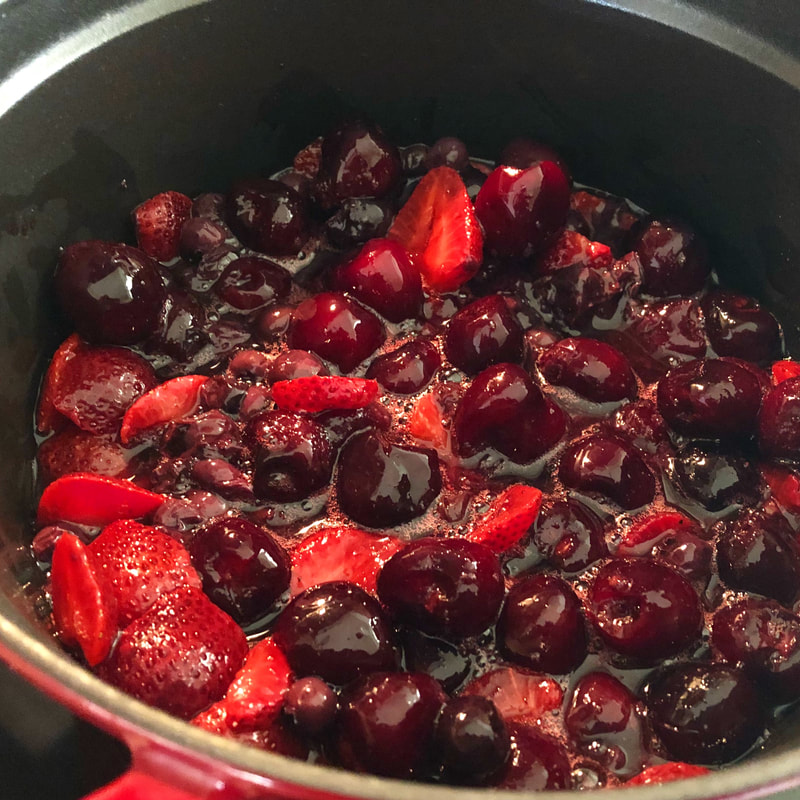
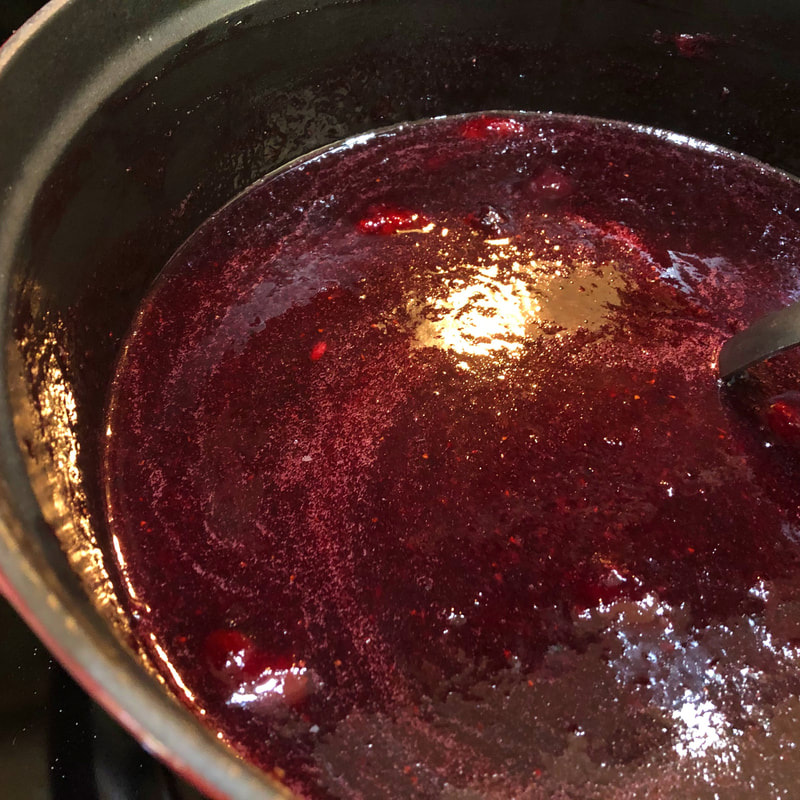
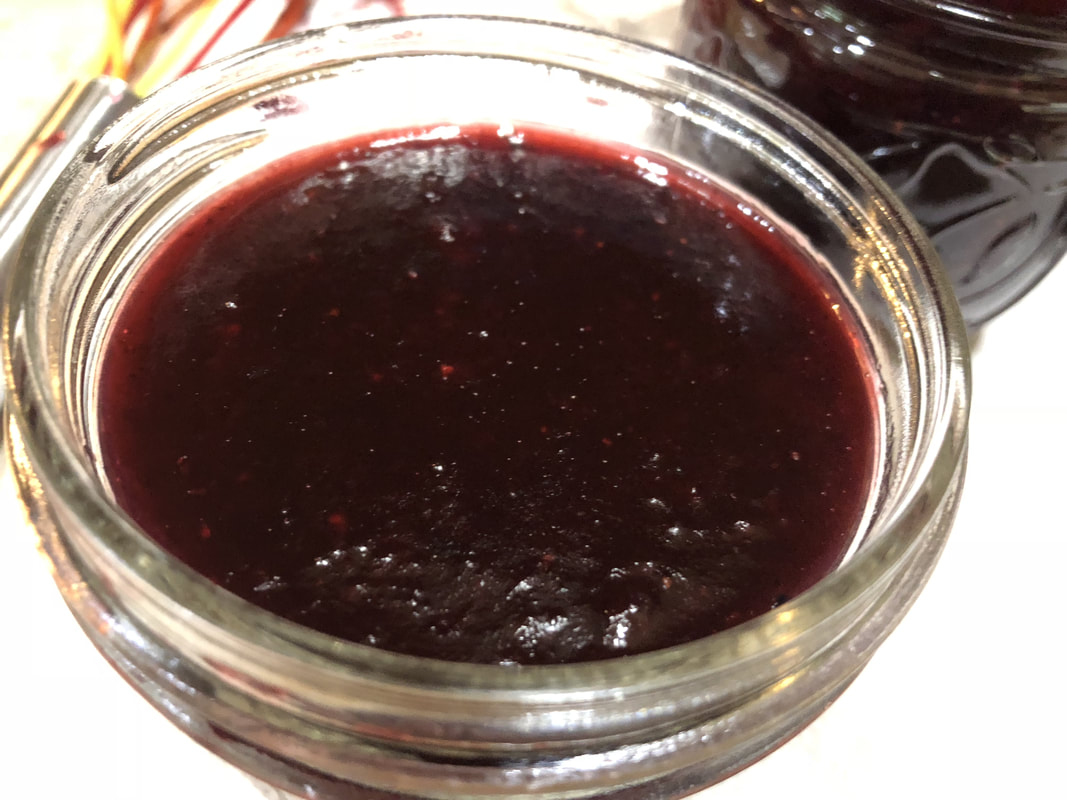
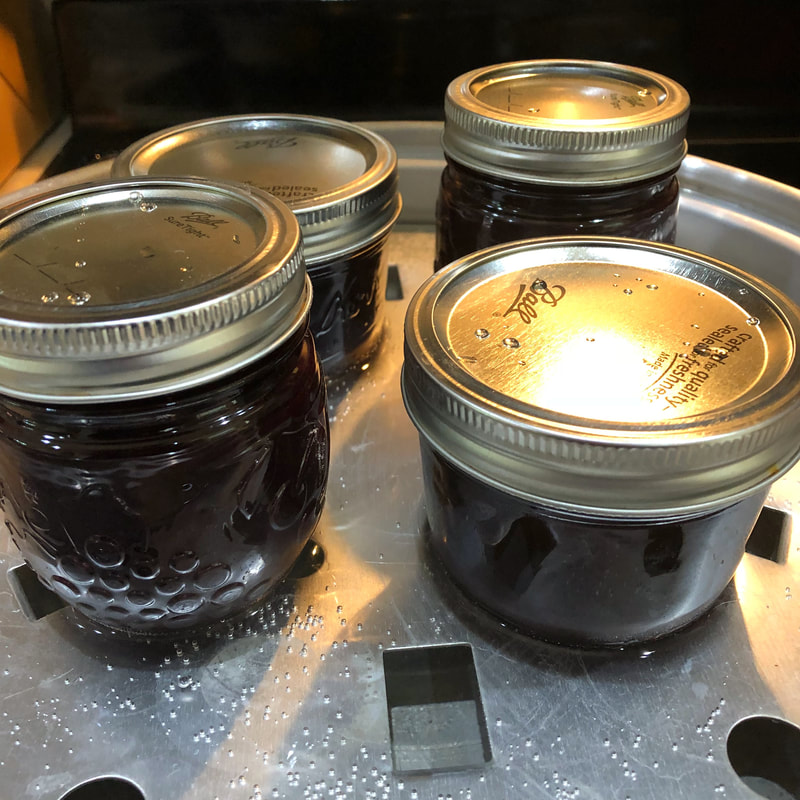
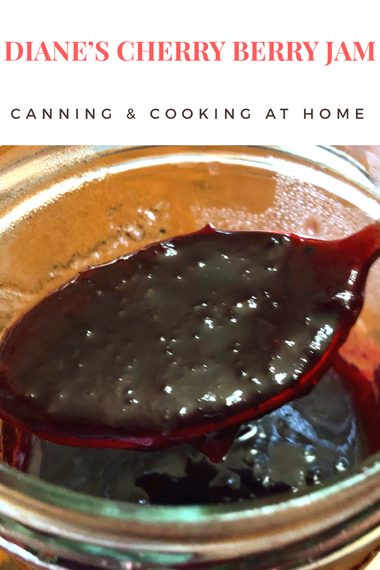
      I want to thank The Washington State Fruit Commission for sending me such fabulous fruits as part of my 2018 Canbassadorship! I hope you enjoy this jam as much as I enjoyed creating it.  The cherries from Northwest Cherries were exceptional this year! Truly a treat to create with...  Enjoy! ~Diane  

Diane's Cherry Berry Jam 

Ingredients: 
2 Cups Whole Cherries, cleaned & pitted
1-1/2 Cups Sliced Strawberries
1-1/4 Cups Blueberries; I used a pint of my canned blueberries 
3/4 Cup Honey
1-1/2 Cups Sugar; divided
1/2 teaspoon vanilla bean paste
1/2 large lemon; the zest and juice 
1/8 teaspoon butter; to prevent foaming
1/2 box  SureJell Low Sugar Pectin (pink box) 

Directions: 
     Place all your sliced fruit in a large bowl, add 1/4 cup of sugar, toss to coat, cover and set in fridge overnight. This will macerate the fruit (this releases the juices and deepens the fruit flavor in finished product) 
Take Macerated fruit, and all the juices in bowl and scrape into a large jam pot. Cook down 15 minutes on medium (keep an eye on it and stir to prevent scorching) Add in 1 cup of sugar, the honey, vanilla bean paste, lemon juice with zest.  Stir and cook down the entire mixture another 20-35 minutes (it should start to thicken as it cooks down)
    Add in butter (helps lessen foaming), then use an immersion blender (or mash with a potato masher) and break up large chunks of fruit until you get the consistency of jam you prefer **do not liquefy the mixture. Take your pectin and the remaining 1/4 cup of sugar and stir together in a small bowl. Raise the heat on your jam mixture to High. Add in the sugar/pectin mix and stir/whisk constantly until you are at a boil that cannot be stirred away - boil hard for one minute. I look for a 'craggy skin' to start to form around the edges of the pot/mixture...indicating gel stage has been released. Remove pot from heat, do freezer plate test to ensure gel stage has been reached,  and prepare to jar jam for processing.
Waterbath or Steam Can at 1/4" head-space for 10 minutes, adjusting for your altitude. Remove to a draft free area and let sit undisturbed for 12-24 hours.  Wash & Label Jars. Store in Pantry up to One Year.  Once opened, this lower sugar jam can be refrigerated up to 3 weeks. 

Makes approximately 5 half pints 

0 Comments

New Home & Homemade Cherry Vanilla Ice Cream

7/22/2018

1 Comment

 
Picture
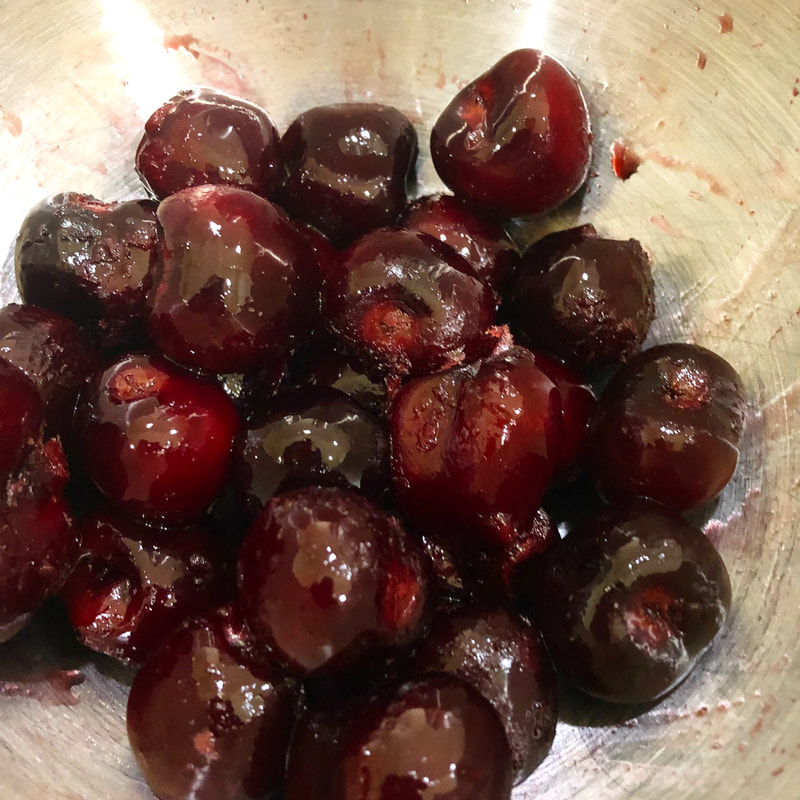
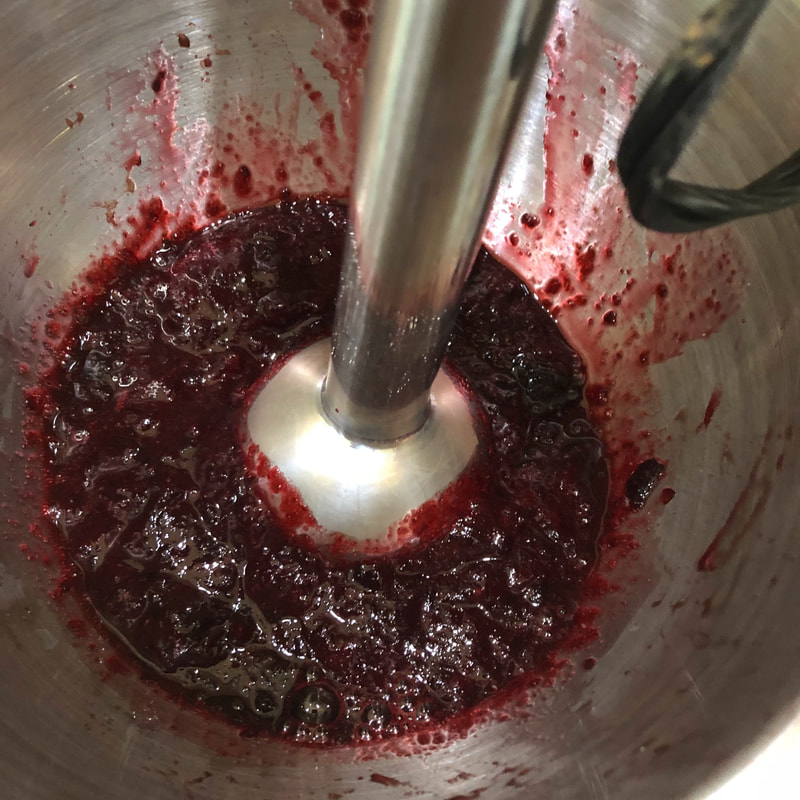
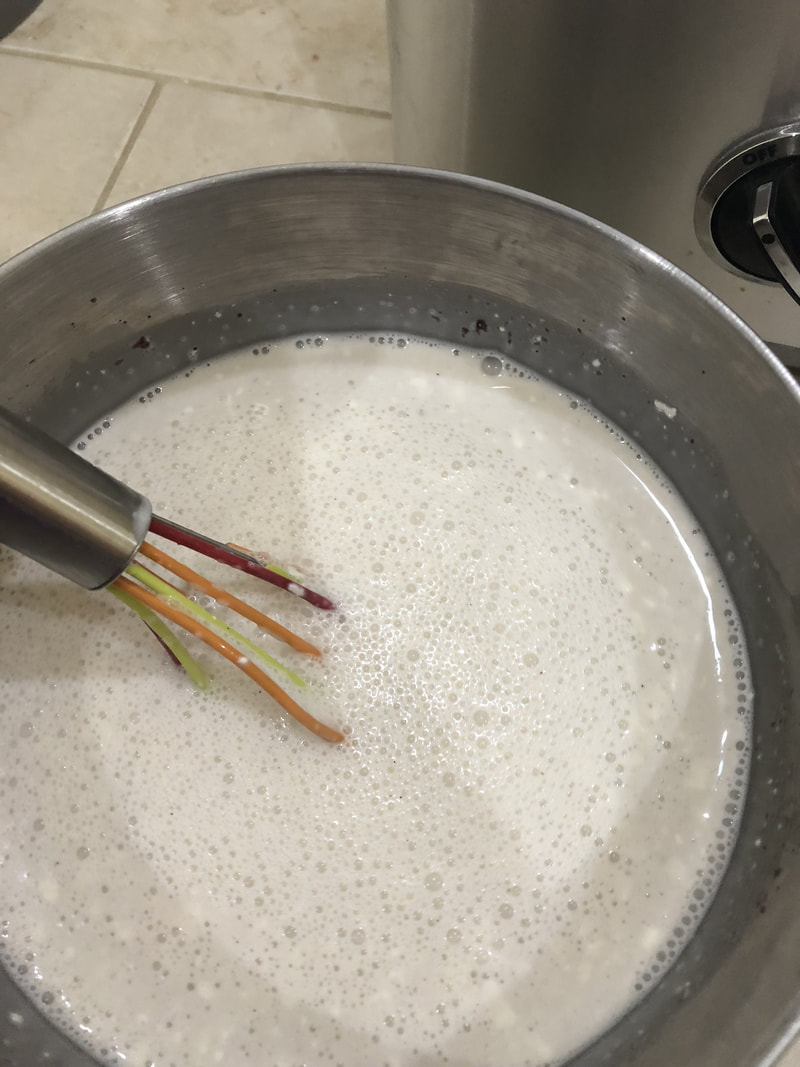
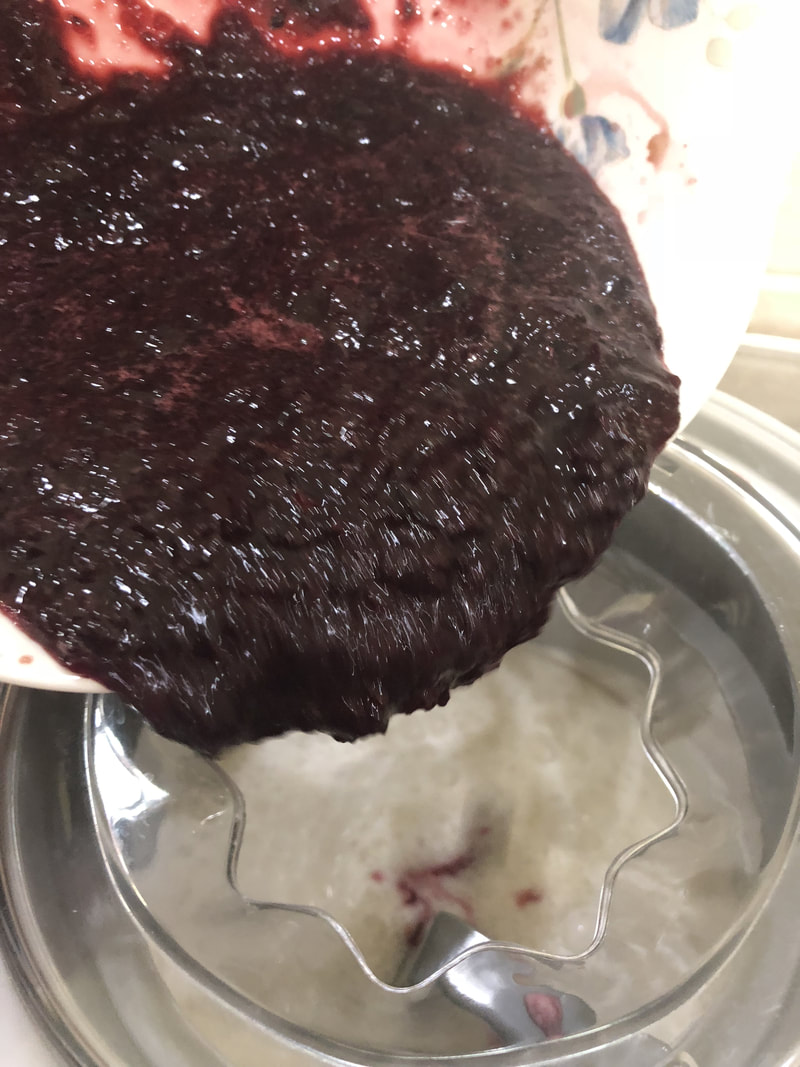
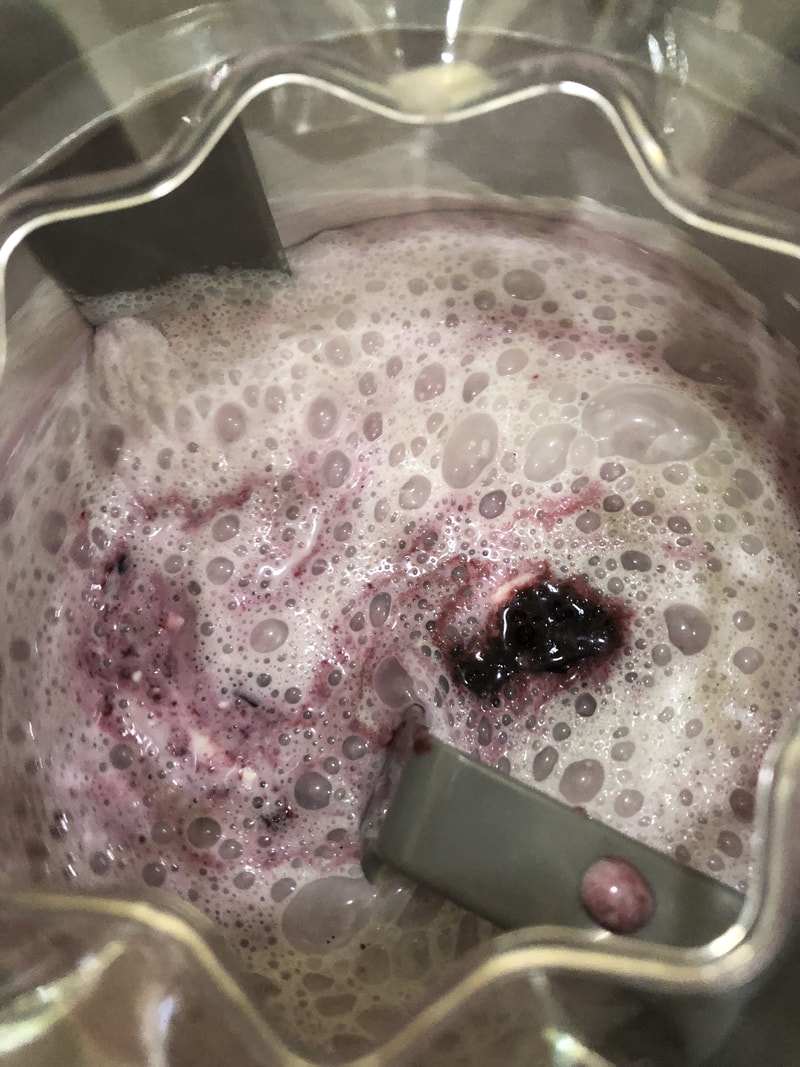
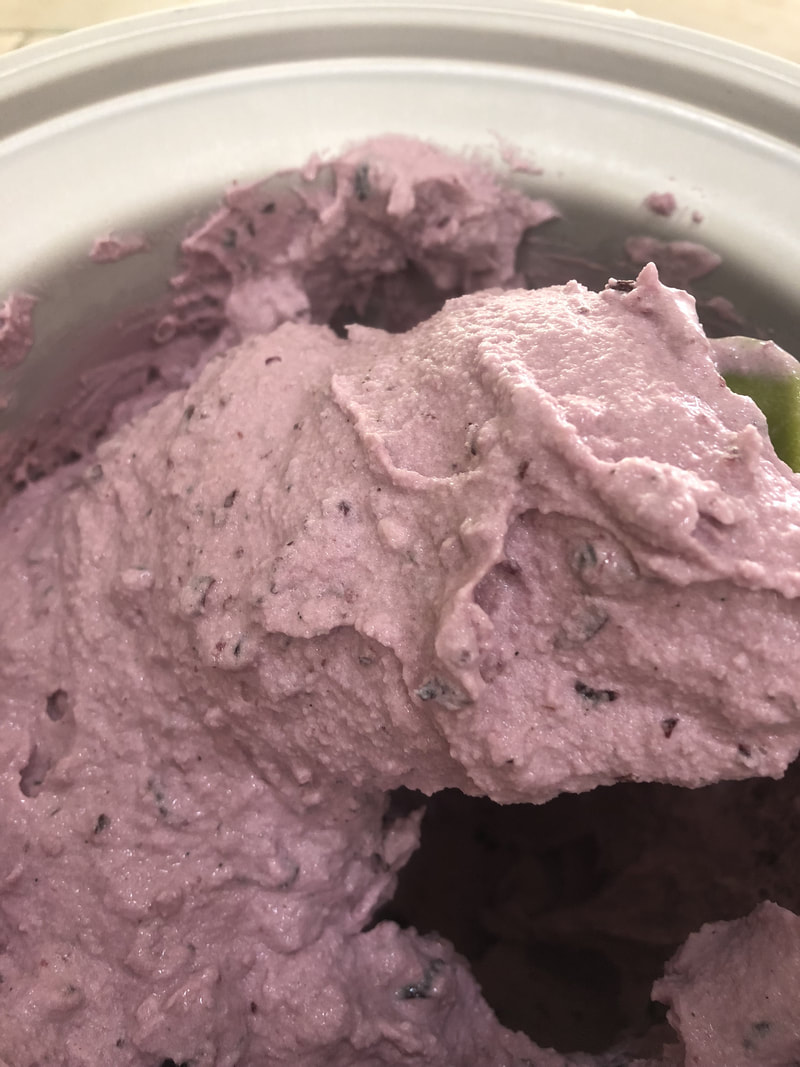
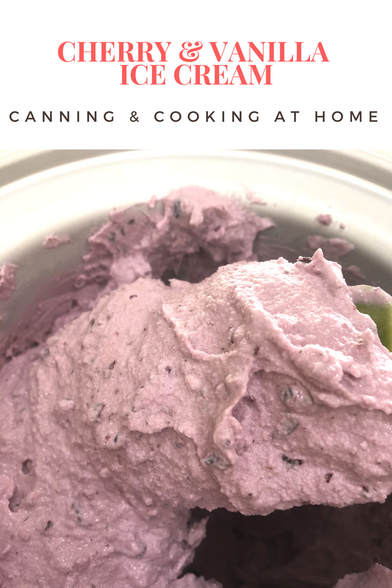
    Thanks for bearing with me guys!  Most readers know that we moved! Today its officially been one month in our new house.  We moved 6 hours West *over some beautiful mountain ranges to the Grand Valley of Colorado.  It's a small "banana belt" where life is a little easier, slower, calmer, quieter and friendlier then what Colorado's Front Range is becoming!!  I will miss friends, family and neighbors from our old home but, this change is exactly what we both were dreaming of back when we got married (coming up on 22 years ago now.)  I prefer waking up to the stillness of this area, and an occasional horse whinny.  The area is stunningly beautiful with a view of the "Mini Alps" (San Juan Mountains) out our front door.  Well, enough about me.  Let's talk homemade cherry & vanilla ice cream!  I remember the days of taking turns cranking the handle of our ice cream maker, the rewards of all that hard work - yummy ice cream! Fast forward to today and the advent of electric ice cream makers which make homemade ice cream making easy, fast and more flavorful!  A few years ago I gifted family members Cuisinart Ice Cream (and yogurt) Makers and reacquainted myself with ours as I found it in our basement when we were packing to move (brand new, in the box LOL)  This machine is superb - I have a super simple recipe that doesn't need to be cooked down first, and using fresh fruits with quality extracts makes the perfect fast, homemade ice cream. This year I am excited to be Canbassador once again for Northwest Cherries which made the endeaver even more flavorful!  The cherries this year were beyond magnificent.  We, of course, ate them fresh, I pitted and vac sealed some, pickled some, jammed some and mashed portions and froze so that I could make ice cream or smoothies with them.  That is truly what is great about these beautiful cherries, they withstand being frozen or canned, and don't lose their flavor!  While you can use the berry of your choice - give cherries a try! you won't regret it!
     Make sure to check out all my cherry recipes; try making this ice cream using my Brandied Cherries or stir in some of my Cherry/Peach Jam.  The ideas and combinations are endless!!!!!! 
​~Enjoy! Diane (p.s. some shots around our new house below) 

My Cherry Collection of Recipes: 
https://www.canningandcookingathome.com/cherry-recipes-preserving.html


Homemade Cherry Ice Cream
*using electric ice cream maker 

Ingredients:
  1. 1 cup whole milk 
  2. 3/4 cup granulated sugar 
  3. pinch salt 
  4. 2 cups heavy cream
  5. 1/2 Tbs  Rodelle vanilla bean paste 
  6. 1 cup Northwest Cherries mashed or pureed. (Cherries, Strawberries, Peaches, Nectarines, Plums, Blueberries all work great!) ​

Process: 
  1. In a medium bowl, use a whisk to combine the milk, sugar and salt until the sugar is dissolved. Stir in the heavy cream and vanilla.  
  2. Turn on the Cuisinart ice cream maker; pour the mixture into the frozen freezer bowl and let mix until thickened, about 20 minutes. The ice cream will have a soft, creamy texture. Transfer the ice cream to an airtight container and place in freezer for about 2 hours for a more traditional hard ice cream. 
  3. For easier scooping, remove from freezer about 15 minutes before serving.
1 Comment
    F I N D  A  R E C I P E 

         PRINT OR SAVE TO .PDF 
    Print Friendly and PDF


    RSS Feed

    Archives

    February 2023
    January 2023
    December 2022
    November 2022
    October 2022
    September 2022
    July 2022
    June 2022
    May 2022
    March 2022
    February 2022
    January 2022
    December 2021
    October 2021
    September 2021
    July 2021
    February 2021
    January 2021
    December 2020
    November 2020
    October 2020
    September 2020
    August 2020
    July 2020
    June 2020
    May 2020
    April 2020
    March 2020
    February 2020
    December 2019
    November 2019
    October 2019
    September 2019
    August 2019
    July 2019
    May 2019
    April 2019
    March 2019
    February 2019
    January 2019
    December 2018
    November 2018
    October 2018
    September 2018
    August 2018
    July 2018
    April 2018
    March 2018
    February 2018
    January 2018
    December 2017
    November 2017
    October 2017
    September 2017
    August 2017
    July 2017
    June 2017
    May 2017
    April 2017
    March 2017
    February 2017
    January 2017
    December 2016
    November 2016
    October 2016
    September 2016
    August 2016
    July 2016
    June 2016
    May 2016
    April 2016
    March 2016
    February 2016
    January 2016
    December 2015
    November 2015
    October 2015
    September 2015
    August 2015
    July 2015
    June 2015
    May 2015
    April 2015
    March 2015
    February 2015
    January 2015
    December 2014
    November 2014
    October 2014
    September 2014
    August 2014
    July 2014
    June 2014
    May 2014
    April 2014
    March 2014
    February 2014
    January 2014

Picture
© Copyright 2023, Canning and Cooking at Home.
All images & content are copyright protected. Please do not use my images on your own site/page without prior permission. Sharing, pinning, and tweeting is always appreciated as long as the shares and pins link back to this website and recipe.  Canning and Cooking at Home claims NO liability for the safety of ANY recipe or advice contained within this website.  Always consult with the NCHFP to ensure Canning Safety. 

  • Home
  • Diane's Blog
  • Canning 101
  • Pickling
    • My Pickle Creations
    • Pickle Recipes
  • Recipe Index
    • Canning Recipes >
      • Jams/Jellies/Fillings/Butters/Juices
      • Meats/Other
      • Pressure Canned Soups
      • Tomatoes
    • Cooking Recipes >
      • Breads
      • Breakfast
      • Instant Pot Recipes
      • Main Dishes
      • Soups
      • Sweets
      • Drinks
      • Sauces/Apps/Sides
    • Recipe Collections >
      • The Apple Cart
      • Asian Inspired Recipes
      • Bundts to Bake
      • Cherry Recipes (preserving)
      • Easter Menu Ideas
      • Freezer to SlowCooker
      • Irish Fare
      • Jelly & Jam Recipes
      • Mexican Inspired Recipes
      • Pickle Recipes
      • Soups
      • Summer Grillin' Guide
  • Work with Me
    • Privacy Policy
    • Give Aways
  • Recipes Via Email