CANNING AND COOKING AT HOME
  • About Diane
  • Diane's Blog
  • Work with Me
  • Pickle Collection
  • Cooking Recipes
    • Breads
    • Breakfast
    • Instant Pot Recipes
    • Main Dishes
    • Soups
    • Sweets
    • Drinks
    • Sauces/Apps/Sides
  • Canning Recipes
    • Canning 101
    • Meats/Other
    • Pressure Canned Soups
    • My Pickle Creations
    • Tomatoes
  • Recipe Collections
    • The Apple Cart
    • Asian Inspired Recipes
    • Bundts to Bake
    • Cherry Recipes (preserving)
    • Cookie Time!
    • Easter Menu Ideas
    • Freezer to SlowCooker
    • Irish Fare
    • Jelly & Jam Recipes
    • Mexican Inspired Recipes
    • Pickle Recipes
    • Soups
    • Summer Grillin' Guide

Bakers Pasta Salad

7/20/2020

0 Comments

 
Picture
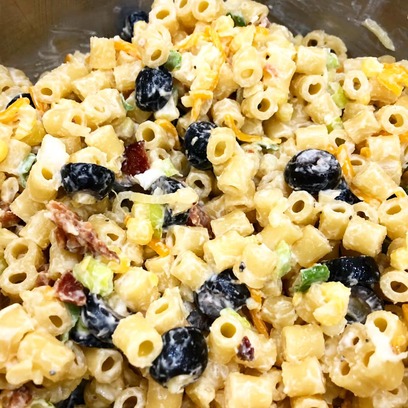
     A simple pasta salad that packs a lot of flavor.  Easy to assemble too! Great served warm or cold. Enjoy! Diane 

Bakers Pasta Salad
​
8oz Salad Noodle
1 Tablespoon olive oil
3/4 Cup Mayonnaise 
 sliced black olives
2 slices of cooked, crumbled bacon
1/2 Cup Cheese, shredded 
3 Scallions diced
1 cup cooked Olathe corn kernels
1/2 teaspoon Salt
1/4 teaspoon Pepper

Directions: 
   Cook 8oz of the noodle of your choice.  Drain and add olive oil. Fold in all the remaining ingredients.  Serve warm or chilled.  

Cooks Note:  Tuna Salad with sliced green olives makes a great addition. 


0 Comments

Grilled Italian Lemon Shrimp

7/19/2020

0 Comments

 
Picture
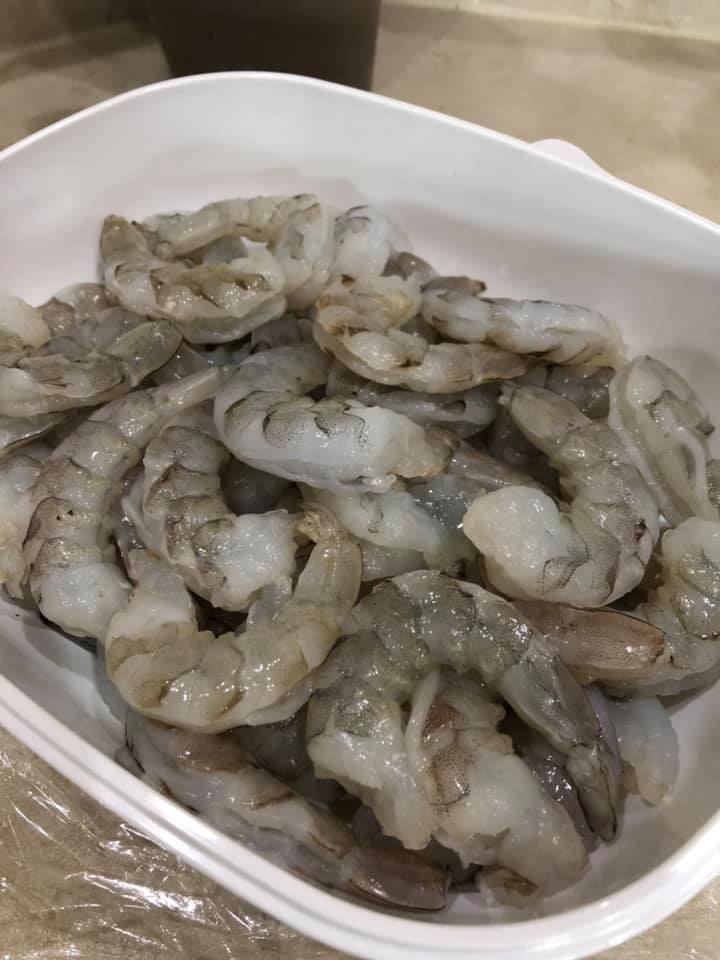
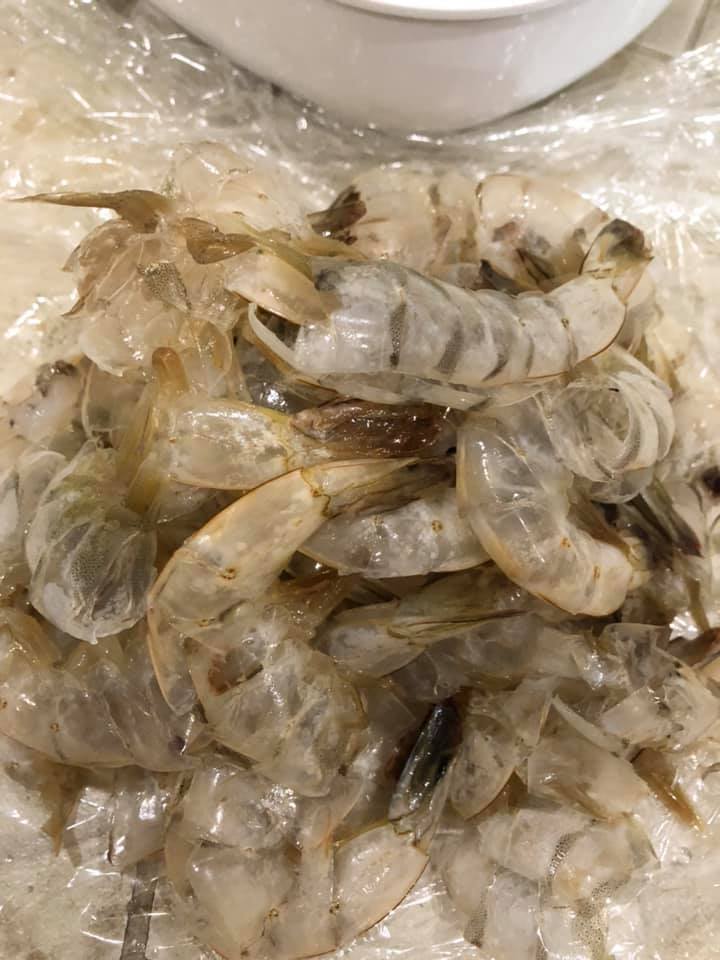
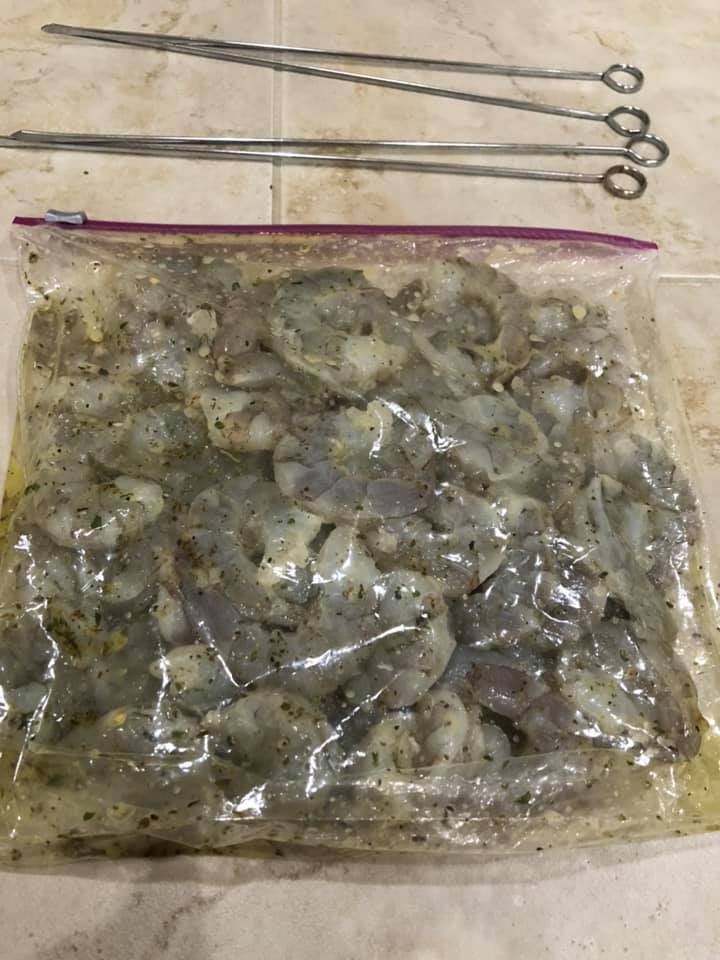
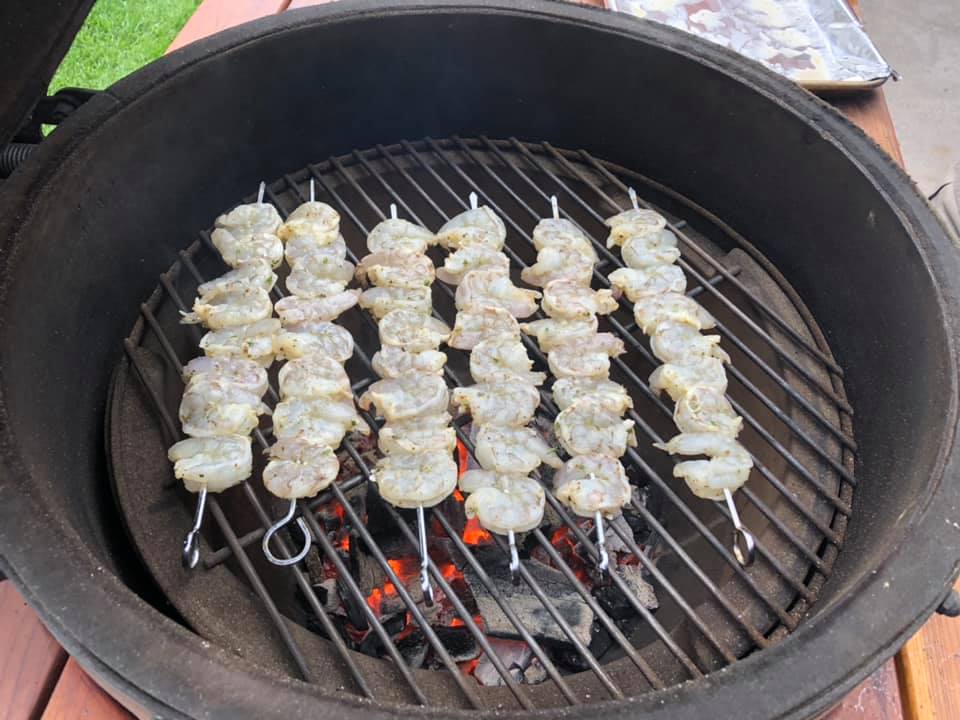
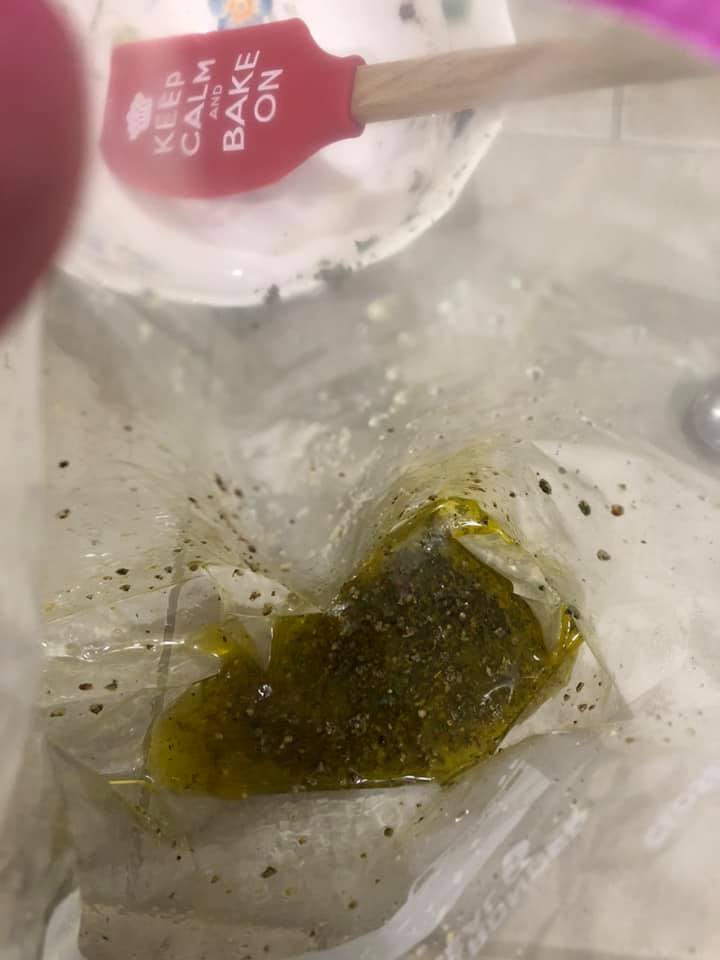
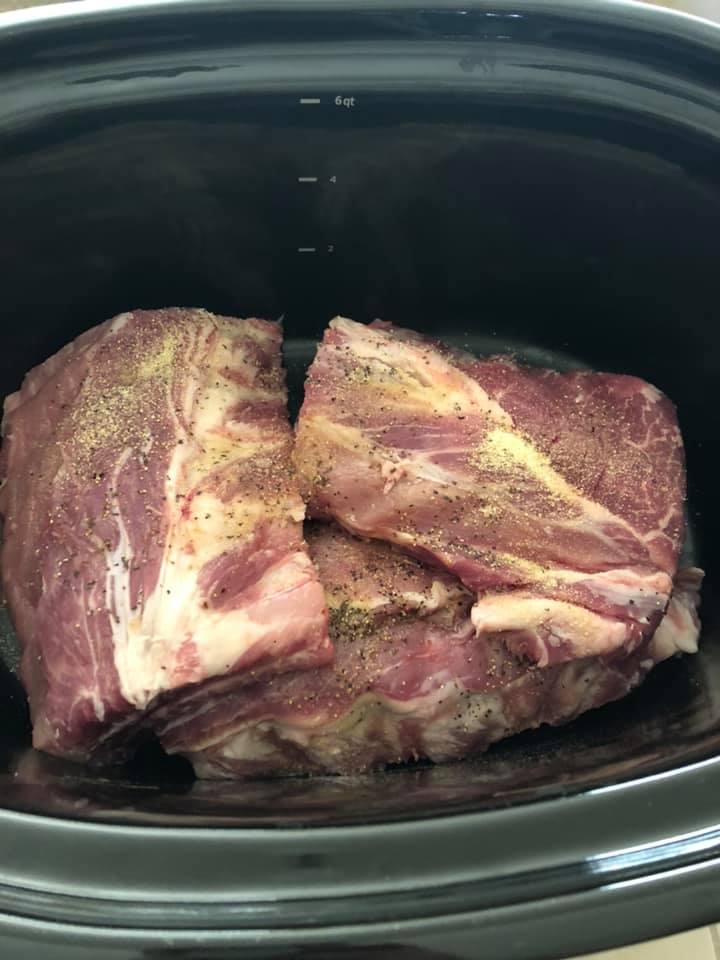
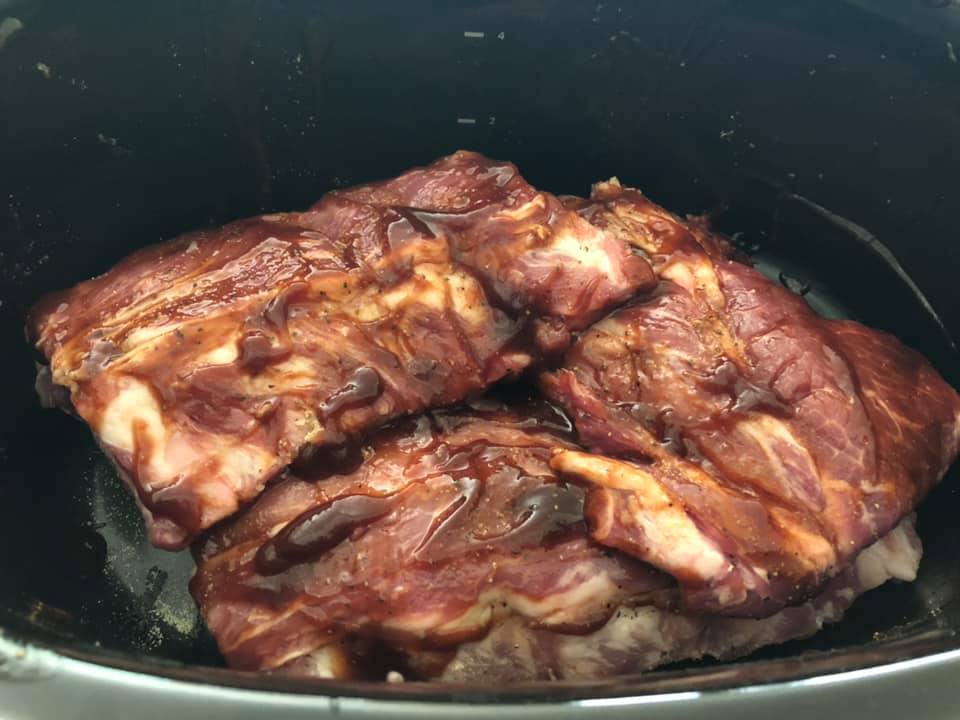
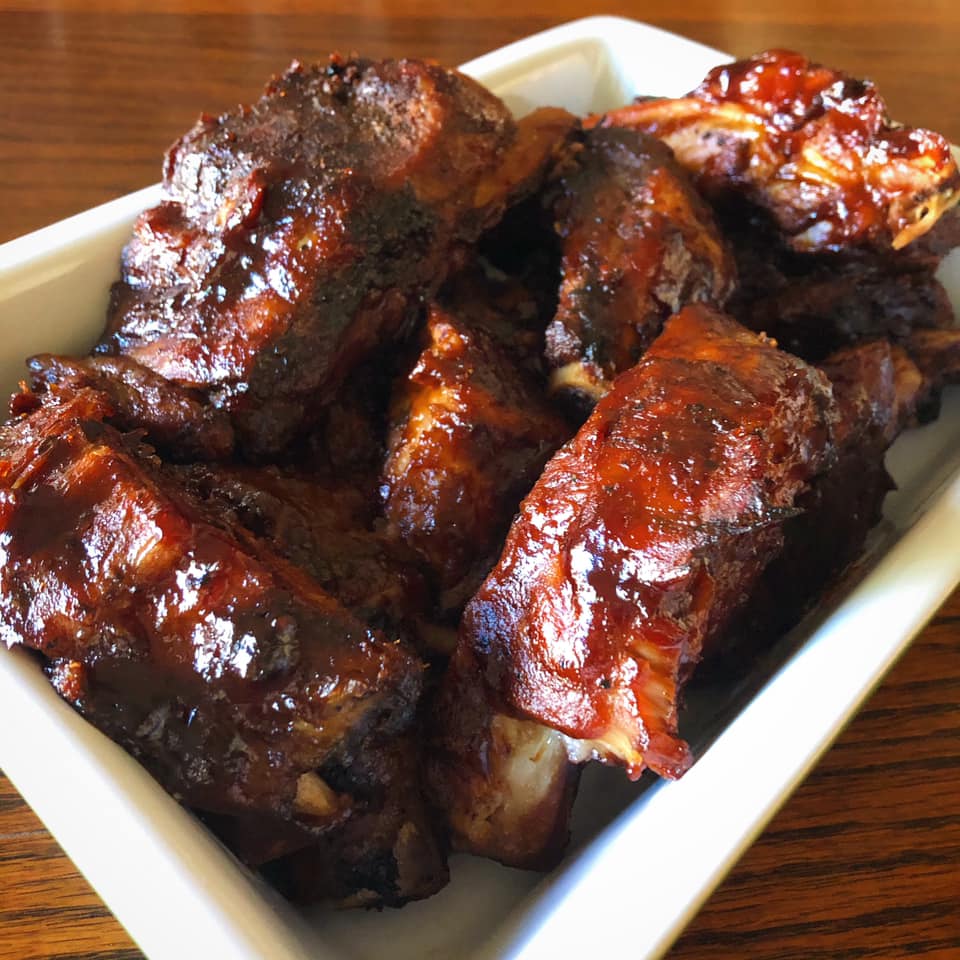
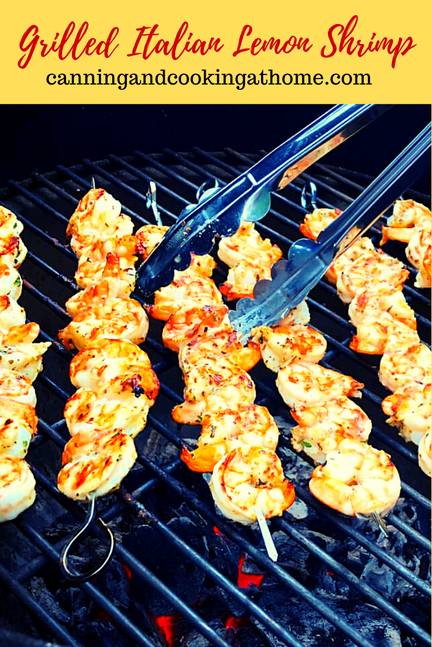
     This is a great way to serve Shrimp.  Remember when grilling shrimp to cook the shrimp approximately 3 minutes per side (you want the shrimp to keep its "C" shape - and appear pink and opaque.  If it overcooks, it will head towards a closed "C" or an "O" shape *making it a bit tough and rubbery.)  I also suggest for those that want to get creative in the future with marinades, remember the sugar content - honey and added sugars will burn - make sure to brush any sugars on near the end of cooking time.  As well, garlic can be found in a lot of marinades but, be aware that fresh garlic in oil can scorch on a grill and create a bitter taste.  My opinion is, use powdered garlic in marinades for your grilling adventures. Hope you give this Marinade a try - it's excellent!  I do make my own Italian Seasoning mix (its linked in the Marinade list below.)   Enjoy! Diane 

​Grilled Shrimp in an Italian Lemon Marinade 

Ingredients:
  2 pounds large raw shrimp, peeled and deveined

Marinade: 
  1 large Lemon, squeezed for all its juice *at least 3 Tablespoons needed
  1/4 Cup Olive Oil
  1/2 teaspoon Salt
  1/4 teaspoon Pepper
  1 teaspoon Italian Seasonings
  1 teaspoon garlic powder 
  1 Tablespoon dried Parsley
  1/4 teaspoon red pepper flake, optional *brings a little more "heat" 
  
Direction: 

   Rinse shrimp under running water once thawed, if frozen.  Remove shells (you can save your shrimp shells to make Shrimp Stock, if preferred.) Place all the marinade ingredients into a large sealable bag with the fresh shrimp, I toss and "smoosh" the bag around to coat all the shrimp in the marinade.  Place bag on a plate in refrigerator and let shrimp marinade for at least 30 minutes but, no longer then 90 minutes.  While grill is being prepped, its a good time to grab your skewers and thread on the shrimp.  I hold the shrimp in a "C" shape and skewer the head and then tail of each piece.  I use steel skewers but, IF you are using wooden skewers remember to soak your skewers in water for a good hour so that when they are placed on the grill - so they don't burn!  Grill your shrimp for 3 minutes per side, making sure not to overcook.
​Serve Hot.   

A Great "side" to this dish is steamed jasmine rice and a vegetable of your choice. 

Please Note: 
TEVIZZ.COM STOLE THE RECIPE YOU ARE VIEWING FROM ME!!!!!!  NOTICE MY WEBSITES NAME ON THE INITIAL PHOTO ABOVE! THEY DID NOT CREDIT ME FOR MY WORK NOR ACKNOWLDGE THIS IS MY WORK!!!!  A FELLOW READER ALERTED ME TO THIS THEFT!  

RECIPE AND PHOTOS BY: DIANE FOR CANNING AND COOKING AT HOME 

www.canningandcookingathome.com 

Picture
0 Comments

BBQ Dr Pepper Ribs

7/15/2020

0 Comments

 
Picture
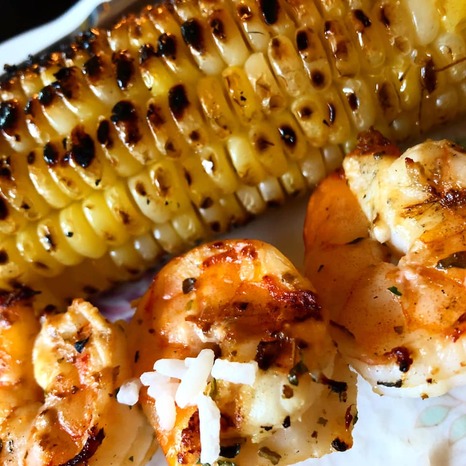
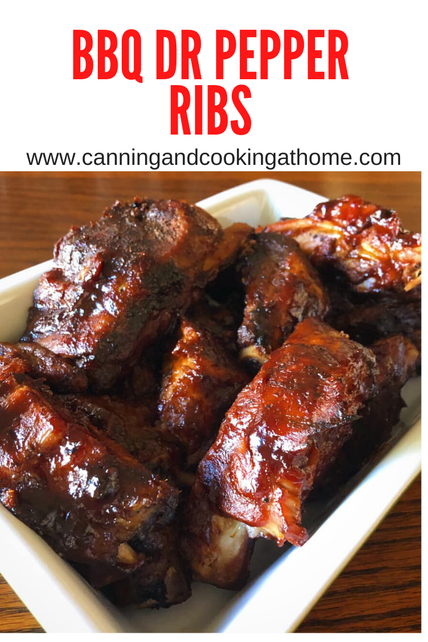
      This recipe goes from slow cooker to finishing off in the oven for an all day BBQ grill taste!  Great for busy days or weekends.  Enjoy! Diane  

Ingredients: 
  • 4 lbs. rack baby back pork ribs (usually one large rack is 3-4 pounds) 
  • salt and black pepper 
  • 1/2 teaspoon garlic powder
  • 1 teaspoon liquid smoke
  • 1 Cup barbecue sauce, your preference
  • 1 - 12 oz. can of "Dr. Pepper" soda, not diet

Instructions:
  • Remove the "silver skin" sinew from the ribs (it’s the membrane on the back part of the ribs.) I do this by lifting a edge of the membrane with a paper towel while holding rack in other hand, lift membrane and pull off the entire length. 
  • Cut the ribs in to 3-4 even sections.
  • Season the ribs with salt and pepper (both sides) 
  • Add ribs to the slow cooker
  • Sprinkle over the garlic powder and add the liquid smoke.
  • Smear the BBQ sauce over the ribs.
  • Add in the Dr. Pepper.
  • Cover and cook on LOW for 8 hours.
  • Remove ribs from slow cooker and slice apart.
  • Add ribs to a foil lined baking sheet and slather with more BBQ sauce
  • Bake in the oven at 400 for 20 minutes; turning ribs over once during cooking and coating with sauce for the final 10 minutes.   
  • I always sauce the bottom of the ribs first and finish with the ribs upright coated in sauce. 
  • Serve with additional barbecue sauce if desired
 
  • Use a 5 Quart Slow cooker, or larger.   
0 Comments

Canning Garbanzo Beans or Chickpeas

7/12/2020

0 Comments

 
Picture
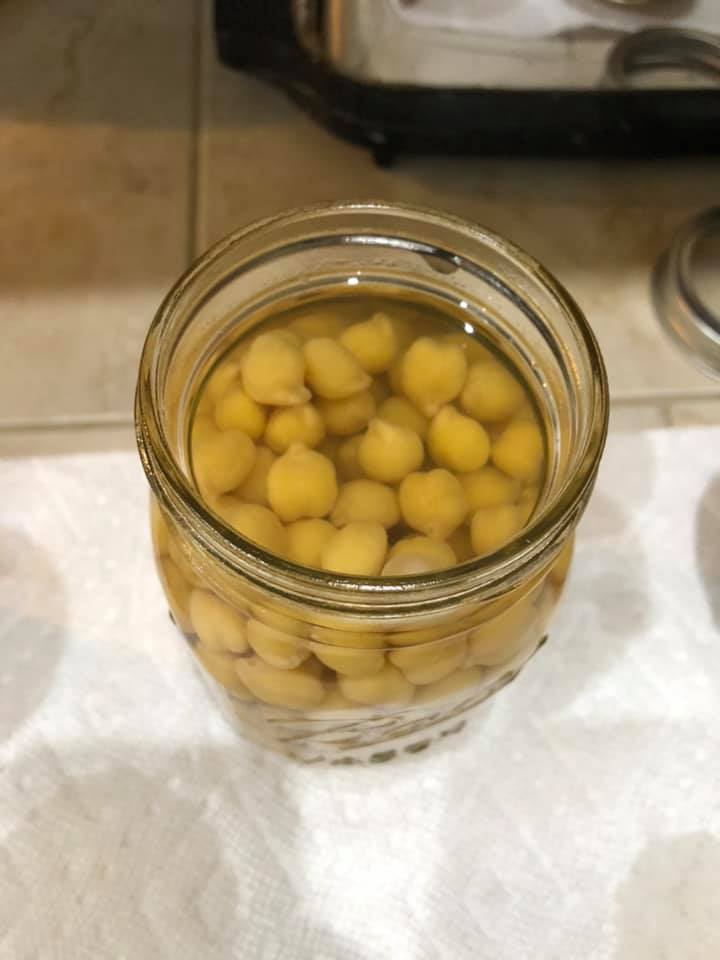
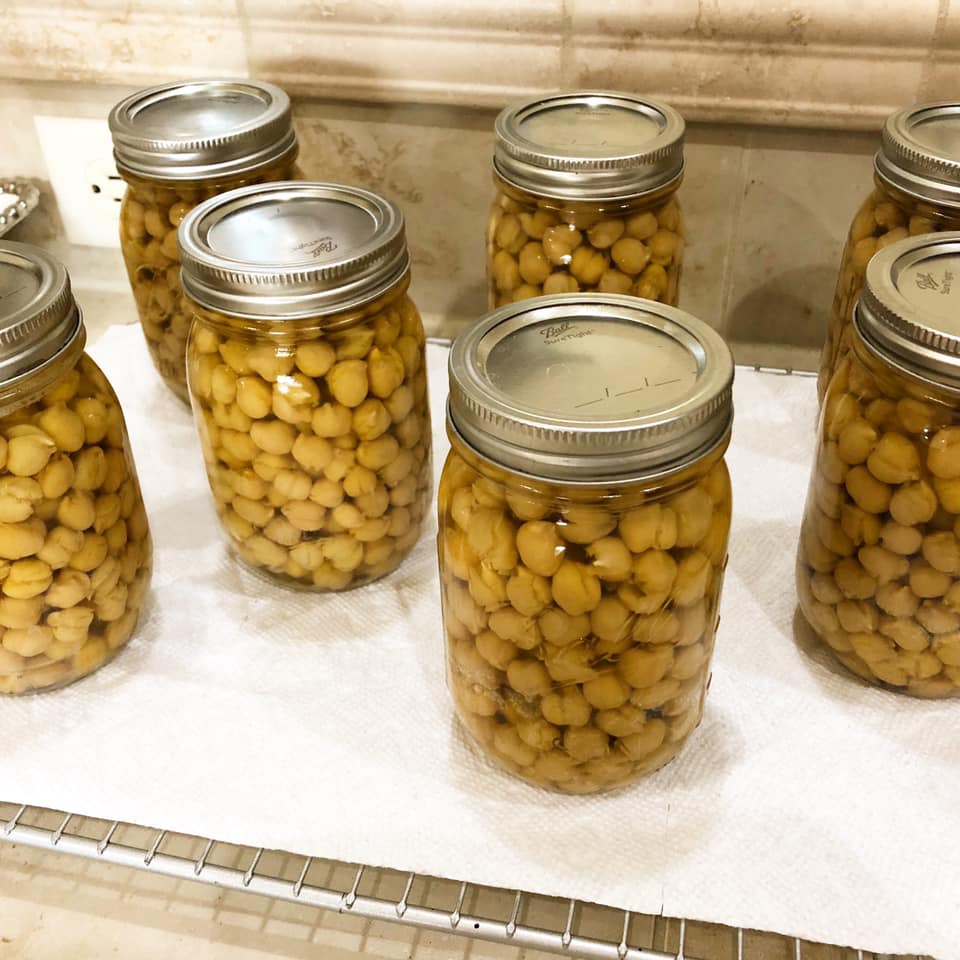
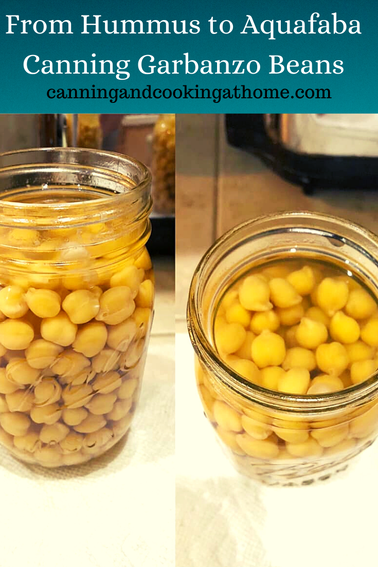
     This is a super versatile item!!  From making fresh hummus to utilizing the
by-product which is aquafaba, a vegan egg replacer used in meringues and even cocktails. I love cold garbanzo beans in my pasta salad creations and these are great when mashed and used as a thickener in soups and stews.
     I have seen recipes touting "Hummus in a jar" but, when you look at the ingredients and the recipe it is not tested for safety and I see a few questionable items in the jars. I feel more confident sharing the safe way to can the beans and once you open a jar, you can add the proper ingredients for your hummus.  Enjoy! Diane 

Two Pounds Organic Garbanzo Beans, aka Chickpeas
Pink Salt or Canning Salt 
Yield: Seven Pints

This is what I do based off of the Direct Instructions from the NCHFP (safe canning site) 
  • An average of 2 pounds of garbanzo beans will yield 7 pints.
  • Select mature, dry beans/peas. Sort out and discard impurities. 
  • Wash beans under running water. 
  • Next, hydrate beans, by covering sorted and washed beans with water in a large pot.
  • Boil beans 2 minutes, remove from heat, soak 1 hour and drain.
  • Cover beans after first soak with fresh water and boil again, this time for 30 minutes.
  • Prepare your canning jars. 
  • Add 1/2 teaspoon of salt per pint to the jar, if desired. Fill jars with beans and cooking water, leaving 1-inch headspace.
  • Pressure Can:  Pints 75 Minutes, Quarts 90 Minutes according to your altitude and canner type. 

NOTE: AQUAFABA: The byproduct of canning garbanzo beans is "aquafaba" which is the somewhat thicker, viscous liquid that you see when you pour out a can of commercially canned garbanzo beans.  It is an Egg Replacer!!  It's great for many uses so, when you go to drain your garbanzos to eat - think about how you can use the liquid "aquafaba" before you wash it down the drain.  ((hint: think 'Airy Meringues'))
           HUMMUS:  I blend all my ingredients together in a food processor until smooth 
  • 3/4 cup olive or canola oil
  • 1 pint canned chickpeas/garbanzos, rinsed and drained *or save the aquafaba!
  • 1/4 cup tahini paste 
  • 3 tablespoons fresh lemon juice
  • 2 teaspoons minced garlic
  • 1/2 teaspoon salt
0 Comments

Kentucky Peach Cobbler

7/4/2020

0 Comments

 
Picture
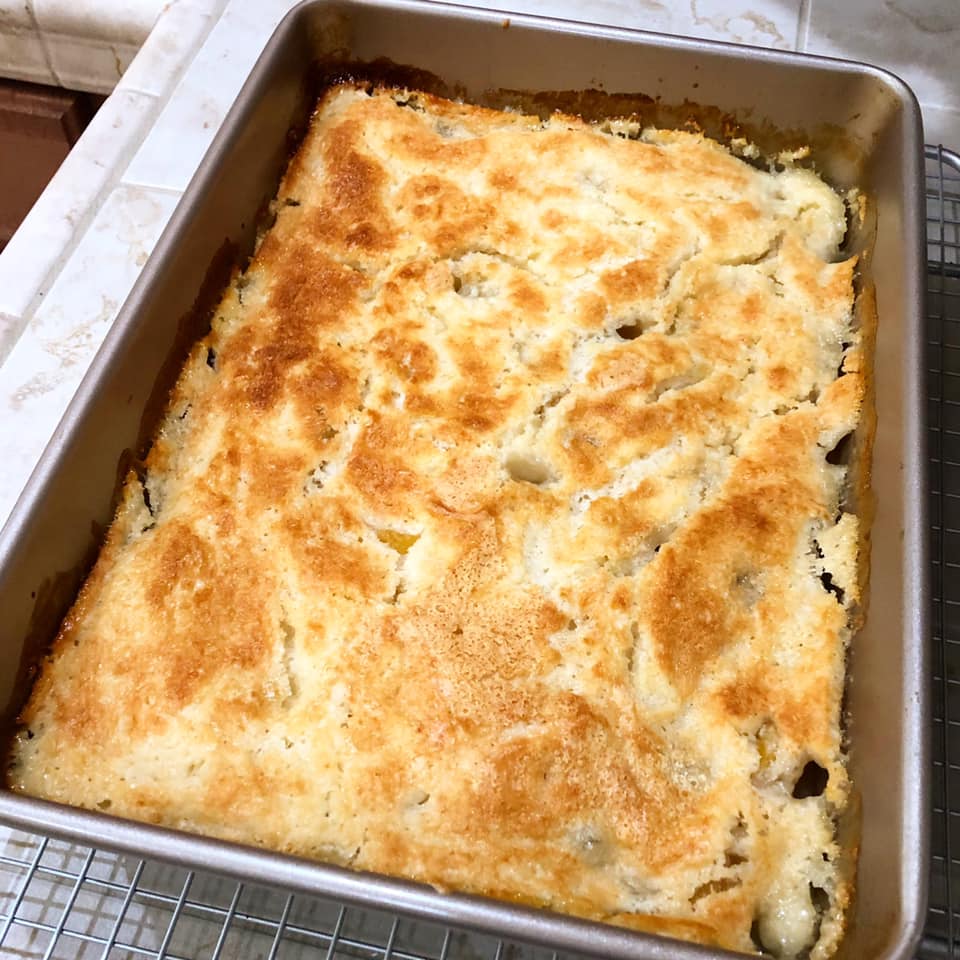
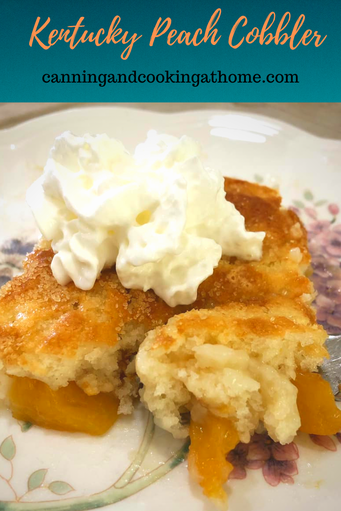
Diane's Kentucky Peach Cobbler
Heat oven to 400f

Let 2 heaping tablespoons butter melt in a 9x13 cake pan in oven,
while oven is heating. Take the pan out of the oven once the butter is melted. 

In a large bowl mix together:
1 Cup Self Rising Flour*
1 Cup Sugar

then and add in and mix well until a batter forms:
1 Cup Whole Milk
1/2 teaspoon vanilla bean paste

  • Place two 15oz cans of peaches in heavy syrup, into the melted butter in cake pan.
  • Drizzle your batter over peaches and entire pan.
  • Bake 30-35mins until set.
  • Remove from oven and lightly sprinkle with Demerara sugar over top of baked cobbler.
  • Let cool slightly, serve warm or room temperature with whipped cream and/or ice cream.

     *Making self-rising flour at home is easy. Just use this basic formula: For every 1 cup of all-purpose flour, add 1 1/2 teaspoons baking powder and 1/4 teaspoon fine salt.
0 Comments
    F I N D  A  R E C I P E 

       PRINT OR SAVE TO .PDF 
    Print Friendly and PDF


    Archives

    December 2024
    November 2024
    June 2024
    December 2023
    August 2023
    July 2023
    April 2023
    February 2023
    January 2023
    December 2022
    November 2022
    October 2022
    September 2022
    July 2022
    June 2022
    May 2022
    March 2022
    February 2022
    January 2022
    December 2021
    October 2021
    September 2021
    July 2021
    February 2021
    January 2021
    December 2020
    November 2020
    October 2020
    September 2020
    August 2020
    July 2020
    June 2020
    May 2020
    April 2020
    March 2020
    February 2020
    December 2019
    November 2019
    October 2019
    September 2019
    August 2019
    July 2019
    May 2019
    April 2019
    March 2019
    February 2019
    January 2019
    December 2018
    November 2018
    October 2018
    September 2018
    August 2018
    July 2018
    April 2018
    March 2018
    February 2018
    January 2018
    December 2017
    November 2017
    October 2017
    September 2017
    August 2017
    July 2017
    June 2017
    May 2017
    April 2017
    March 2017
    February 2017
    January 2017
    December 2016
    November 2016
    October 2016
    September 2016
    August 2016
    July 2016
    June 2016
    May 2016
    April 2016
    March 2016
    February 2016
    January 2016
    December 2015
    November 2015
    October 2015
    September 2015
    August 2015
    July 2015
    June 2015
    May 2015
    April 2015
    March 2015
    February 2015
    January 2015
    December 2014
    November 2014
    October 2014
    September 2014
    August 2014
    July 2014
    June 2014
    May 2014
    April 2014
    March 2014
    February 2014
    January 2014

Picture
© Copyright 2025, Canning and Cooking at Home.  Established 2013.
All images & content are copyright protected. Please do not use my images on your own site/page without prior permission. Sharing, pinning, and tweeting is always appreciated as long as the shares and pins link back to this website and recipe.  Canning and Cooking at Home claims NO liability for the safety of ANY recipe or advice contained within this website.  Always consult with the NCHFP  to ensure Canning Safety.