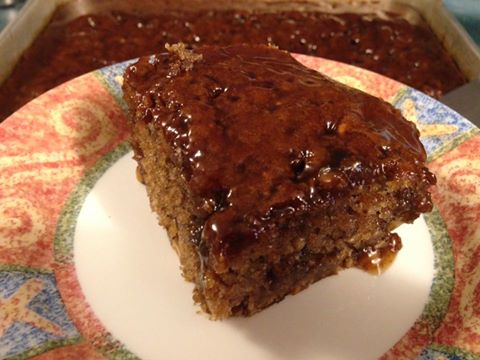
 A family recipe that JD said is one of his favorites. His Aunt Deanne has been making this for years and he shares this cherry pudding cake recipe with you all.
~Enjoy! Diane Cherry Pudding Cake *guest post Ingredients: 2 Cups All Purpose Flour 2 Cups Sugar 1 1/2 cups Chopped Pecans, or nuts of your choice 1 20 ounce can Pie Cherries in water 2 eggs, lightly beaten 2 Tbsp Butter, melted 2 tsp Baking soda, dissolved in 1 Tbsp Water 1/4 tsp Salt Preheat oven to 325F. Mix sugar, salt, and flour. Add beaten eggs and juice from cherries. Add melted butter, soda/water mixture. Add drained cherries and pecans. Mix well. Bake in greased and floured 13" x 9" pan until firm to touch, about 40 minutes. While baking, prepare topping as follows. Topping: 1 1/2 Cups Brown Sugar 1 1/2 Cups Water 4 Tbsp Flour 2 Tbsp Butter 2 Tbsp Vanilla Extract 1 tsp Red Food Coloring (optional) Mix flour with brown sugar in saucepan, slowly add water, add butter and vanilla. Cook until thick, about like pancake syrup or honey. Poke holes all over cake once removed from oven with a skewer or toothpick, and then pour topping over hot cake, as soon as cake comes out of oven. Serve hot or cold with whipped topping. Freezes and reheats in microwave perfectly! Recipe from: Deanne Gruben, JD Provence & Margie Slentz Photos by: JD Provence for Canning and Cooking at Home
0 Comments
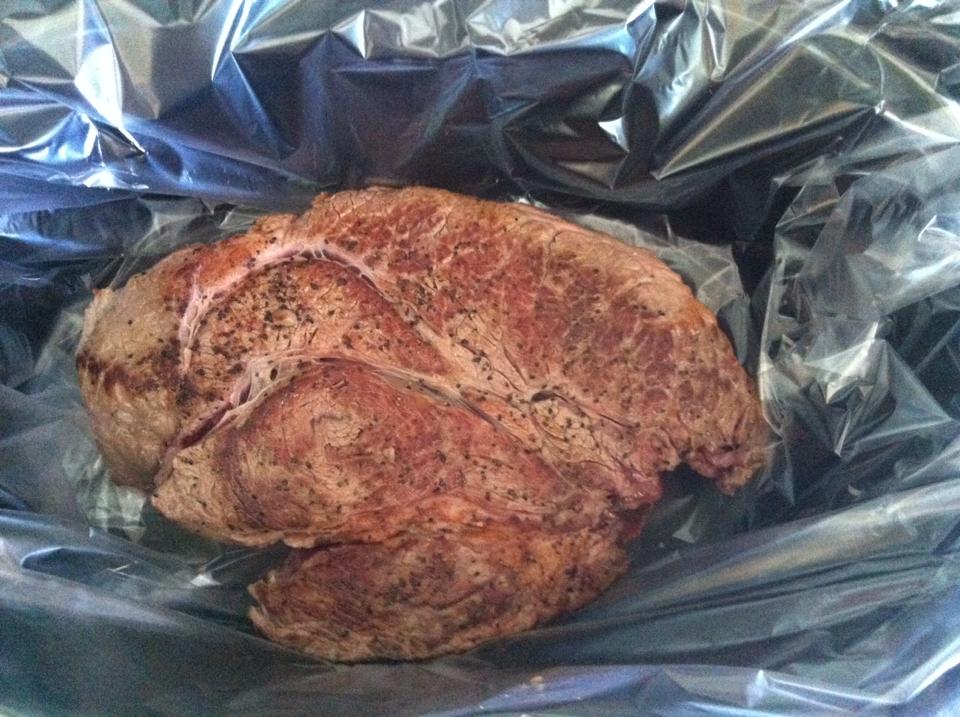
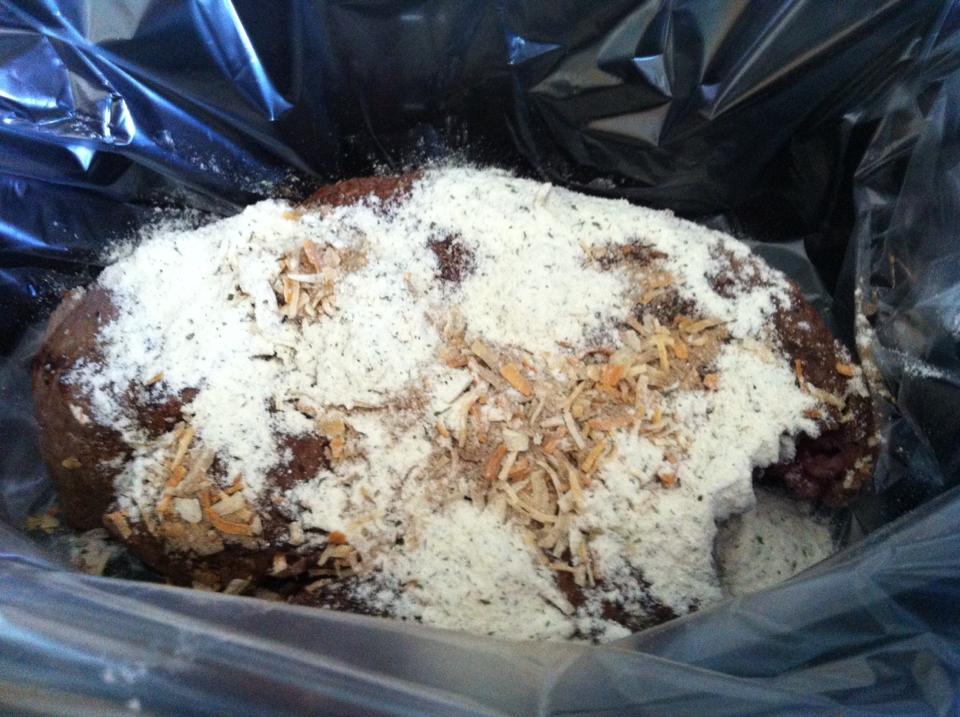
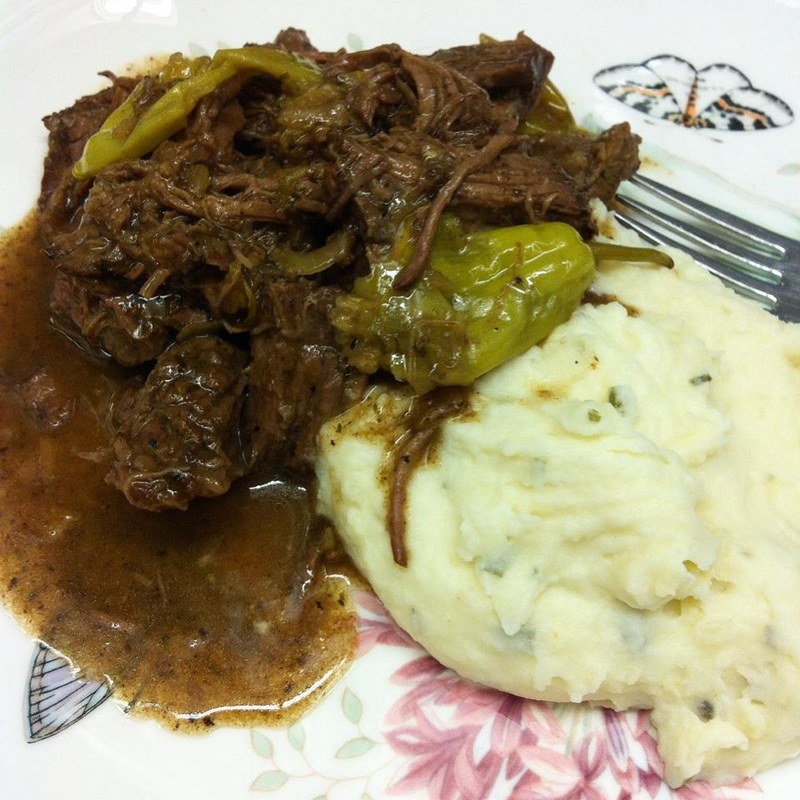
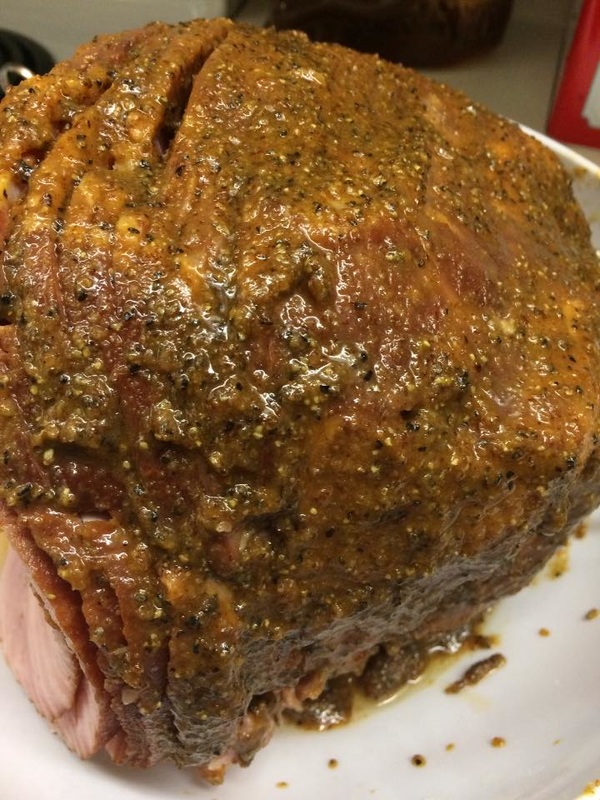
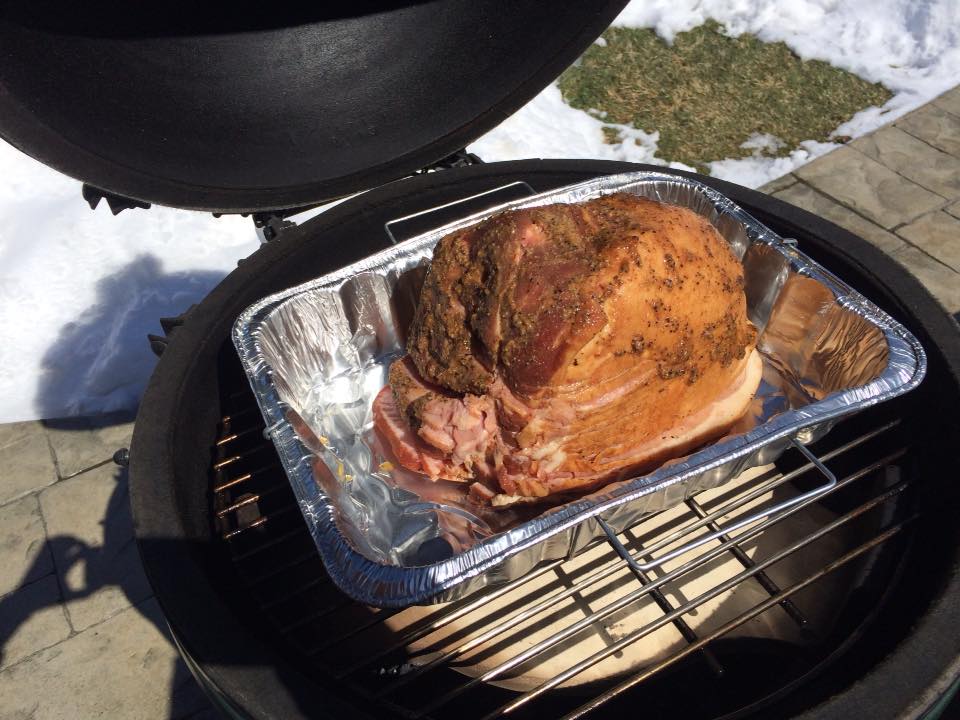
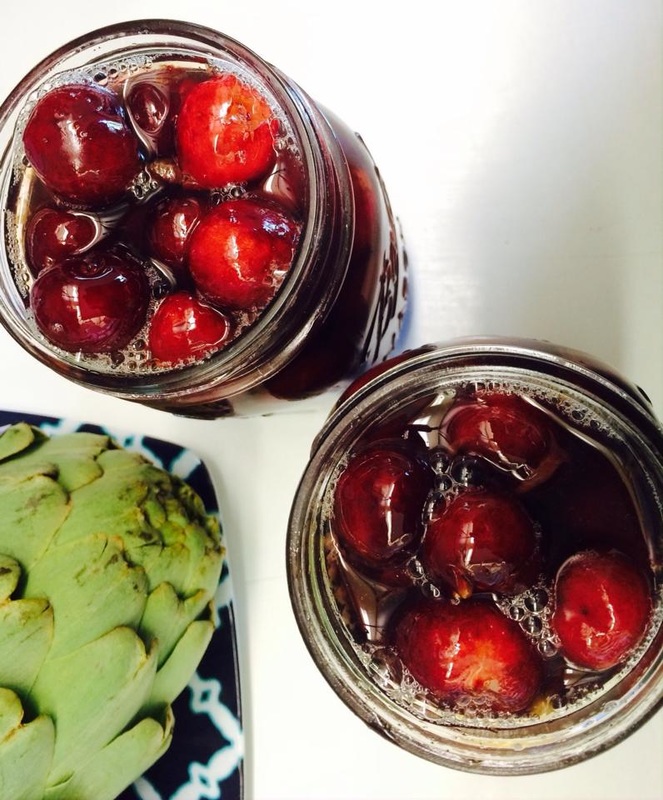
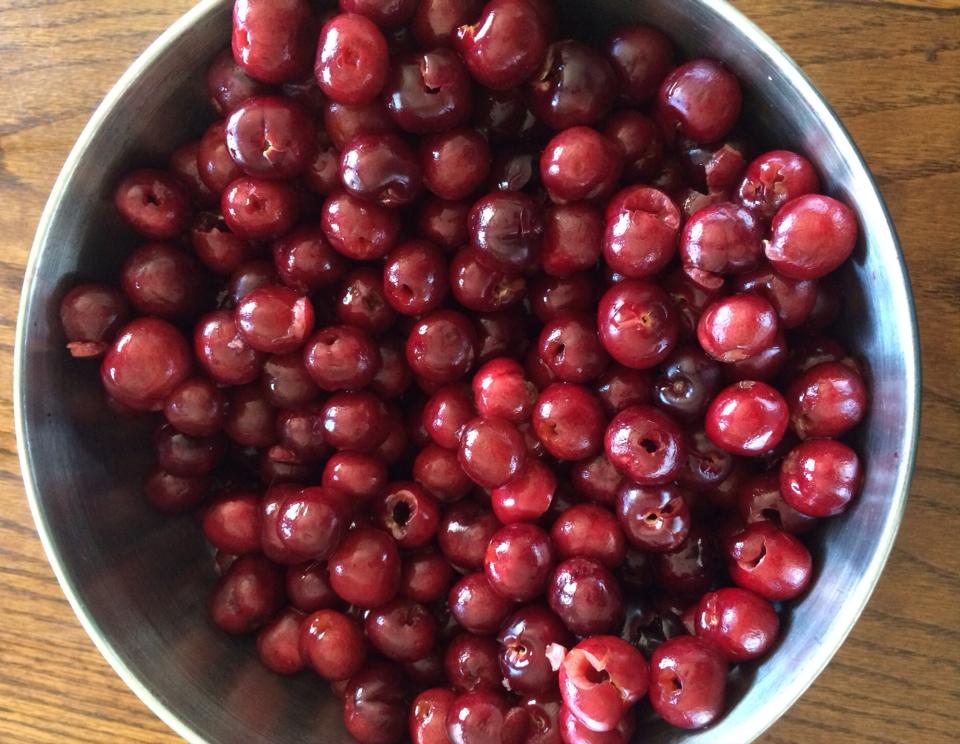
 Okokok, I had enough! I had to try what "everyone else" was making and causing a fuss over! I kept avoiding the recipe because of that giant stick of butter perched on top of the roast!! ICK! So, I decided to make the recipe using half the butter. WINNER!! All the flavors of the pepperoncini's meld into the meat in this recipe It's a Winner! The pepperoncini's add a little spicy vinegar kick to the overall flavor too. I put about 10-12 peppers in mine and you may want to add more or use less. Most folks seem to like using 4-6. In any case, make this - you won't regret it. ~Enjoy! Diane Mississippi Pot Roast & Italian Beef *a two option dinner Ingredients: 3.5 to 5 lb. chuck/pot roast cooking oil (such as canola) *can omit if using a non-stick pan ground black pepper 1 ranch dry mix packet 1 au jus gravy dry mix packet 1/2 stick butter (1/4 cup) 7-10 pepperoncini peppers *see serving options below Directions: Season the meat with pepper only. Using a large skillet set to medium-high heat add the oil *you can omit oil if using a non-stick pan, When the oil is hot, add the meat. Brown on all sides. Add the browned meat to a 4-quart or larger slow-cooker. (I use a slow-cooker liner in mine) Sprinkle the ranch packet and au jus packet on top of the roast. Add the 1/2 stick of butter, and peppers on top of the seasonings. Cover and cook on LOW for 8 hours. My Slow-Cooker has a Low, Med & High Setting, I place mine on Medium for 8 hours. 30 minutes before serving, Remove meat and shred or cut into chunks. Add in 1/4 cup of water stir and let cook 30 minutes more. Mississippi Roast Dinner: Serve over egg noodles or mashed potatoes. Italian Beef: Serve on fresh hoagie rolls with some more fresh pepperoncini's, grilled onion & sweet peppers and some melted mozzarella cheese on top for a great sandwich! I do toast my hoagie rolls under the broiler, add the meat & other fixings and then return under broiler to melt the cheese before serving. I serve my beef sandwiches with a side of extra au jus gravy for dipping. Recipe Inspired by: The Magical Slow Cooker & NY Times Photos by: Diane Baker for Canning and Cooking at Home 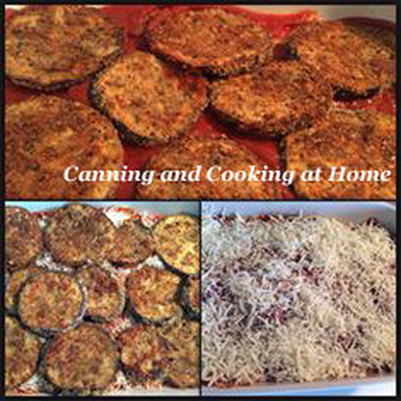 This is the 9x13 casserole version. While I do like my recipe for: 'single serve' oven roasted eggplant parmesean just a bit more then this, this is traditional in the presentation sense but, the eggplant is coated and "fried" in the oven instead of in oil (saves on mess and a few calories.) Many folks like how the cheeses and sauce work together with the eggplant, This was loved by my entire family, they devoured it! ~Enjoy! Diane Eggplant Parmigiana Ingredients: Olive oil, for baking sheets 2 large eggs 2 Tbs water 3/4 cup plain dry breadcrumbs 3/4 cup finely grated Parmesan, plus 2 tablespoons for topping 1 teaspoon dried oregano 1/2 teaspoon dried basil Coarse salt and ground pepper 2 large eggplants (2 1/2 pounds total), peeled and sliced into 1/2-inch rounds 6 cups (48 ounces) store-bought chunky tomato sauce or my homemade sauce 2 cups shredded mozzarella or your choice mix of Italian cheeses. Directions: Preheat oven to 375 degrees. Brush 2 baking sheets with oil; set aside. In a wide, shallow bowl, whisk together eggs and 2 tablespoons water. In another bowl, combine breadcrumbs, 3/4 cup Parmesan, oregano, and basil; season with salt and pepper. Dip eggplant slices in egg mixture, letting excess drip off, then dredge in breadcrumb mixture, coating well; place on baking sheets. Bake until golden brown on bottom, 20 to 25 minutes. Turn slices; continue baking until browned on other side, 20 to 25 minutes more. Remove from oven; raise oven heat to 400 degrees. Spread 2 cups sauce in a 9-by-13-inch baking dish. Arrange half the eggplant in dish; cover with 2 cups sauce, then 1/2 cup mozzarella. Repeat with remaining eggplant, sauce, and mozzarella; sprinkle with remaining 2 tablespoons Parmesan. Bake until sauce is bubbling and cheese is melted, 15 to 20 minutes. Let stand 5 minutes before serving. NOTE: Remember to remove the bitter taste from eggplant, to wash, slice and coat your eggplant in salt, let sit to drain out bitter liquid for at least 2 hours. Rinse well, dry off slices and proceed with recipe. I lay my eggplant on 2 baking sheets lined with paper-towel, then I set one sheet on top of the other to 'weigh' down and press out juices. Recipe Adapted from: M Stewart Living Photos by: Diane Baker for Canning and Cooking at Home 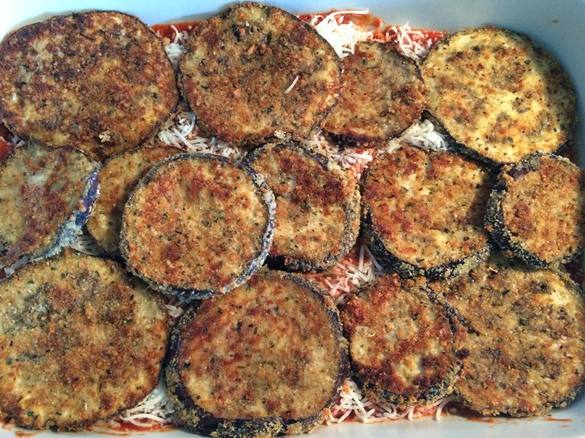 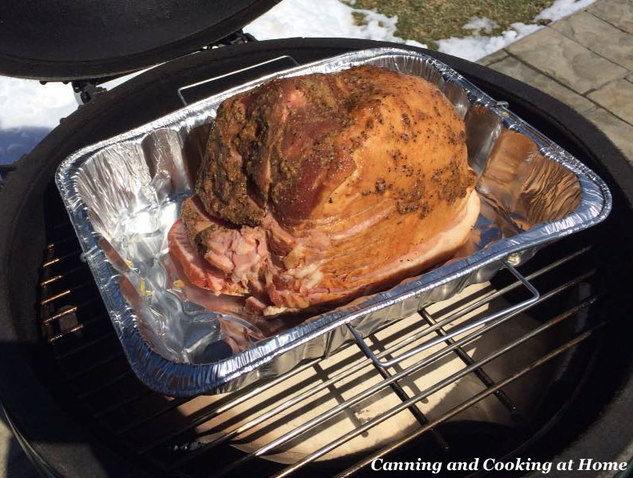 Maple-Bourbon Ham 10-12 lbs Ham: cooked - ready to eat bone-in Butt or Shank section 1/2-1 cup Maple Syrup Cherry or Apple Wood Chunks - for smoking Maple-Bourbon Paste 2 Tbs. pure Maple Syrup 2 Tbs. freshly ground Black Pepper 2 Tbs. Dijon or Honey-Dijon Mustard 1 Tbs. Bourbon 1 Tbs. Vegetable Oil 1 Tbs. Paprika 1 Tbs. Onion Powder 2 tsp. coarse Salt - either kosher or sea salt Instructions The day before smoking, place ham in a pan flat side down. Inject in multiple locations with maple syrup (use more than 1 cup if it will take it). Smear the Maple-Bourbon Paste all over the exposed surfaces (except flat side). Cover loosely with plastic wrap and put in refrigerator until ready to smoke (You can remove ham from refrigerator up to one hour before cooking). Stabilize grill at 250° F. (If using a Big Green Egg Grill) Place 'plate setter' legs up and with raised grid on top. Put 3 or 4 good size chunks of soaked wood on coals, then place ham on raised grid. Cook until internal temperature reaches 140° F. (this should take about 5 hours). Notes: If not cooking on a Big Green Egg Grill or If cooking a large ham, or, two or more butts or shanks you can omit the raised grid and plate setter if you're experiencing a "fit" problem and just cook on the regular grid with ham placed into a foil pan. Recipe by: egret, BGE Photos by: Diane Baker for Canning and Cooking at Home 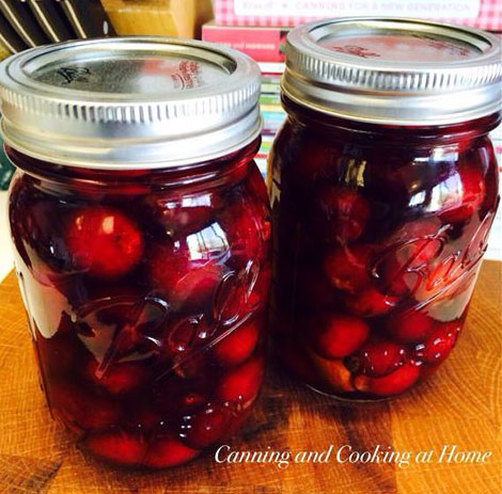 Add this recipe to your 'cherry season' line-up. I make up a jar for the fridge and can the rest - a great mixed "fruit cocktail syrup to use too! ~Enjoy! Diane Homemade Maraschino Cherries syrup ~ makes enough for one pint jar depending on the size of your cherries, you may have syrup leftover. I doubled the syrup recipe and made two pints with plenty syrup leftover for later. Ingredients: To the saucepan: 1 cup water 1 cup sugar 1 Tbsp. fresh lemon juice 1 tsp. vanilla extract To each pint jar add: 2 cups fresh sweet cherries 1 small (or piece of) cinnamon stick 4 whole allspice 1/4 tsp. almond extract In a small saucepan: over medium heat, combine water and sugar. Heat until sugar is dissolved, stirring gently. Set aside and let cool to room temperature. Add lemon juice and vanilla and stir again. In each pint jar: Add the cinnamon, allspice and almond extract. Fill your jar with the pitted cherries, leaving a 3/4 inch head-space. Pack the washed & pitted cherries in tightly without smashing. Pour in the flavored syrup, leaving a 1/2 inch head-space. Use a wooden skewer around the edges of the jar being gentle, to dislodge any air bubbles. Add more syrup if needed. Wipe the rim and place lid and band on the jar. At this point: Store the cherries in the refrigerator for up to 6 weeks. OR Water bath process OR Pressure Can them for longer storage. (See Link below) Just note that the canning does change their texture a bit. They will darken and get softer. Either way, the flavor will take at least 3 days to soak into the cherries and then they are ready to eat. NCHFP Canning Whole Cherries: Waterbath or Pressure Can http://nchfp.uga.edu/how/can_02/cherry_whole.html Recipe Adapted from: TLo's Photos by: Diane Baker for Canning and Cooking at Home |