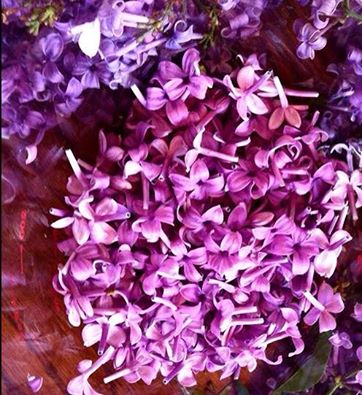
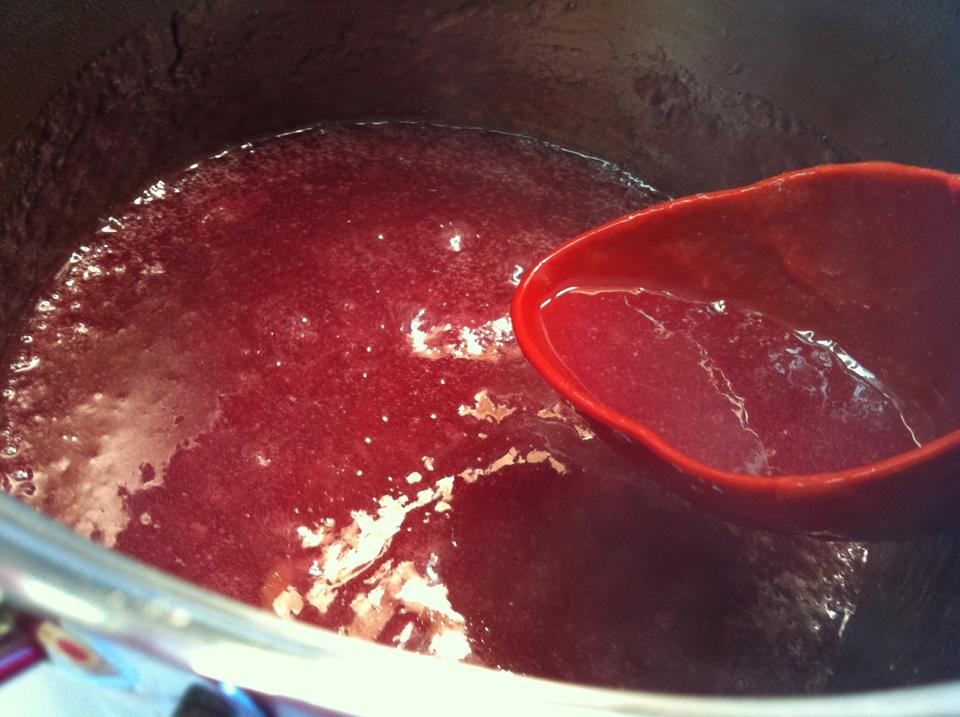
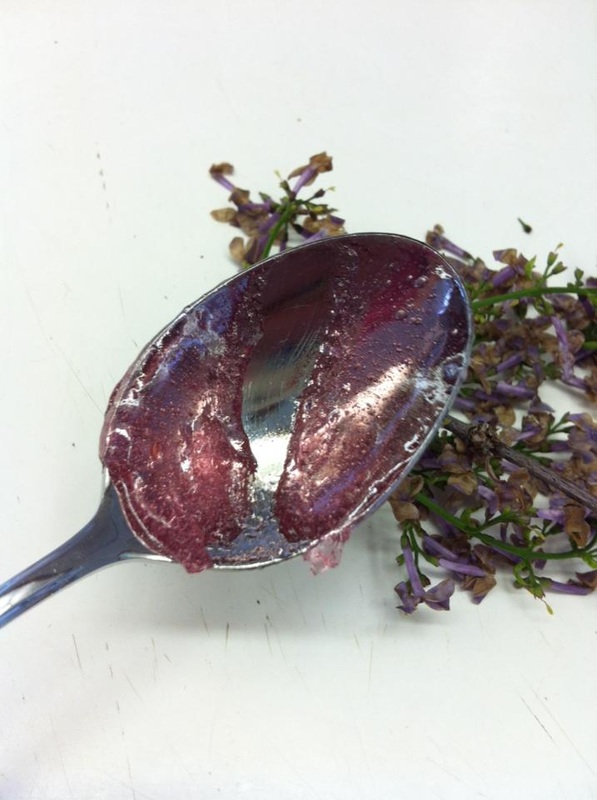
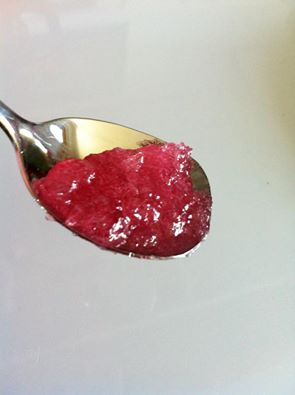
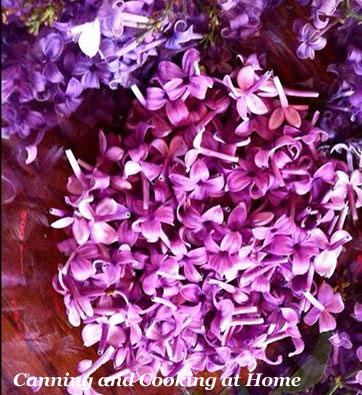
 I was out for a walk with the dogs earlier this week and the sights of all the blooming flowers and trees had my senses heightened. Then I saw a beautiful dark purple lilac bushes in my neighbors back yard and remembered, when I was little we'd pick the flowers off and suck on the ends to get the nectar - so lightly sweet with that lilac smell. I came home and thought "I wonder if I can make that into a jelly?" The answer is - yes! At that point I sent out feelers amoung my neighbors to see who had lilacs that would share and my neighbor John was kind enough to let me pilfer his large lilac that was in full, beautiful bloom!! I came home and immediately got to plucking off the flowers - knowing this wasn't a recipe that could 'wait'...You need to gather your lilacs and prepare to sit and pluck for a good 90 minutes! You want only the flower - not the brown stems nor the green mini flower stems (those act like bottle stoppers and hold in the nectar) Make sure to pack down the flowers in your measuring cup as you go!! I also saved a few flowers to place in each jar when making the jelly (which I won't do next time as those flowers turned an ugly brown color in the jars after processing) The two cups of packed flowers will be about 4 cups loose in a quart canning jar...I didn't weigh the amount of lilacs I trimmed off the lilac bush but, I packed a small shopping bag full and used it all!! I am totally impressed that my 'liquid' stayed lilac in color!!!! A lot of folks have their flowers turn amber or yellow upon adding the boiling water - it may be that they waited too long to steep their flowers, or had a different variety/color of lilac flower, or didn't remove all the brown and green stems...I did everything pretty swiftly from the gathering to the plucking and boiling...which I think yields the best results. ~Enjoy! Diane Lilac Jelly 2 cups of packed lilac flowers 2 1/2 cups of boiling water Place the flowers into a quart canning jar, pour the boiling water over the flowers, make sure the flowers are submerged in the water, place lid on and shake a few times then let the jar sit out at room temperature overnight (about 10 hours) Grab a jelly bag and empty out the flowers and liquid into that to strain into a non-reactive bowl below (don't squeeze the jelly bag or your liquid will darken with some brown/green tinges.) 2 cups lilac water 1 box of sure-gel powdered low sugar pectin (pink box) 1/4 cup freshly squeeze lemon juice 4 cups of sugar Stir together the lilac water, lemon juice and sure-gel and bring to a boil. Add in the sugar and bring back to a roiling boil, stirring constantly. Once you reach a rolling boil, boil hard for 1 minute then remove from the heat. scrape off any foam that settles on top and then pour into sterilized containers. process in a water bath for 10 minutes or according to your altitude. Note: depending on the color of your lilacs - your end resulting jelly 'color' can be yellow, amber or lilac. My lilacs were vivid purple and dark purple - resulting jelly was a beautiful lilac purple/pink!! and yes, it tastes great!! A very light floral honey flavor (the same flavor you get from the nectar in the flower) Yield: Recipe makes approx 40 oz. total Recipe adapted from: Forager Photos by: Diane Baker for Canning and Cooking at Home
0 Comments
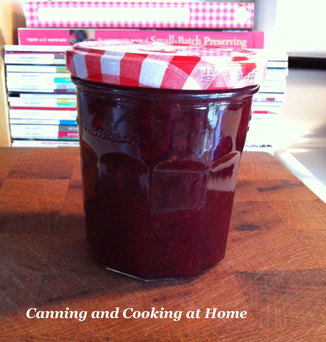 Sweet Cherry Jam with Pineapple Ingredients: 4 cups prepared fruit (buy about 3 lbs. fully ripe sweet cherries) 1 small can crushed pineapple, with juices 1/2 cup fresh lemon juice 1 box SURE-JELL Fruit Pectin 5 cups sugar, measured into separate bowl 1/4 tsp. almond extract Yield: approx 7 half-pints Directions: STEM and pit cherries. Finely chop cherries. Measure exactly 4 cups of the prepared chopped cherries into 6- or 8-qt. sauce-pot. Add in the pineapple and its juices. Stir in lemon juice. ADD pectin into fruit mixture in sauce-pot. Stir and bring mixture to full rolling boil (a boil that doesn't stop bubbling when stirred) on high heat, stirring constantly. Stir in sugar and extract. Return to full rolling boil and boil exactly 1 min., stirring constantly. Remove from heat; skim off any foam with metal spoon. To reduce foaming, add 1/2 tsp. butter to the sauce pot along with the pectin & lemon juice. LADLE immediately into prepared jars, filling to within 1/4 inch of tops. Wipe jar rims and threads. Cover with two-piece lids. Screw bands tightly. Waterbath Process 10 min. (*or according to your altitude). *ALTITUDE CHART: At altitudes above 1,000 feet, increase processing time as indicated: 1,001 to 3,000 feet-increase processing time by 5 min.; 3,001 to 6,000 feet-increase processing time by 10 min.; 6,001 to 8,000 feet-increase processing time by 15 min.; 8,001 to 10,000 feet-increase processing time by 20 min. NOTE: My Jar shown - is for fridge use only, I save commercial jars to place 'overflow' of jams into for the fridge, This recipe made 7 half pints that were water-bath canned and one fridge jar - as shown. Recipe Adapted from: Kraft Photos by: Diane Baker for Canning and Cooking at Home 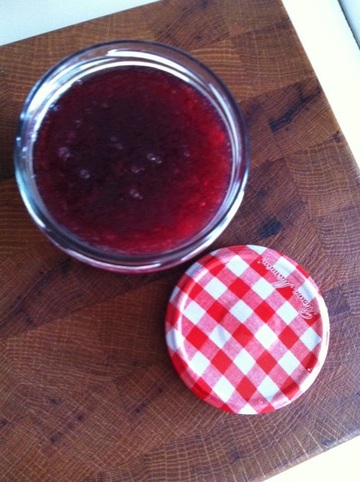 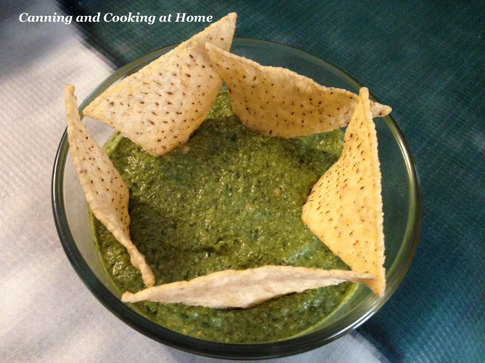 Spinach Cashew Pesto (Dip or Sauce) *guest post Ingredients: 1 10 oz pkg frozen spinach, thawed and drained (save juice) 1/4 cup cashews 1/4 cup olive oil 2 Tbsp dried basil 3 Tbsp lime juice 1 Tbsp Mongolian Fire Oil 1 Tbsp Fish Sauce 1/4 tsp sea salt Directions: Put all ingredients into blender and blend until smooth. If mixture is too thick, slowly add juice from spinach package until thin enough to blend. Serve as dip or thin with heavy cream, half & half or milk, to serve over pasta. Recipe & Photos by: JD Provence for Canning and Cooking at Home 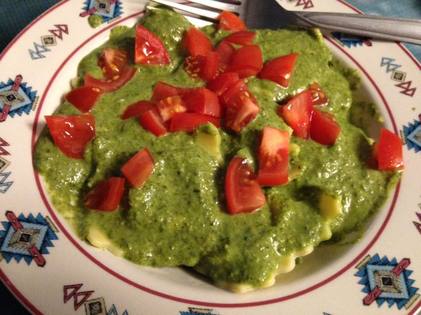 Someone inquired about what to do with all their squash that starts popping up in the Summer. This is a great recipe for relish. If you want to add a bit of a kick to this recipe - toss in chili pepper flakes to taste. ~Enjoy! Diane
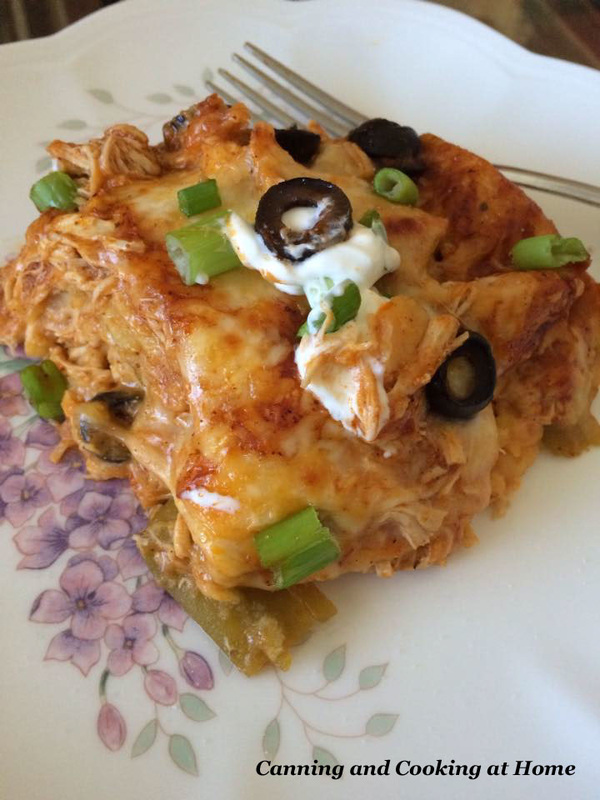
Squash Relish Ingredients: 10 cups shredded yellow summer squash (about 4 pounds) 2 large onions, chopped 1 large green pepper, chopped 6 tablespoons canning salt 4 cups sugar 3 cups cider vinegar 1 tablespoon each celery seed, ground mustard and ground turmeric 1/2 teaspoon ground nutmeg 1/2 teaspoon pepper Directions: In a large container, combine squash, onions, green pepper and salt. Cover and refrigerate overnight. Drain; rinse and drain again. In a Dutch oven, combine sugar, vinegar and seasonings; bring to a boil. Add squash mixture; return to a boil. Reduce heat; simmer 15 minutes. Remove from heat. Carefully ladle hot mixture into six sterilized, hot, pint jars, leaving 1/2-in. head-space. Remove air bubbles and adjust head-space, if necessary, by adding hot mixture. Wipe rims. Center lids on jars; screw on bands until fingertip tight. Process in Boiling Water Bath for 15 minutes (adjusting for your altitude.) Remove jars and cool. Yield: 6 pints. Recipe Note: The processing time listed is for altitudes of 1,000 feet or less. For altitudes up to 3,000 feet, add 5 minutes; 6,000 feet, add 10 minutes; 8,000 feet, add 15 minutes; 10,000 feet, add 20 minutes Shredded Chicken Enchilada Casserole
Ingredients: 1 15oz can enchilada sauce **or use my homemade - recipe below 2 cups shredded monterey jack or mozzarella cheese 1 cup shredded cheddar cheese 2 green onions, diced 1 small can sliced black olives 2 whole green chiles, sliced into strips or 1 4oz can of diced green chiles 7 corn tortillas , 6 inches each 2 chicken breasts Directions: Cut each chicken breast in about 3 pieces, so that it cooks faster and put it in a saucepan. Pour all but, 1/4 cup of the enchilada sauce over chicken and cook covered on low to medium heat until chicken is cooked through, about 20 minutes. Make sure you stir occasionally so that it doesn't scorch or stick to the bottom of pan. Remove chicken from the pot and shred with two forks, once shredded, return to sauce in pan. Preheat oven to 375 F degrees. Start layering the casserole. Using an 8x8 dish, Placing the 1/4 cup of the held-over Enchilada sauce over the bottom of a baking dish. Cut 2 tortillas in half, place each half in circular pattern around the bottom (there will be an open gap/center hole.) Cut one of the tortillas into 3 pieces (to use in each layer to fill gap/center hole.) Top first layer of tortillas with 1/3 of the chicken in sauce, sprinkle chicken with 1/3 of the cheese and repeat starting with another layer of tortillas, then chicken in sauce, cheese. On top of second layer, lay out green chile slices or scatter can of diced green chiles on top of second layer, along with half of the black olives. The last layer place the remaining ingredients: tortillas, chicken in sauce, cheese and black olives. Bake for 30 minutes uncovered, until bubbly and cheese has melted and started to brown on top. Scatter green onions over top once cooked. Let stand for 5-10 minutes, Serve warm ** Homemade Enchilada Sauce: 1/4 cup vegetable oil 2 Tbs flour 2 Tbs chili powder 1 (8 ounce) can tomato sauce 1 cup water 1/4 teaspoon ground cumin 1/2 teaspoon garlic powder 1/2 teaspoon onion salt up to 2 Tbs Brown sugar *to taste salt to taste Directions: Heat oil in a saucepan over medium heat. Stir flour and chili powder into the oil; cook and stir until smooth. Gradually stir tomato sauce, water, cumin, garlic powder, onion powder, and brown sugar into the flour mixture, respectively. Reduce heat to low and cook until thickened, about 10 minutes. makes 2 1/2 cups Recipes & Photos by: Diane Baker for Canning and Cooking at Home |