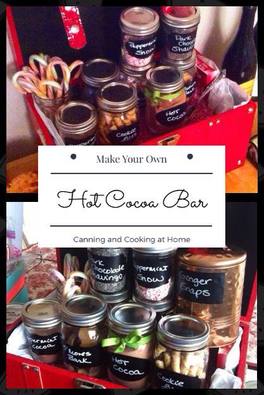
 As part of a Christmas gift this year we received the adorable red trunk pictured above and wanted to utilize/re-purpose it into a display piece. The idea of a cocoa bar was born. Are you feeling crafty now? Make one and share your photos with me over on my Facebook Page. (I'm also posting three dry mixes you can make.)
We wanted something useful added in our new renovated basement, and a hot cocoa bar fit the bill perfectly! The supplies needed are up to you. It can be as simple as: a few pint sized jars labeled and set out in a row, set on a tray, or set in a box you can decorate OR as elaborate as you want with lots of cute additions to go along with hot cocoa. Your imagination is all that's needed! The only modification I needed to make was to add a platform inside the trunk. I took a large shoe box and decorated that, placed it inside the trunk so that the jars have a steady, elevated platform to set on while in the trunk. I do like the Kerr pint sized jars better for this application too (they don't have embossing on one side of the jar, perfect for my labels.) Included in our hot cocoa bar: Candy Canes, Peppermint Balls, Dark Chocolate Shavings, Peppermint Snow, 3 types of Hot Cocoa, Cookie Bits, S'mores Bark, Chocolate Chips, Ginger Snaps and Mini-Marshmallows. *Not pictured, mugs and spoons. (I'm looking into making homemade candy mixing spoons for the cocoa) and our electric tea kettle for on-demand hot water or hot milk. I agree with my husband, our basement is slowly becoming a place we don't want to leave. In the past the large room was just a room I had to walk through to get to our laundry room. Sure, the 'old basement' served it purpose back when our son was young and had friends over. Back then it was THE supreme 70-80's hang-out complete with dark burnt orange carpeting, an almost burlap type wheat colored wallpaper, with one wall entirely covered in a photo wallpaper of tropical plants. That room was also the lost cavern for quickly forgotten old sofas, an outdated 80's entertainment center, clunky end tables and a large coffee table. Happily now, we took the time and lots of sweat equity and renovated it all ourselves from chalk painting old furniture, building new pieces and installing a hardwood floor - the small addition of the homemade hot cocoa bar seems like a bit of the cherry on top of the basement sundae. Our basement is now a cozy place for us! ____________________________ Homemade Hot Cocoa - using Milk to serve by: Martha Stewart makes 5 3/4 Cups dry mix Dry Mix Ingredients: 3 1/2 Cups Sugar 2 1/4 Cups Cocoa 1 Tablespoon Table Salt Directions: *when making mix 2 Tbs dry cocoa mix to 1 Cup warmed/hot milk. This dry mix can be kept in the pantry, in airtight container for 6 months. ____________________________ Homemade Hot Cocoa - using Water to serve by Pioneer Woman Dry Mix Ingredients: 2 cups Confectioners Sugar 1 cup Unsweetened Cocoa Powder 2 cups Powdered Milk Or Instant Nonfat Dry Milk Directions: In a large bowl, sift the confectioner’s sugar, then the unsweetened cocoa, to get rid of any lumps. Stir in the powdered milk, and whisk well until everything is combined. Add mini marshmallows to the container, if desired. This dry mix can be kept in the pantry, in airtight container for 6 months. *When making combine equal parts hot cocoa mix and hot water. _____________________________ Homemade Hot Cocoa using Splenda - using any liquid to Serve by Raven 2 cups Malt powder (can use powdered milk but I prefer the flavor of Barley Malt) 1 cup dark unsweetened cocoa powder and 2 cups Splenda *When making combine equal parts dry with any liquid. ______________________________ DIY and Photos: By Diane Baker Cocoa Recipes Courtesy of: Martha Stewart, Pioneer Woman & Raven
0 Comments
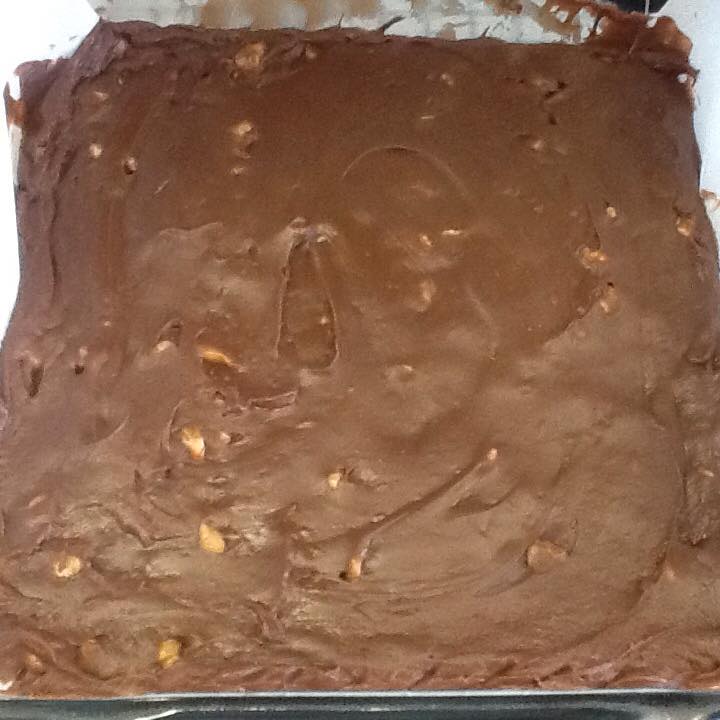
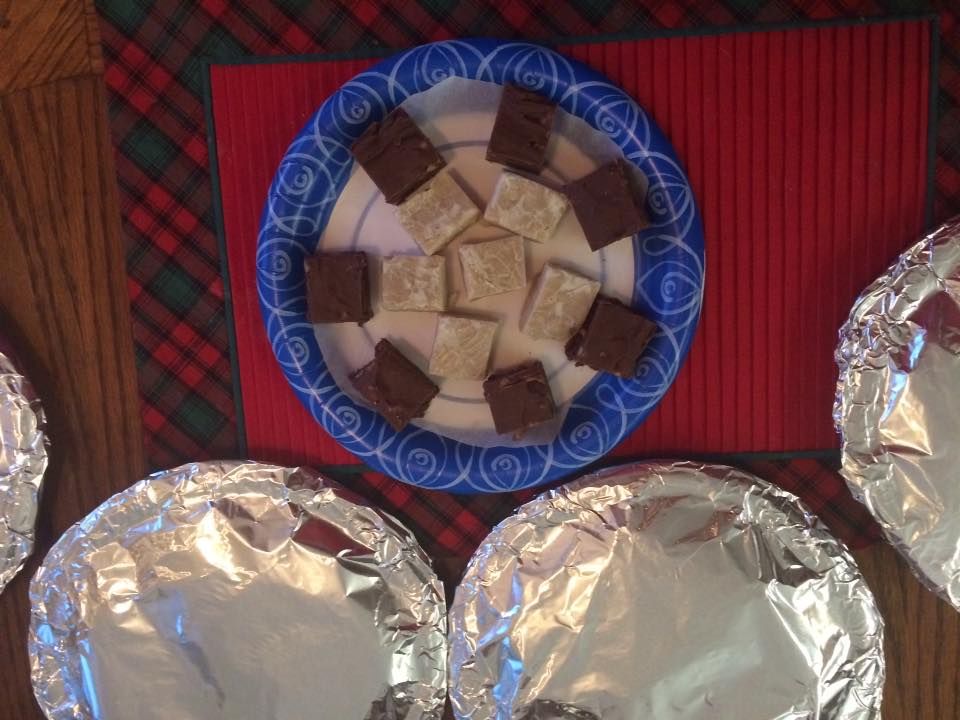
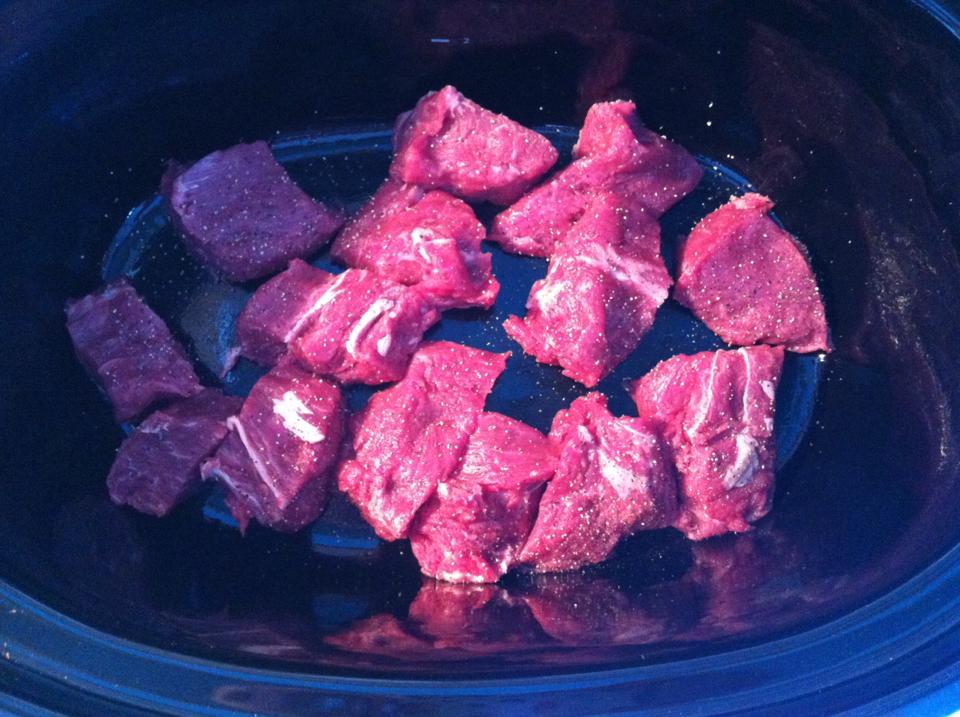
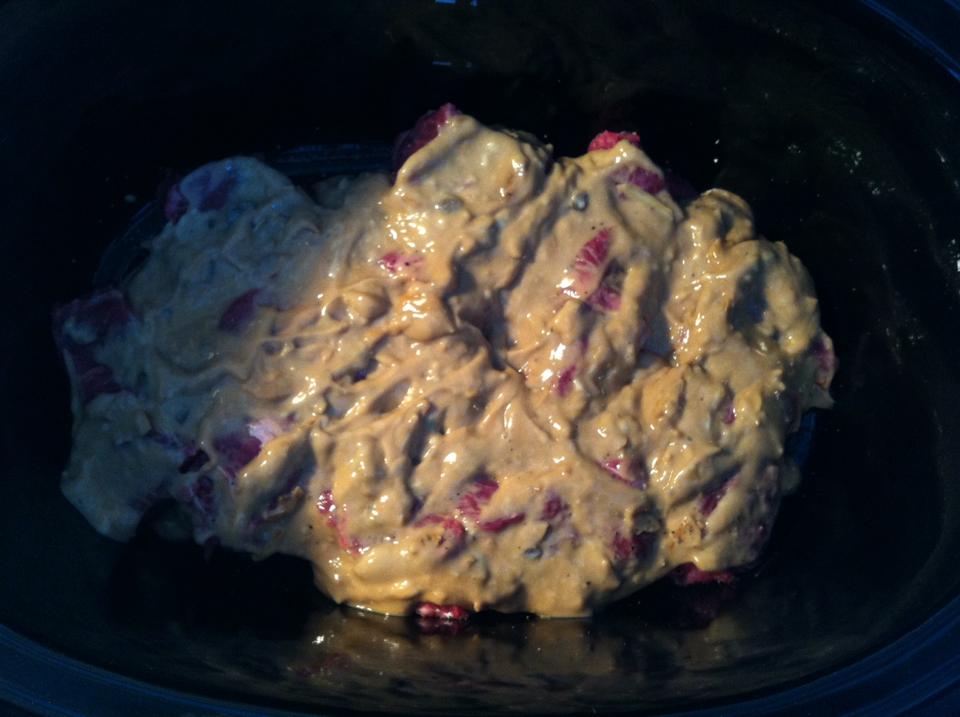
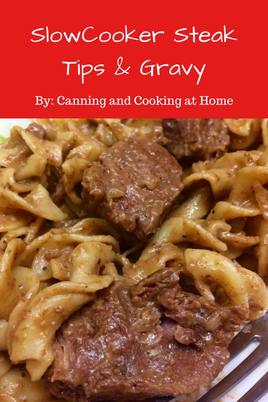
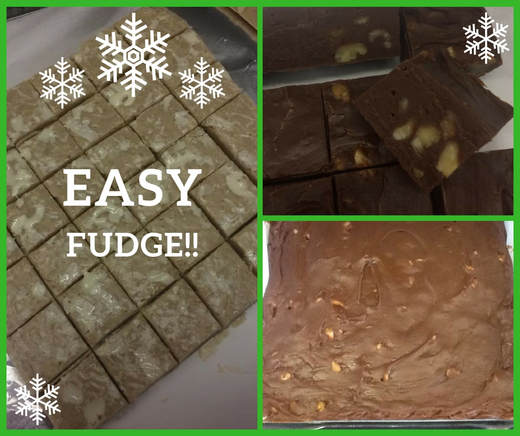 I have made fudge in all sorts of ways from baking to microwave and I've found the one way that is almost fool-proof and leaves you with decadent fudge that is smooth and delicious! Microwaving promotes uneven heating and the end result can be a grainy fudge, making fudge using corn syrup and a candy thermometer can fail if you don't reach soft-ball stage (who needs that stress LOL) Try this recipe! One saucepan, one 8x8 parchment lined baking dish and you're good to go!! ~Enjoy! Diane Stove-Top Easy Fudge Basic Recipe: 3 1/2 cups of any chocolate chips (*3 cups chocolate if adding nuts, dried fruits or candies) 1 can sweetened condensed milk 1/2 tsp salt 1 tsp vanilla 1/2 cup nuts, dried fruits or candies, etc... Line an 8x8 pan with parchment (I let the parchment run up the sides To just lift out once cooled) Stir all ingredients together over medium heat, constantly Stirring to prevent scorching. Once melted and thick, pour Into prepared 8x8 dish and set in fridge to cool (about 1 hour) (remove fudge using parchment on sides of dish, and cut into squares.) Diane's Kitchen Notes: *use good chocolate that you enjoy eating I used Ghirardelli and Lindt Chocolates *White chocolate may appear runnier when pouring into 8x8 Then Dark or Milk Chocolate (that's normal) *Spices - I add a bit of espresso powder to my chocolate fudge And I added nutmeg, cinnamon, vanilla & cardamom to my chai fudge Add spices, extracts in 1/2-1 tsp increments until your happy with the taste. *Cutting - I remove my fudge to a large cutting board covered in foil, then true up the sides of fudge if needed (cook gets the fall-off!) Cut into 6x6 rows for 36 pieces.  **Updated to add Instant Pot Instructions** see below. I love using my slow-cooker when our life gets busy and hectic. Life is even better when a new, simple recipe turns out to taste fantastic! The best part is that it truly is a 'no fuss' recipe! It's so uncomplicated and easy to toss together in the morning for a savory, decadent tasting dinner at night. The meat was fork-tender and the only additional cooking I did was to make egg noodles to serve with this (you can also serve with rice, cauli-rice or mashed potatoes.) I finished out the complete meal by serving a side salad. This definitely is a hearty meal that had my husband raving over it. Who knew simple could be not only so easy but, so tasty! ~Enjoy! Diane SlowCooker Steak Tips & Gravy makes approx. 4 adult servings Ingredients: 2 pounds Flat Iron Steak 1 (1+oz) Packet Lipton Beefy Onion Soup Mix 1 (10+oz) Can Cream of Mushroom Soup, undiluted (I also like using Cream of Potato Soup, undiluted in place of the Mushroom) 1/2 Cup Beef Broth Sprinkle of Ground Pepper Olive Oil, optional *not needed for Instant Pot Directions: Cut steak into large pieces and place in slow cooker that's been smeared with a light coating of olive oil. (makes for easy cleanup later) Lightly sprinkle ground pepper onto meat. In a bowl, combine soup mix, water and soup. Add to slow cooker, spreading over steak pieces. Cover and cook on low for 6-8 hours. High for 4-6 hours. Until meat is tender. Serve with Cooked Egg Noodles, Mashed Potatoes, Rice or Cauli-Rice and a Side Salad. *Kitchen Notes: This recipe makes its own Gravy with no additional steps added. Do not add any salt in this recipe, only pepper - the soup & soup mix provide enough salt. Pin It! https://www.pinterest.com/pin/530510031098370771/ Recipe adapted from: The Gooseberry Patch Photos by: Diane Baker **Instant Pot Use**
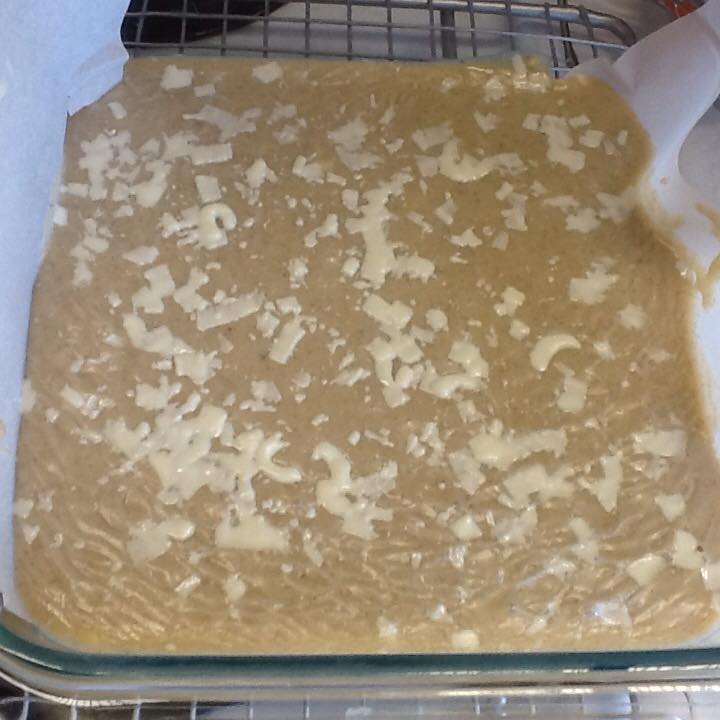
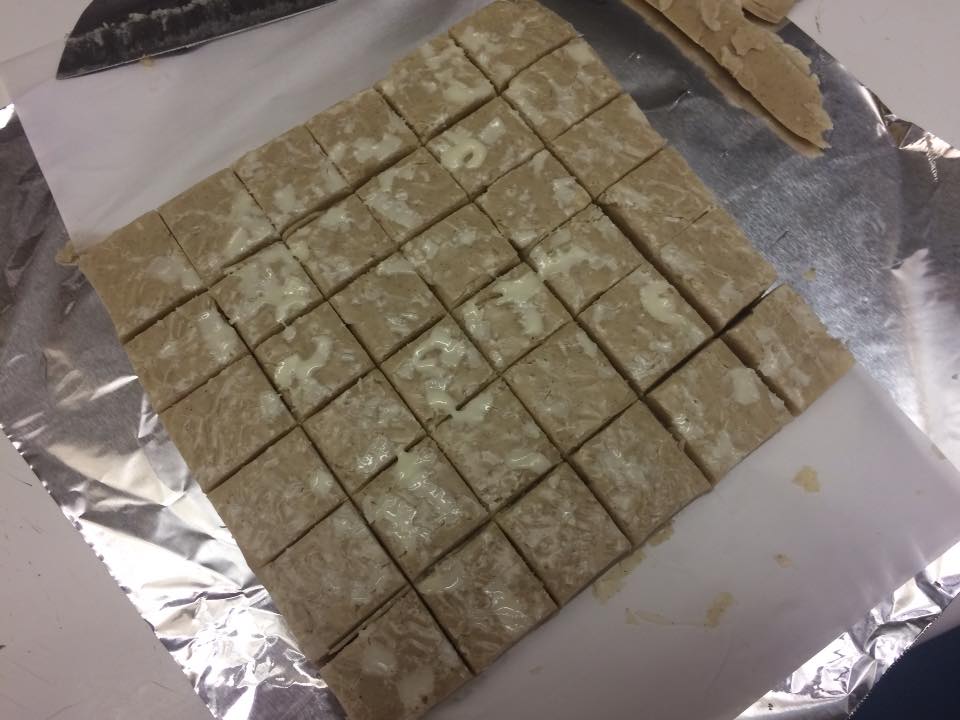
 SlowCooker Steak Tip & Gravy  I'm sharing with you my Top 10 Recipes for 2017. I hope everyone has a safe & healthy holiday season. I'm not sure how many of you have visited my website lately but, there has been some re-designing going on... The most noticeable change/update is that I've created new 'Recipe Indexes' which are photo-driven, and hopefully everyone finds easier to navigate. Happy Holidays! ~Diane  Top 3 2017 Recipes 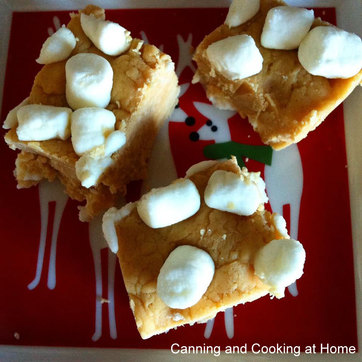 No-Bake Peanut Butter Fudge Need a quick and easy sweets recipe? Try my 4-Ingredient Peanut Butter Fudge with marshmallows. It's made right in your microwave and couldn't be easier (or more tasty!) ~Enjoy this quick treat! Diane Four Ingredient Fudge Ingredients: 3 cups white vanilla baking chips 1 can (14.5 oz) sweetened condensed milk (not evaporated) 1/2 cup peanut butter (not natural) 1/2 cup mini-marshmallows SAVE $ Directions: Line 8-inch square pan with foil or parchment, and spray with non-stick cooking spray OR butter your pan liberally. Place 3 cups white vanilla baking chips, 1 can sweetened condensed milk, and 1/2 cup peanut butter in large microwavable bowl. Microwave uncovered on High in 1-minute increments, stirring well between each, until melted and smooth. This may take several minutes. Be careful, the bowl will be hot. Spread immediately in prepared pan. Sprinkle marshmallows over the top and using a large spatula, press marshmallows into fudge slightly. Let pan stand at least 2 hours to set before cutting, or refrigerate to speed up setting process. For 36 squares, cut into 6 rows by 6 rows. Store in airtight container, and use within 5 days. 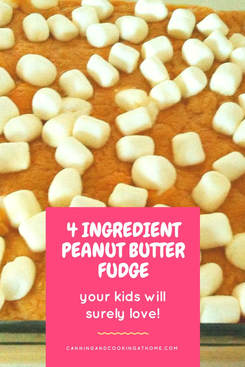 No-Bake Peanut Butter Fudge |