CANNING AND COOKING AT HOME
  • Home
  • Diane's Blog
  • Canning 101
  • Pickling
    • My Pickle Creations
    • Pickle Recipes
  • Recipe Index
    • Canning Recipes >
      • Jams/Jellies/Fillings/Butters/Juices
      • Meats/Other
      • Pressure Canned Soups
      • Tomatoes
    • Cooking Recipes >
      • Breads
      • Breakfast
      • Instant Pot Recipes
      • Main Dishes
      • Soups
      • Sweets
      • Drinks
      • Sauces/Apps/Sides
    • Recipe Collections >
      • The Apple Cart
      • Asian Inspired Recipes
      • Bundts to Bake
      • Cherry Recipes (preserving)
      • Easter Menu Ideas
      • Freezer to SlowCooker
      • Irish Fare
      • Jelly & Jam Recipes
      • Mexican Inspired Recipes
      • Pickle Recipes
      • Soups
      • Summer Grillin' Guide
  • Work with Me
    • Privacy Policy
    • Give Aways
  • Recipes Via Email

*Spicy Chicken and Asparagus Lo Mein

2/26/2020

0 Comments

 
Picture
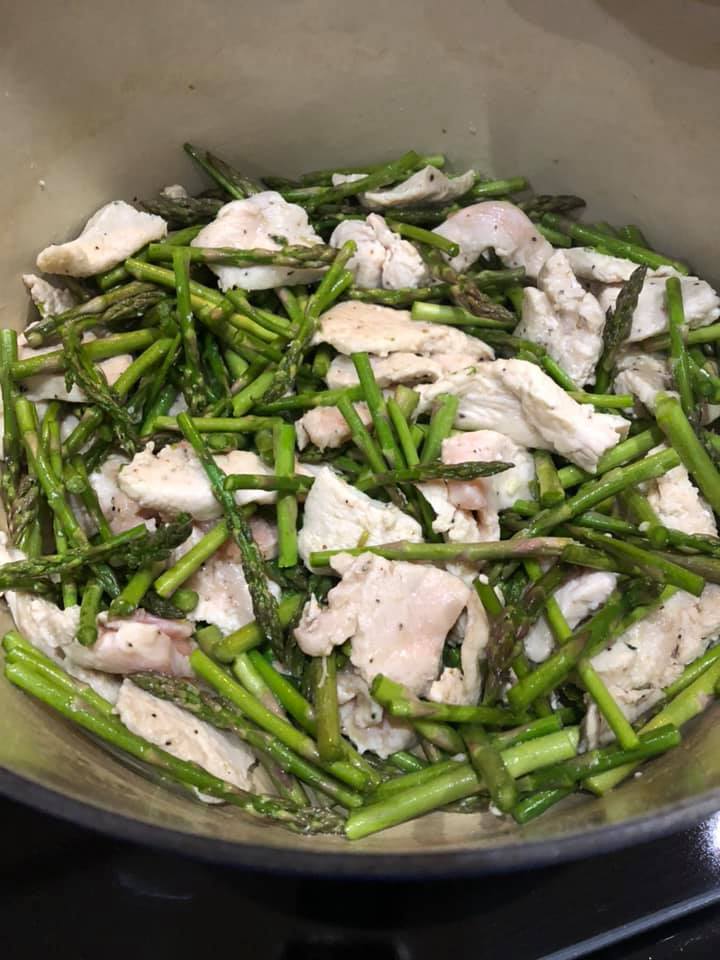
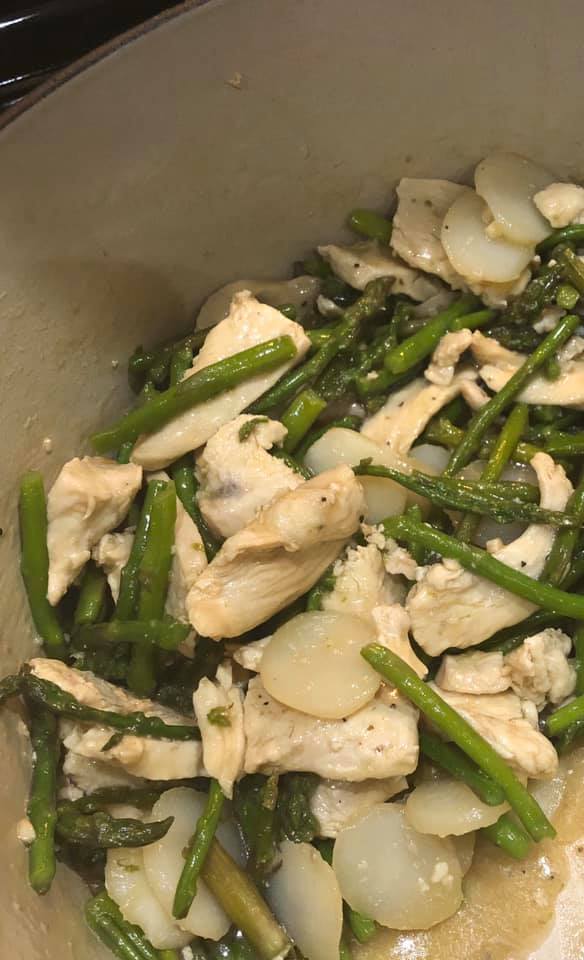
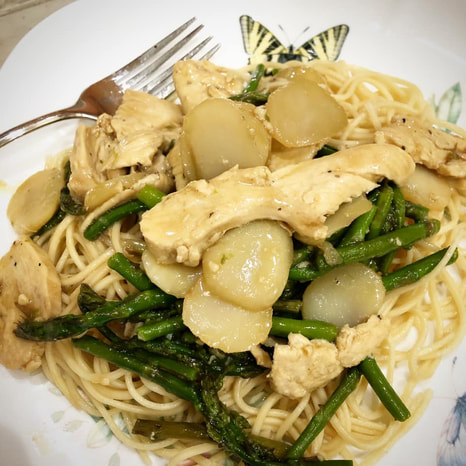
     Do you want to make a savory and healthy dinner using fresh Spring asparagus?  Give my lo mein a try!  This is definitely a must try dish (and its also ready in under 30 minutes.) You don't have to add spice to your final plated dish but, we happen to love ''Hot Chili Oil' as it gives off a heat but, it isn't a lasting, burning heat like a jalapeno. I'll add a photo and the name of the Hot Chili Oil we use ((we always swore by "Heavenly Chef" Hot Chili Oil but, it's harder and harder to find!  We now use, "Sun Luck: La Yu Chili Oil" photo below in photo gallery.  Enjoy! Diane 

*Spicy Chicken & Asparagus Lo Mein


INGREDIENTS
SAUCE:
  1. 3/4 cup chicken broth
  2. 1 1/2 teaspoons sugar
  3. 1 tablespoon soy sauce
  4. 2 teaspoons sesame oil
  5. 1 tablespoon cornstarch
MAIN DISH:
  1.  1 tablespoon vegetable oil
  2.  1 tablespoon butter
  3.  1 lb boneless skinless chicken breasts, cut into 1 inch pieces.
  4.  salt and pepper to taste
  5.  1 lb asparagus stalks washed, trimmed and cut into 1 1/2 inch pieces.
  6.  2 teaspoons minced garlic
  7.  1 can of sliced water chestnuts
  8.  1/4 cup hoisin sauce
  9.  Lo Mein Noodles, cook and keep warm until needed.

Sprinkle on *Hot Chili Oil, to taste,  upon serving.
I add about 3-4 drops, my husband adds about 1/2 tablespoon.

INSTRUCTIONS


  1. In a small bowl, whisk together chicken broth, sugar, soy sauce, sesame oil and cornstarch. Set Aside for now... 
  2. Heat the vegetable oil & butter in a pan over medium high heat.
  3. Season the chicken with salt and pepper.
  4. Add the chicken to the pan in a single layer. Cook for 3-4 minutes per side or until browned.
  5. Add the asparagus to the pan and cook for 3-4 minutes or until tender.
  6. Add the water chestnuts and garlic, stirring for one minute, you do not want to scorch the garlic.
  7. Pour the sauce you made earlier over the chicken and asparagus and bring to a simmer. Cook for 1-2 minutes or until sauce has thickened, stir in the hoisin sauce until warmed through. 
  8. Serve over lo mein noodles with Hot Chili oil.
0 Comments

Russian Rye Bread - Rizhsky Khleb

2/23/2020

0 Comments

 
Picture
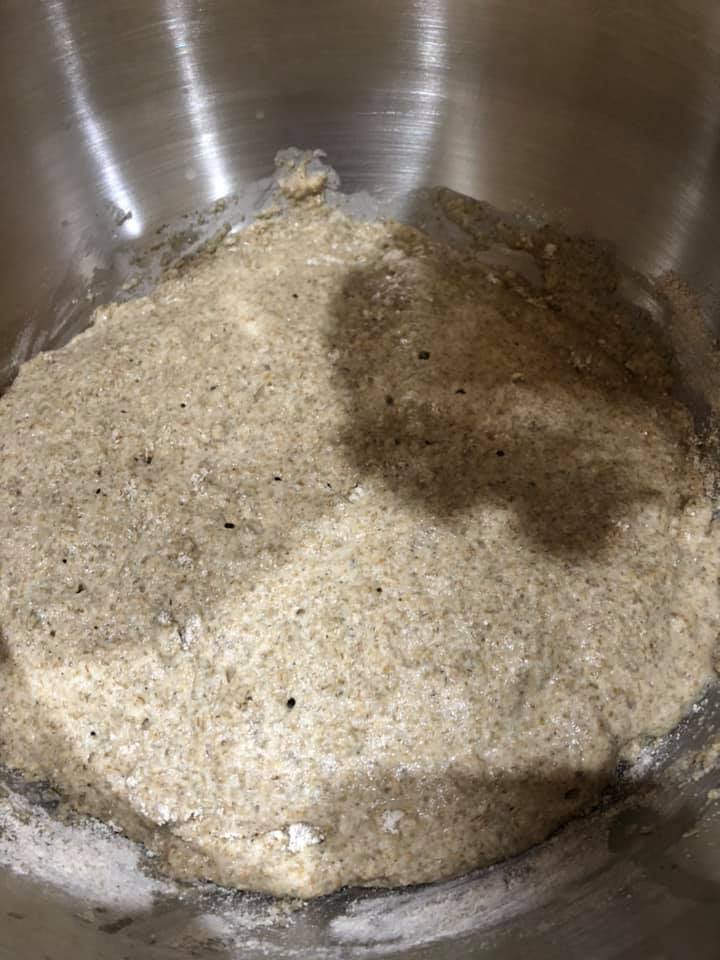
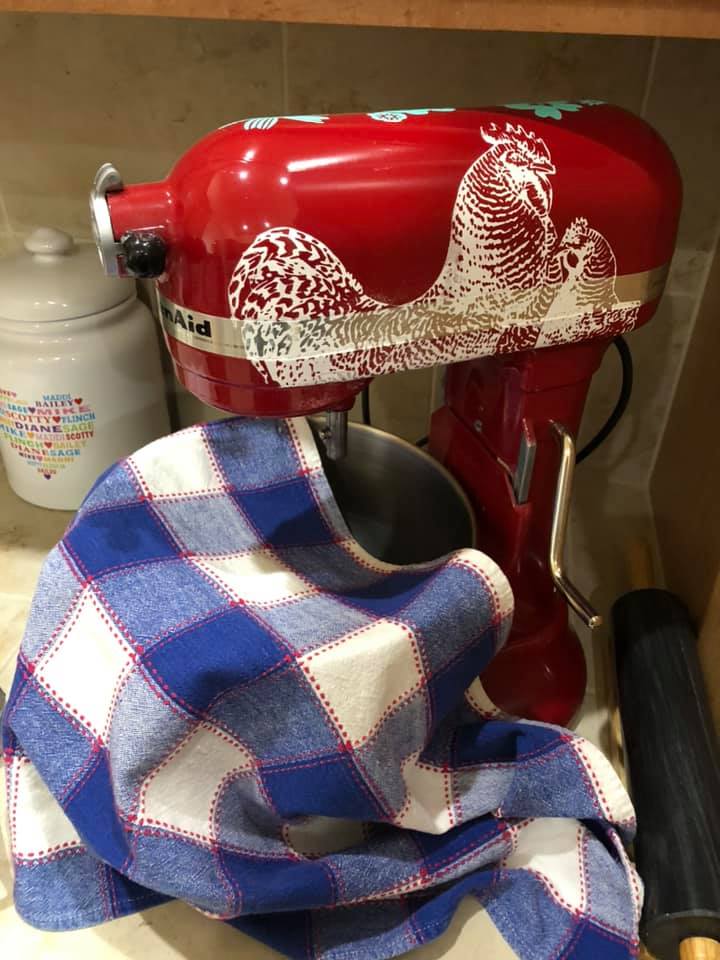
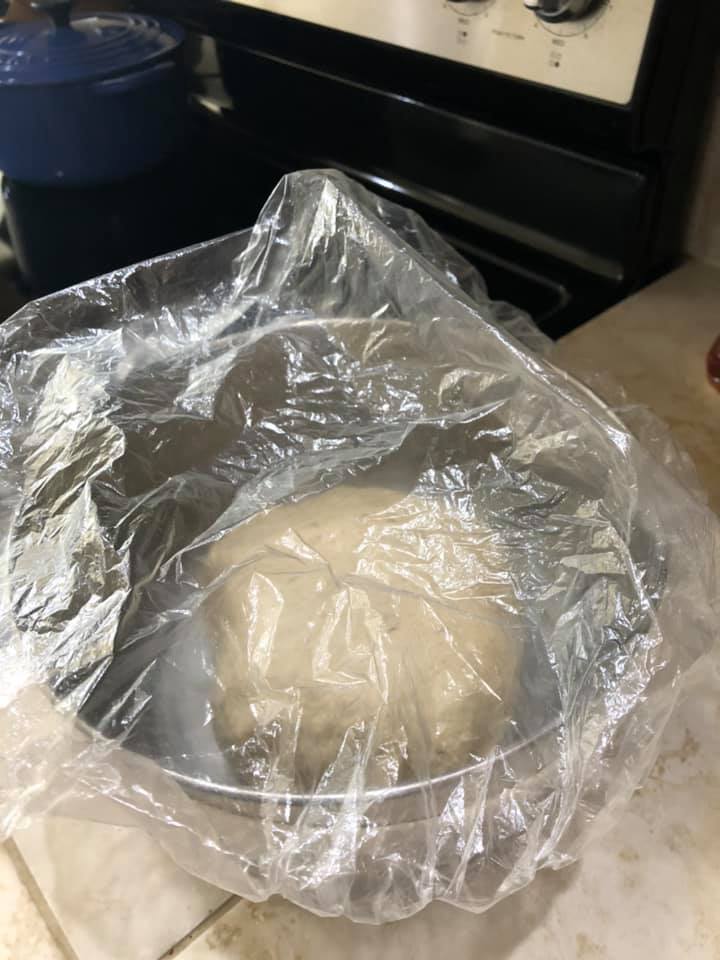
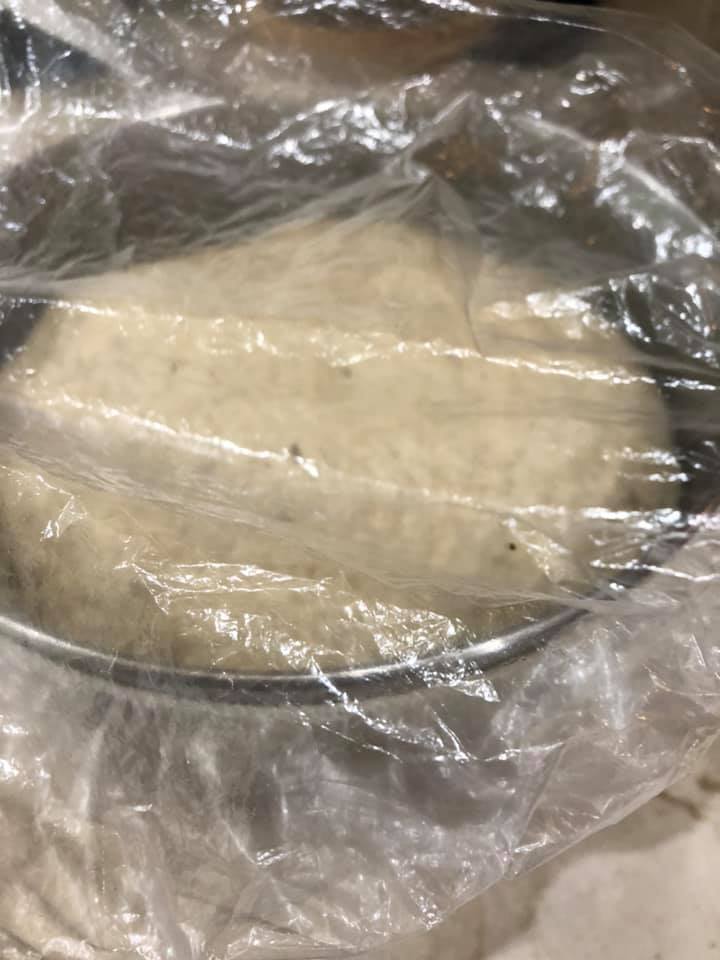
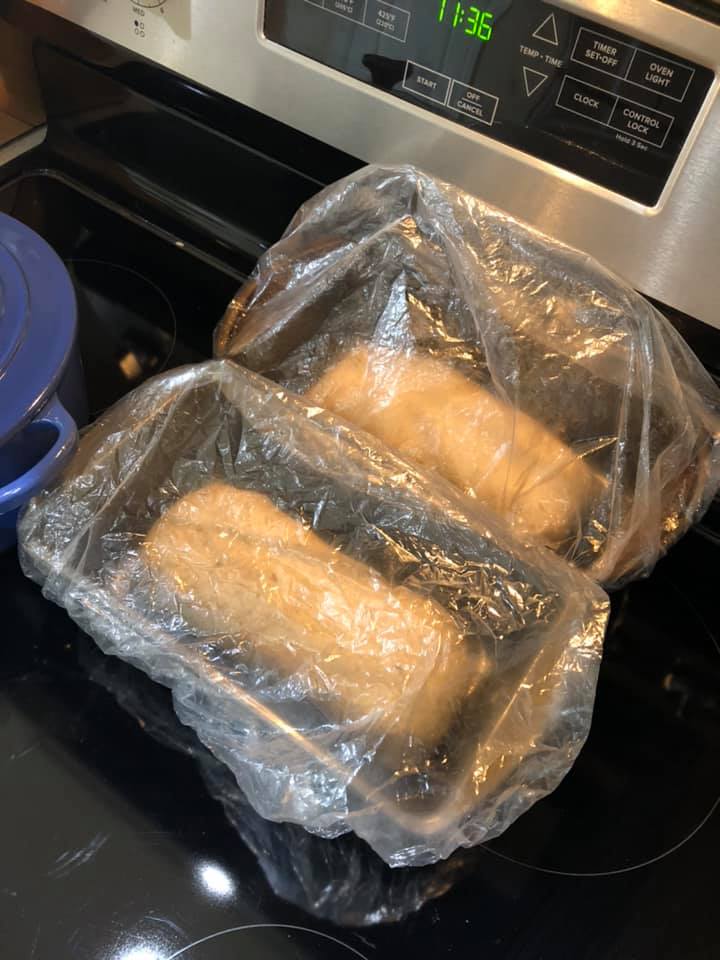
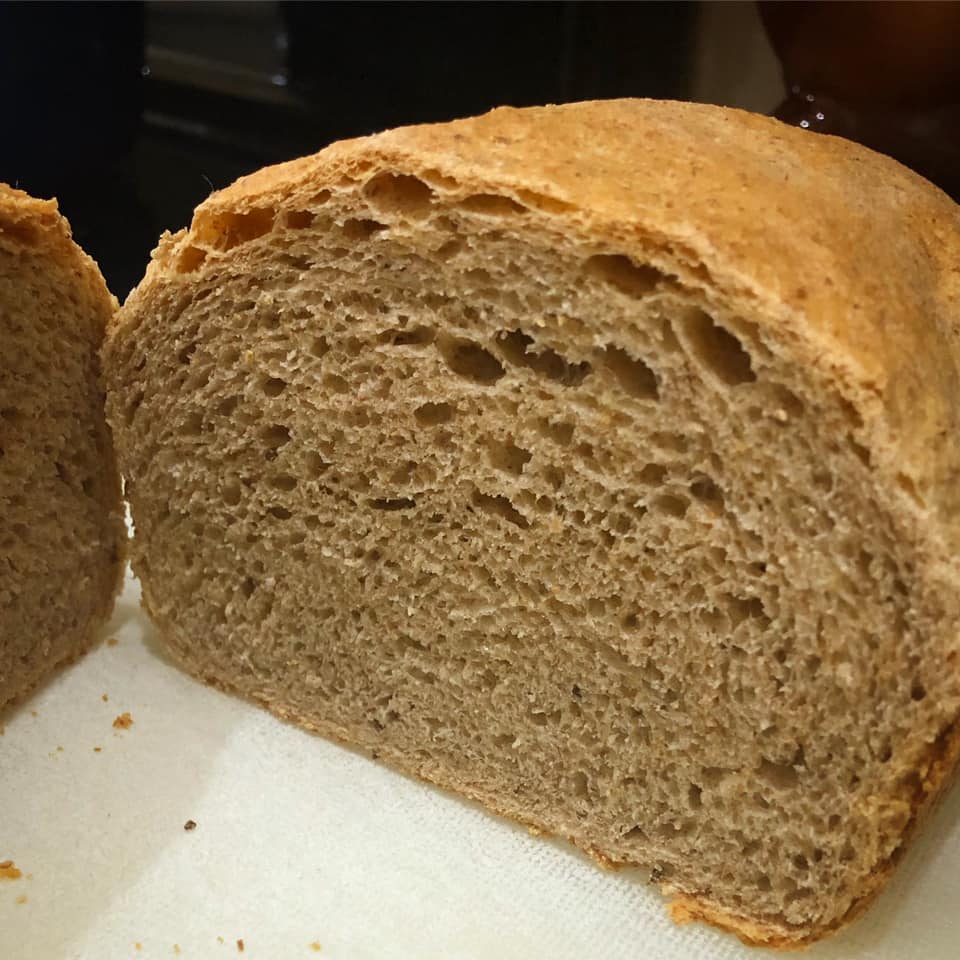
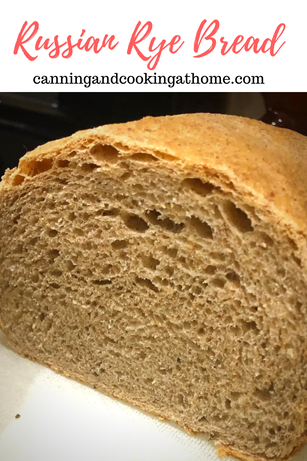
    One of my favorite breads.  This was my first time trying out this rye bread recipe.  I will say that it's exactly the taste and texture I was looking for! A crisp crust and a soft, tender inside with a tight "crumb."  I did take the advice of the original written recipe and let the dough rest when called for.  I did the entire bread in my mixer using my dough hook.  I will write out exactly what I did but, if you want to follow other methods, you can check out King Arthur Flours website (click here) and their full written recipe. I hope you enjoy this as much as I do! Diane 

​Russian Rye Bread - Rizhsky Khleb

Ingredients: 
1 1/4 Cups Water, at the temp your yeast calls for. 
2 Tablespoons Dark Honey
2 teaspoons instant yeast 
1 1/2 Cups Medium Rye Flour 
2 teaspoons salt 
1 Tablespoon Caraway Seeds
3 Tablespoons Unsalted Butter, melted
3 Cups Unbleached, **All Purpose Flour

*plus an additional 1 teaspoon dark honey for sponge 
*plus an additional 1 Tablespoon butter for bowl

Directions: ​
  • To make the dough with a mixer: Pour the warm water into a mixing bowl and add a *teaspoon of the honey.
  • Stir in the yeast and rye flour. Let this sponge work for at least 20 minutes, until it's expanded and bubbly. I cover my mixing bowl with a tea towel. 
  • Add the remaining dark honey, salt, caraway seeds, melted butter, and enough of the unbleached flour to create a dough that begins to pull away from the sides of the bowl. I only ended up adding 2 1/2 cups AP Flour because of our humidity level. At this point, cover the dough bowl with a towel, and let it stand for about 5 minutes. Remove the towel. 
  • Turn the mixer on knead ('2' setting on my mixer), and let the dough hook knead until it's smooth and elastic, about 10 minutes. Halfway through, turn the mixer off, cover the dough bowl with a tea towel and give the dough a rest while you *butter your mixing bowl (about 2 minutes.) Then uncover and let knead the final 5 minutes. 
  • Shape the dough into a ball, place it in the buttered bowl, turning once to coat, flip over dough, turn again and cover the bowl with a towel or plastic wrap. Allow the dough to rise for about 1 1/2 hours, or until it's not quite doubled in bulk.
  • Punch the dough down, and divide it in half. Shape each half into a rectangle  place them into two lightly greased loaf pans, cover, and let rise for about 30 minutes.
  • Preheat the oven to 375°F.
  • Bake the bread for about 45 minutes, or until the crust is dark brown, and the interior temperature of the loaves measures 190°F to 200°F on an instant-read thermometer. Remove the bread from the oven, and cool it on a wire rack.
  • I always thump the bottom of the bread first to hear if it has a hollow sound indicating its fully baked. I then insert my thermometer in the middle and bottom of one loaf to get my reading - I only test one loaf.  I am of the feeling that letting all that steam escape will dry out the bread.  You also do not want to cut into any fresh baked bread until its cooled or again, it can dry out faster. 
  • Store, well-wrapped, on the counter for 4 days, or freeze for up to 3 months.

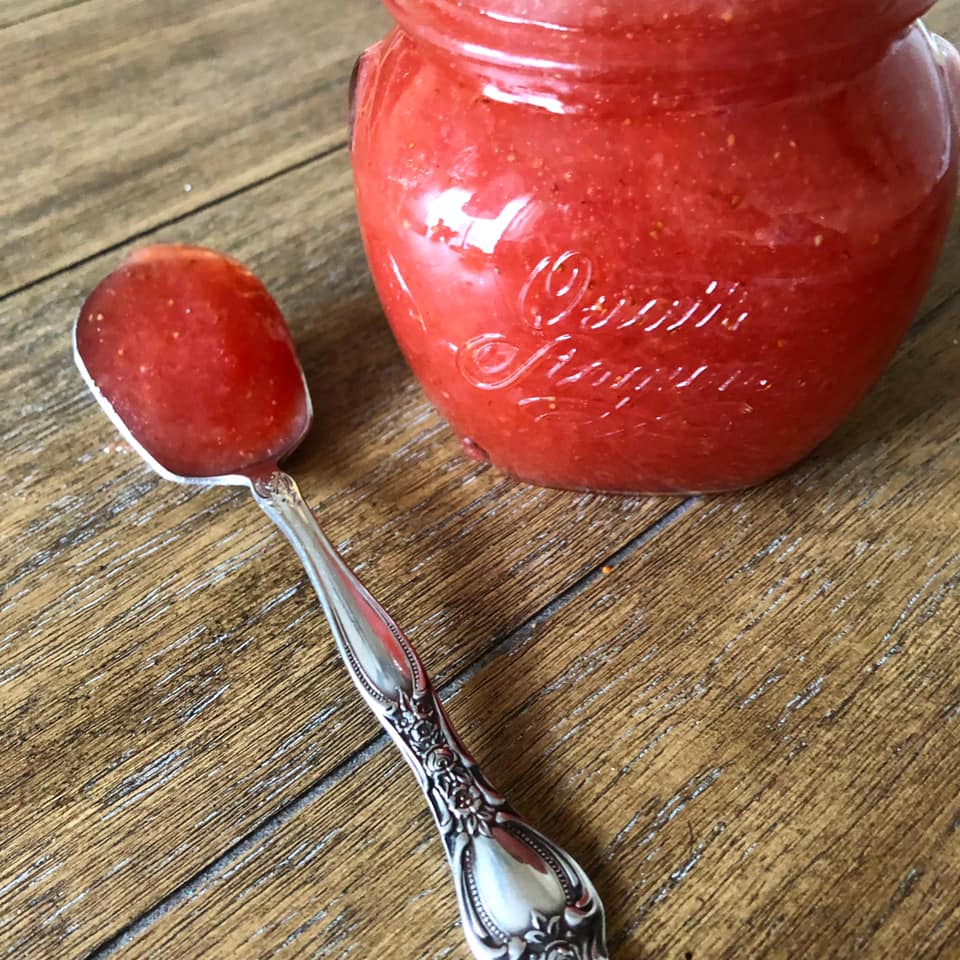
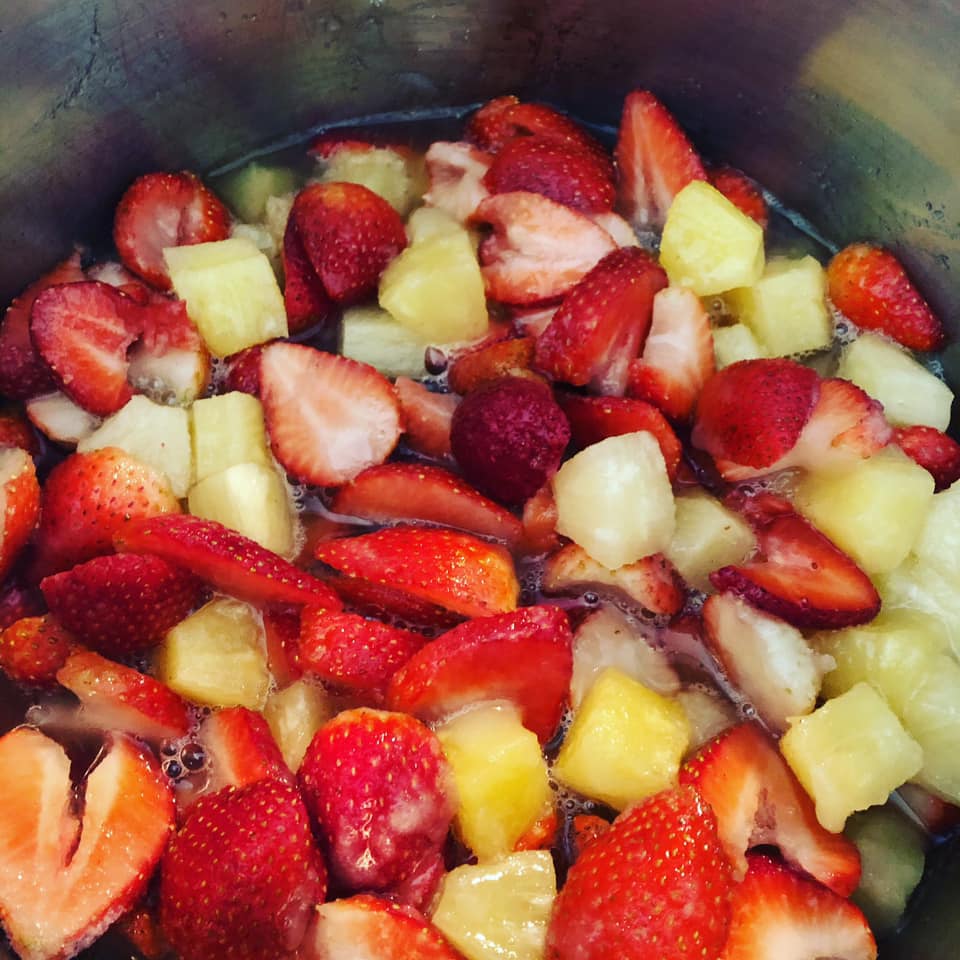
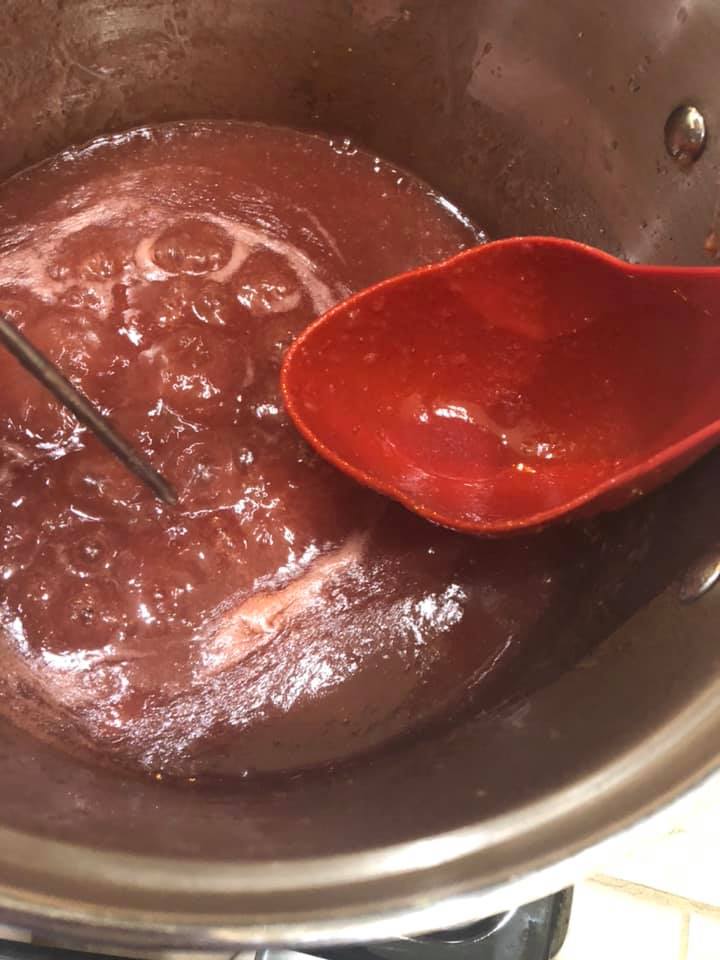
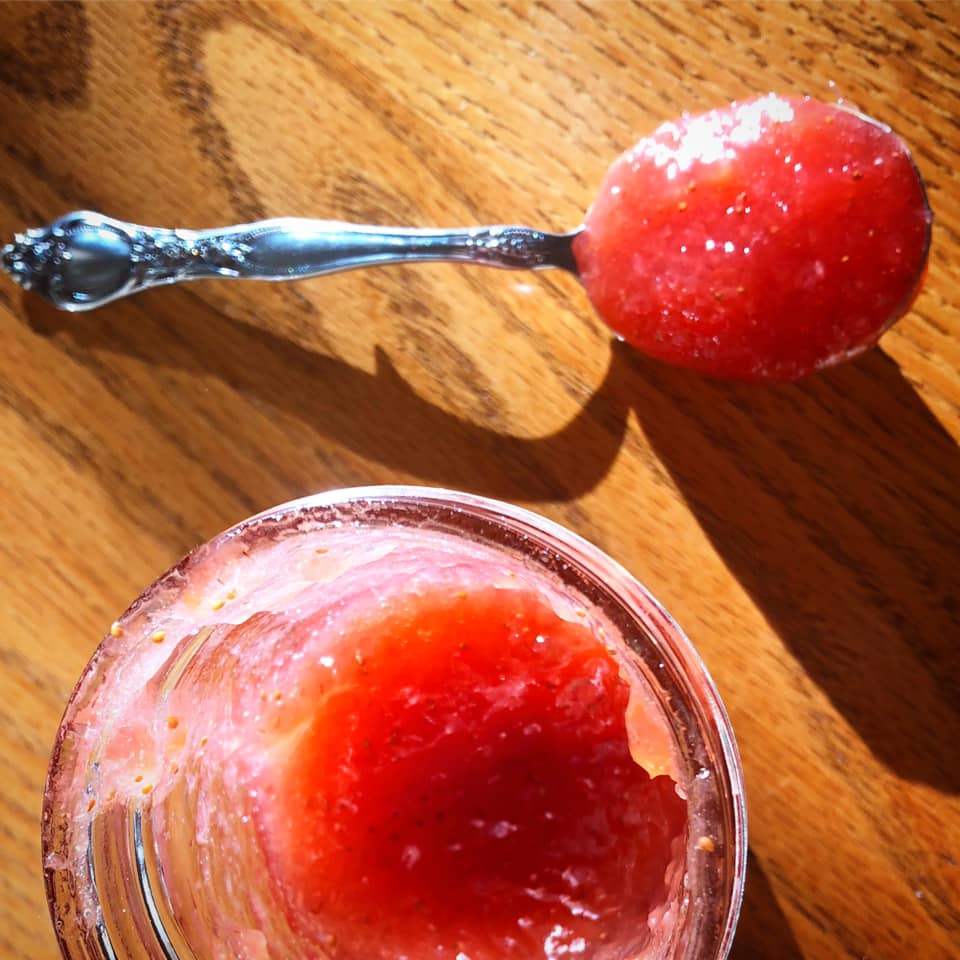
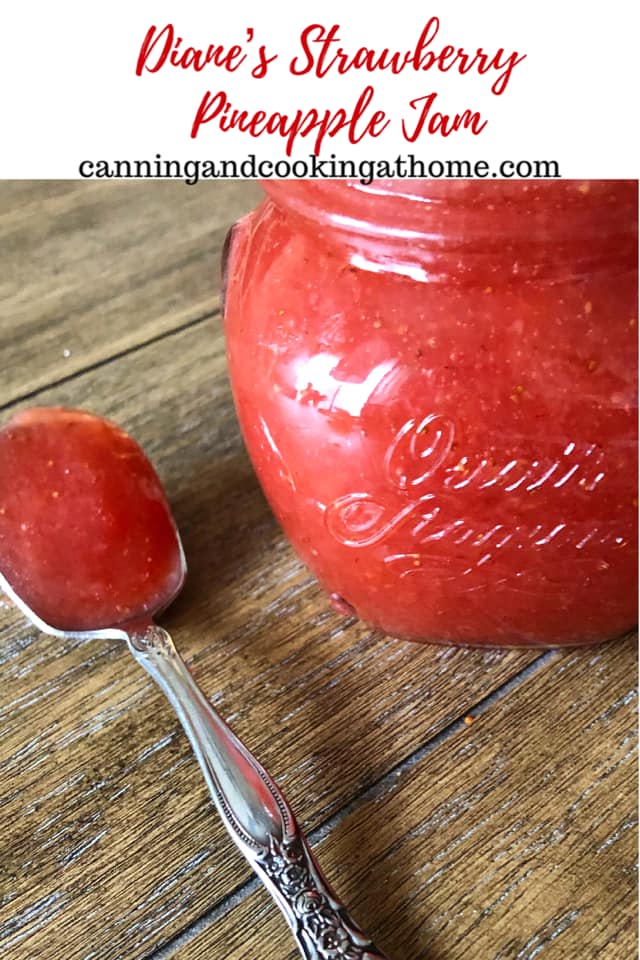
Recipe Adapted from: King Arthur Flour
Photos by: Diane Baker for Canning and Cooking at Home 
0 Comments

Diane's Strawberry Pineapple Jam

2/18/2020

0 Comments

 
Strawberry Pineapple Jam
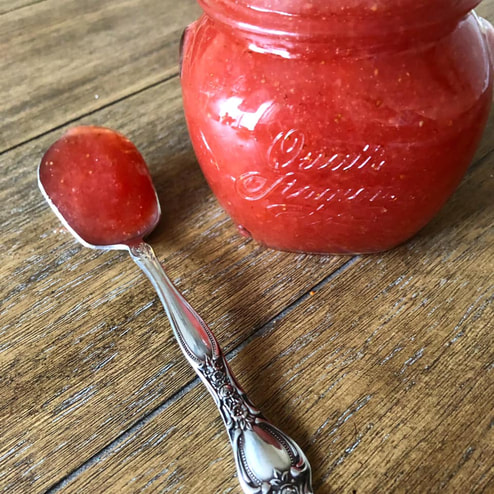
   Small batch jams yield greater results - try my Strawberry Pineapple Jam. This jam is lower in sugar then most traditional Jams.  It's such a great treat.  We love this not only as a topping on toast but, I use as an addition to buttercream frostings, a filling to layer cakes, thumbprint cookie filling, swirled into your morning smoothie,  homemade ice-cream or oatmeal... even to top off cottage cheese.
Enjoy! Diane 

Diane's Strawberry Pineapple Jam 


Ingredients:
Jam:

2 pounds fresh strawberries; cleaned & sliced

1 can (20 ounce can) pineapple chunks
3 1/2 cups *sugar (you can replace up to half of this sugar with honey)

Pectin Mix In: 
2 Tbs lower sugar pectin - pink box
2 Tbs sugar *gets mixed with pectin


Directions:
  • Combine cleaned, cored & sliced strawberries and 1/2 cup of the sugar in non-reactive container and let sit covered & refrigerated overnight.
  • The next day, place strawberries with juices & sugar that are in bowl into deep stockpot or jam pan and add the pineapple with its juice.
  • Cook over medium to low heat so berries and pineapple have time to soften and cook down, about 45 minutes, stirring often, so the mixture does not scorch. 
  • Once softened; mash strawberries and pineapple, I use an immersion blender. Stir in remaining 3 cups of *sugar (or 1 1/2 cups sugar & 1 1/2 cups honey) into the fruit mixture. Let cook, stirring often until well combined. 
  • In a separate bowl, mix together 2 Tablespoons of Sure Jell Low Sugar Pectin (in the pink box) and 2 Tablespoons of sugar.  This gets mixed together and stirred into the fruit mixture. 
  • Bring your pot up to a high (full rolling) boil once the pectin mixture is stirred into fruit. I shoot for a temperature of 217-222 on my jams for the pectin to release. (photo below of this 'final jam stage' being reached.) 
  • When ready, jam will feel thicker when stirred. Ladle into hot, sterile half-pint jars, leaving 1/4 inch of head space. 
  • Process in a hot water bath for 10 minutes or according to your altitude and local regulations. 

Yield: on average 46 ounces
(5-6 half pints) 
​Recipe & Photos by: Diane Baker for Canning and Cooking at Home 
FINAL JAM STAGE
0 Comments

Ranch Chili Beans

2/14/2020

0 Comments

 
Picture
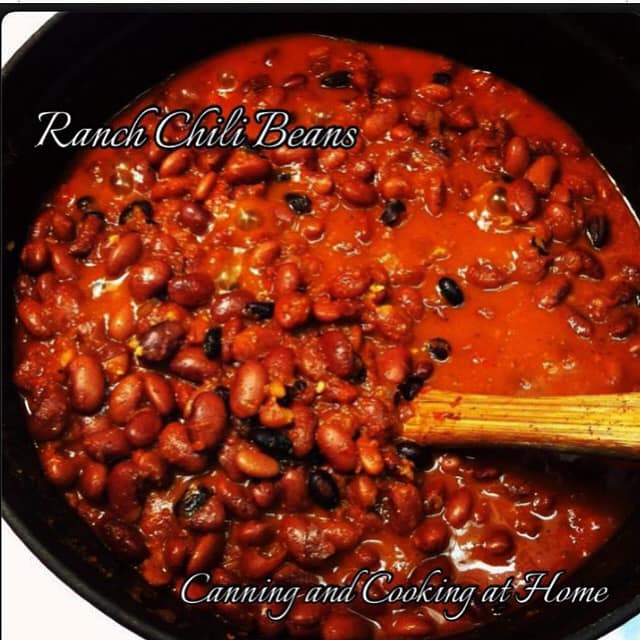
   When we have time to simmer a batch of beans, I love making this.  It is similar to the recipe I pressure can.  I always intend to make this and just can it up - but, we end up taking this to parties or eating it all.  In any case, this is a great dish to bring to a Pot Luck or BBQ gathering.  My neighbor shared this recipe with me years ago, Enjoy! Diane 

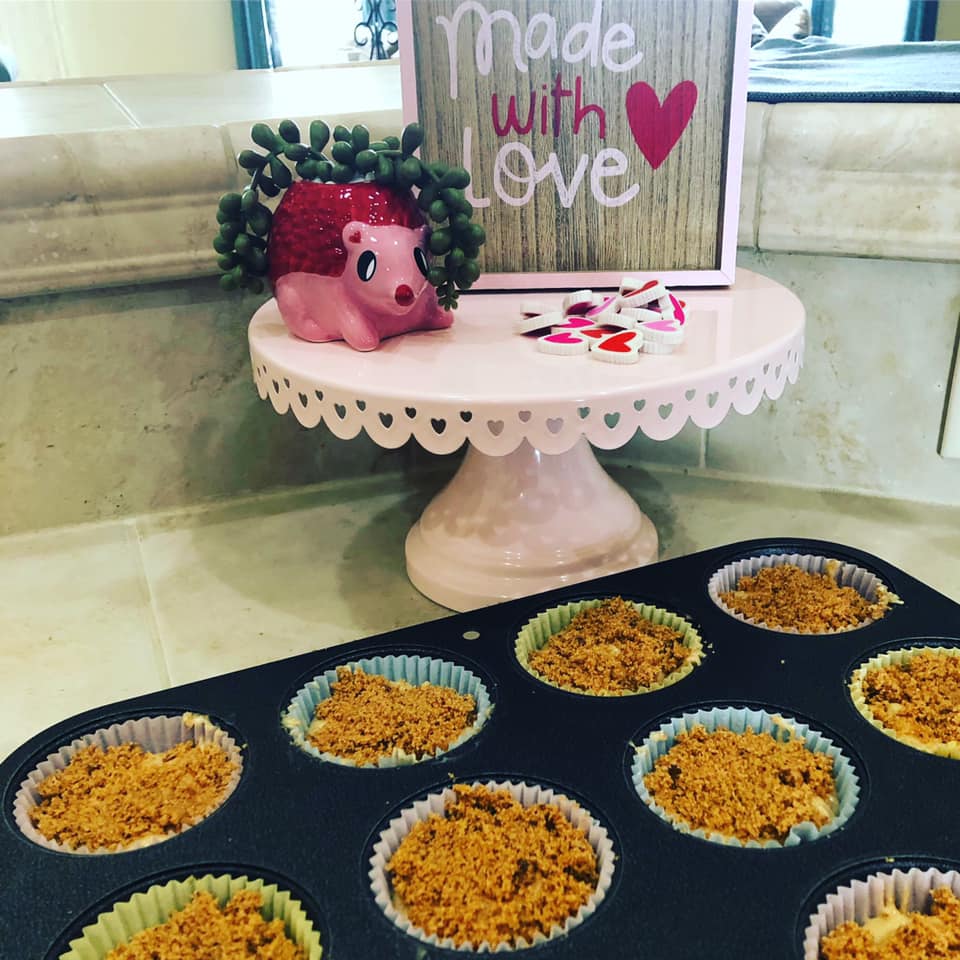
Ranch Chili Beans


Ingredients
16 oz. of dried pinto beans
6 ancho chiles, stems and seeds removed
6 cloves of garlic, minced
1 onion, diced
1 15 oz. can of tomatoes (or 2 medium-sized tomatoes, peeled)
1 teaspoon brown sugar
1 teaspoon apple cider vinegar
1 teaspoon paprika
1 teaspoon cumin
½ teaspoon oregano
1 cup of water
6 cups of beef broth
Salt and black pepper to taste

Directions
Soak the beans covered in water—either overnight or the quick soak method in which you place the beans in a pot, cover with water, bring to a boil, cover and remove from heat and let sit for one hour.

Drain the soaked beans.

In a cast-iron skillet heated up to medium high, cook the anchos on each side for a couple of minutes (or until they start to bubble and pop), turn off the heat and fill the skillet with warm water. Let them sit until soft and rehydrated, which should happen after half an hour or so.

In the pot you’ll be cooking your beans, heat up a teaspoon of canola oil and cook the onions for ten minutes on medium. Add the garlic and cook for another minute.

Add the cooked onions and garlic in a food processor, or blender, and add the tomatoes, brown sugar, apple cider vinegar, paprika, cumin, oregano, water and hydrated ancho chiles. Puree until smooth.

Add the pinto beans and beef broth to the pot and stir in the chile puree.

On high, bring the pot to a boil and then cover; turn the heat down to low and simmer for two and a half hours, stirring occasionally. At this point, check beans for tenderness as depending on the freshness of the beans I find that the cooking time can be as short as two and a half hours and as long as four hours. When you’re satisfied that the beans are done, salt and pepper to taste.

Note: If you like your beans nice and thick simmer beans on low - about three hours.

Recipe from: Lisa W. Ken Caryl, Co 


0 Comments

Cinnamon Swirl Muffins

2/4/2020

0 Comments

 
Picture
Cinnamon Swirl Muffins

Ingredients
Muffin Batter:
  • 2/3 Cup butter, room temperature
  • 2 eggs
  • 2  1/2 cups all-purpose flour
  • 2  1/2 teaspoons baking powder
  • 1/2 teaspoon salt
  • 1  3/4 cups granulated sugar
  • 1  1/2 teaspoons Rodelle Vanilla extract
  • 1/2 teaspoon ground cinnamon 
  • 1 1/4 cups milk
Filling: 
  • 3/4 cup packed brown sugar
  • 1/3 cup finely chopped pecans or walnuts
  • 2 teaspoons ground cinnamon

Directions
Set out butter and eggs to stand at room temperature for about 30 minutes.
Line muffin cups with paper bake cups.
Preheat oven to 350 degrees F
In a small bowl stir together brown sugar, pecans, and cinnamon. Set aside.
In a medium bowl stir together flour, baking powder, and salt

In a large mixing cream the butter with an electric mixer on medium to high speed for one minute. Reduce speed to medium and gradually add in granulated sugar until combined, scraping sides of bowl occasionally. Beat on medium speed for 2 minutes more or until light and fluffy. Add eggs, one at a time, beating well after each addition. Add in flour mixture, vanilla, cinnamon and milk, beating on low speed after each addition just until combined (batter may look lumpy).

Spoon about 1 rounded tablespoon of batter into each prepared muffin cup.
Sprinkle 1 teaspoon of the brown sugar mixture over batter in cups. Spoon remaining batter evenly over brown sugar mixture in cups. Sprinkle remaining brown sugar mixture over batter in cups.

Bake 20 minutes or until a toothpick inserted in centers comes out clean. Cool cupcakes in muffin cups on wire racks for 10 minutes. Remove cupcakes from muffin cups. Cool completely on wire racks.
​
Yield:  24 (2-1/2 inch) cupcakes.


0 Comments
    F I N D  A  R E C I P E 

         PRINT OR SAVE TO .PDF 
    Print Friendly and PDF


    RSS Feed

    Archives

    February 2023
    January 2023
    December 2022
    November 2022
    October 2022
    September 2022
    July 2022
    June 2022
    May 2022
    March 2022
    February 2022
    January 2022
    December 2021
    October 2021
    September 2021
    July 2021
    February 2021
    January 2021
    December 2020
    November 2020
    October 2020
    September 2020
    August 2020
    July 2020
    June 2020
    May 2020
    April 2020
    March 2020
    February 2020
    December 2019
    November 2019
    October 2019
    September 2019
    August 2019
    July 2019
    May 2019
    April 2019
    March 2019
    February 2019
    January 2019
    December 2018
    November 2018
    October 2018
    September 2018
    August 2018
    July 2018
    April 2018
    March 2018
    February 2018
    January 2018
    December 2017
    November 2017
    October 2017
    September 2017
    August 2017
    July 2017
    June 2017
    May 2017
    April 2017
    March 2017
    February 2017
    January 2017
    December 2016
    November 2016
    October 2016
    September 2016
    August 2016
    July 2016
    June 2016
    May 2016
    April 2016
    March 2016
    February 2016
    January 2016
    December 2015
    November 2015
    October 2015
    September 2015
    August 2015
    July 2015
    June 2015
    May 2015
    April 2015
    March 2015
    February 2015
    January 2015
    December 2014
    November 2014
    October 2014
    September 2014
    August 2014
    July 2014
    June 2014
    May 2014
    April 2014
    March 2014
    February 2014
    January 2014

Picture
© Copyright 2023, Canning and Cooking at Home.
All images & content are copyright protected. Please do not use my images on your own site/page without prior permission. Sharing, pinning, and tweeting is always appreciated as long as the shares and pins link back to this website and recipe.  Canning and Cooking at Home claims NO liability for the safety of ANY recipe or advice contained within this website.  Always consult with the NCHFP to ensure Canning Safety. 

  • Home
  • Diane's Blog
  • Canning 101
  • Pickling
    • My Pickle Creations
    • Pickle Recipes
  • Recipe Index
    • Canning Recipes >
      • Jams/Jellies/Fillings/Butters/Juices
      • Meats/Other
      • Pressure Canned Soups
      • Tomatoes
    • Cooking Recipes >
      • Breads
      • Breakfast
      • Instant Pot Recipes
      • Main Dishes
      • Soups
      • Sweets
      • Drinks
      • Sauces/Apps/Sides
    • Recipe Collections >
      • The Apple Cart
      • Asian Inspired Recipes
      • Bundts to Bake
      • Cherry Recipes (preserving)
      • Easter Menu Ideas
      • Freezer to SlowCooker
      • Irish Fare
      • Jelly & Jam Recipes
      • Mexican Inspired Recipes
      • Pickle Recipes
      • Soups
      • Summer Grillin' Guide
  • Work with Me
    • Privacy Policy
    • Give Aways
  • Recipes Via Email