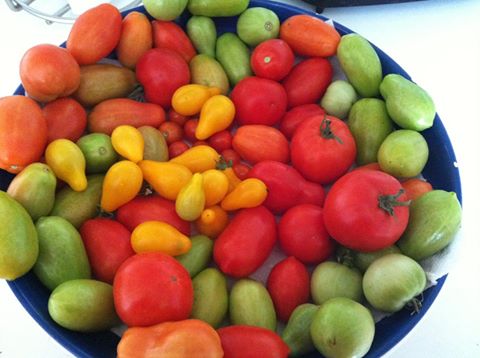
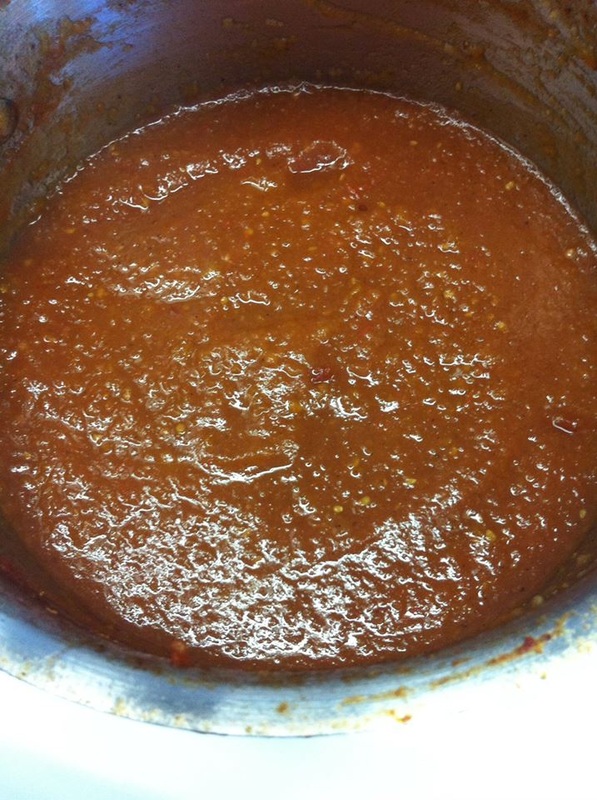
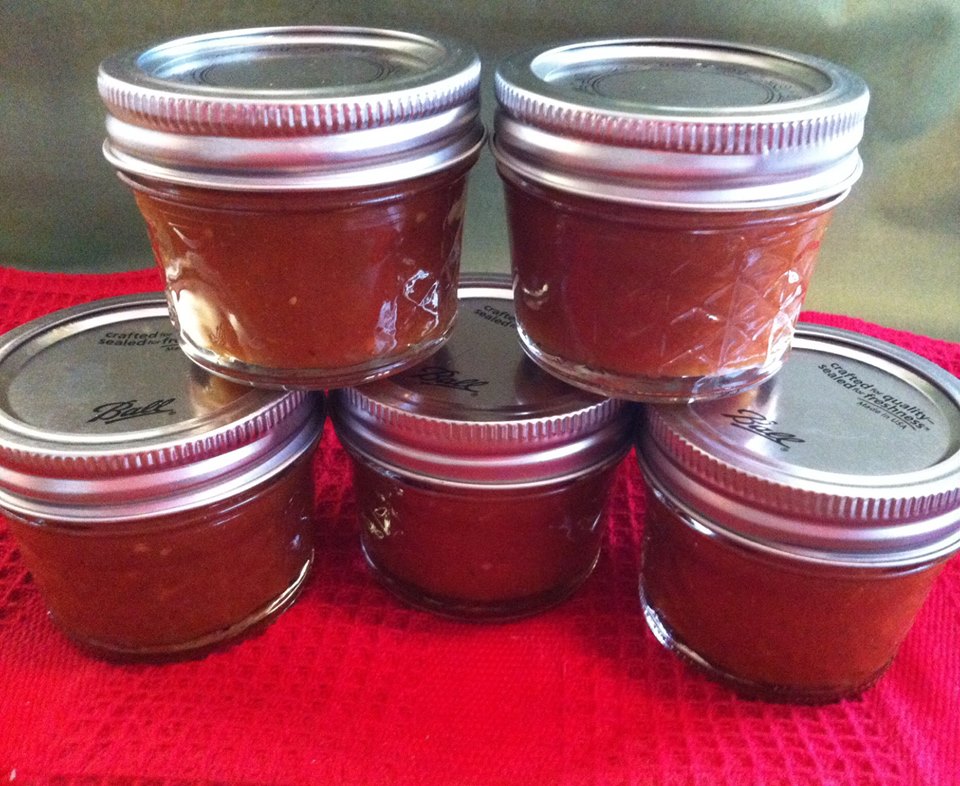
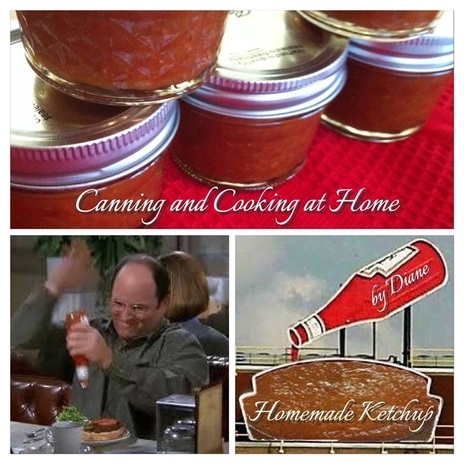
 What? I have MORE tomatoes ripening? I've done just about everything with my garden tomatoes - even turning the green ones into Spicy Mustard Relish - so...what matches mustard? KETCHUP! I decided to search for a small batch homemade ketchup and struck upon a winner to share with you all! What's nice is that you don't have to water bath can this - you can place it right into the fridge. My family doesn't go through a lot of ketchup so, I decided to 'can' it into smaller - more 'single use' jars that we can grab when needed. Enjoy! Diane Homemade Small Batch Ketchup 3 pounds tomatoes, about 10 medium 1 red bell pepper, seeded and chopped 1 onion, chopped between 3/4 – 1 cup cider vinegar (depending on ripeness of tomatoes) 1/2 cup brown sugar 1 clove garlic 1 Tbs Molasses *optional 1/8 teaspoon ground cloves 1/4 teaspoon cinnamon 1/2 teaspoon celery seed 1/2 teaspoon dry mustard 1 teaspoon salt makes about 2 cups Directions: Wash and cut tomatoes in half, squeezing out any seeds and 'watery goo' to make the cook down more efficient. Place tomatoes into a large heavy-bottomed non-reactive pot. Place bell pepper and onion in a food processor add process until smooth. Add pepper/onion mix and all remaining ingredients to pot with tomatoes. Bring to a boil over medium heat. Reduce heat to low, and simmer until the mixture falls apart and is very soft, about 2 hours. Press mixture through a food mill or force through a fine sieve. You will have a very small pile of skins and seeds that will not go through the mill/sieve; maybe a 1/2 cup. Discard those seeds and skins and return the rest of the pulp and juice to the pot. Bring back to a very slow simmer and cook until mixture thickens and darkens slightly. Use an immersion blender if you need to break down the sauce a bit more...cooking this down will take time. It is very important during the reduction time to stir the pot frequently to prevent the ketchup from scorching or sticking to the bottom of the pan. Test by dropping a spoon of the ketchup onto a plate. If it is not ready, liquid will seep around the edges. When it is ready, no liquid will seep from the edges. When the ketchup is finally ready, cool and refrigerate. It will last several weeks in the refrigerator or can for shelf stability. *remember Ketchup that is not ready has a liquid outer ring (keep cooking down) Ketchup that is ready is thick and the liquid does not form an outer ring. Water-bath with a 1/2" headspace and process 15 minutes. Adjust for your altitude or according to local canning regulations. Recipe Adapted from: It's Not Easy Eating Green Photos by: Diane Baker for Canning and Cooking at Home (Heinz and Seinfeld related Images courtesy of Google Images)
0 Comments
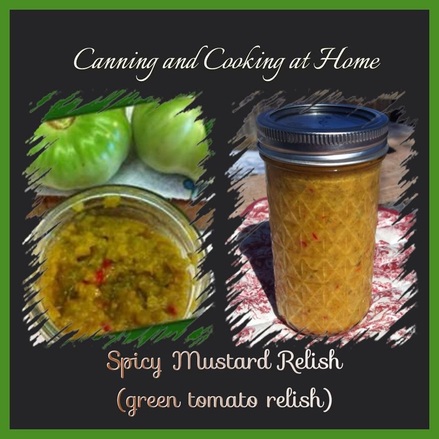
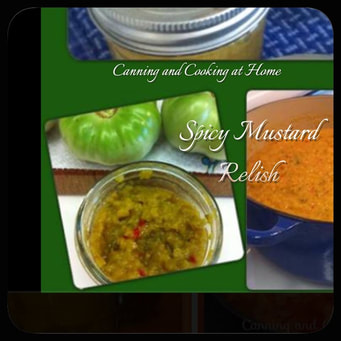
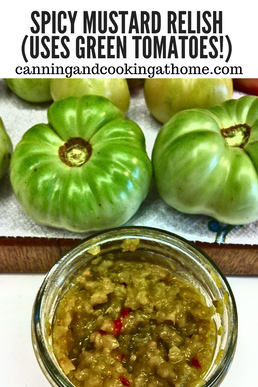 Fall in is in the air and Football has started! It's now becoming a 'time honored tradition' here in our household; the watching and waiting for the first frost. Who would want to do that? A gardener does but, also a "Canner"! There is a recipe that was handed to me just a few years back (originating in Texas) that requires nice and fresh GREEN tomatoes! Why GREEN tomatoes? Mostly, because their solid, firm, less watery mass that they maintain until they turn and ripen to red is perfect for this recipe. While I have an idea of why this recipe was created (waste not, want not) I think it is a brilliant use of these now sought after and happy to pick tomatoes in our house!! This relish can be controlled to infuse as much 'heat' that you want in your final product. Do you want just a kick of 'heat'? try using just sweet peppers with an anaheim thrown in for good measure. Do you like your mustard relish SPICY! then be sure to use habaneros or scotch bonnets and the like (those are the ones wayyyy up there on the scoville scale for peppers *see below) 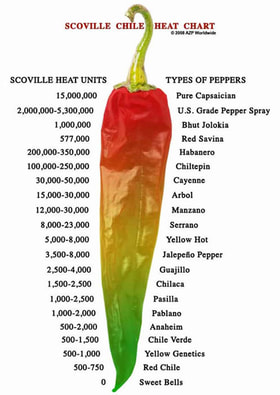 Scoville Scale for pepper "hotness"Whatever your choice of peppers to compliment your green tomatoes, this recipe is going to have your taste buds singing. We always make sure to bring this relish to our Football parties and its the perfect Tailgating food! Brats, hot dogs, steaks, chicken, and hamburgers: it works as such a nice compliment. Using this relish as a dip for pretzels and chips is an amazing taste too! Make sure to keep an eye on your garden and grab those plump "still green" tomatoes and take the time to make this relish - you, your friends and family will be happy that you did! Enjoy ~ Diane The Original Spicy Mustard Relish (Spicy Mustard Relish I) 1 QT Hot Peppers, chopped (4 Cups) *your choice, see scale above 1 QT Onions, chopped (4 Cups) 1 QT Green Tomatoes, chopped (4 Cups) 1 Pint Sugar (2 Cups) 1 Pint Distilled White Vinegar (2 Cups) 5% Acidity 1 Pint Prepared Mustard (2 Cups) *I use French's Cook all together in a large stock pot or dutch oven, until onions are tender and the mixture thickens - this can take a good hour and half. Stir often. When water-bath canning, leave 1/4' head-space. Process pints and half pints for 15 mins. in water-bath (plus, 10 mins for altitude. *or according to regulations in your area.) *always wear gloves when handling and chopping hot peppers. Yield: approx 7 half-pints Recipes for Spicy Mustard Relishes By: Margie Slentz and Diane Baker Photos by: Diane Baker for Canning and Cooking at Home 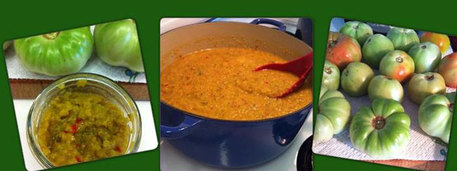
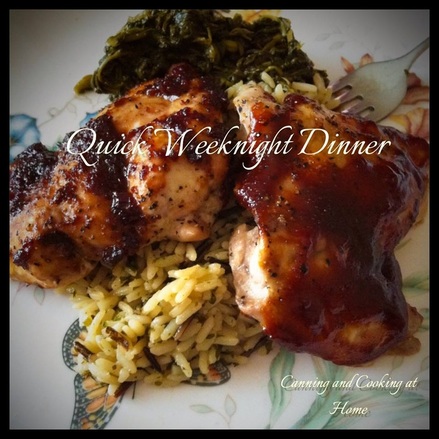 Quick, Easy & Tasty Weeknight Dinner:
BBQ Oven Baked Chicken Thighs Preheat oven to 375. Place a large sheet of heavy duty foil over cookie sheet. Lightly spread extra light olive oil over foil (to prevent sticking) place boneless, skinless thighs on cookie sheet, brush lightly with melted butter and sprinkle with salt & pepper. Bake 35 mins - brush with you favorite BBQ sauce and finish cooking 10 mins more. serve with wild rice and spinach for a quick complete meal. I do pour off any liquid from cookie sheet before brushing with BBQ sauce... BBQ Sauce (Left) Atomic Roasted Cherry BBQ Sauce BBQ Sauce (Right) Curt's World Best BBQ Sauce Photo by: Diane Baker for Canning and Cooking at Home 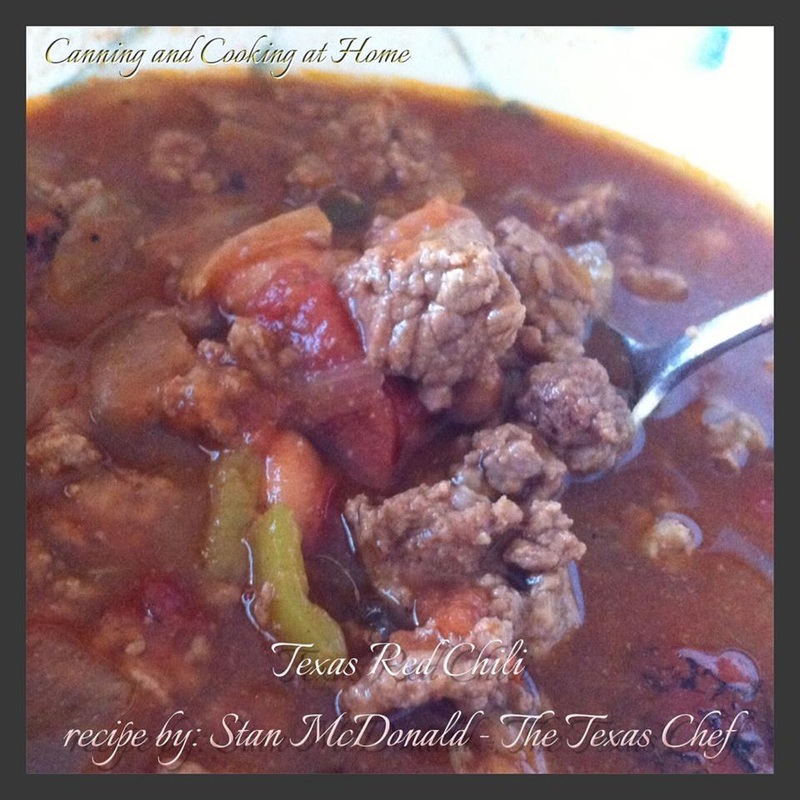 Great Recipe from Stan ( The Texas Chef ) - I made this recipe today!! AWESOME and RAVE REVIEWS over here!!! Make sure to stop by his page! Diane
TEXAS RED CHILI ..."The recipe that I am including here is for what is normally called “Texas Red” and yes I do add pork. Some will say that is not true Texas red and they may be right, but I was raised on a real working Texas cattle ranch in the heart of Texas and we put pork in our chili. The point that I am trying to make, is there are literally thousands of recipes for chili and I don’t really believe that any one is necessarily better than the other. No matter how you make it...Chili is good... So with all of that being said …..Let’s make some chili..." Stan TEXAS RED CHILI 1 POUND GROUND BEEF 1 POUND GROUND PORK 1 POUND DICED STEW MEAT 1 LARGE DIED BELL PEPPER 1 LARGE DICED YELLOW ONION 1 8 OZ.CAN TOMATO SAUCE 1 8 OZ. CAN DICED TOMATOES 1 TABLESPOON TOMATO PASTE ¼ CUPS CHILI POWDER ¼ CUPS GROUND CUMIN ¼ CUPS GRANULATED GARLIC 1 TABLESPOON PAPRIKA 1 TABLESPOON ANCHO CHILI POWDER 2 JALAPENO MINCED FINE 3 CUPS WATER 1 CUP BEEF BROTH 1 ½ CUP FLOUR OR MASA CORN FLOUR IN A LARGE POT PLACE GROUND BEEF, GROUND SAUSAGE AND STEW MEAT AND BROWN. ADD FLOUR AND STIR COMPLETELY. ADD ALL OTHER INGREDIENTS AND SIR TO COMBINE REDUCE HEAT AND SIMMER UNCOVERED FOR ABOUT 1 ½ HOURS STIRRING OCCASIONALLY. IF MIXTURE BECOMES TOO THICK ADD MORE BEEF BROTH ADJUST SEASONINGS AND SALT AND PEPPER TO TASTE The only difference I did - I browned all the meat, sprinkled with flour and then added everything to my SlowCooker - on high for 5 hours Recipe by: The Texas Chef Photo by: Diane Baker for Canning and Cooking at Home 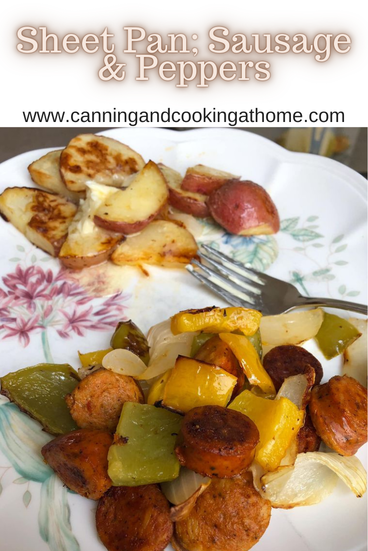 Sheet pan meals are so incredibly easy and this one is so flavorful too! One of our favorite 'go-to' dinners. You can add any vegetables that you have on hand, I'm sharing the basic recipe that we make most often - the rosemary is the perfect compliment as the main seasoning on this. One thing to remember is to make sure to cut all your vegetables and potatoes in uniform size so that they cook evenly. Enjoy! ~Diane Sheet Pan; Roasted Sausage & Peppers (Onion & Pototo too!) Ingredients: 1 Package (1 lbs) of your favorite Sausage - bias cut/sliced 1 Large Onion - sliced 2 small or one large Sweet Bell Peppers 1 small bag of Mini-Yukon Gold Potatoes (or small reds) 3 Tbs Olive Oil Salt & Pepper to Taste 1-2 Tablespoons Dried or Fresh Rosemary, to Taste, *optional Directions: Preheat Oven to 425 F
Recipe & Photos by: Diane from Canning and Cooking at Home 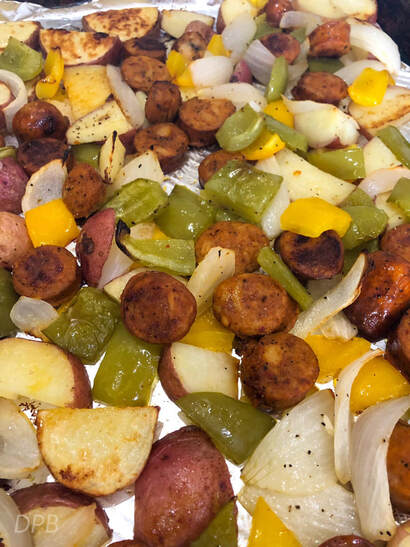 |