|
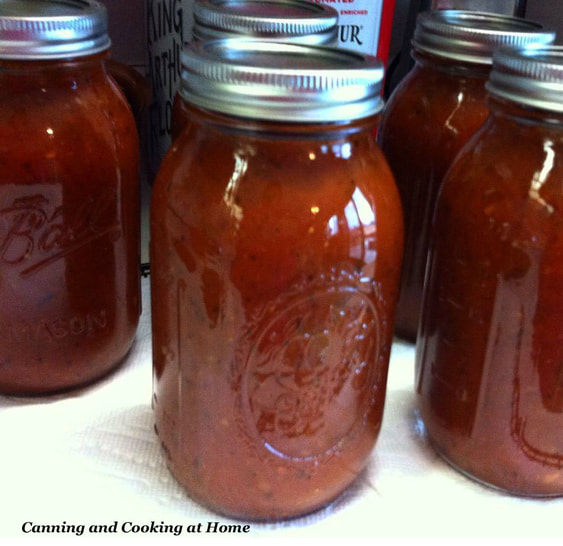
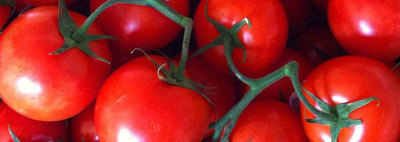
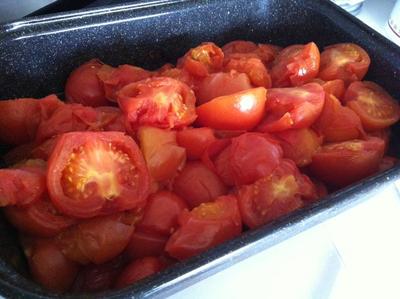
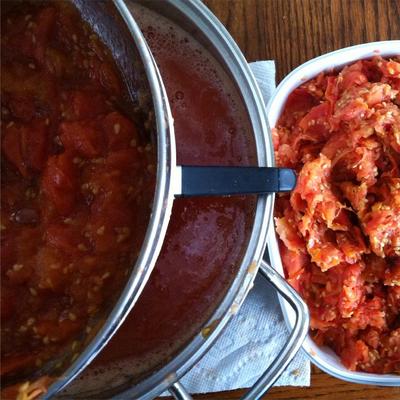
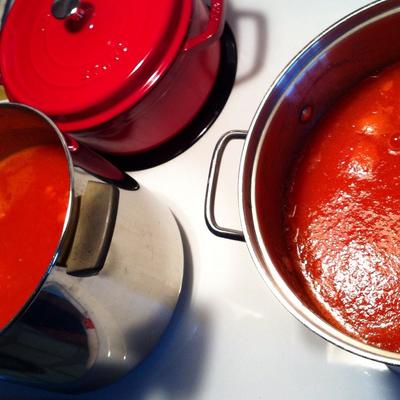
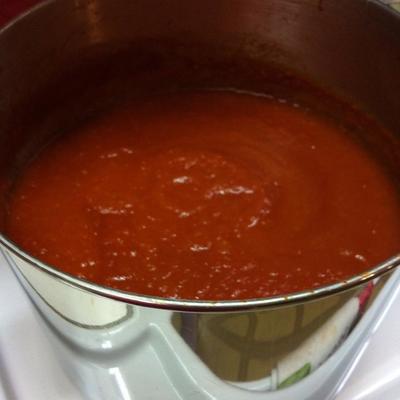
The Best Spaghetti Sauce Today I am sharing the process I use now for processing tomatoes into tomato sauce (original NCHFP recipe calls this "spaghetti sauce without meat.") I take my tomatoes, wash and core them. I then place them chopped in half or quarters into a large roasting pan, single layer and roast in the oven at 425 until soft & skins are blistering, stir occasionally to prevent sticking/scorching (about 30-40 minutes,) I let the tomatoes cool down enough for me to handle and then I run them through my Food Mill which then removes the skins and seeds (its often been debated if the seeds being left in a sauce would contribute to a bitter taste, I do agree that in some tomatoes - this can be the case so, I now remove all the seeds and skins before saucing.) On the stove top, saute your onions, garlic, celery or peppers, and mushrooms (if desired) in vegetable oil until tender. Combine sauteed vegetables with tomatoes and add remainder of spices, salt, and sugar. Bring to a boil. Simmer uncovered, until the initial volume is reduced by nearly one-half (I use two large stock pots and cook down for about 9 hours. Remember to stir frequently to avoid burning.) Once cooked down, I combine the two pots into one, check for seasonings/taste one last time, and get ready to Pressure Can *this is a Pressure Can only recipe. Please remember too - that you cannot increase the proportions of onions, peppers, fresh garlic or mushrooms in this sauce (its a safety issue). I do like adding in a little bit of dried sweet basil into my sauce (dried spices are a 'free' item that you can adjust to suit your own taste.) Fill jars, leaving 1-inch headspace
Yield: 9 pints or approx 5 quarts Ingredients: 30 lbs tomatoes 1 cup chopped onions 5 cloves garlic, minced 1 cup chopped celery or green pepper 1 lb fresh mushrooms, sliced (optional) 4-1/2 tsp salt 2 tbsp oregano 4 tbsp minced parsley 2 tsp black pepper 1/4 cup brown sugar 1/4 cup vegetable oil *for sauteing Recipe by: NCHFP Photos by: Diane Baker for Canning and Cooking at Home Kitchen Note: Don't toss those tomato skins! Dehydrate them and powder them! See this link to Serious Eats on the "How-To" (click link) www.seriouseats.com/recipes/2015/08/tomato-powder-from-tomato-skins.html
2 Comments
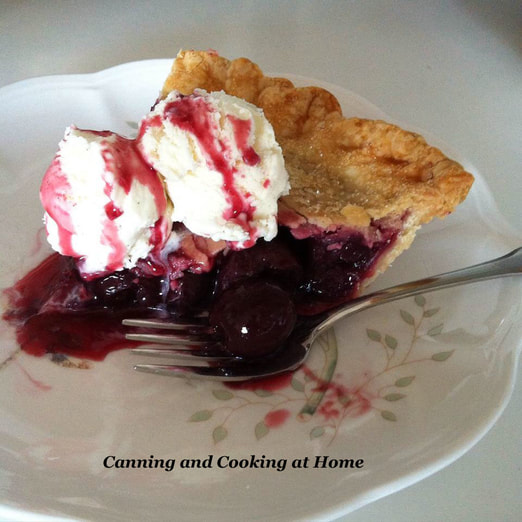
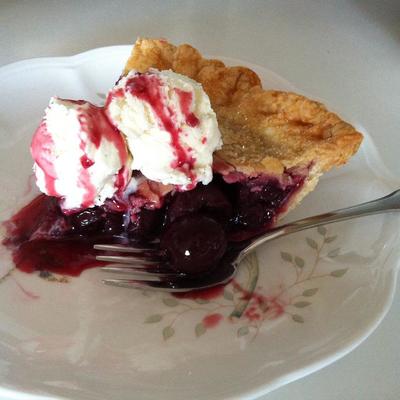
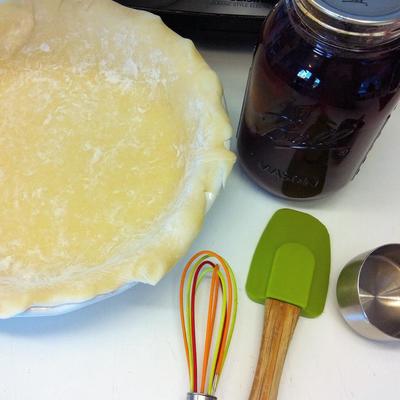
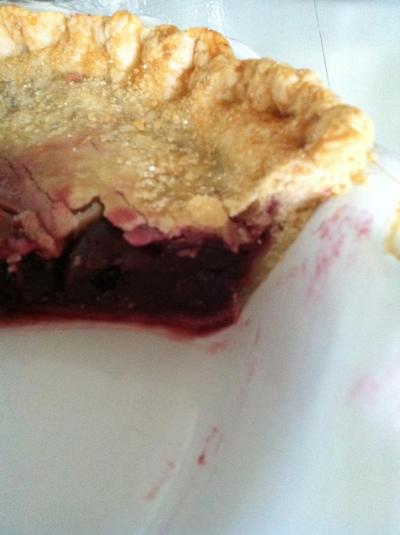
Do you keep hearing that you need to buy Cook Type Clear Jel to 'can up' fruit pie fillings? Not so! You can can up your favorite fruit pie filling without any thickeners and thicken when you go to make the pie! It's as easy as 1-2-3 You just need to keep an eye on how much liquid is added into your pie crust before baking. You will use 1/3 cup of liquid from the quart contents to mix and thicken with cornstarch but, when you go to 'dump' the remaining contents of the quart into that mix - be careful that you don't have too much liquid or you will end up with a great tasting but, slightly runny pie. I reserve an additional 1/2 cup of liquid from the quart of pie filling * and used as a drizzle over our ice cream. I also make sure to lightly flour both sides of my bottom homemade pie crust when making fruit pies. Enjoy~Diane
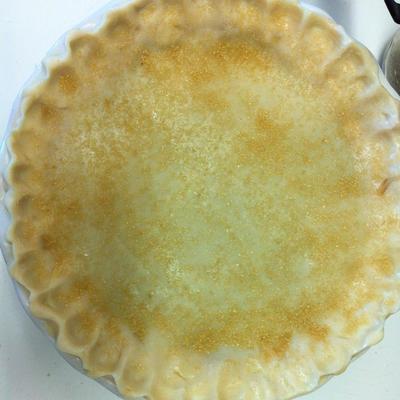
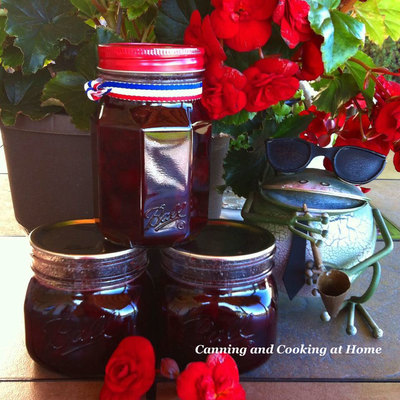
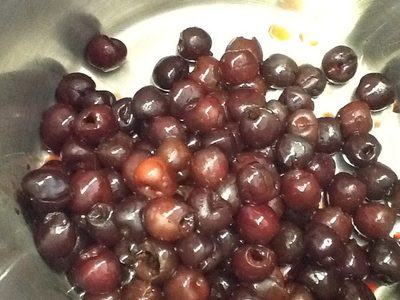
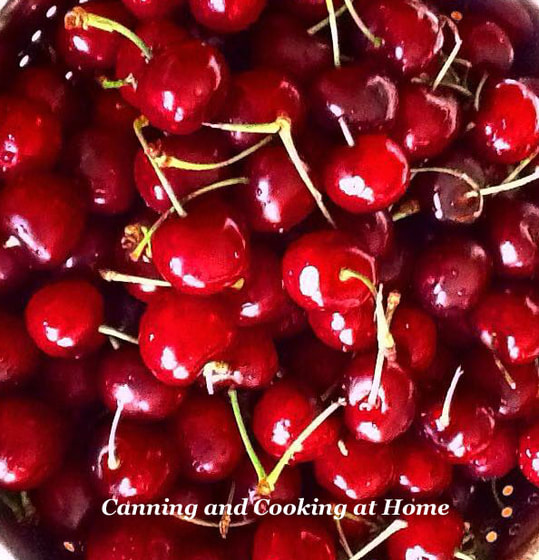
Pie Filling Ingredients: For Each Quart: 6 cups Dark Sweet Cherries 1/2 cup Sugar 2 Tablespoons Bottled Lemon Juice 1/2 teaspoon Ground Cinnamon 1/4 teaspoon Almond Extract One Quart makes One 9"inch Pie (my pie crust recipe below) Directions: To make pie filling: Wash, pit and stem cherries. Bring prepared fruit and sugar to a boil in a large saucepan; reduce heat and simmer, uncovered, 5 minutes. Stir often to prevent scorching. Remove from heat and stir in remaining ingredients. Ladle hot mixture into prepared canning jars to a 1/2" head space. Process quart jars 30 minutes in a boiling water bath *adjusting for your altitude. Remove jars to a draft free area and let cool 24 hours before removing rings, washing, labeling and storing jars in pantry. To use filling in a pie: thicken pie filling by draining 1/3 cup of liquid from the quart into a medium sized bowl, Whisk in 3 Tablespoons of cornstarch and 1/8 teaspoon of salt until mixture is smooth. Add in remaining contents of quart jar and stir gently to blend. Pour into prepared pie crust. Top with remaining pie crust. Fold edges under and crimp. Cut slits in top for steam to escape. If preferred, use a pastry brush to lightly brush unbaked pie crust with a milk wash and lightly sprinkle with demerara (course) sugar. Bake pie at 450F for 15 minutes, reduce heat to 350F and bake an additional 25-30 minutes or until crust is golden and filling is bubbly. To make a pie crust: Ingredients: 2 cups all-purpose flour 1/4 teaspoon salt *pinch of sugar if you want a slightly sweet crust 2/3 cup cold butter (10 Tbs plus 2 tsp) 1 egg yolk 4 to 5 tablespoons cold water (more if too dry) Directions: In a Cuisinart: Combine flour and salt, pulse for 2 seconds; cut butter up with a knife into small chunks and add to food processor. Pulse until mixture resembles coarse crumbs. Drop in egg yolk and enough water until flour is moistened, dough when pulsed should start to roll up into a ball on one side. Do not over mix; dough should be incorporated (not dry) and not sticky. Take dough out of food processor bowl and lay onto a lightly floured surface. Divide dough in half. Shape each half into ball. Flatten slightly and wrap each half of dough in plastic food wrap, you will need both halves to make this pie, place in refrigerator for one hour (you want butter in dough to chill again after being "worked" so that your pie crust is flakier when baked.) For this double crust pie, roll out one half of dough on lightly floured surface into 12-inch circle. Fold into quarters (or roll onto rolling pin and carry over to pie plate) Place dough into 9-inch pie pan sprayed with non-stick spray; unfold dough, pressing firmly but, gently against bottom and sides. Do the same with the second ball of chilled dough (making the top.) *Special Thank You to The Washington State Fruit Commission and Northwest Cherries for supplying the awesome Bing Cherries! Remember to "Preserve the Harvest" and visit sweetpreservation.com Recipe from: Ball's New Book of Canning Photos by: Diane Baker for Canning and Cooking at Home As promised. A new and exciting cherry recipe as part of my Canbassador-ship with Northwest Cherries and the Washington State Fruit Commission in conjunction with SweetPresrevation. This sauce is versatile and great served warm over roasted duck or chicken, plopped on top of hot waffles, spread onto the top of a cheesecake or thickened a bit to layer into a cake. So many uses but, serving warm over a Danish Almond Rice Pudding is the "most traditional" use of this sauce. I cannot wait to try Cooking 'Risalamande' which is a Holiday Dessert from Denmark that this sauce tops...I will share that recipe and story later - in the meantime, can yourself up some Danish Sweet Cherry Sauce and preserve the harvest!!
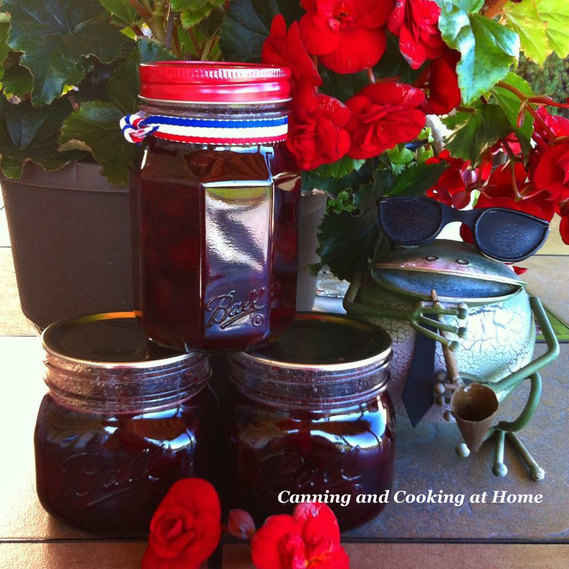
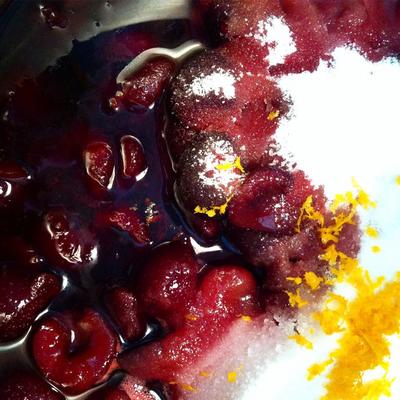
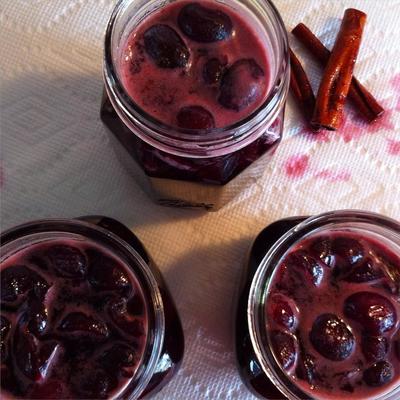
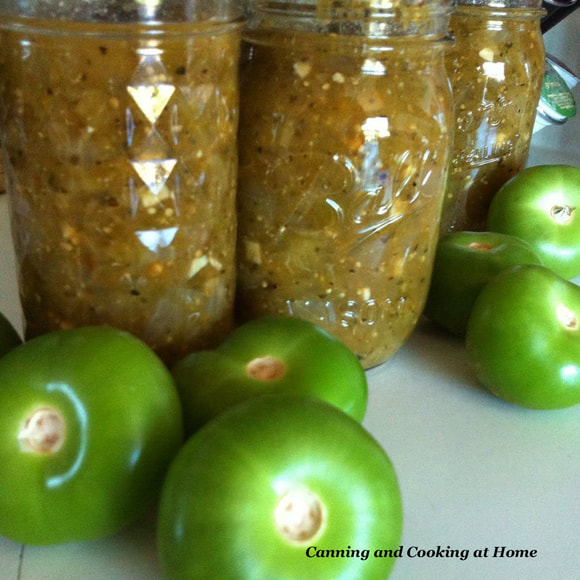
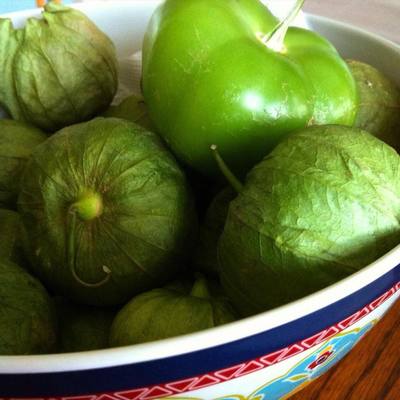
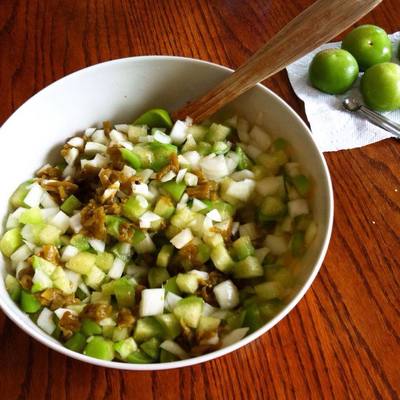
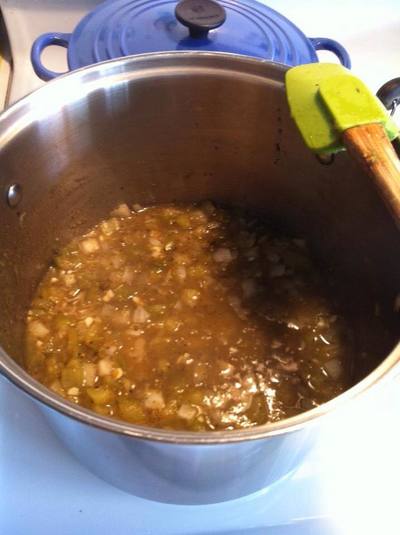
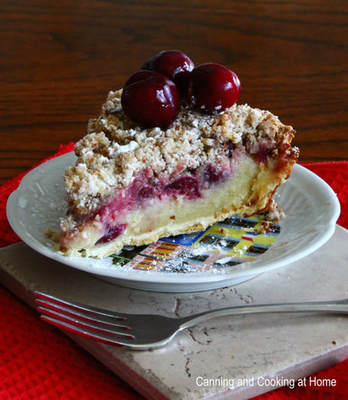
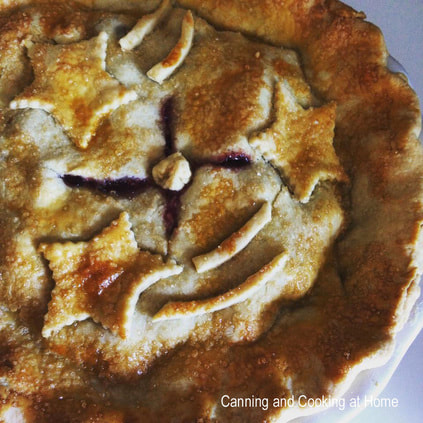
~Enjoy! Diane Danish Sweet Cherry Sauce Yield: About three pints Ingredients: 1-1/2 cups granulated sugar 3 cinnamon sticks (each about 4” long) 1-1/2 teaspoon almond extract 1 cup water 3/4 cup corn syrup 7-1/2 cups pitted sweet (or sour) cherries 1 navel orange, the zest of 3/4 orange and juice of half Directions: In a large pot, combine sugar, cinnamon sticks, almond extract, water and corn syrup. Boil over medium-high heat, stirring constantly. Reduce heat to a gentle boil. Add cherries, orange zest and juice, and boil gently, stirring until heated through. Reduce to simmer/low and let cook for 5 more minutes so that cinnamon sticks can steep in the sauce. Discard cinnamon sticks. Ladle sauce into hot jars and leave a 1/2-inch headspace. Remove air bubbles and adjust headspace. Wipe rim and place lids and screw bands. Tighten the screw bands finger-tight. Place jars in prepared water bath canner, with jars completely under water. Bring to a boil, reduce heat to maintain gentle boil and process for 10 minutes*adjusting for your altitude. Turn off heat. Allow jars to sit in canner for 5 minutes before removing. Set jars on rack or towel out of drafts and allow to cool. Remove screw band, label and store. TIP: to thicken this sauce before serving, combine 1 tablespoon cornstarch and 2 tablespoons water in a saucepan. Add 1 pint Danish Cherry Sauce. Bring to a boil over medium-high heat and cook, stirring until sauce thickens. DO NOT ADD CORNSTARCH BEFORE CANNING Adapted Univ Utah/Ball Recipe & Photos by: Diane Baker for Canning and Cooking at Home Tomatillo Green Salsa Ingredients: 5 cups chopped tomatillos (about 2-3 pounds) 2 cups chopped roasted green chiles , see**note below 4 cups chopped vidalia onions 1 cup bottled lime juice 6 cloves garlic, finely chopped 1 tablespoon ground cumin 1 tablespoon dried oregano leaves 1 tablespoon dried thyme 1 tablespoon large grain pink sea salt 1 teaspoon black pepper dash of chili powder Yield: About 4-5 pints Directions: Caution: Wear plastic or rubber gloves and do not touch your face while handling or cutting hot peppers. If you do not wear gloves, wash hands thoroughly with soap and water before touching your face or eyes. Preparing Tomatillos: Remove the dry outer husks from tomatillos; wash thoroughly. They do not need to be peeled or seeded. Hot Pack: Combine all ingredients in a large saucepan and stir frequently over high heat until mixture begins to boil, then reduce heat and simmer for 2O minutes, stirring occasionally. Ladle hot into clean, hot pint jars, leaving ½-inch head-space. Remove air bubbles and adjust head-space if needed. Wipe rims of jars with a dampened, clean paper towel; apply two-piece metal canning lids. Process in a boiling waterbath canner 15 minutes, adjusting for your local altitude (0-1,000ft 15 mins : 1001-6000ft 20mins : 6001ft-above 25 mins) **NOTE: you can use any 2 cups of chopped hot peppers: The skin of long green chiles may be tough and can be removed by heating the peppers. Usually when peppers are finely chopped, they do not need to be skinned. If you choose to peel chiles, slit each pepper along the side to allow steam to escape. Peel using one of these two methods: Oven or broiler method to blister skins - Place chiles in a hot oven (400°F) or broiler for 6 to 8 minutes until skins blister. Range-top method to blister skins - Cover hot burner (either gas or electric) with heavy wire mesh. Place peppers on burner for several minutes until skins blister. To peel, after blistering skins, place peppers in a pan and cover with a damp cloth. (This will make peeling the peppers easier.) Cool several minutes; slip off skins. Discard seeds and chop. Jalapeno peppers, if used, do not need to be peeled, but seeds are often removed. I used one pint of my already canned Roasted Green Chiles in this recipe (link click here) USING GREEN TOMATOES: You may use green tomatoes in this recipe instead of tomatillos and bottled lemon juice in place of lime juice. IMPORTANT: The only other change you can safely make in this salsa recipe is to change the amount of spices and herbs. Do not alter the proportions of vegetables to acid and tomatoes because it might make the salsa unsafe. Do not substitute the lemon or lime juice with vinegar Recipe Adapted from: NCHFP Photos by: Diane Baker for Canning and Cooking at Home Pinterest PIN: www.pinterest.com/pin/530510031096298261/ A Cherry Jubilee ~ No, don't worry - this post won't go up in flames. We are not actually making cherries jubilee - the golden rum based dessert (no flambe - not just yet anyway!) I had to share the cherry dessert recipes that I love! I often preserve my pitted cherries whole *canning in a light vanilla syrup so that I can pull a jar out when creativity strikes and make a new dessert, jam or sauce. Cherries are limitless in their use and their taste is beyond compare. I need to thank the folks at Northwest Cherries in Washington for not only asking me to be a "Canbassador" again this year but, for sending me such beautiful sweet cherries to work, create and preserve with too! I'm also excited to share a new 'sauce' and dessert with you all; A warmed spiced 'Danish Cherry Sauce' (great served as part of Risalamande: A Danish Christmas Dessert, with rice pudding and almonds). Danish Cherry Sauce can be used spooned over ice cream, drizzled over cheesecake, set atop oatmeal, swirled into a smoothie...even rolled into pastry! and this year I will be sharing a New Sweet Cherry Pie Filling recipe - this one does not require any 'thickeners' being added prior to canning. Here are my recipes from 2016 (click here) which contain a lot of great "cherry" ideas from www.sweetpreservation.com and myself. Check out my decadent cherry desserts below - made from preserved cherries... Enjoy! Diane Why can/preserve cherries? Because they extend the harvest and let you create new and great tasting recipes year round like my Cherry Topped New York Cheesecake (photo above) My Cherry Vanilla Cream Pie and Mike's Ole Fashioned Cherry Pie (photos below) Trust me when I say - Canning and Cooking at Home means: fresh grown, fresh harvested, fresh ideas for you and your family. Preserving the Harvest is one of the best concepts to promote healthier (and tastier) living! I know what goes into each and every item can, cook, and bake. Isn't it time for you to start preserving? If so, I'm here to help! ...and remember, preservation isn't JUST about creating delicious jams and sauces - it also includes decadent desserts made from preserved cherries!
|

