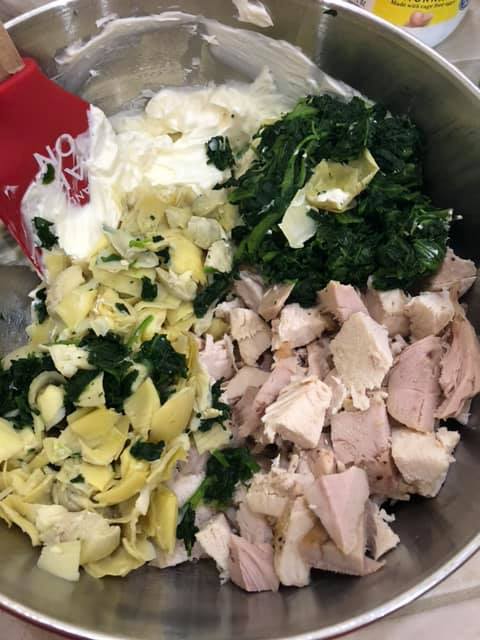
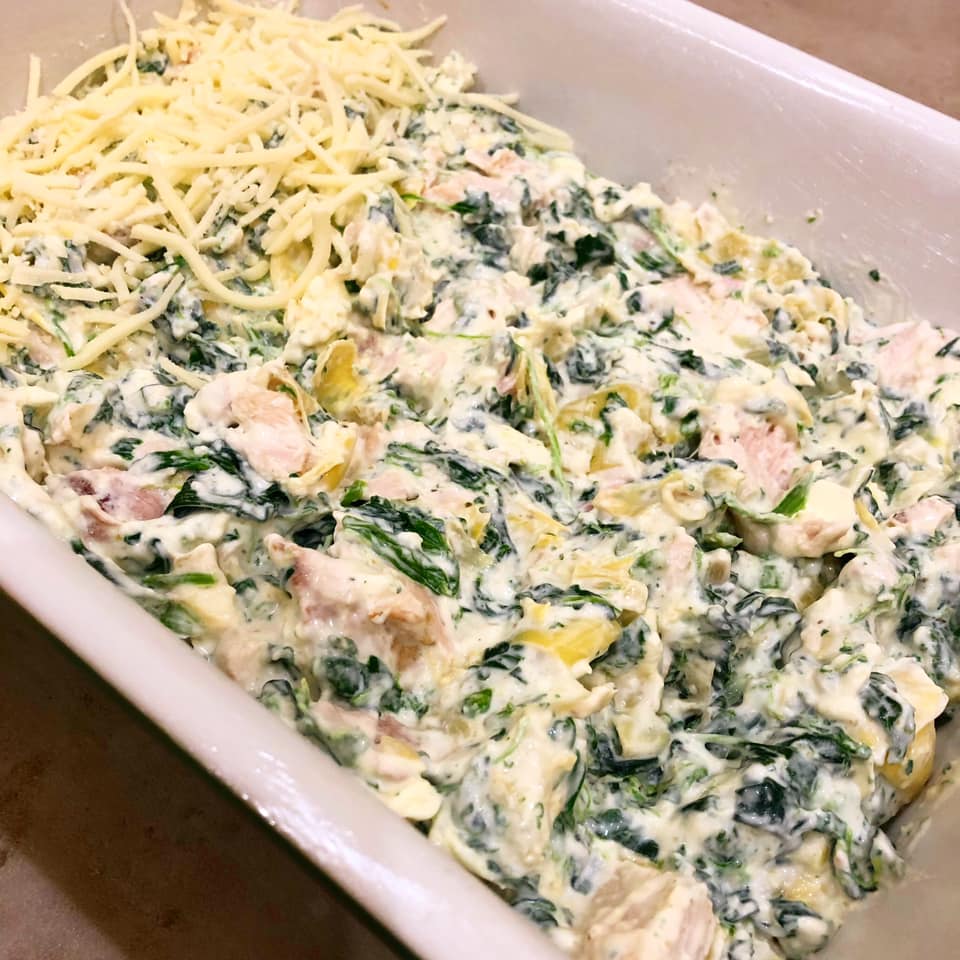
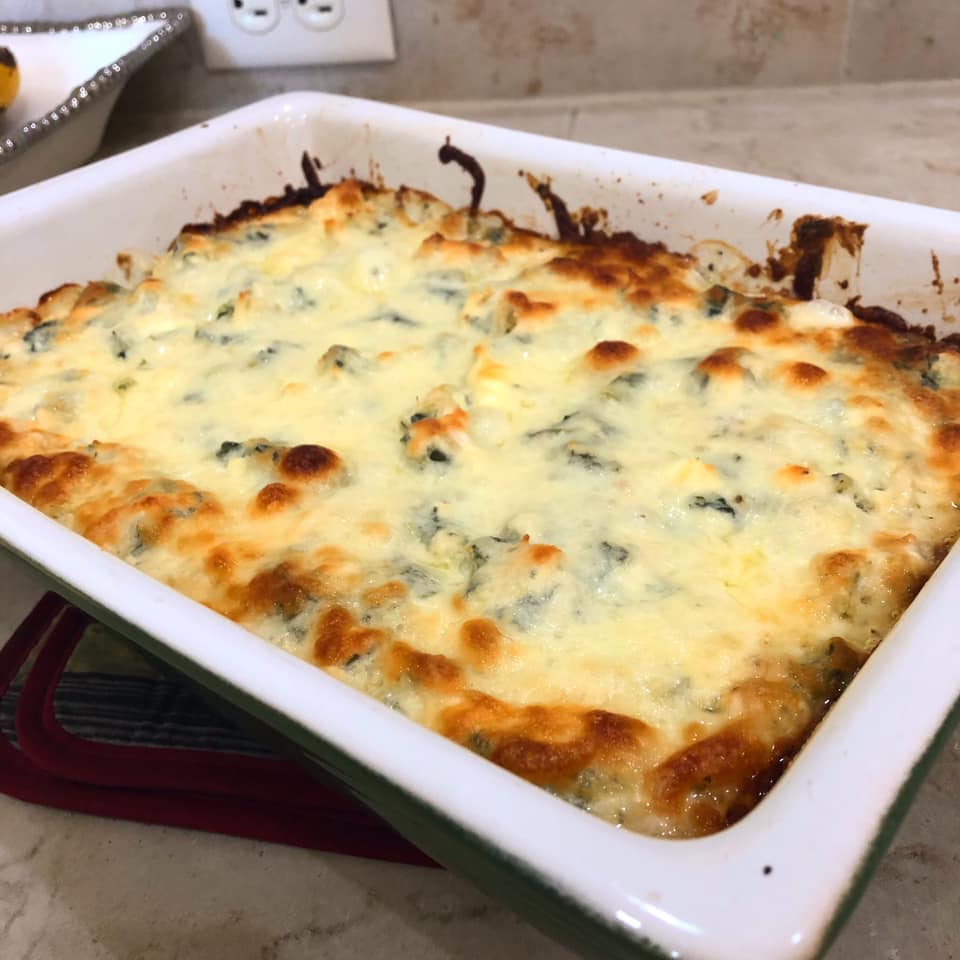
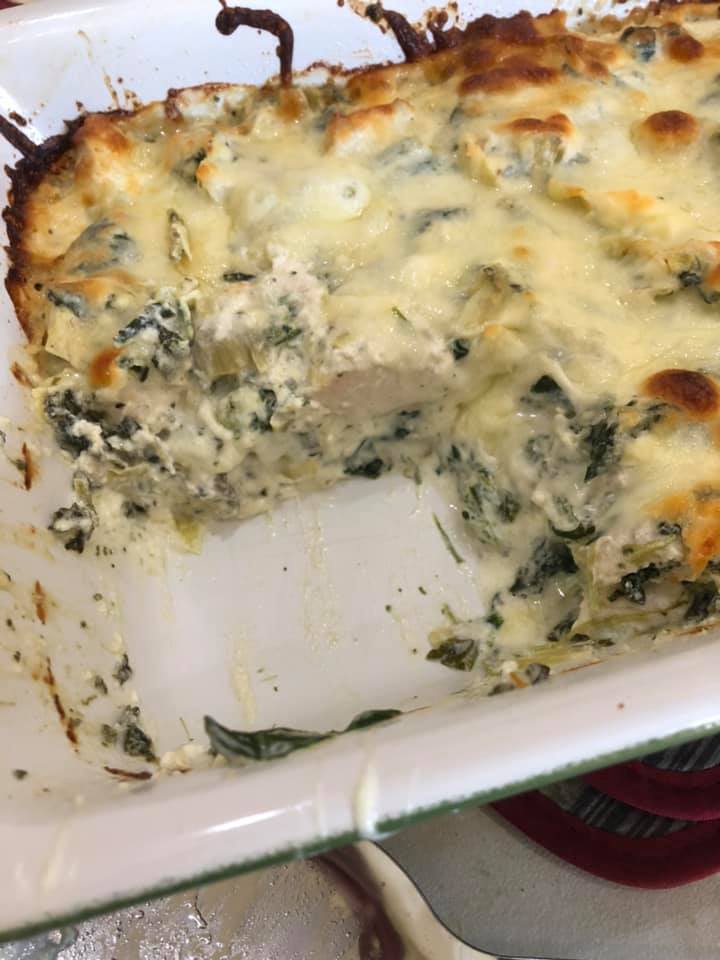
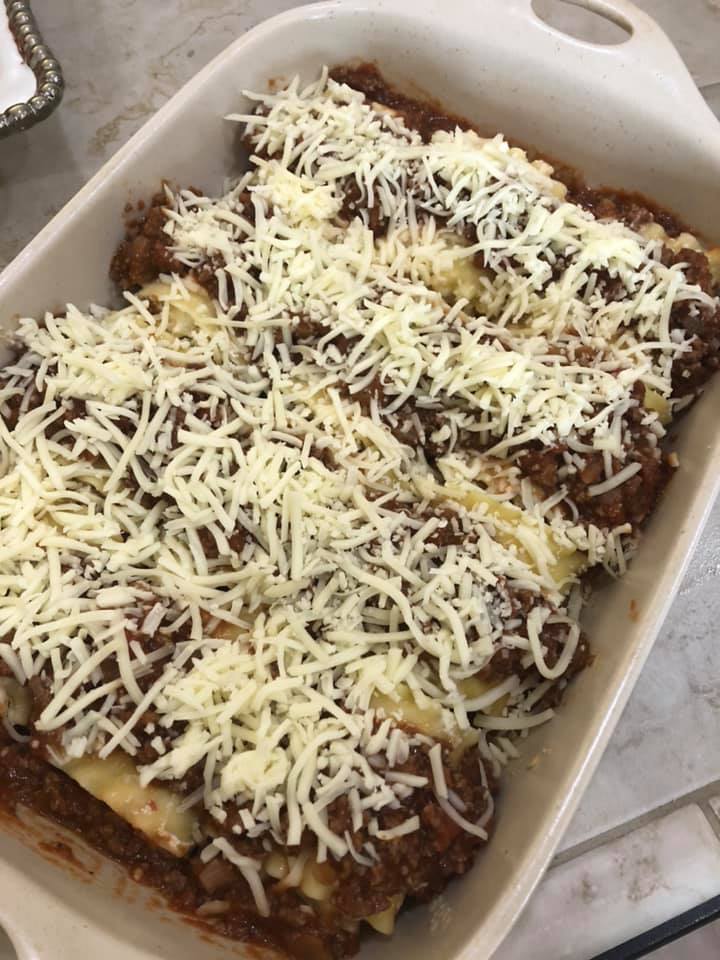
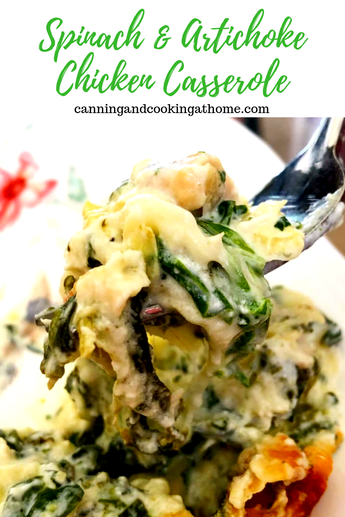
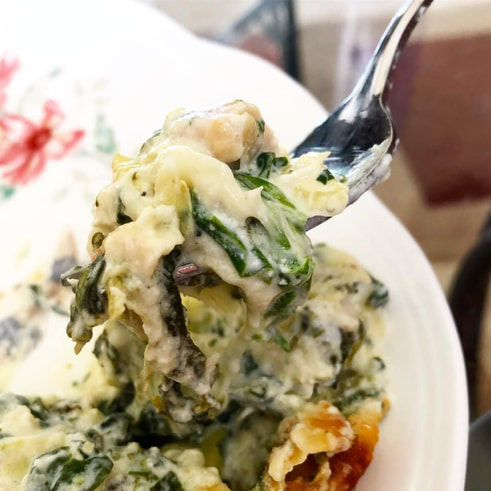
 This casserole is great tasting! I love how the garlic mixes in with the rest of the ingredients to produce a deep, rich flavor. I saw the original recipe over at KetoCookingChristian, and needed to give it a try. While this is listed as low carb and keto friendly, I also created my own lower fat version of the original recipe, all listed below. Enjoy! Diane **MY LOWER FAT VERSION IS LISTED (UNDER DIRECTIONS SECTION) Spinach & Artichoke Chicken Casserole Ingredients: 3-4 cups cooked chicken, chopped 9 ounce package frozen spinach thawed and well drained 14 ounces artichoke hearts (plain) drained and chopped 8 ounces cream cheese, room temperature 1/2 cup parmesan cheese, finely grated 1 1/2 cups shredded mozzarella cheese 2/3 cup sour cream 1/2 cup heavy cream 1/4 cup mayonnaise 3 cloves garlic minced salt and pepper to taste Directions: Preheat oven to 375F. Add all the ingredients (excluding the mozzarella cheese) to a large mixing bowl. Mix until combined. Spoon the mixture into a lightly greased/buttered 9" x 13" baking dish. Sprinkle top with the shredded mozzarella cheese and bake for 35 minutes or until the cheese is slightly golden and bubbly. Allow to cool before serving. Store any leftovers in the fridge. **MY LOWER FAT VERSION IS AS FOLLOWS:**
0 Comments
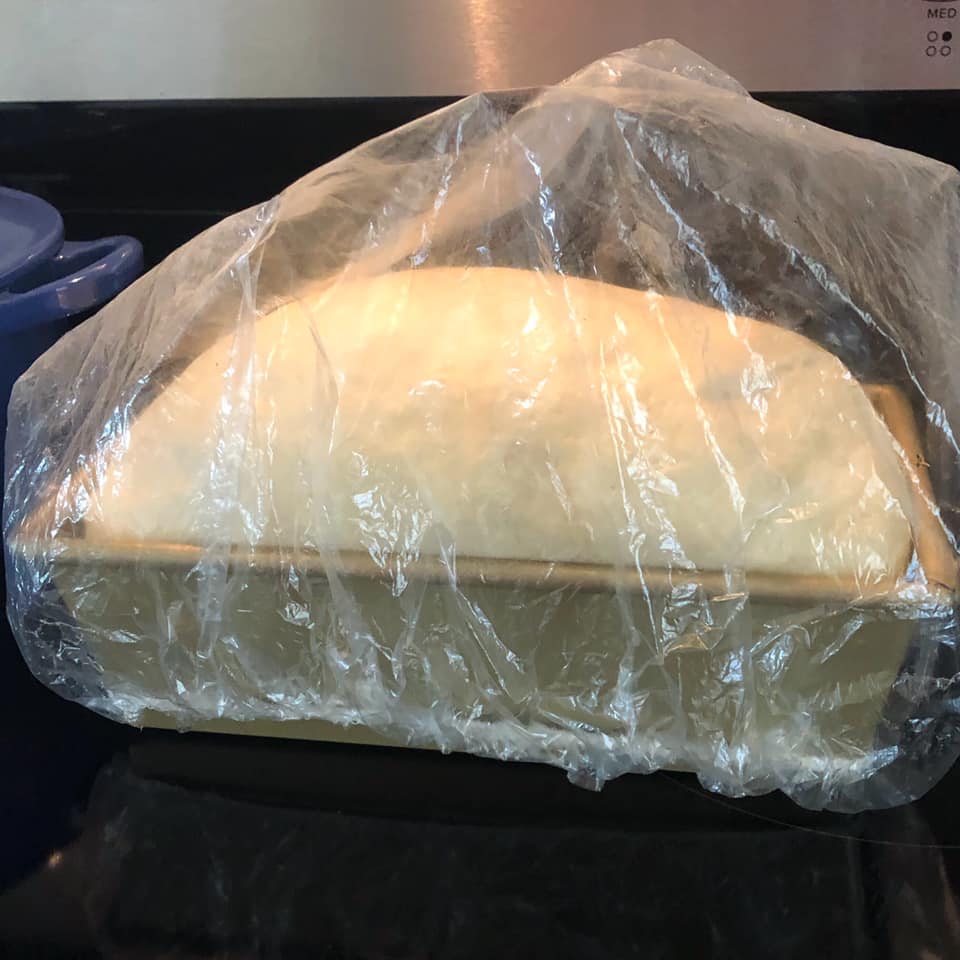
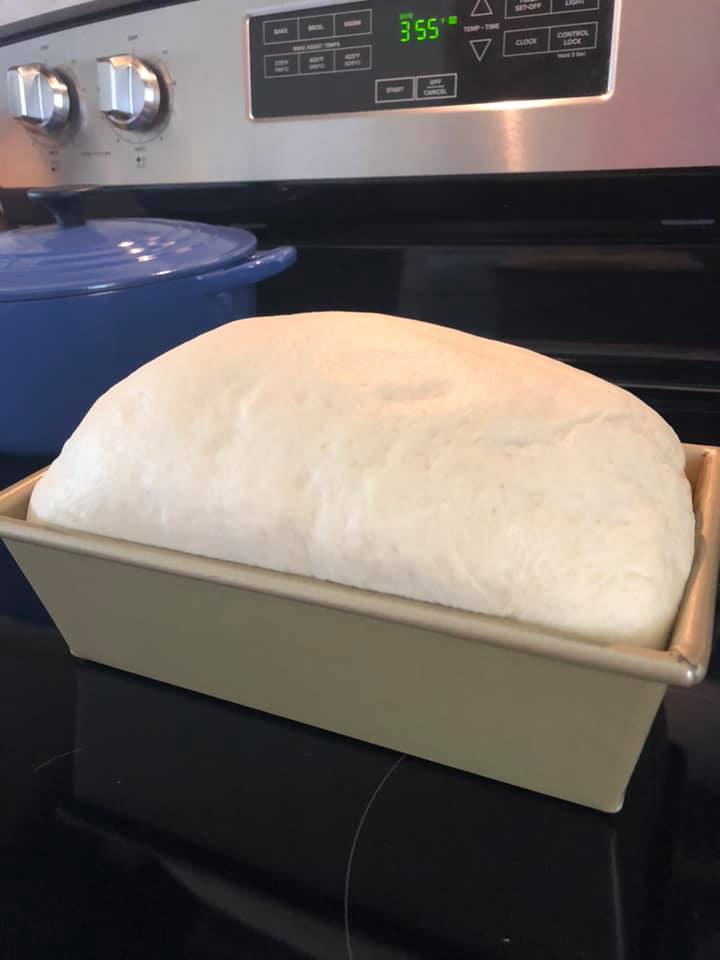
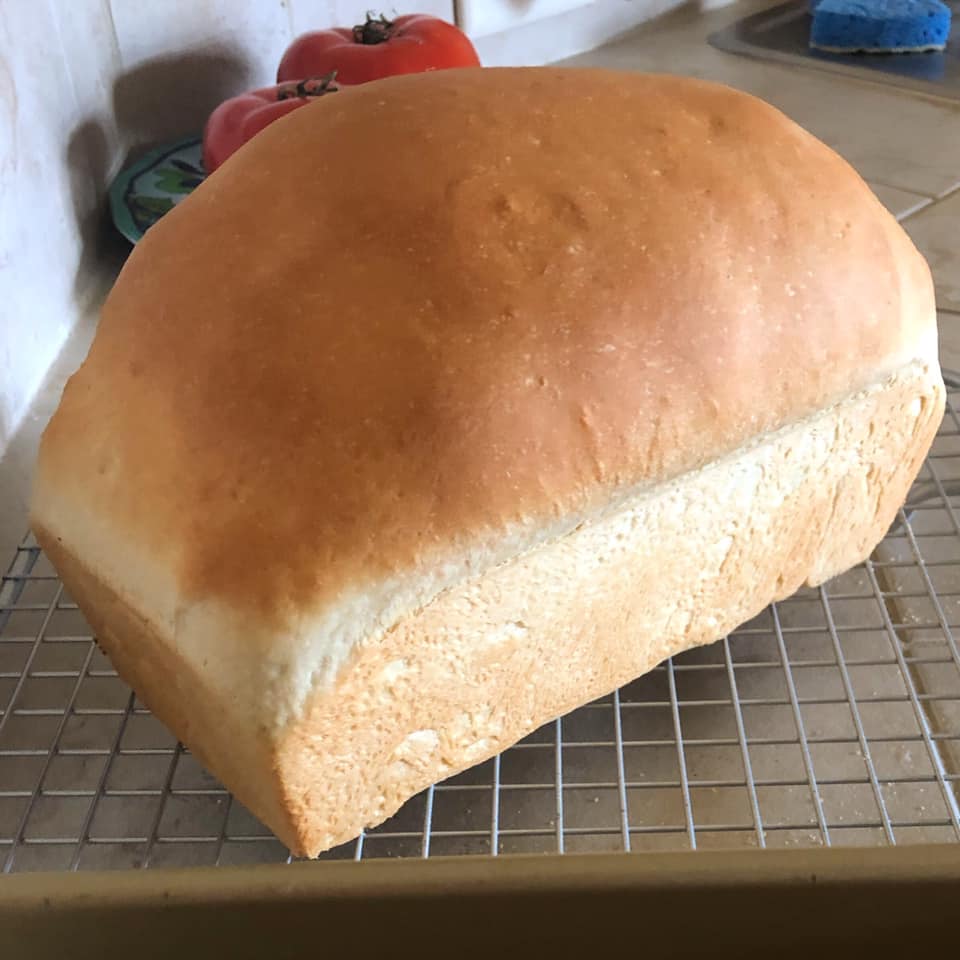
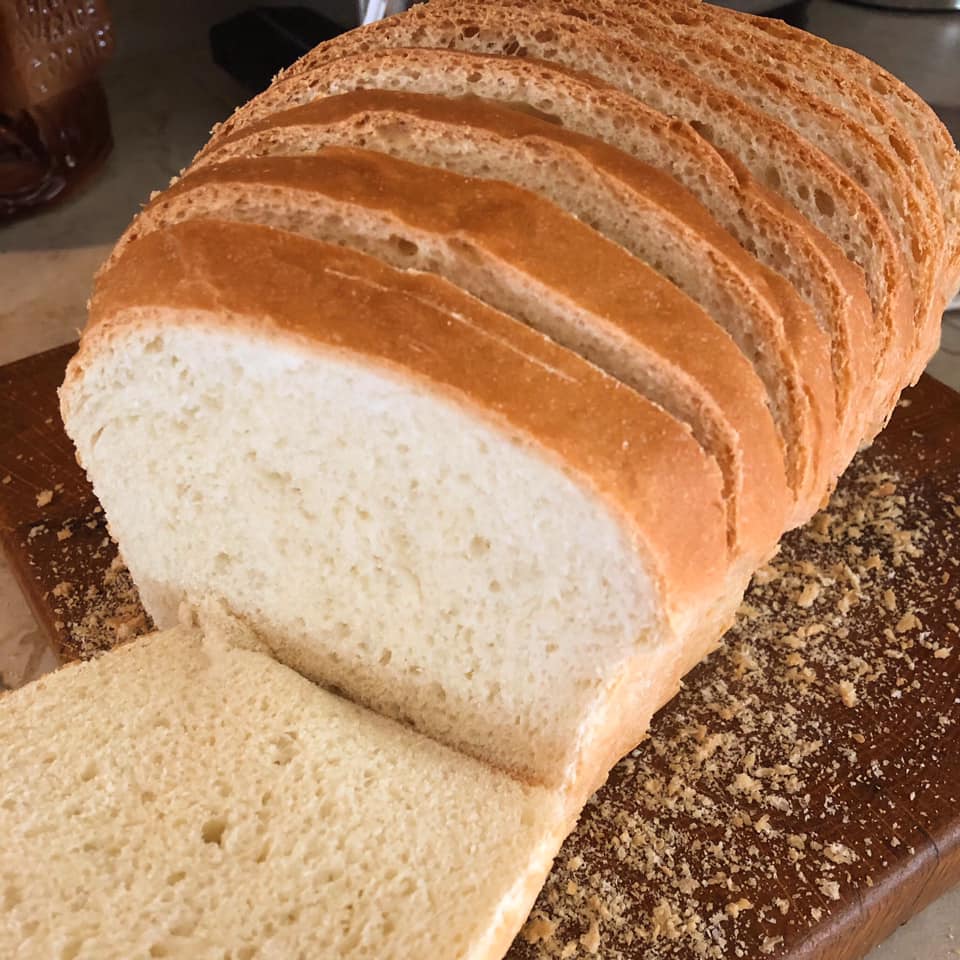
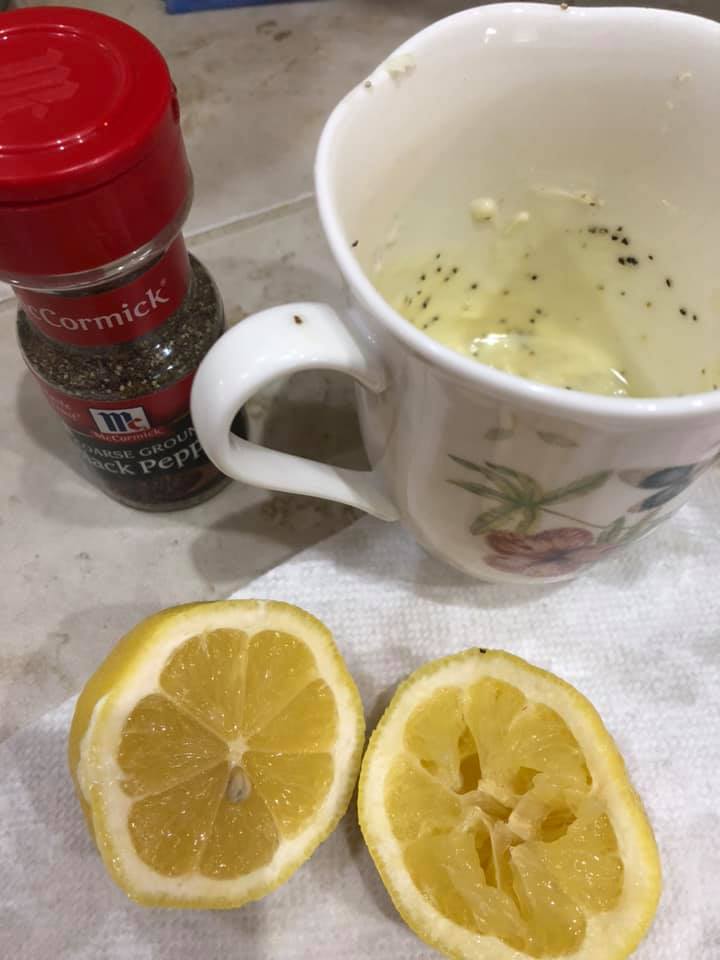
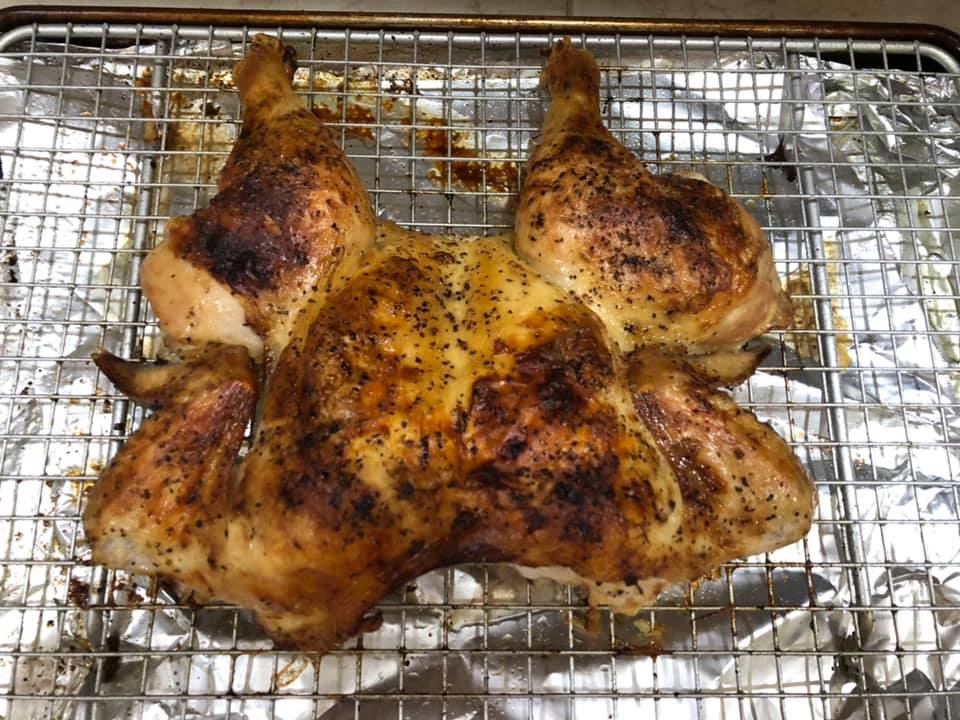
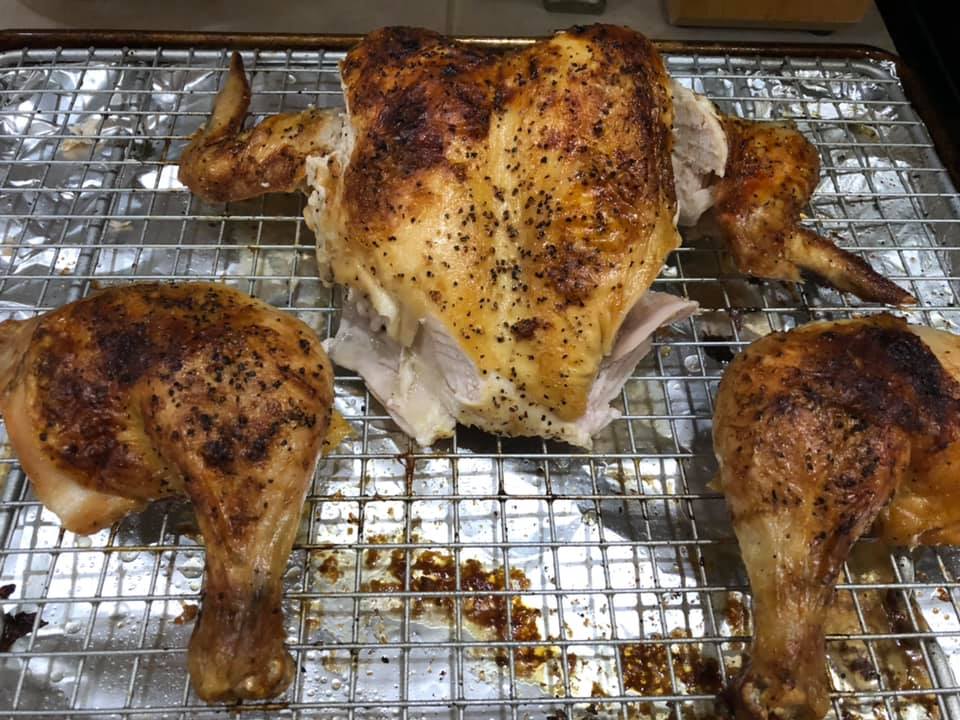
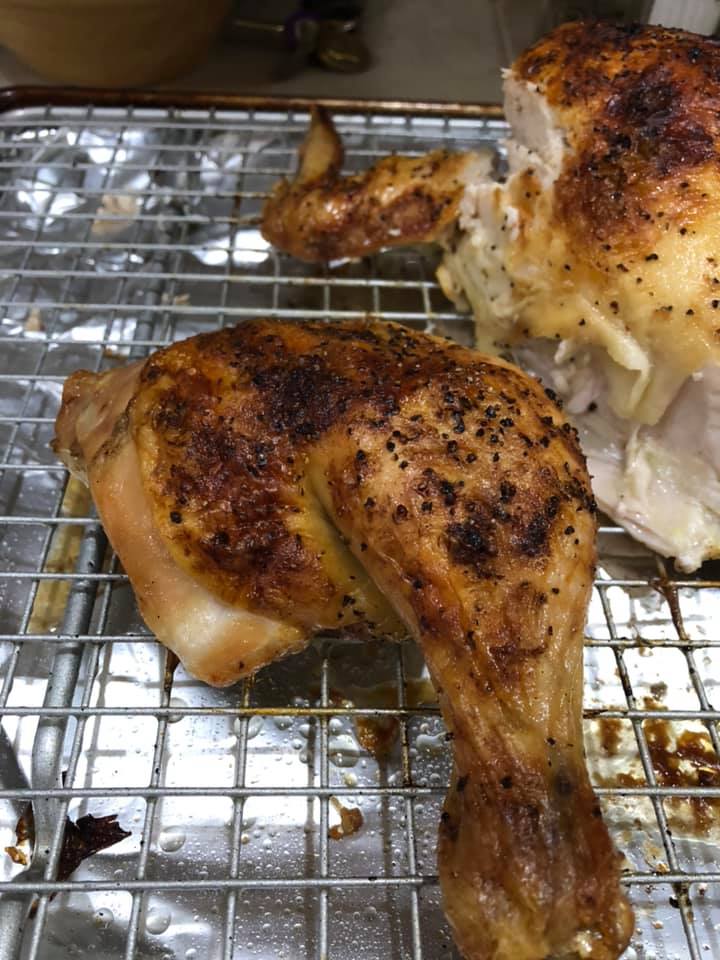
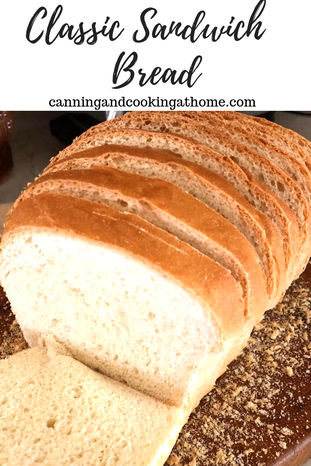 This is a superb loaf of bread - great for sandwiches! Bakes and slices up nicely. You gotta give this one a try! This is my "take" on King Arthur Flours recipe -Enjoy! Diane Classic Sandwich Bread Ingredients: 3 cups Unbleached All-Purpose Flour, I prefer King Arthur Flour 1/2 cup milk 1/2 cup hot water 1/4 cup melted butter 2 tablespoons sugar plus, a pinch for yeast 1 1/4 teaspoons salt 1 packet active dry yeast INSTRUCTIONS Start by mixing your yeast with a pinch of sugar in 1/2 cup warm water (use the water temperature your yeast packet lists.) Set aside to let yeast can bloom/activate. Melt butter in a cup in microwave and mix the melted butter into your milk (this will warm the milk - which is needed. You do not want to use hot/scalding butter and no ice cold milk - blending the two together and setting aside while you assemble the rest of the recipe ingredients should work great. To make the dough: In the bowl of your stand-mixer, fitted with a dough hook, combine all of the ingredients and set the machine to knead for 6 to 8 minutes, or until the dough begins to become smooth and supple, you may have to add in 2-3 Tablespoons more if warm water to get your dough supple. Transfer the dough to a lightly greased bowl, cover the bowl, and allow the dough to rise until puffy though not necessarily doubled in bulk, about 1 to 2 hours, depending on the warmth of your kitchen. Gently deflate the dough and transfer it to a lightly oiled work surface. Shape the dough into an 8" log. Place the log in a lightly greased 8 1/2" x 4 1/2" loaf pan, cover the pan loosely with lightly greased plastic wrap, and allow the bread to rise for about 60 minutes, until it's domed about 1" above the edge of the pan. A finger pressed into the dough should leave a mark that rebounds slowly. Towards the end of the rise, preheat your oven to 350°F. Bake the bread for 30 to 35 minutes, until it's light golden brown. Test it for doneness by removing it from the pan and thumping it on the bottom (it should sound hollow), or by measuring its interior temperature with a digital thermometer (it should register 190°F at the center of the loaf). Remove the bread from the oven, and cool it on a rack before slicing. Store the bread in a plastic bag at room temperature for several days; freeze for longer storage. Recipe Inspiration by: King Arthur Flour 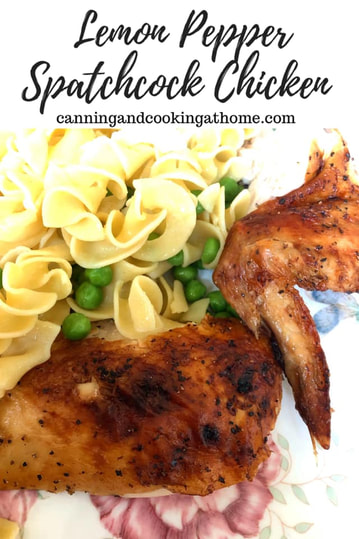 If you want a more evenly cooked roasted chicken, this is the way to go! Depending on the size of your chicken - cooking time is also reduced significantly. While the downside is that you'll get a bit of chicken grease/splatter in your oven - the end result is a crispy skin. This meal was rated an 8 out of 10 by my family as far as "best chicken ever eaten." Removing the backbone isn't as daunting as you'd think and I prefer using a boning knife over kitchen shears... Hope you give this recipe/technique a try! Enjoy! Diane Lemon-Pepper Spatchcock Chicken Ingredients: 1 whole chicken 4-5 pounds 4 Tablespoons salted butter 1 Lemon (you'll use the juice and zest) 1/2 teaspoon salt 1/2 teaspoon pepper Directions: Preheat oven to 450F Line a baking sheet with foil and place a rack over that for chicken to rest on and air to circulate around chicken (alternative would be using a cast iron skillet without any foil or rack but, large enough to hold the chicken.) Mix up some compound butter: In a small cup or bowl add the butter, lemon zest, juice of half the lemon, and the pepper. Mash with a large spoon until well combined. Spatchcock chicken: Place the chicken breast-side down and the legs towards you. Use a pair of kitchen shears or boning knife; cut along each side of the backbone, cutting through the rib bones as you go. Open the chicken flat, and turn it over. Flatten the breastbone with the heel of your hand, by pressing down so that the meat is all one thickness. Season chicken: Season the underside/inside of the chicken generously with salt and pepper, then flip it over so that the breast side is up. Apply compound butter: Run your fingers under the chicken skin (breast) and rub some of the compound butter under the skin. Spread the rest of the mixture over the top of the bird. Squeeze the remaining half of lemon over top side of prepared chicken. Shake a bit more salt and pepper over the top of the prepared bird. Bake: Place the prepared chicken on the rack over baking sheet and bake uncovered for 45 minutes or until it registers 165 F on an instant-read thermometer. The time can vary if using a different size chicken. Let chicken rest: Let the chicken rest (lightly tented with foil) at room temperature for at least 5 minutes before carving it and serving. 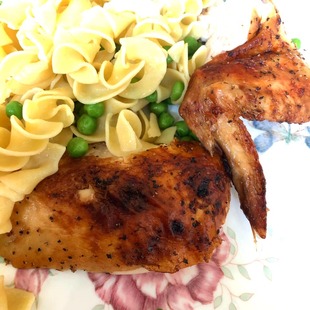  Season Mix Ingredients: 1 1/4 Cups Canola Oil 1 packet Ranch Dressing Mix 2-3 Tablespoons Red Pepper Flakes 3 sleeves of plain square crackers; saltines or zestas Directions: Preheat oven to 250 Mix season ingredients in a large bowl. Adjust the amount of red pepper flakes for your desired "burn factor." Place crackers into bowl and carefully toss to coat with seasoning mix. (Toss for 3 minutes and let sit 2 minutes, then come back and toss again to coat for final 3 minutes.) You want to coat all the crackers with seasoned oil mixture. Spread the crackers out on a cookie sheet and bake 20 mins (turning crackers over once halfway thru cook time.) Once baked, let cool and store in airtight container. |