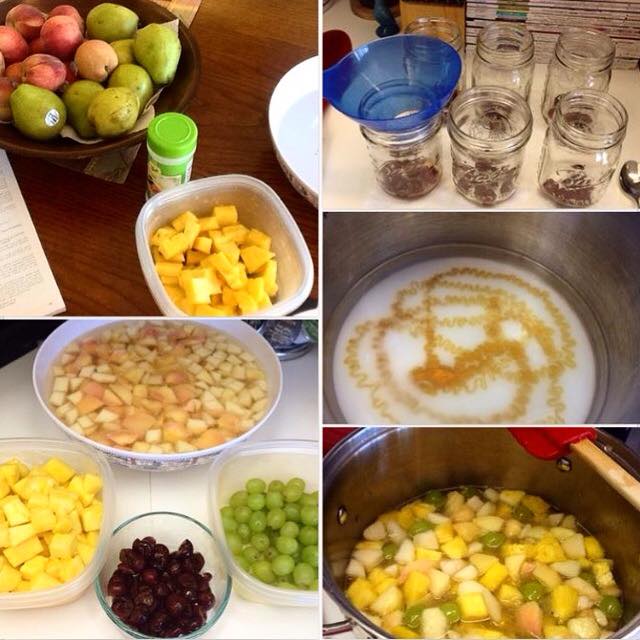
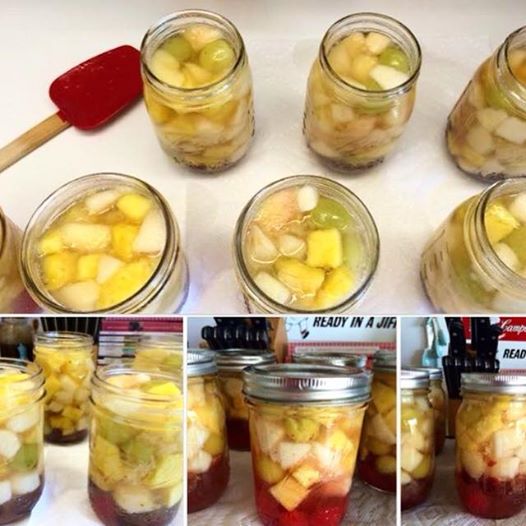
What's nice about this is that you control the syrup wanted and the fruit you want!! I chose a light syrup and used honey in place of some of the sugar (you can substitute up to half the sugar with a light honey or bland corn syrup.) I also added a large dollop of vanilla bean paste which was whisked into syrup. This gives an ever so slight vanilla flavor that compliments the honey and fruit and doesn't overpower like sugar alone can... A similar recipe from Ball and says to use your own mix of over 3 fruits for best results - I used: sweet cherries sent to me by Northwest Cherries, white peaches, anjou pears, pineapple, and green grapes ~Enjoy! Diane Homemade Fruit Cocktail 3 lbs peaches 2 lbs pears 1 lbs slightly under-ripe seedless green grapes 1 lbs pineapple 1 to 2 cups of sweet cherries Syrup: large dollop of vanilla bean paste 1 1/2 cups sugar 1/2 cup honey 5 cups water Yield: About 7 pints Procedure: Cut, core and slice pineapple into 1-inch cubes, set aside. Stem and wash grapes, and keep in ascorbic acid solution. Dip ripe but firm peaches, a few at a time, in boiling water for 1 to 1-1/2 minutes to loosen skins. Dip in cold water and slip off skins. Cut in half, remove pits, cut into 1/2-inch cubes and keep in solution with grapes. Peel, halve, and core pears. Cut into 1/2-inch cubes, and keep in solution with grapes and peaches. Cherries (stemmed & pitted) will be added directly to the bottom of each jar (do not heat) Combine sugar, honey and water in a saucepan and bring to low boil to dissolve the sugars. Drain the mixed fruit and add all fruit to the syrup until the fruit is heated through (approx 10 mins). Add 1/2 cup of hot syrup to each jar - then add a few cherries to each jar and gently fill the jar with mixed fruit, de-bubble jars and more hot syrup, leaving 1/2-inch headspace. Process pints and half-pints: 20 minutes in a boiling waterbath or according to your altitude. Recipe adapted from: Ball and NCHFP Photos by: Diane Baker for Canning and Cooking at Home Cherries by: Northwest Cherries/Washington State
3 Comments
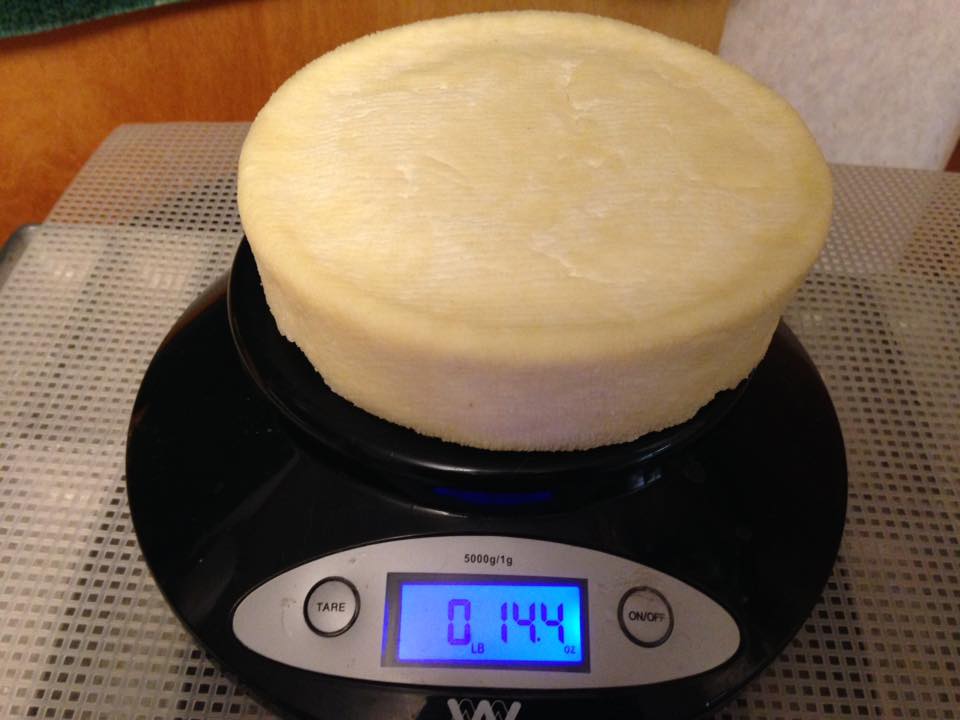
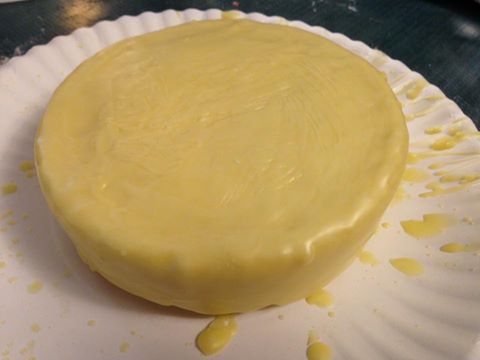
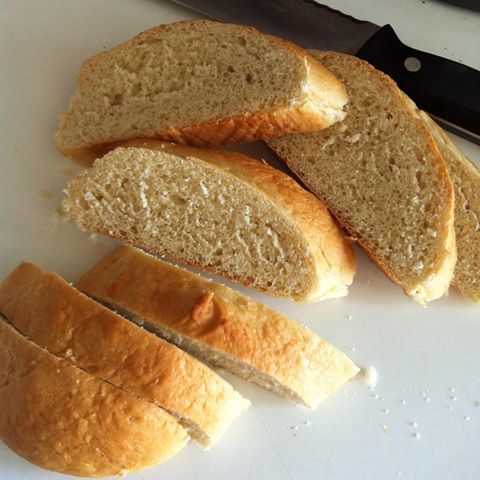
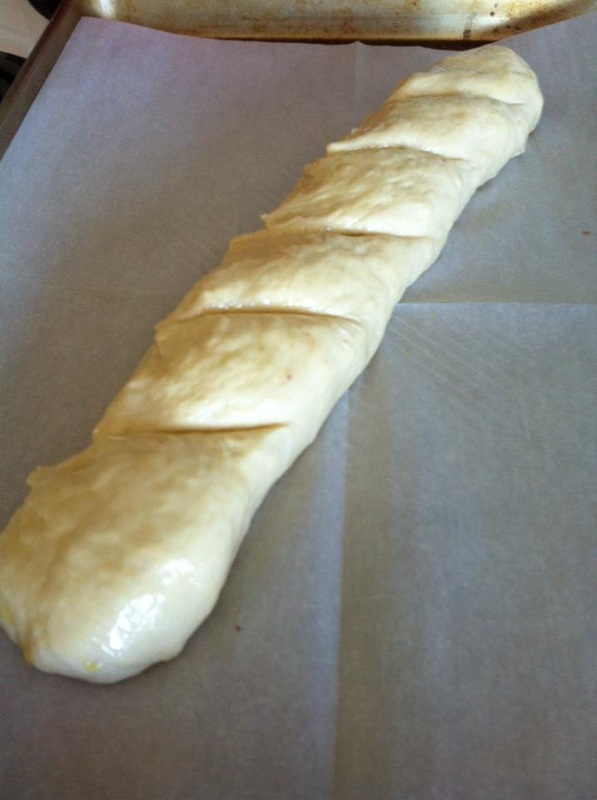
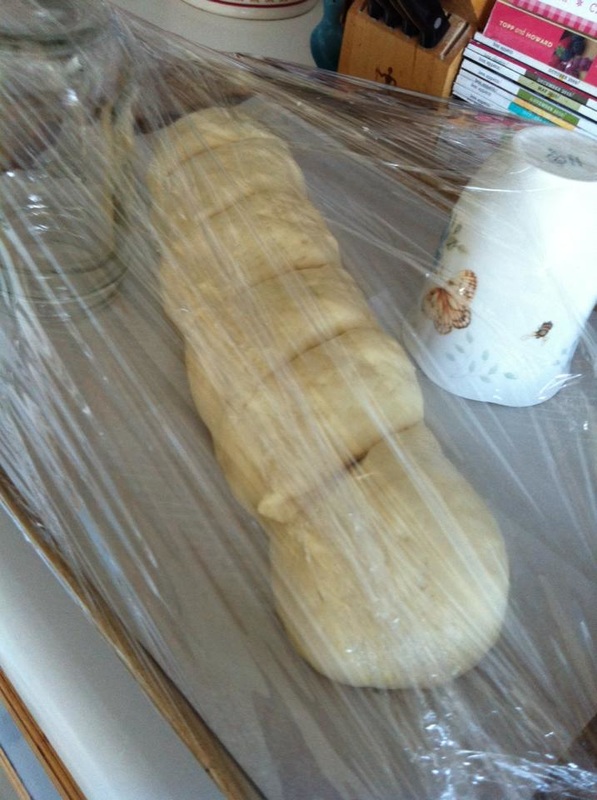
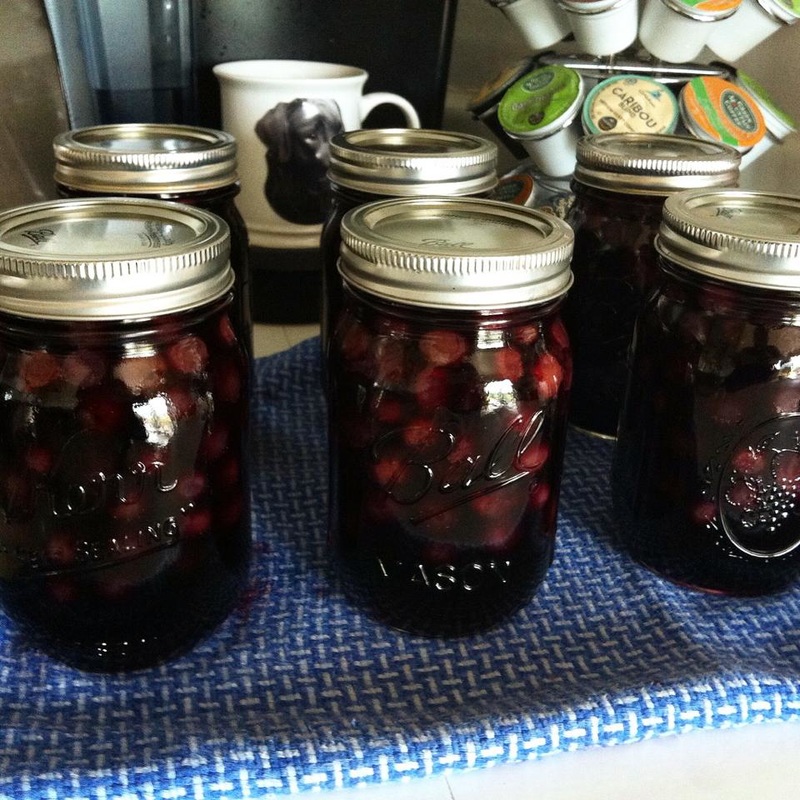
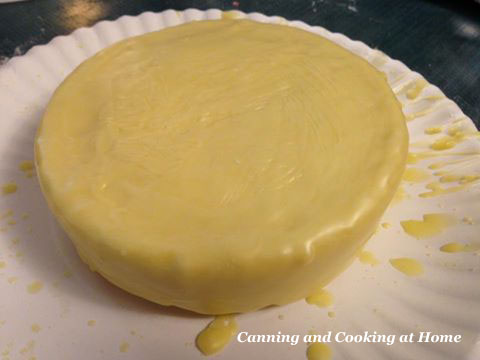 Farmhouse Cheddar Cheese *guest post Ingredients: 1 gallon milk 1/2 packet direct set mesophilic culture 1/4 tsp liquid rennet, or 1/4 rennet tablet, diluted in 1/4 cup cold, unchlorinated water 1/2 Tbsp kosher salt 1/5 tsp Calcium Chloride (Pickle Crisp Granules) dissolved in 1/4 cup cold, unchlorinated water I used store bought Vitamin D milk. I use a stockpot, set inside a larger stockpot, filled with water up to the level of the milk, for better temperature control. Add calcium chloride water solution to milk and stir well. Heat milk to 90F, sprinkle mesophilic culture over top of milk and let sit 3 minutes to hydrate. Using a large whisk or perforated spatula, gently stir in an up and down motion, being sure to get all culture mixed in, for 3 minutes. Cover and let sit for 45 minutes, be sure to keep milk at steady temperature, and as still as possible during this time. Add the rennet solution and again, gently stir, in an up and down motion, for 1 minute. Cover and let sit, keeping the pot at 90F for 45 minutes, or until you can get a clean break with the curds. You should be able to cut into the top about 1/2" and fold the cut over, and it stay, without the cut filling back in. Using a long knife, cut the curds in 1/2" slices, back and forth across the pot. (If you're not sure the curds are ready, slice some, then lift with a ladle and see if they retain their shape, if they do, they're ready.) Gradually bring the temperature up to 100F, over a period of about 30 minutes. Stir occasionally, very gently to prevent the curds from sticking together. Once you reach 100F, cover and let sit for 5 minutes. Line a colander with cheese cloth, and using a perforated dipper or spatula, gently lift the curds out and place into the lined colander. After you get most of the curds out, you can dip out most of the whey, then pour the remaining curds and whey into the colander. Tie up the ends of the cheesecloth, hang, and let drain for about an hour. Place the curds in a large bowl, remove the cheesecloth and break up the pieces, while gradually mixing in the salt. If you don't have a mold and press, place back in 2 or 3 layers of cheese cloth, bring the ends together and twist, to form a ball. The pressing process: You apply 10 pounds of pressure for 10 minutes, remove from mold, unwrap, turn over, replace cheese cloth, apply 20 pounds of pressure for 30 minutes, unwrap, replace flip over, replace cheese cloth, then apply 50 pounds of pressure for 12 hours. Then remove the cheese cloth, let air dry for 2 or 3 days, until a crust-like rind forms. Then wax or vac-seal and let age at least 1 month. I used a 2 pound plastic cheese mold and a big C-clamp. A better press can be made from 2 long threaded bolts and a couple of boards... Recipe and Photos by: JD Provence for Canning and Cooking at Home 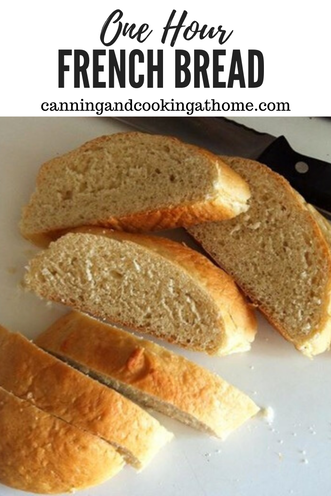 Yes, its true. you can make a loaf of bread in just about 60 minutes! I saw this recipe over at Recipes for my Boys and thought I'd give it a try - it not only is fast and easy but, the taste is great! I did cut the original recipe in half as I tend to only like to make one loaf at a time...so, you can double this recipe - no problem! Such a great recipe to add to my recipe box! Next time, I will be turning this into garlic bread by slicing up and topping with butter, garlic powder and Parmesan once baked. Don't get me wrong - this bread is so good, even eating plain! ~Enjoy! Diane One Hour French Bread Bread: 2 1/2 cups unbleached all purpose flour 1 Tbs Rapid Rise Yeast 1 teaspoon sea salt *this is the only ingredient I did not cut in half from original 1 Tbs light honey 3/4 cup hot water, between 120 and 130 degrees F Bread Wash: 1 egg white 1 Tablespoon water olive oil Directions: Place yeast, hot water and honey, in a large bowl or cup, stir together gently and let sit for 10 mins so yeast can activate, In the bowl of your stand mixer with dough hook stir together 2 cups of the flour and the salt. Add in yeast, hot water and honey mixture to flour mixture. Stir, adding in the remaining 1/2 cup of flour, if needed, until a soft ball forms. Knead for approx 5 minutes until dough springs back when pushed. Using your hands, roll dough into a long rope (french bread) shape, Place on a parchment lined baking sheet, Cut diagonal slits in tops. Spray or brush with olive oil and cover to let rise 20 minutes, or until double in size. Preheat oven to 425 degrees F. Beat water and egg white together. Brush top with egg wash. Cook for 10 minutes. Tent with foil if getting too dark. Cook another 10 to 15 minutes. Until top is brown. (Loaves sound hollow when tapped. Internal temperature is 190 to 200 degrees F.) Preserve the harvest. Blueberries are very easy to "save until needed" by waterbath canning them in your choice of liquid. I canned up 6 pints in blueberry juice. I will use these later to turn into pie fillings, jams, smoothies, syrup, galettes, and baked goods - the use it endless and mighty tasty! Plus, I couldn't pass up the deal I found on organic farm to table blueberries. ~Enjoy! Diane NCHFP Directions: Berries - WholeBlackberries, blueberries, currants, dewberries, elderberries, gooseberries, huckleberries, loganberries, mulberries, raspberries. Quantity: An average of 12 pounds is needed per canner load of 7 quarts; an average of 8 pounds is needed per canner load of 9 pints. A 24-quart crate weighs 36 pounds and yields 18 to 24 quarts - an average of 1¾ pounds per quart. Quality: Choose ripe, sweet berries with uniform color. Please read Using Pressure Canners and Using Boiling Water Canners before beginning. If this is your first time canning, it is recommended that you read Principles of Home Canning. Procedure: Wash 1 or 2 quarts of berries at a time. Drain, cap, and stem if necessary. For gooseberries, snip off heads and tails with scissors. Prepare and boil preferred syrup , if desired. Add ½ cup syrup, juice, or water to each clean jar. Hot pack – For blueberries, currants, elderberries, gooseberries, and huckleberries. Heat berries in boiling water for 30 seconds and drain. Fill jars and cover with hot juice, leaving ½-inch headspace. Raw pack – Fill jars with any of the raw berries, shaking down gently while filling. Cover with hot syrup, juice, or water, leaving ½-inch headspace. Adjust lids and process. Please visit link for your preferred methods of canning (these can be either waterbath canned or pressure canned) http://nchfp.uga.edu/how/can_02/berries_whole.html Photos by: Diane Baker for Canning and Cooking at Home Methods by: NCHFP 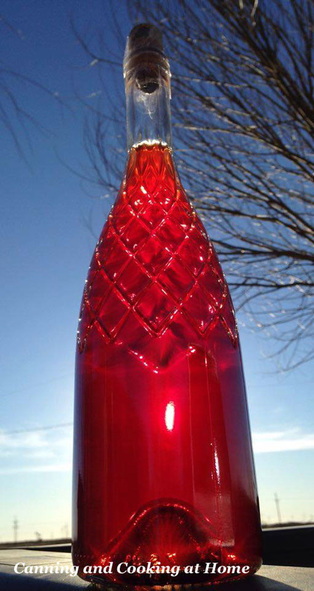 Homemade Cherry Cider Vinegar Homemade Vinegar *guest post - the 'how-to' from JD Provence Vinegar can be made from any ale, beer, hard cider, or wine. Or a little more complicated process, making a wine, beer or cider from any fruit or vegetable you may want to try. I have made vinegar from homemade cherry cider, homemade watermelon wine, homemade poblano cider, homemade apple cider, Apple Ale, Strawberry Ale, and currently have a batch of homemade tomatillo lime salsa wine, I just started converting. As well as several batches of watermelon, strawberry, apple, poblano, and soon to try a jalapeno cider vinegar. For now, I won't go into the process of making an alcoholic beverage, so use a beer, ale, or wine you like, this would be a good way to get started. (If anybody is interested in making a more custom vinegar, from other fruits or vegetables, or salsas, just let us know, and I'll do an easy recipe for a quick, easy, alcoholic beverage, to be converted to vinegar.) In order to start the process of converting alcohol to vinegar, you need "the mother". This can be purchased at just about any beer and wine-making supply store, eBay or Amazon. You can use "the mother" from the bottom of a bottle of store bought vinegar that contains "the mother". I have had very good luck this way, I put my alcoholic beverage of choice in a sanitized, wide mouth glass jar, put a layer of cheesecloth over the top, secure it with a rubber band, place it in a well ventilated room, where there is adequate air circulation, and wait..this method may take a few weeks. If you are using a "mother" that you bought, you do not need to use the cheesecloth. You just add the mother to the beverage, put the lid on, and in about a month or 2, you've got a delicious, healthful, homemade custom vinegar. Sanitizing your containers and utensils is EXTREMELY important. Due to the amount of mold spores in the air, as well as vinegar spores, and many of them will grow in a low alcohol content beverage - which will ruin your vinegar making experience. |