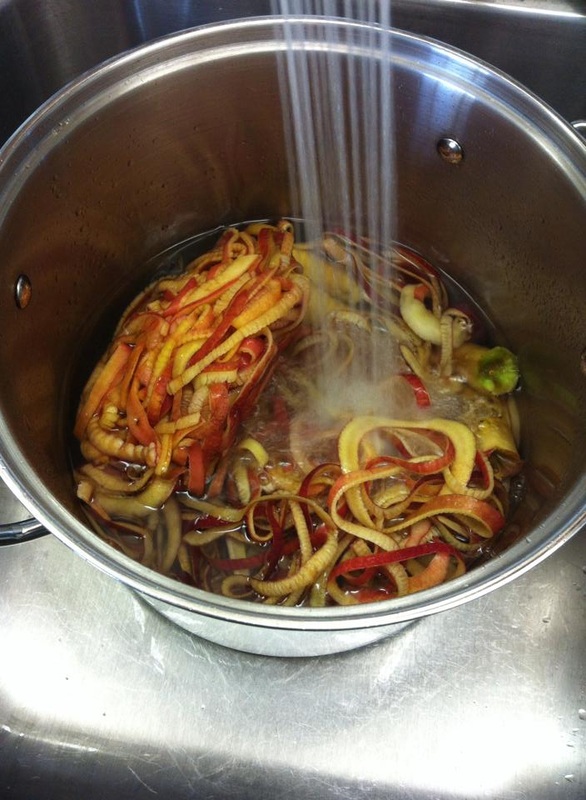
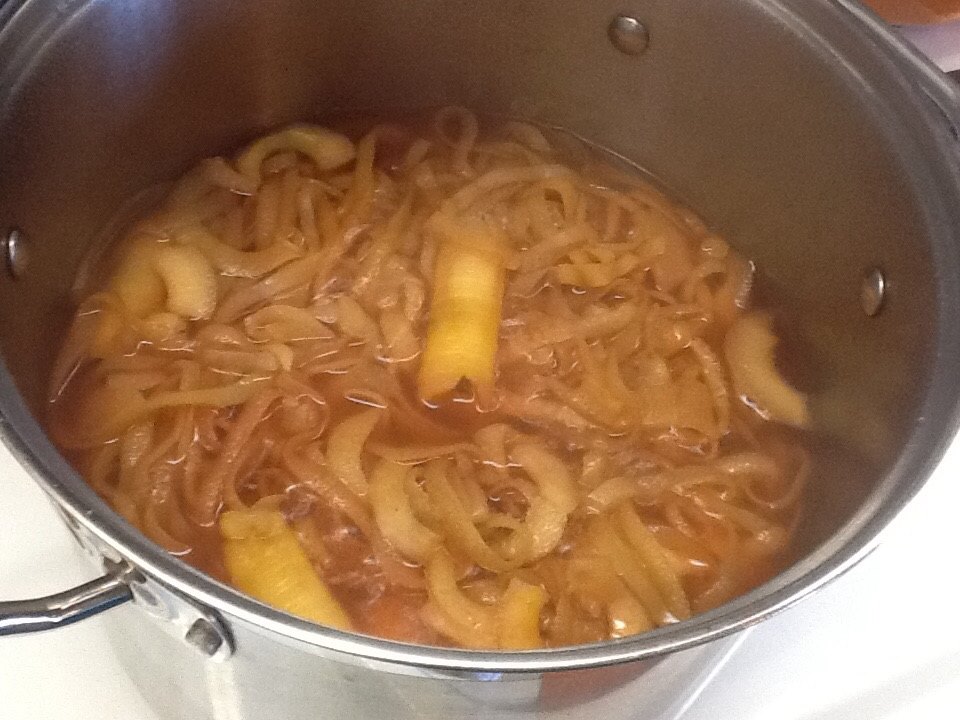
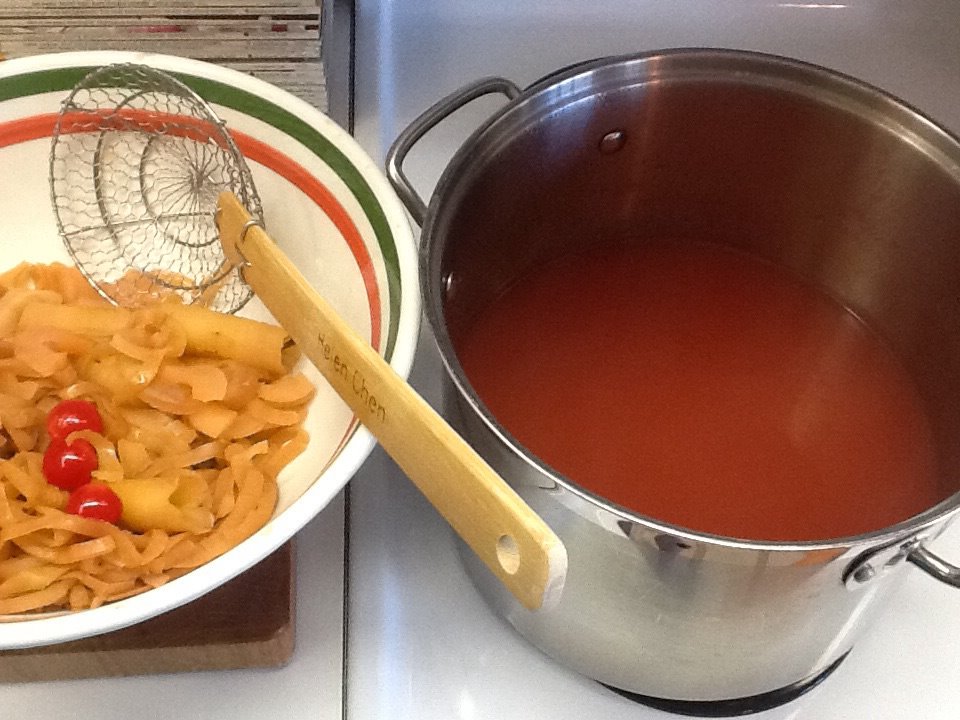
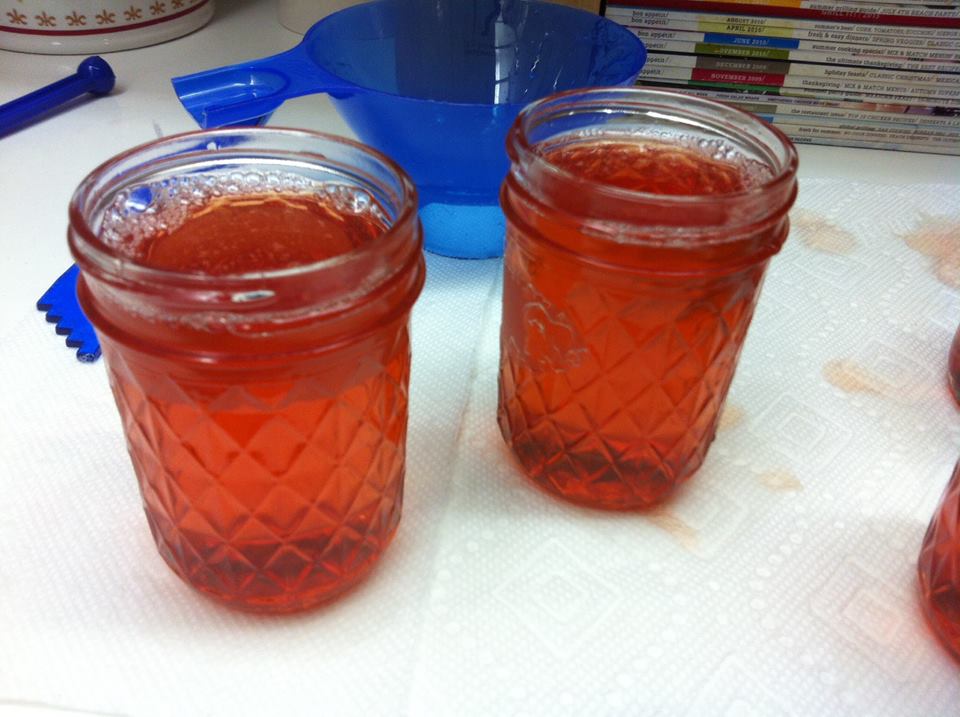
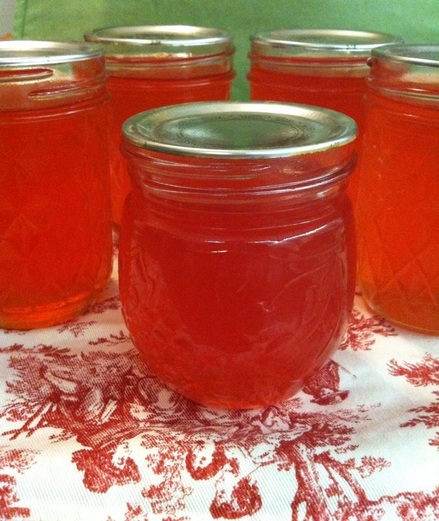
 Blush Apple Almond Jelly 4 cups apple juice (about 4 pounds apples, peels & cores and 3 cups water) 2 tablespoons lemon juice 3 cups sugar 1/8 tsp almond extract 1/4 - 1/2 cup maraschino cherry juice (if you want the blush color) Certo liquid pectin packet **if needed (the more tart the apples the higher in pectin but, if you are having problems getting your jam to set add pectin.) Yield: About 4 to 5 half-pint jars To prepare juice. Select about one-fourth under-ripe and three-fourths fully ripe tart apples. Sort, wash, and remove stem and blossom ends; do not peel or core. Add cherry juice to pot, cut apples into small pieces. Add water, cover, and bring to boil on high heat. Reduce heat and simmer for 20 to 25 minutes, or until apples are soft. Use a colander and cheesecloth or jelly bag to extract the juice (do not press on the pulp bag/jelly bag or your jelly will turn cloudy). To make jelly. Measure apple juice into a large pot. Add lemon juice and sugar and almond extract, stir well. Boil over high heat to above the boiling point of water, or until jelly mixture sheets from a spoon. Remove from heat; skim off foam quickly. *Certo Liquid Pectin is added after the sugar is cooked down - it is a great pectin to use to save your jelly if its not gelling!! Pour hot jelly immediately into hot, sterile jars, leaving 1/4 inch head-space. Wipe rims of jars with a dampened clean paper towel; adjust two-piece metal canning lids. Process in a Boiling Water Canner for 10 mins *adjusting time to your local altitude/regulations. Recipe Adapted from: National Center for Home Food Preservation Photos by: Diane Baker for Canning and Cooking at Home 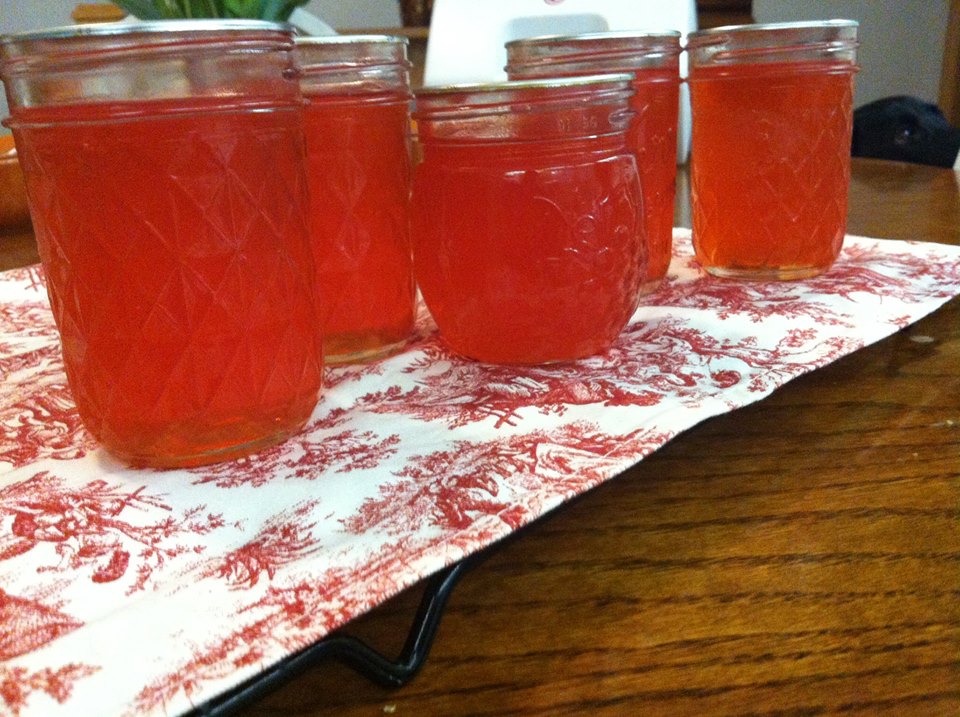
0 Comments
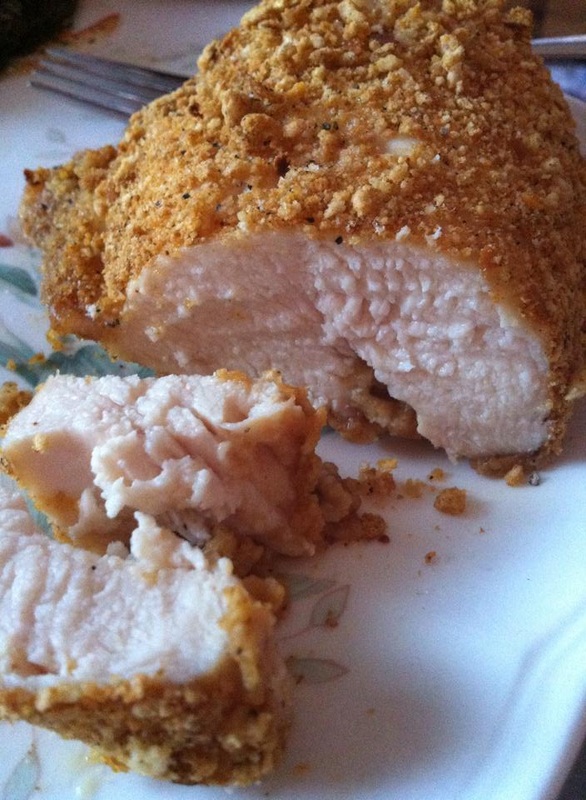 Pretzel Covered Chicken Breasts
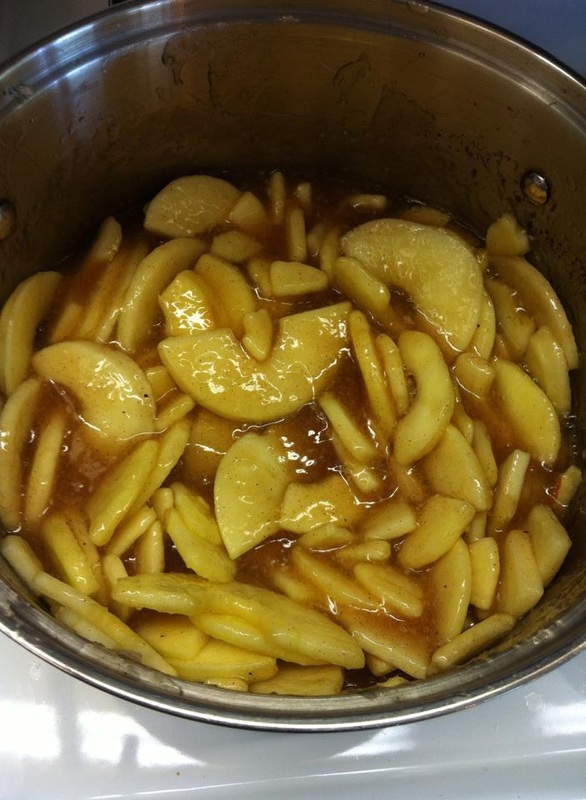
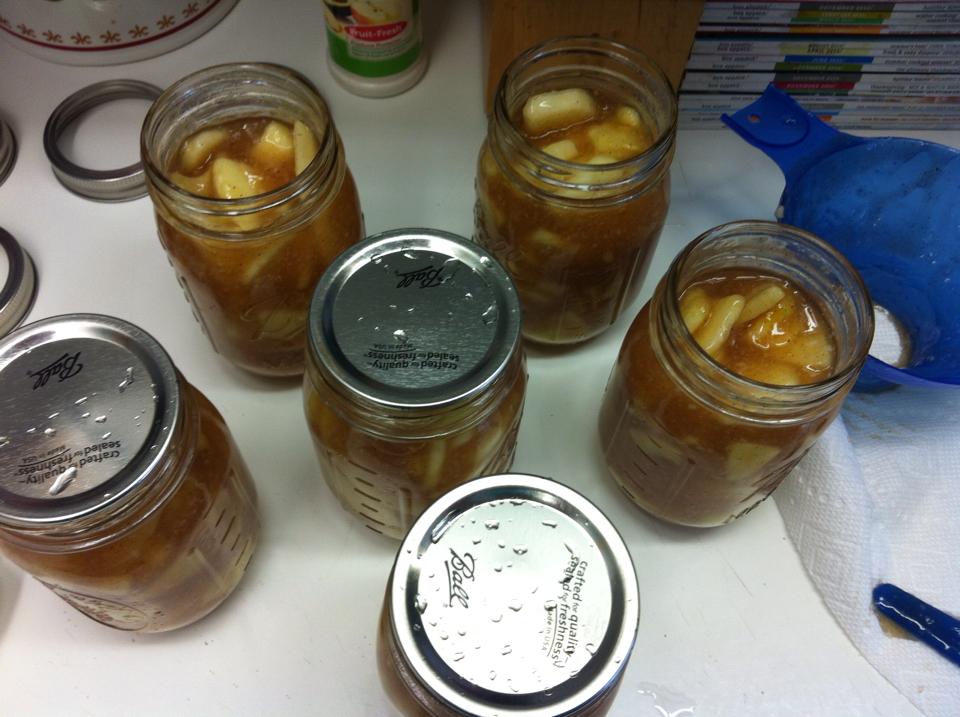
Ingredients: 1 cup light olive oil 3 cloves garlic, minced 1 1/2 teaspoons dried rosemary ground black pepper to taste 4-5 skinless, boneless chicken breasts 10+ ounces hard sourdough pretzels 3/4 cup freshly shredded Parmesan cheese 1 1/2 teaspoons dried parsley 1/2 teaspoon garlic powder Directions: In a bowl, stir together olive oil, minced garlic, rosemary, and black pepper add chicken breasts to marinade. Cover and refrigerate overnight or at least 6 hours. I use my FoodSaver quick marinating 2.5Qt bowl and it cuts down on time. Preheat oven to 350 degrees. Place pretzels and Parmesan cheese into a Cuisinart; pulse until the pretzels are finely crushed and combined with cheese. Mix in parsley and garlic powder by pulsing once or twice. Transfer the mixture to a shallow dish/platter. Remove chicken from the marinade, and shake off excess. Discard the remaining marinade. Press chicken into pretzel mixture, coating both sides. Arrange additional pretzel mixture on top. Bake chicken breasts in the preheated oven until no longer pink in the center and the juices run clear, about 30-35 minutes. (An instant-read thermometer inserted into the center should read at least 170 degrees.) Recipe & Photos by: Diane Baker for Canning and Cooking at Home **serve with warmed Dijon Mustard on the side 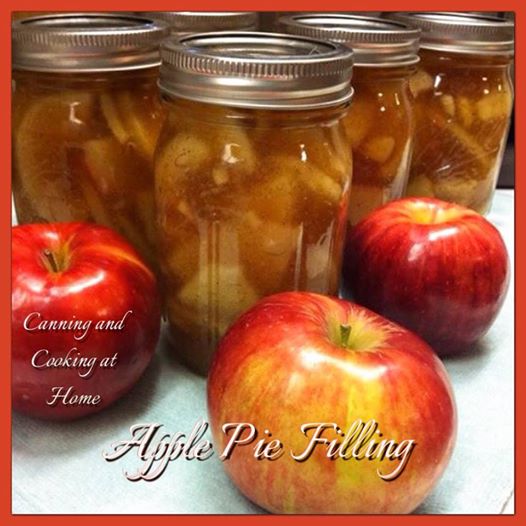 Finally! I waited and waited for my clear jel to arrive to make homemade apple pie filling. I even ventured out to the store and invested in an apple peeler (the hand crank, corer, peeler, slicer) which was SO worth it - I highly recommend one as they make peeling a snap (cost approx. $16-19) This recipe is a bit more involved as far as ingredients but, I had apple cider from making apple butter. I read a bunch of different recipes and did not like that many of them didn't narrow down how many apples you are to use. I took the time here to cut and measure how many apples I used and size I used so that maybe it will save you a small hassle... this recipe is a snap to make. I suggest that you bring all the filling ingredients (minus the apples) to a medium simmer and mix your clear jel and some of the cold water called for in the recipe together in a separate cup, then add to filling and bring to a boil (you don't want any clumps of clear jel in your filling/syrup) *If you DO get clear jel clumps, you can use an immersion blender to blend them away. Enjoy ~ Diane. Homemade Apple Pie Filling Yield: approx.4 quarts (or 8 pints) Ingredients: 12 cups apples, peeled and sliced into 1/2 inch pieces (I used 5 large jonagold & fuji apples and 6 small jonathan & gala apples) 3 cups sugar 1 cup Clear Jel starch**(see note below) 2 teaspoons ground cinnamon 1/2 teaspoon ground nutmeg 1/2 teaspoon Rodelle Vanilla Bean Paste 2 1/2 cups cold water 2 cups apple cider or apple juice 1/2 cup bottled *lemon juice (plus additional if adding to water after slicing apples, see note below) *Fruit Fresh (optional to lemon juice, see note below) Instructions: Peel apple slices and place slices in a pot of cold water with *fruit fresh or lemon juice. Drain the apples and boil the apple slices in smaller batches for 1 minute in boiling water. Place warmed apples slices in a large bowl and cover with a towel while you prepare the sauce below. Combine sugar, clear jel, cinnamon, vanilla and nutmeg in a large pot with the cold water and apple cider or juice. Stir and cook over medium high heat until mixture thickens and begins to boil. Add the bottled lemon juice and cook for 1 minute. Add in the warm sliced apples to the mixture, stir to combine and immediately ladle into hot jars, leaving 1 inch headspace. Remove air bubbles with a long plastic knife or thin spatula. Wipe rims and cover with lids and ring bands. Process (Quarts and Pints) in a water bath for 25 minutes (see notes for high altitude processing time). Let cool 24 hours and ensure lids have sealed. Store any unsealed jars in the fridge and use within a few weeks. To bake a pie, simply pour it into a prepared pie shell. Bake at 425 degrees until filling is bubbling or follow your own pie recipe for two crust fruit pies. *Notes: Store sliced apples in a solution of water and *lemon juice (2 tablespoons lemon juice per large bowl of water) to prevent browning until ready to proceed with recipe OR add *fruit fresh to the water. **Clear Jel - is a thickener/starch that is used in high heat canning - do not use any other thickening agent (such as flour, cornstarch or tapioca) Only use 'Cook Type' Clear Jel for this recipe. Increase processing time for high altitude as needed: 1,001-3,000 ft 5 minutes, 3,001-6,000 ft 10 minutes, 6,001+ ft 15 minutes. Recipe Adapted from USDA Home Canning Guide. Photos by: Diane Baker for Canning and Cooking at Home  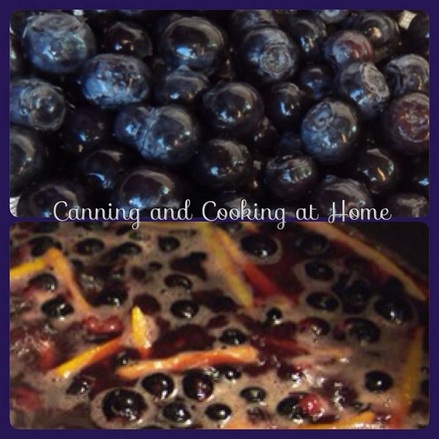 Small Batch - Blueberry Orange Marmalade
Ingredients: 1 small orange 1 lemon 2 cups water 1 cinnamon stick, about 3 inches long 2 cups fresh or frozen wild blueberries 2 cups granulated sugar 3 Pint Jars Directions: Squeeze juice from orange and lemon, including any pulp. Discard seeds and set juice aside. Slice the rinds into very thin slices. Place rinds, water and cinnamon in a large stainless steel or enamel saucepan. Bring to boil over high heat, reduce heat, cover and boil gently for 25 minutes or until rinds are very tender. Remove and discard cinnamon stick. Add blueberries and reserved juice; return to boil, cover and boil gently for 10 minutes. Add sugar; bring to a boil. and boil rapidly, uncovered, until mixture will forms a gel, about 15 minutes, stirring frequently. Do the freezer test to make sure the marmalade gels. For the freezer test, place a plate in the freezer ahead of time. Test for gel formation by putting a spoonful of hot fruit mixture on the chilled plate. While you're doing this remove the saucepan from the heat source to prevent overcooking. If the mixture is sufficiently cooked, it will form a gel that moves slowly as the plate is tilted. If it runs off the plate, cook for another 2 minutes and repeat until freezer test indicates a gel is formed. Remove from heat. Ladle into hot jars. Add lid and rings, and process the jars in a boiling water bath for 10 minutes. If you live in a higher altitude or need more detailed instructions on water-bath canning, please refer to the instructions at the National Center for Home Preservation or Ball Blue Book of Preserving. Recipe Adapted from: The Complete Book of Small-Batch Preserving by Ellie Topp and Margaret Howard. Photos by: Diane Baker for Canning and Cooking at Home 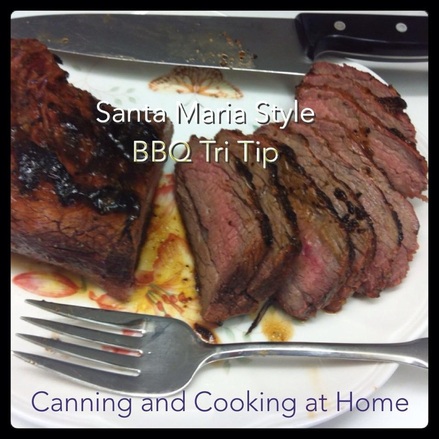 We are forever in search of cooking the 'perfect meal' using our Big Green Egg grill. Today I think my husband made - the perfect roast!! This one steals the award for "Best on Grill." My butcher recommended the cut of beef to use. We enlisted the help of our FoodSaver marinating application to enhance the meat and followed through with the 'Santa Maria' dry rub application just before searing the meat. The results were stupendous! The meat was moist and tender. The marinade and rub worked so wonderfully together - we suggest serving this with savory horseradish garlic mashed potatoes and fresh cut green beans or spinach. This recipe goes into our recipe box filed under "Best on Grill"! Enjoy, Diane Santa Maria Tri-Tip (made on the Big Green Egg BBQ Grill) Ingredients: (2.5 - 3 pound) Tri-Tip roast Marinade & Basting Sauce: Wishbone Italian Dressing (approx 1.5 Cups) Seasoning Salt Mixture: 1 teaspoon freshly ground black pepper 1 teaspoon cayenne pepper 1 teaspoon smoked paprika 1 teaspoon onion powder 2 teaspoons salt 2 teaspoons granulated garlic 2 teaspoons rosemary Mix together all ingredients in a small bowl Directions: Brush your Tri-Tip roast with the Marinade and let it sit, covered and refrigerated at least 6 hours, overnight is best. (We used the FoodSaver quick marinade bowl, using the marinate feature on our FoodSaver unit and then placed the airtight bowl into fridge for at least 6 hours) Once done marinating, take roast out of marinade and blot dry (save marinade for basting) Coat both sides of the Tri-Tip roast with the seasoning salt mixture, rubbing it in as you would a dry rub. Let the seasoned tri-tip rest for at least 30 minutes at room temperature. Sear each side of the tri-tip at 650 degrees for 4 minutes each. Remove seared tri-tip from the BGE, cover it with foil and let it rest while bringing the BGE temperature down to 350 to 400 degrees. (During this cool down period we tossed in a couple of water soaked oak chunks.) Place the tri-tip back in the BGE and cook to an internal temperature of 145 degrees for medium rare, basting with the sauce every 5 to 10 minutes. Remove tri-tip from the BGE, cover it with foil and let it rest 10 minutes. Cut into slices against the grain. Photos by: Diane Baker for Canning and Cooking at Home Recipe by: Michael Baker adapted from Morro Bay Rich BGE = Big Green Egg 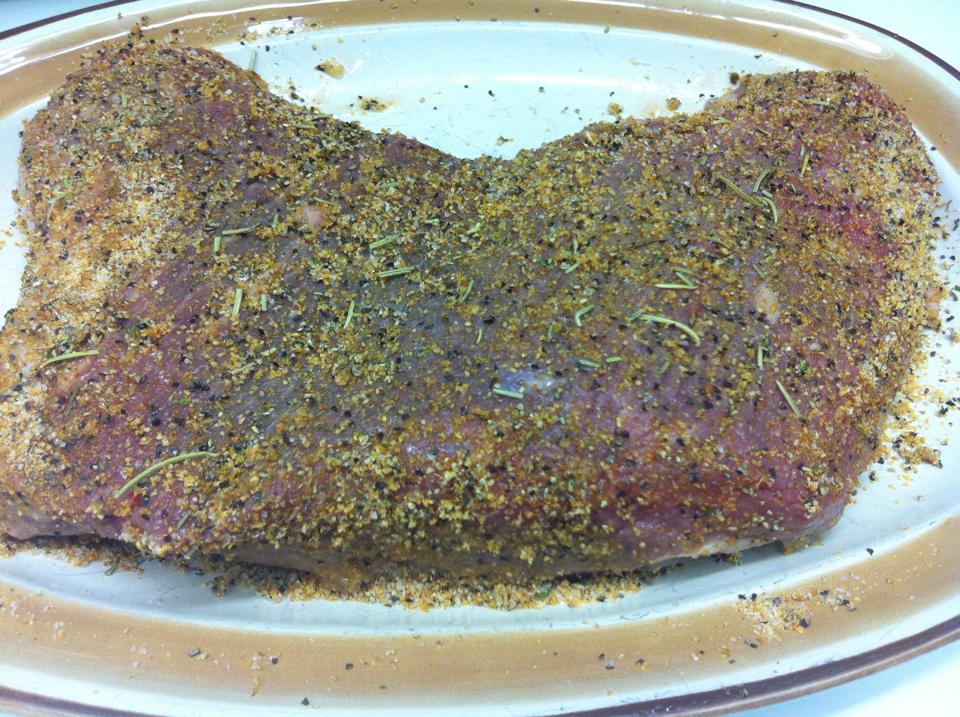 |