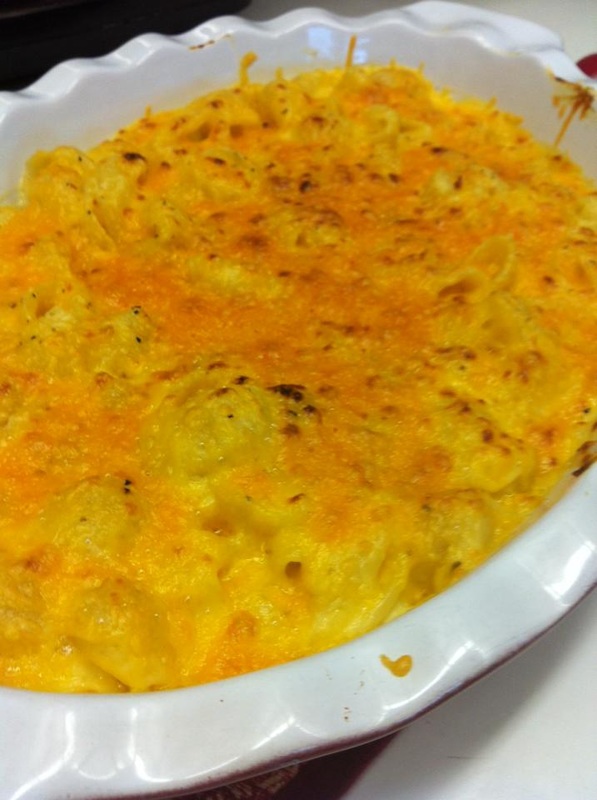
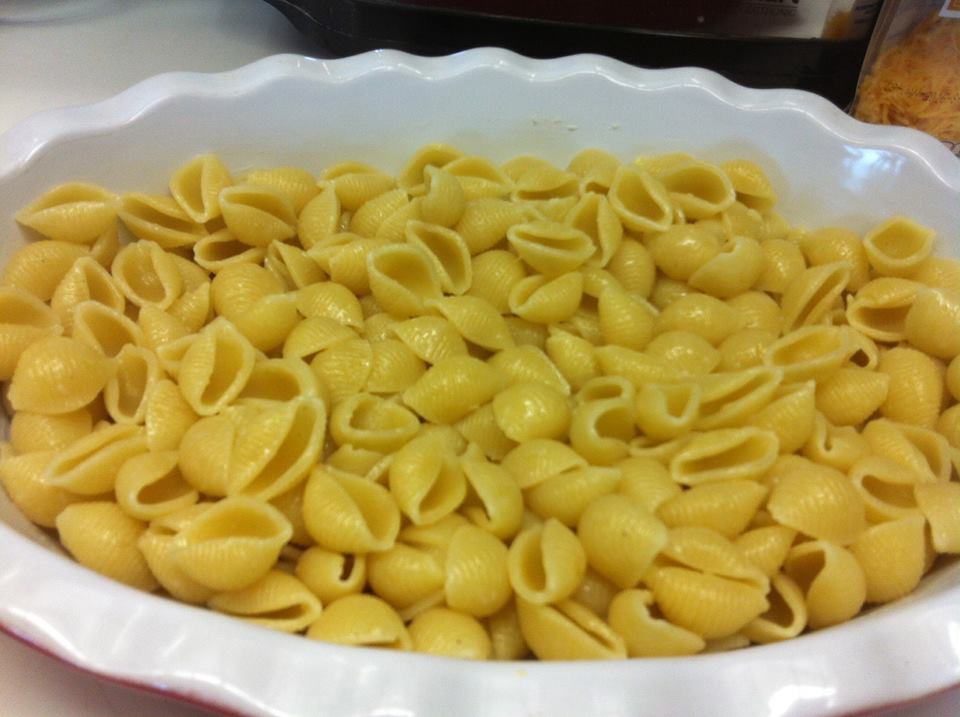
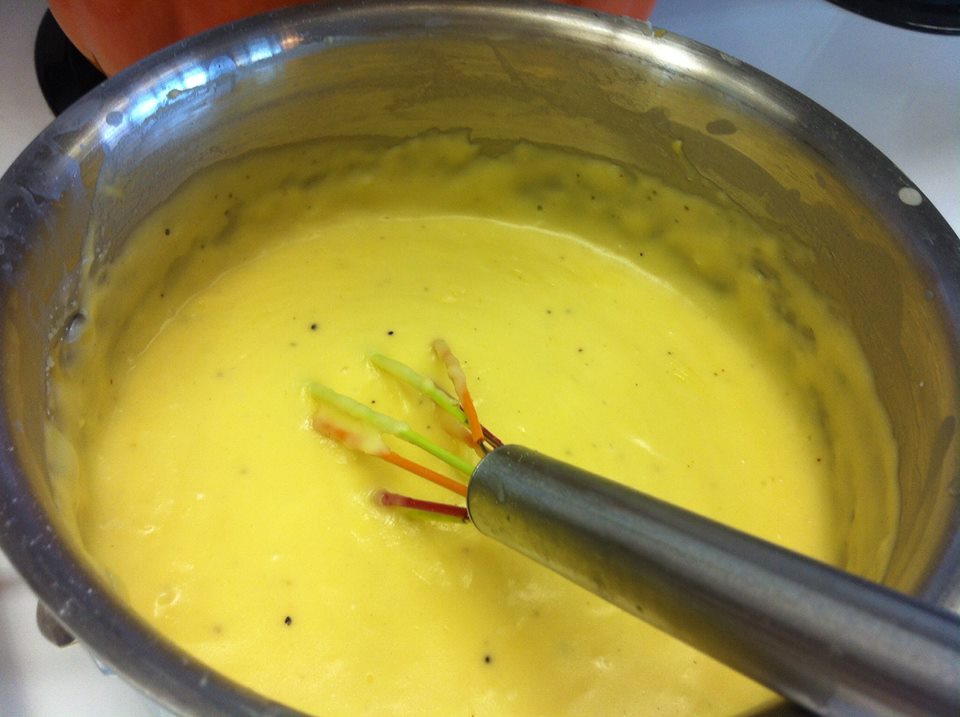
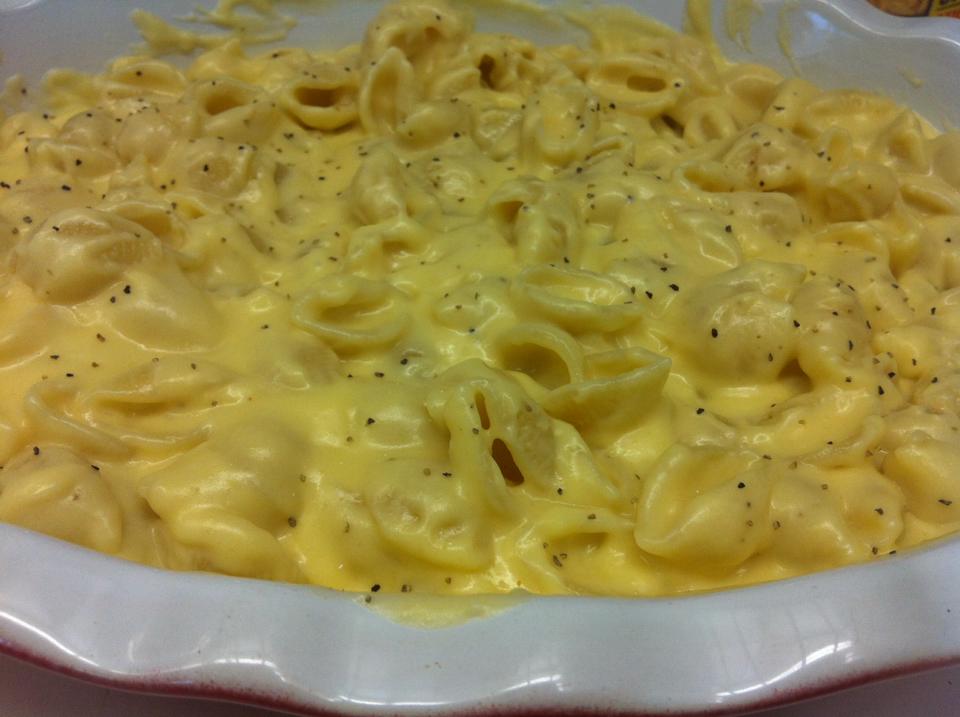
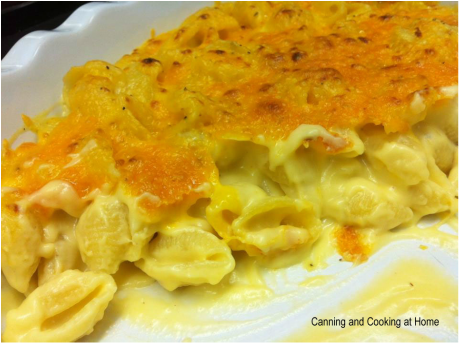
 Baked Macaroni & Cheese Ingredients: 1/2 pound pasta (shells or elbow macaroni) 3 tablespoons butter 3 tablespoons flour 3 cups milk, warmed slightly 1/2 cup yellow onion, finely diced 1/2 teaspoon paprika, optional 1 1/4 cups sharp cheddar, shredded 1/4 cup Parmesan, shredded 1 large egg, tempered into cheese sauce 1 teaspoon sea or kosher salt Fresh black pepper to taste Topping, optional: 3 tablespoons butter 1 cup crushed garlic croutons or crushed bread crumbs Directions: Preheat oven to 350 F. Pasta: In a large pot of boiling, salted water cook the pasta to al dente (you don't want it too soft or it will get mushy.) if the pasta finishes cooking before your sauce is done, toss 1 tbs butter in with drained, cooked pasta and place in greased baking/casserole dish and await the sauce. Sauce: In a separate sauce-pot, you'll make the sauce to pour over the cooked pasta. Melt the butter. Whisk in the flour and keep it moving for about 3-5 minutes, or until roux mix is blond in color and nutty smelling. Stir in the warmed milk slowly while still whisking. Add in the onion and paprika Use some of this sauce to temper your egg (about 2-3 Tbs should work) Add tempered egg into sauce-pot and simmer all for another 8-10 minutes. Stir in 3/4 of the cheese. Season with salt and pepper. Butter a 2 Quart baking/casserole dish, add in cooked pasta and gently stir/fold the macaroni sauce mix into the pasta. Top with remaining cheese and Topping. Topping, optional: Melt the butter in a saute pan and toss the bread crumbs to coat. Cover/sprinkle over the top of the macaroni. Bake for 30 minutes. Remove from oven and rest for five minutes before serving. Recipe and Photo by: Diane Baker for Canning and Cooking at Home
0 Comments
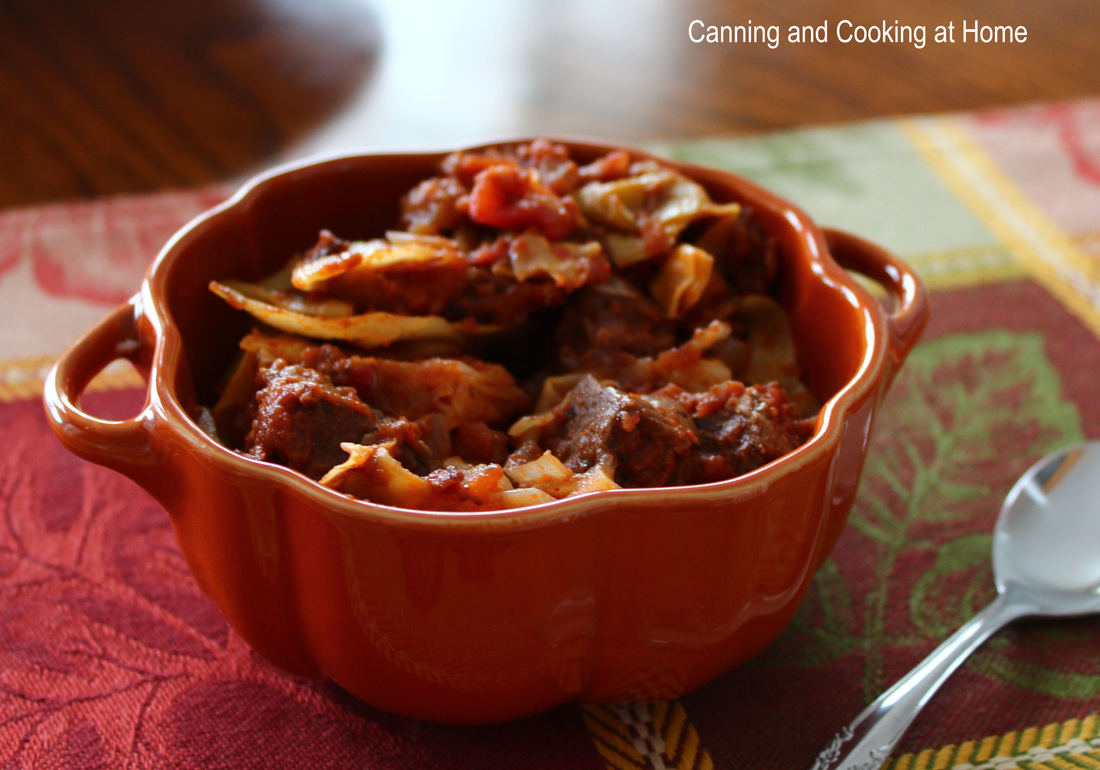
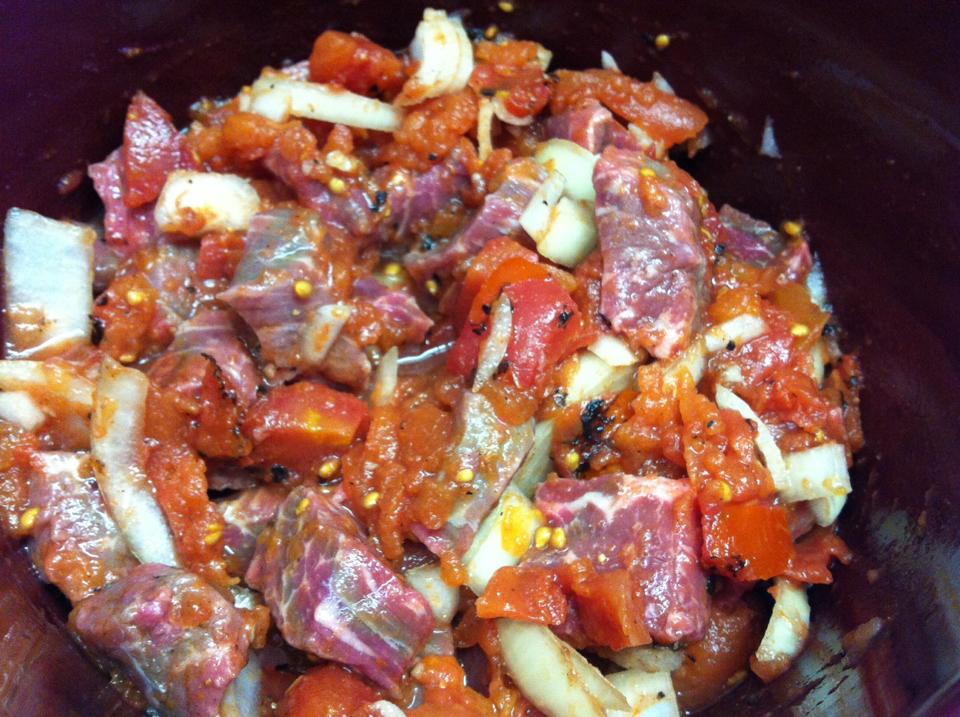
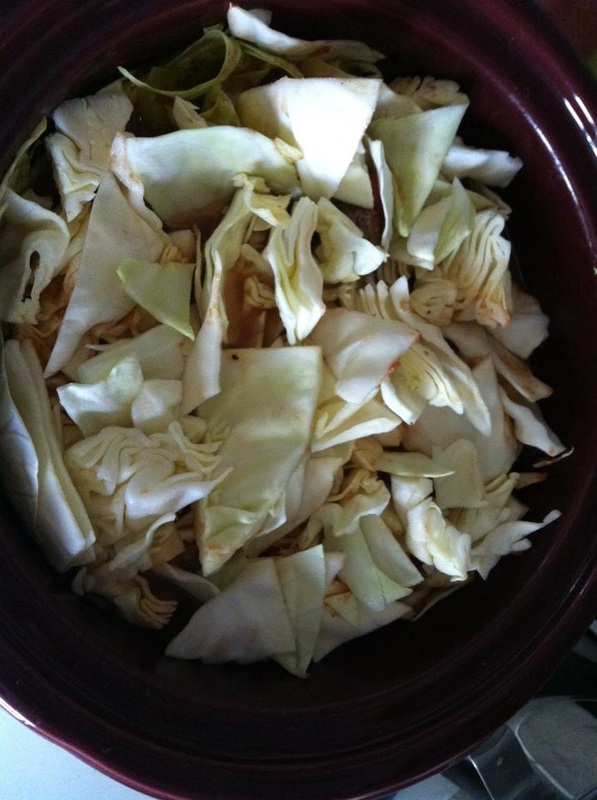
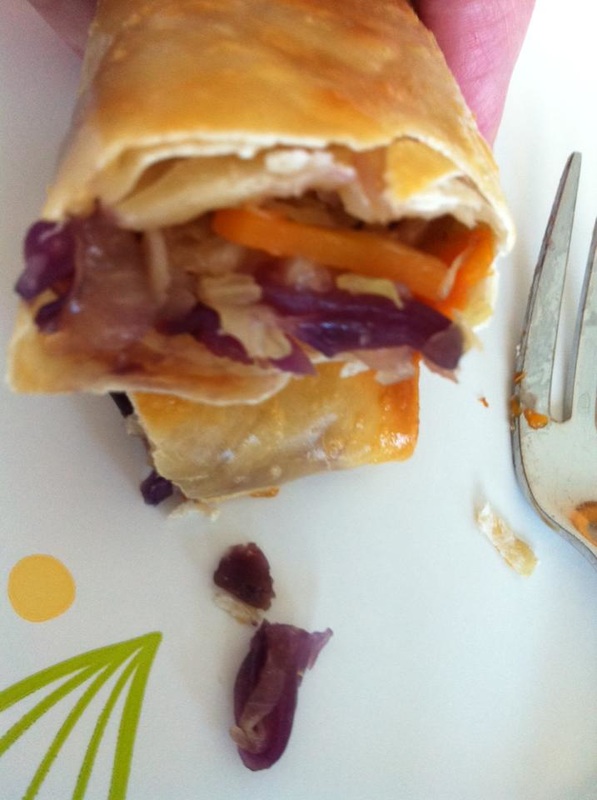
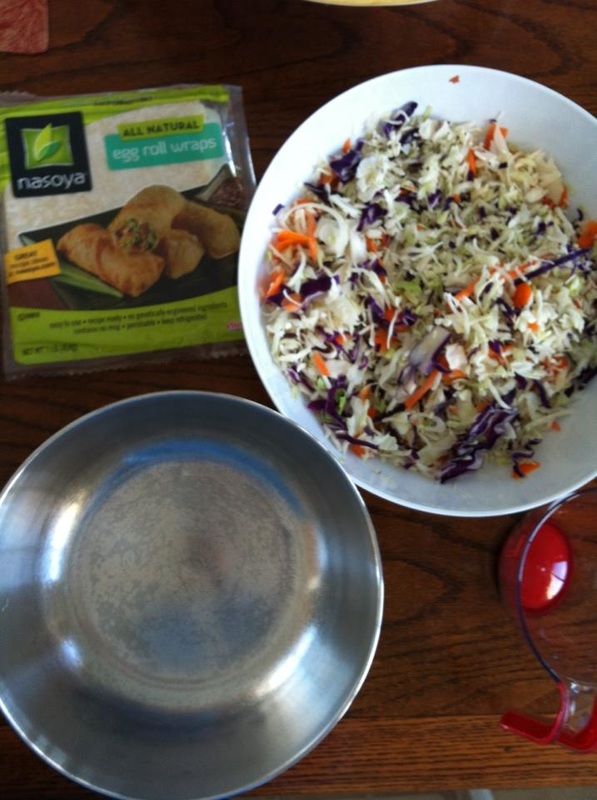
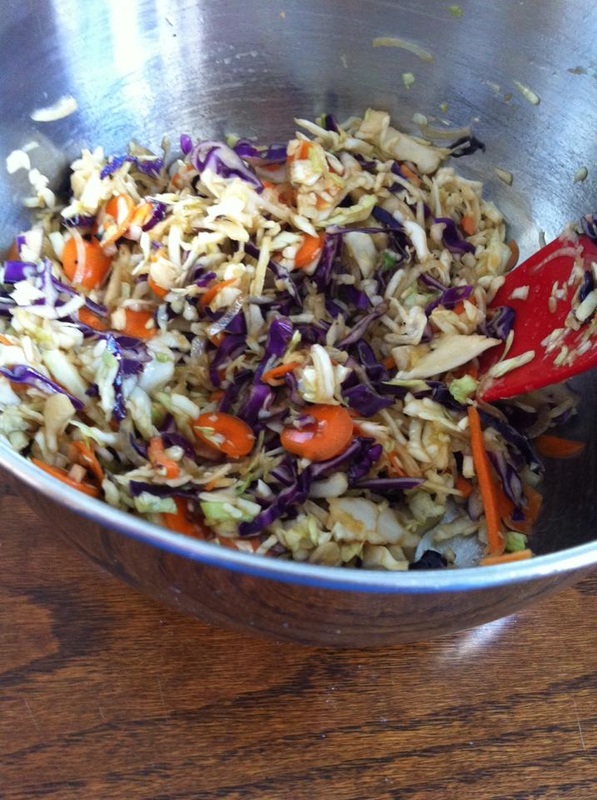
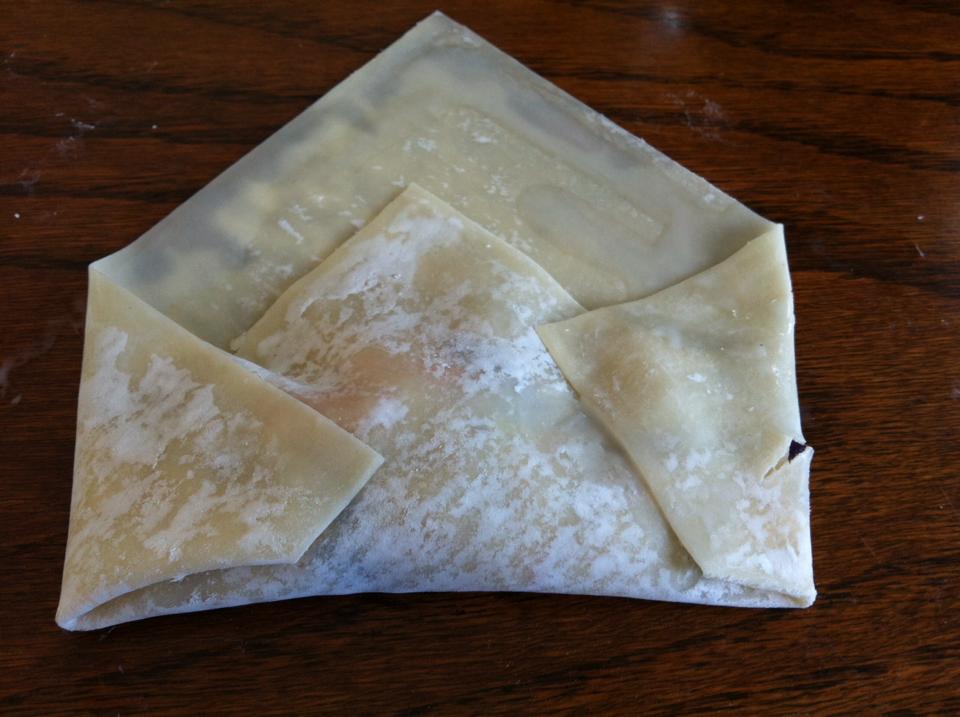
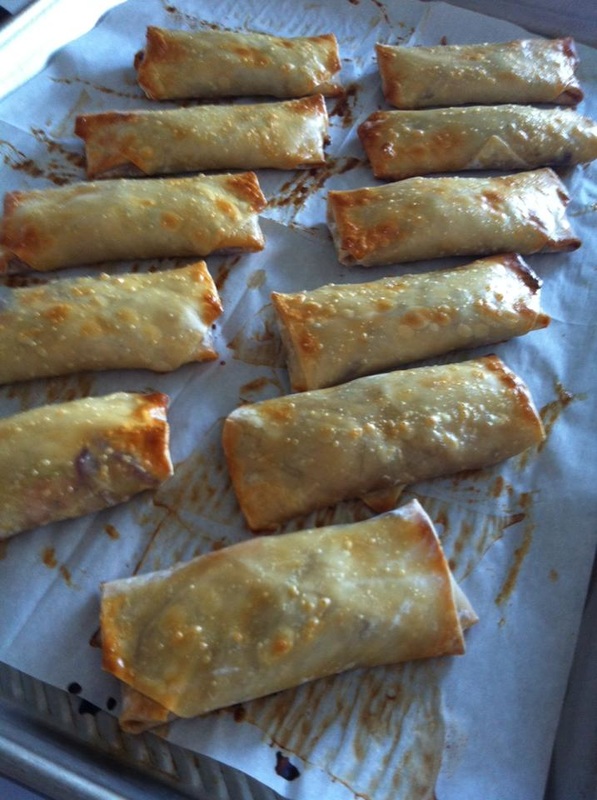
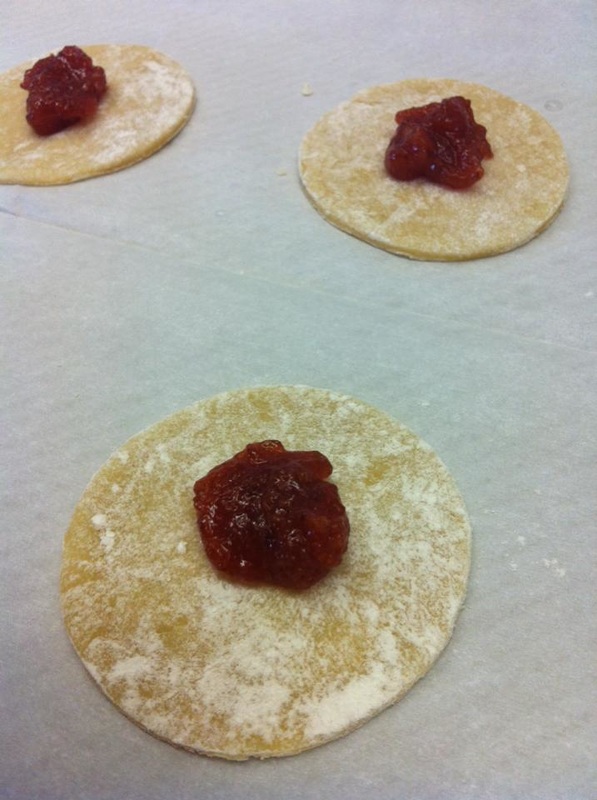
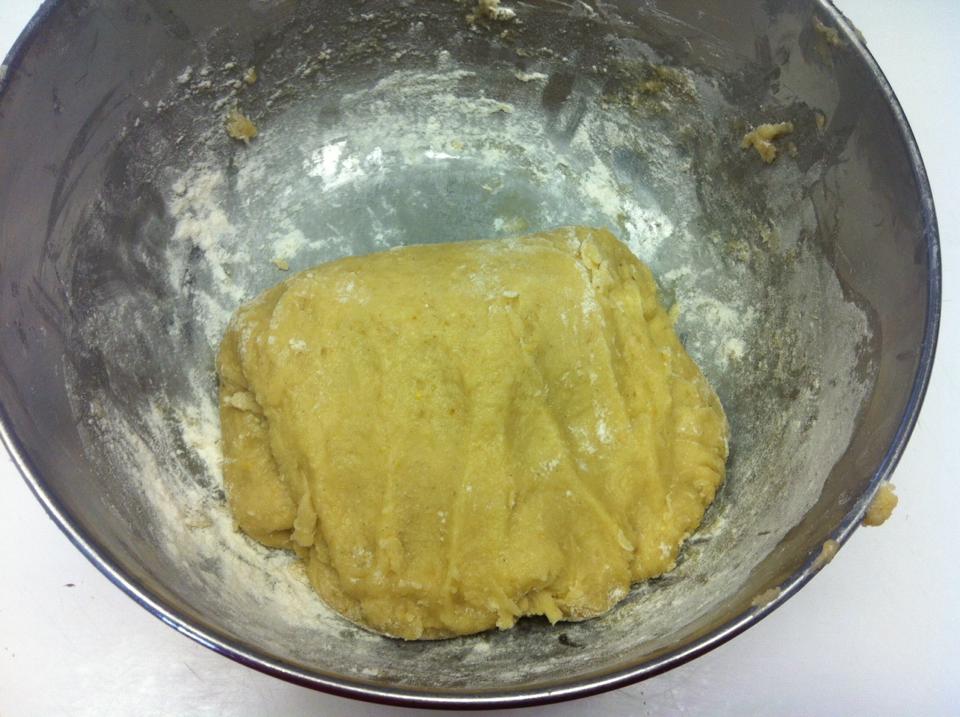
 This recipe is a take off of the "unstuffed cabbage roll" recipe I've used in the past. I make that in my dutch oven on the stove top using ground beef. I wanted to make it heartier and for the CrockPot so, I made a few adjustments and Voila - it worked - smells great cooking and tastes even better! ~Enjoy! Diane CrockPot Beef & Cabbage Stew Ingredients: 2 pounds beef stew meat, cut into 1" chunks 1 large onion, chopped 1 clove garlic, minced 1 small cabbage, chopped 2 cans (14.5 ounces each) diced tomatoes 1 can (15 ounces) tomato sauce 1/2 tablespoon apple cider vinegar 1/4 teaspoon ground cinnamon dash nutmeg 1/2 teaspoon ground black pepper 1 teaspoon sea salt Directions: Place all but the chopped cabbage to CrockPot and give it all a good stir, place on High for 5 hours - then add in chopped up cabbage (you'll have to add half the cabbage and stir into meat mixture, then add remaining and let steam a bit on top before mixing into meat mixture) Keep on high another 2 hours, until meat is fork tender and cabbage is soft. Serve over rice. Serves 6-8. Recipe & Photos by: Diane Baker for Canning and Cooking at Home 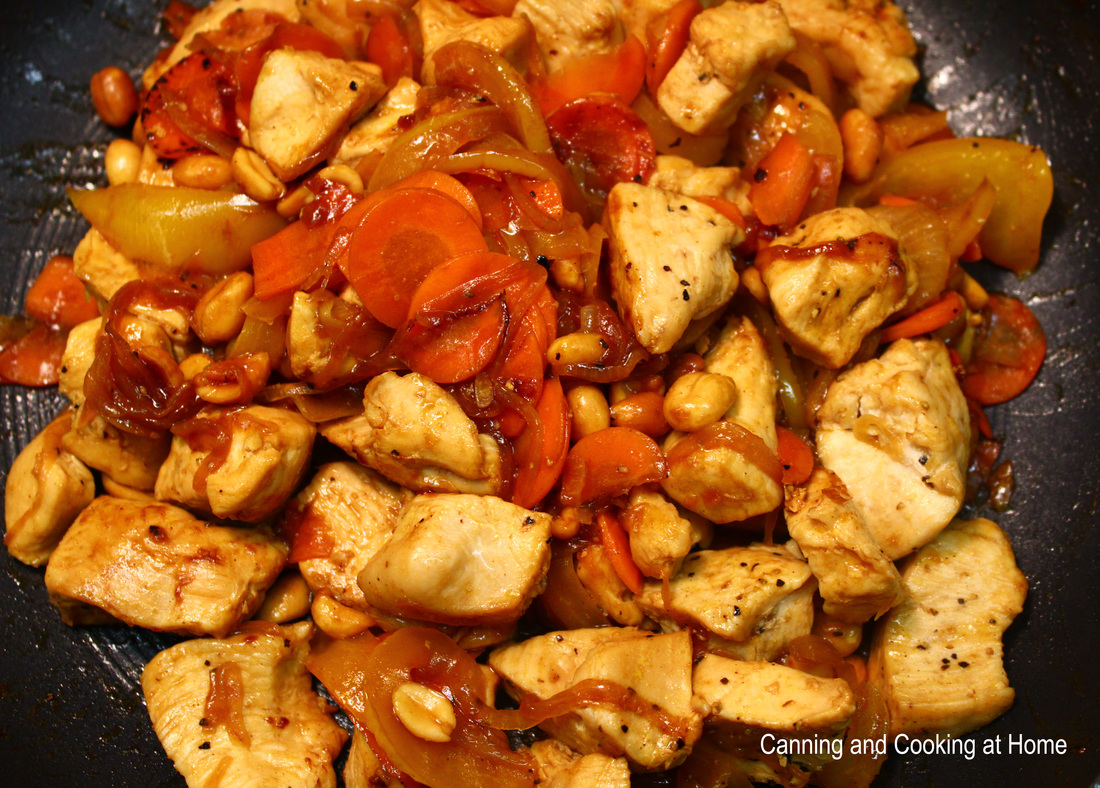 Szechuan Chicken I have a secret. Ok, it's more of a strategy. I make Chinese food once a week! I know, now you are thinking - how is that a strategy? Well, I use up whatever veggies are left in my fridge before my next grocery shopping trip and usually it involves some sort of assorted vegetables; snap peas, broccoli, corn or sweet bell peppers along with carrots, onion and garlic that are always in my fridge. So, no waste, no tossing any overlooked fridge produce. I've done a "what's in my pantry" post but, I guess I should update that with a "what's in my fridge/freezer" post. I keep the staples that probably everyone else keeps with some things added that some might not but, they help in creating quick, beautiful and tasty meals. My best "time=saver" is taking chicken breast meat, cleaning and cutting it up into either strips or chunks (adding salt & pepeper) and oven roasting it all on a sheet-pan which I then cool and food-vac into 2-3 cup portions and freeze. Talk about a tasty time saver!! I can add the chicken to ANY dish and it tastes so much better then cooking fresh chicken in the dish (I know, you're shaking your head in disbelief) but, I get MORE compliments on my meals/dishes when I've added in the already cooked chicken! What's not to love about being about to make ANY meal not only faster but, tastier too! Today I am also sharing my 'secret weapon!" I use it in my Szechuan Chicken recipe...you can modify this to suit your families taste. This is one of my favorite dishes because of the use of Heavenly Chef Red Hot Chili Oil. Have you ever tried HCRHC Oil? It's got this GREAT kick of heat but, the burn doesn't last - it dissipates fast (quicker then the burn from say - a jalapeno) I am NOT a "spicy" food person but, I LOVE cooking with Red Hot Chili Oil. I use it as a replacement for Tabasco and other 'hot sauces' - it's that good! If you "over-use" the oil in a dish you can always temper the dish by adding some splashes of white or rice wine vinegar to tone the heat back down. Who doesn't love that?! I will share a photo (look at very bottom of this post) of that I am talking about - because it is a bit hard to find but, it does last long! and worth every shake too!! ~Enjoy! Diane Szechuan Chicken Ingredients: 1 pound boneless, skinless chicken, cut into chunks 2 tablespoons canola oil 2 tablespoons ginger, minced 1 tablespoon garlic, minced 1 cup onions, julienne 1 cup carrot rounds, sliced thin 3/4 cup sweet bell peppers (red, yellow, orange or green), julienne 1 cup shiitake mushrooms, sliced *optional 2 tablespoons soy sauce 1/4 cup dry sherry 1-2 teaspoons red chili oil, to suit your taste 1 cup peanuts salt & pepper Directions: Season the chicken with salt & ground pepper set aside. Heat a large wok or large non-stick skillet over high heat. When the pan is hot, add the canola oil. Add in the ginger, garlic, onions and carrots. Stir fry for 1 minute. Add the chicken, bell peppers, shiitake mushrooms, soy sauce, sherry and chile oil. Stir fry until the chicken is cooked through and the vegetables are cooked, but al dente, about 5 minutes. Add the peanuts and stir fry for 2 more minutes. Short cut: want to speed things up even more? no time to mince ginger, garlic and pour the sherry and soy sauce? Use 2-3 Tbs of 'Kikkomans Stir Fry Sauce' in place of those items...add the stir fry sauce in when you toss in the peanuts...it's flavor-filled and compliments this dish. Serve over steamed/cooked rice *hint, I use chicken broth to steam/cook my rice in for added flavor. Recipe & Photos by: Diane Baker for Canning and Cooking at Home 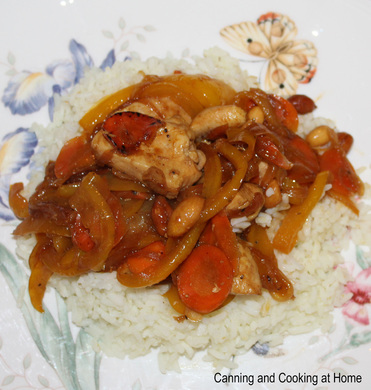  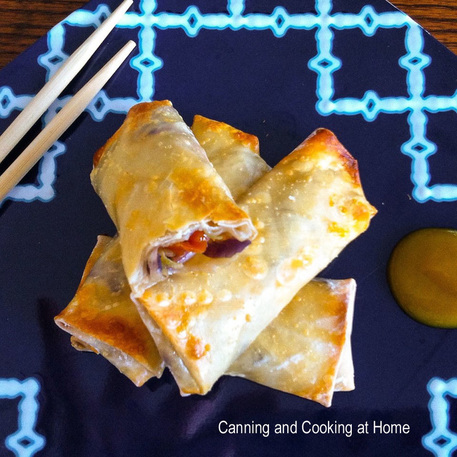 Always great to have a fun recipe in your back pocket! Great for snacking, as a meal, or even an appetizer or party fare... Egg Rolls. Nowadays the wrappers are easy to find. Usually in the refrigerated produce section of your local store. I buy Nasoya brand Egg Roll Wraps. I did make some with soy sauce, toasted sesame oil and oyster sauce in place of the teriyaki sauce (equally as good) and even I sprinkled in a bit of red chili oil in some and you could really taste that 'kick' of heat - feel free to play around with your fillings spices...see what your family prefers. Most people prefer a plum dipping sauce (I just thin out some of my plum jam) but, we still love and use the traditional Chinese spicy mustard...~Enjoy! Diane Vegetable Egg Rolls Ingredients: 1 Pkg Firm Tofu, drained and pressed, optional 1 pkg Egg Roll Wrappers 2 tsp ginger, minced 1 tsp garlic, minced 2-3 cups coleslaw 3 green onions, chopped 2 Tbs Teriyaki sauce Canola Oil Ingredients for Alternative Ideas: if Baking egg rolls *1 egg, beaten for Non-Vegetarian egg rolls *1 lbs pork, ground Directions: Adding Tofu? Use a fork to smash the Tofu and create the texture of ground meat. Stir-fry tofu in a skillet over high heat until meat is browned. Add Ginger, Garlic, Coleslaw, Onion and Teriyaki sauce. Cook mixture for another 2 minutes. Allow to cool. Fill egg roll wraps with mixture. Fill skillet with Canola Oil and heat to 350 degrees or medium high heat. Place the rolls in skillet, with enough space between each roll to not touch each other. Turn once when lightly browned. Serve with your favorite dipping sauce - we like hot, spicy mustard. Prefer to bake your egg rolls? Prepare as above, placing rolls on a greased baking sheet (or parchment lined) using one slightly beaten egg, brush liberally all over top and sides of egg rolls, place on baking sheet and bake at 425 for 15-20 mins. until golden brown (these are just as tasty but, less fat then frying in oil.) Don't like Tofu? Omit tofu and place all your spices and vegetables into a large bowl, stir in Teriyaki sauce until well coated, fill egg roll wraps with mixture, continue with either method of cooking above. Want to add meat for a 'non-veggie' roll? omit tofu and brown 1 lbs of ground pork in a skillet over medium high heat until meat is browned. Drain and return to pan to continue with cooking method as preferred above. Recipe Adapted from: Nasoya Photos by: Diane Baker for Canning and Cooking at Home 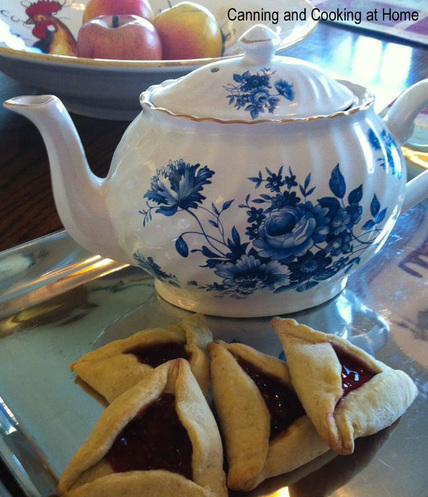 I've decided to branch out a bit in baking this year. I received a wonderful baking catalog full of gorgeous baked goods that were almost jumping off the pages irresistible! I decided this year for the Christmas Holidays to bake more of a variety then my "usual." I thought I was tackling one of the easier baking recipes first and from what I've heard and even read now, I took on one that can be a bit challenging. I think I had 'beginners luck'...as my filling stayed in place and the cookies didn't explode open (both of which can happen easily) I used my homemade Pluot Jam and homemade Blood Orange Jam in these - the results were more then I expected. As long as you keep in mind some simple 'reminders/tips' on this recipe - you will get great results first time out too. These are the tips I learned: 1) roll your dough 1/8" thick and make your circle of dough at least 3" in diameter. 2) fill centers with only 1 tsp of a filling *and make certain that filling is thick and firm. 3) use the 'dairy free' dough recipe because the butter dough can be harder to work your first time out... 4) learn how to tuck & "fold" them so that the filling stays put and the dough remains in a triangle. Hamantaschen Cookies {Dairy Free} Ingredients 2 eggs 2/3 cup sugar 1/4 cup canola oil 1 tsp orange zest 1 tsp vanilla 2 1/4 cups flour 1 tsp baking powder 1/4 tsp salt water (as needed) Jam filling, pick your favorite to use! Directions: Preheat your oven to 350 degrees F.
Recipe Adapted from: Sylvia Fischer Photos by: Diane Baker for Canning and Cooking at Home the fold: keep in mind while folding the center filling needs to remain visible. Pull the left top side of circle over to form the left side and half of the top peak, then pull the right side over to meet at the top peak (making a tee-pee) the filling should still be visible and bottom edge is still unfolded. Now take the bottom edge (base of triangle and fold upwards but, as you do so - tuck the left corner under the left side edge (this ensures your cookies won't "bake open" and on the right side bottom, you meet the right edge with no tucking. Once all 3 'peaks" of the triangle are made, you want to lightly crimp each peak by pinching/pressing slightly (I say pinch and then reshape back into a triangle peak as needed) the filling: you can fill your cookies with virtually anything but, keep in mind, the more water your filling holds in it that will heat and boil out - if using a fruit product - you want to go for a thicker jam and stay away from a jelly. Chutneys would be wonderful as well. The varieties you can bake are endless - from sweet to savory. The "story": there are other writers and food bloggers that have written about the History and story of Hamantaschen and about the "Triangle" of Haman. I love recipes and foods that have a "story" to tell and glad that I received that baking catalog - who knew that choosing a new cookie to bake would teach me a little more about a religion and the cookies history then I'd realize...and be tasty at the same time! Recipe Adapted from: Sylvia Fisher Photos by: Diane Baker for Canning and Cooking at Home  |