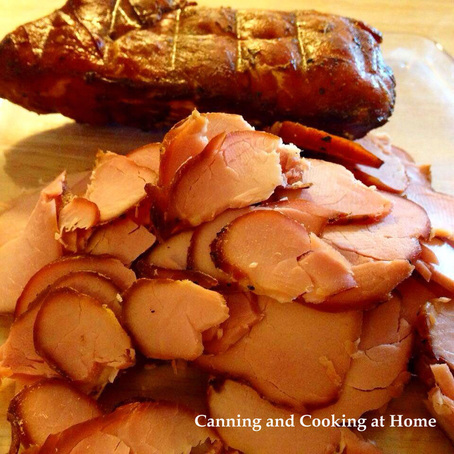
 JD is always cooking up something new. Canadian Bacon being made Homemade - that's new to me!! I can't wait to try this myself!! He says the taste is sublime! ~Enjoy! Diane
Canadian Bacon {Homemade} {guest post} Ingredients: 5 pounds pork loin or tenderloin, fat & any silver-skin removed 6 cups water 1\4 cup brown sugar 1\4 cup honey 1\4 cup sea salt 1\2 Tbsp pink curing salt (optional, but lengthens shelf life in fridge) 1Tbsp Red Dog Rub, or BBQ Rub of your choice 1 tsp onion powder or 1\2 small onion, finely minced 1 tsp garlic powder or 3 cloves garlic, minced 1 tsp basil 1 tsp sage 1 tsp cayenne or other hot chili powder liquid smoke, if doing only in oven, optional Directions: Mix ingredients well and heat over medium heat, without boiling: enough to dissolve everything, and infuse the flavors, cook for 10 minutes. Let cool and pour seasoned liquid over meat, in non-reactive container. Marinating time depends on the size of the cut of meat. Since I used tenderloin halves, and they were relatively small, I let this marinate, in the fridge, about 36 hours. SMOKER&OVEN: Remove meat from marinade and place on racks in smoker (discard marinade) Smoke meat 12 hours, adding new wood chips, as needed (I used almond chips). Remove meat from smoker, place in a preheated 275 F oven, until internal temperature of meat is 170 F. - this took 2 hours in the oven. Store in fridge about 2 weeks, or vac-packed in freezer up to one year. OVEN: If you don't have a smoker, or prefer to use your oven, this recipe will work just as well. You can add liquid smoke to the marinade, to get the smoke flavor added to your meat. Once marinated, set oven to it's lowest setting, usually 170 F, and cook until internal temperature of the meat is 155 F. Then raise oven temp to 225 until 170 F internal temp.of meat is reached. Store in fridge about 2 weeks, or vac-packed in freezer up to one year. Recipe & Photo by: Guest Post; JD Provence for Canning and Cooking at Home
0 Comments
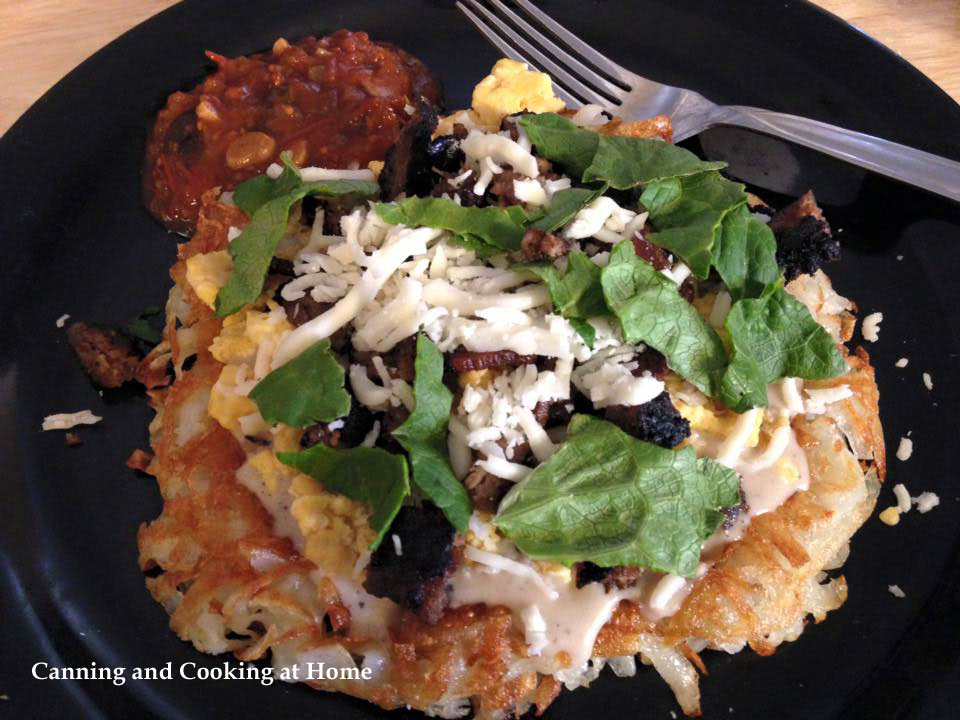 Breakfast "Pizza"
{guest post} Ingredients: 1 large potato (grated) 3 eggs (scrambled) Sausage gravy Crumbled sausage Crumbled bacon Cheddar Cheese (grated) Salsa Directions: Grate potatoes and fry half, in small frying pan over medium hot heat. Flip and cook other side, set aside. Do the same thing with the remaining potatoes. (Do not rinse potatoes after grating, they will not stick together) Place potato "crust" on plate, push edges inward, to form outer rim of crust. Ladle on gravy, cover with eggs, then add crumbled meat topping. Top all with grated cheddar cheese, baby spinach, or other greens to garnish. Serve with salsa. Makes 2 Recipe & Photo by: Guest Post by JD for Canning and Cooking at Home 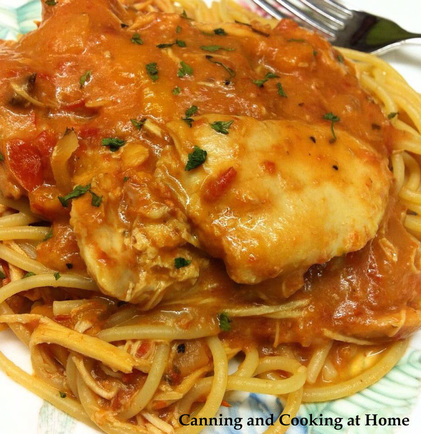 This was #2 of the 'freezer to slow cooker meals' that I am trying out... The overall dish was excellent but, if you are NOT seasoning the chicken (salt & pepper) and searing quickly before packing and freezing, expect the dish to need a nice fat pinch or more of salt. I also suggest adding thick cut sweet peppers directly from your fridge to the slow cooker the last 2 hours of cooking, if you can. The freezing of the sweet peppers followed by a long cook time, pretty much cooked the peppers away...This recipe also gets a tremendous boost in flavor if you sprinkle on some fresh grated Parmesan...but, cheese makes everything better - right? I will be making this again for certain - maybe tossing in a wee splash of cream to thicken the sauce at the end. ~Enjoy! Diane
Slow Cooker Chicken Cacciatore Ingredients: Slow Cooker: 6 garlic cloves, minced 2 green bell peppers, chopped 2 red bell peppers, chopped 1 yellow onion, chopped 1/4 cup basil, chopped 1 (8-oz.) package sliced cremini mushrooms, optional 1 tablespoon kosher salt 1 teaspoon dried crushed red pepper, optional 1 teaspoon freshly ground black pepper 3 tablespoons tomato paste 1/2 cup white wine 1 (28-oz.) can fire-roasted diced tomatoes, drained 6 boneless, skinless chicken thighs Pasta: 1 (16-oz.) box spaghetti or linguine 1/4 cup freshly grated Parmesan cheese 2 tablespoons butter Garnishes: fresh parsley, shaved or grated Parmesan cheese Directions: Clean and chop vegetables, place first 6 ingredients in a 6-qt. slow cooker; stir in salt, crushed red pepper, and black pepper. Whisk together tomato paste and wine, and add to slow cooker. Add drained tomatoes and chicken. Cover and cook on LOW 8 hours. Uncover and carefully remove chicken from slow cooker, using tongs. Increase slow cooker temperature to HIGH. Cover and cook tomato mixture 20-30 more minutes or until sauce thickens to desired consistency. Meanwhile, cook pasta according to package directions. Shred chicken, if preferred, I kept some on the larger chunk side. Stir grated cheese and butter into prepared pasta. Serve immediately over pasta. Recipe Adapted from: Southern Living Photo by: Diane Baker for Canning and Cooking at Home 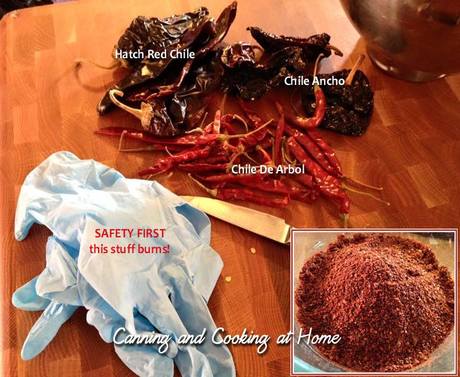 ..."Store bought "Chili Powder" is good stuff, and I use it all the time. But, it's not truly chile powder, it is powdered chiles in a blend of other spices. Often, and even when using the store bought stuff, I just want something to basically add heat. That's what this stuff is for. There are several different dried chiles available, in most markets, See what you have available, research them a little, they all have subtle differences, and each adds it's own unique flavor to any dish. What I used here are: Hatch which are fairly mild, the Chile Ancho, is sweet and smokey, and Chile de Arbol, brings the fire. Wear gloves while handling any chiles, dried or fresh. There is a lot of capsaicin in them and it can burn for hours!" -from JD Provence
Chile en Polvo (chili powder) -a guest post 1 ounce Hatch Red Chiles 1 ounce Chile Ancho 1/4 ounce Chile de Arbol Cut or crumble dried chiles, enough to separate and remove the seeds and inner membrane. Add only the outer skin and flesh to blender, grind to desired consistency, store in air tight containers. Recipe and Photo by: JD Provence for Canning and Cooking at Home 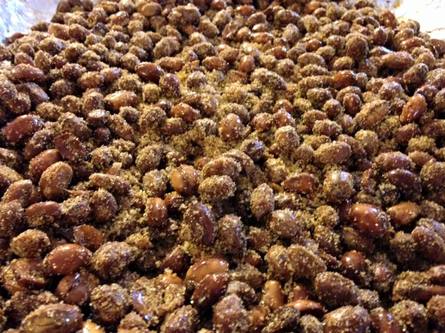 Honey Chili Roasted Peanuts
(a guest post) Ingredients: 4 cups Raw Peanuts 2 Tbsp Butter 2 Tbsp Honey Coating: 1/4 cup White Sugar 1/8 cup Brown Sugar 2 tsp Chili Powder 1/2 tsp Cayenne Powder (Optional) 1/2 tsp Celery Seed 1/2 tsp Paprika Directions: Preheat oven to 325F. Mix honey and butter to a large sauce pan, mix, and heat until melted and slightly bubbling. Add peanuts and stir well, to evenly coat all peanuts. Pour peanuts onto 2 foil-lined sheet pans, and spread evenly. Place in oven, stir every 10 minutes to make sure they cook evenly. Cooking peanuts 30-45 minutes, (depending on peanut's moisture content, until done ~ taste testing is the best way to determine doneness.) Mix all Coating ingredients together and set aside. Remove trays from oven, pour peanuts into a large heat resistant, glass or metal bowl. Pour the coating mix over peanuts and stir well, to assure all are well coated. Place coated peanuts back onto sheet pans and let completely cool. Store in an airtight container. Photo and Recipe by: JD Provence for Canning and Cooking at Home |

