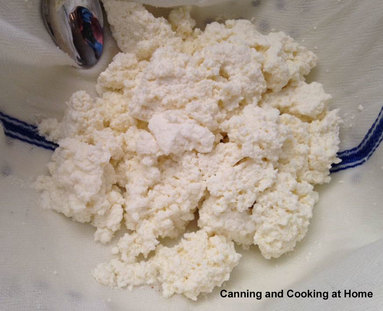
 Fresh Ricotta "This recipe and all the variations except for the cream cheese, work with 1%, 2%, and whole milk, which of course makes the richest cheese. If you have access to fresh milk, you'll get the best flavor using it. This is also a great way to get rid of that last half of that jug of milk before it goes bad." JD Provence. I would like to thank JD for delving into this and writing up everything and testing out all that he did. I cannot wait to make fresh ricotta for not only my lasagnas but, my lemon ricotta cake and other baked goods. Not to mention fresh cream cheese for my homemade english muffins. ~Enjoy! Diane Quick and Easy, Fresh Cheese *guest post Ingredients:
(1) Before starting, line a strainer with a triple layer of cheesecloth or a piece of un-dyed cotton muslin. (a clean, white dish towel works great!) Have a long piece of cotton string ready. For ricotta and cottage cheese, a fine mesh, plastic sieve works fine, cheesecloth and string is not necessary. Just let it cool to a touchable temperature before pouring into sieve. Diane Note: if you have a jelly bag and a sieve that can rest over a larger bowl, that works great too. (2) Put the milk in a large, heavy bottomed, non-reactive saucepan over medium low heat. Warm, stirring frequently to prevent scorching, until the milk begins to simmer and foam forms on top, about 10 minutes. Diane Note: if you have an instant read thermometer, bring the milk up to 190 degrees before adding in the acid, (3) Add the buttermilk, or acid, if choosing to go that way, to the boiling milk all at once and stir gently until the mixture separates into curds and whey. This should take a minute or 2. Remove from heat and stir in a large pinch, up to a teaspoon of salt, if you like. Diane Note: Let pot sit off the heat, uncovered for 20-30 minutes (4) Carefully pour the mixture through the strainer so that the curds collect in the bottom and the whey drains off. Gather up the corners of the cloth or jelly bag and twist the top to start shaping the curds into a ball. Run the bundle under cold water until you can handle it. Keep twisting and squeezing until the bundle feels firm and dry. Don't worry about handling it roughly, it can take it. Just don't squeeze so hard that the cheese oozes out through the pores of the cloth. (5) Tie the string around the top to hold it tight, then tie the string around the handle of a long spoon or stick to suspend over the pot to drain. Let it rest, undisturbed, until cool and set, about 90 minutes. Diane Note: If using a jelly bag, hang to drip-dry on jelly stand. (6) Remove the cloth and serve immediately or wrap in plastic and refrigerate up to a week, or freeze up to 6 months. Fresh Cottage Cheese. Drain as dry or as moist as you like. Follow the recipe through Step 3. In Step 4, after you pour the it through the cheesecloth, simply leave the curds loose in the strainer until they've drained the amount of moisture you desire, anywhere from 30 to 60 minutes. Then scoop the curds into a container and store in the fridge up to a week, or freeze up to 6 months. *Add 1 Tbs cream to the final product if you like a moist cottage cheese Fresh Ricotta Cheese. Reduce the amount of buttermilk to 1 pint, or use 3 Tbsp acid and proceed with the recipe through Step 3. In Step 4, after you pour it though the strainer, simply leave the ricotta in the strainer until it has reached the texture you like, anywhere from 30 to 60 minutes. Gently scoop or dump into container and store in fridge for up to a week, or freeze up to 6 months. Fresh Cream Cheese. Use 1 quart of heavy cream instead of the milk and reduce the buttermilk to 1 pint or use 3 Tbsp acid. Fresh Goat Cheese. Substitute goat milk for the cow milk and 1 pint goat's milk yogurt, citrus juice of vinegar for the buttermilk. Powdered Milk Cheese. Yes, you can make cheese from reconstituted powdered milk, I tried and it worked. The curds looked like scrambled eggs. It formed a nice tight ball of cheese, and it tastes like powdered milk. To me, powdered milk tastes like a cardboard box , and the cheese is no different. I tried it for this article, and it's not something I would make again. On the brighter side, my little 4 legged sous chef taste tester loved it! Chocolate Cheese. Okay, just for the sake of the article, I made some cheese from Chocolate Milk. The cheese is smooth and chocolaty, but without the sweetness. I think this would be a great dessert topping or filling for chocolate coated truffles. Recipes by: JD Provence for Canning and Cooking at Home 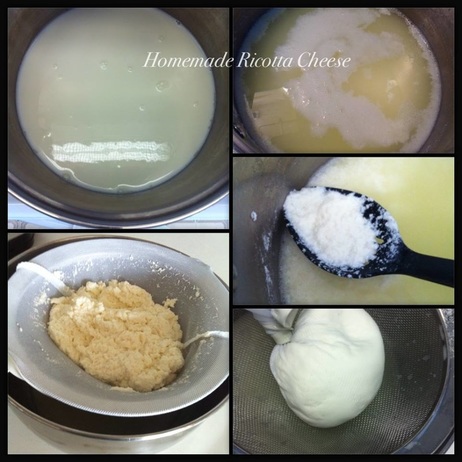
0 Comments
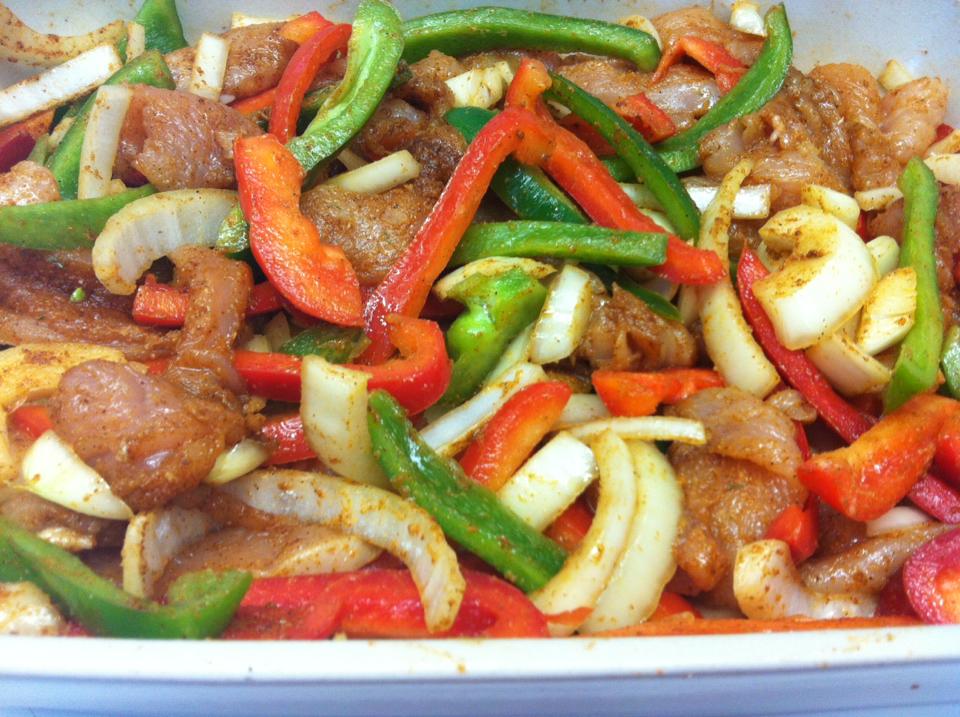
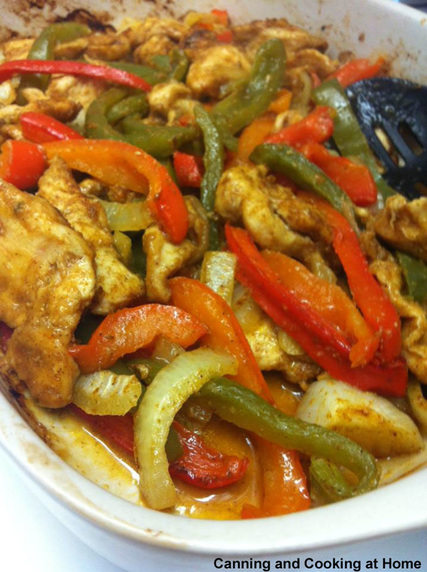 It doesn't take much to whip up this family friendly dinner! I ran across this recipe over at Cozycakes Cottage (original recipe here) and I am glad I did!! Her recipe hits the mark perfectly and creates a wonderful dish that is perfectly spiced using your own ingredients and leaving out all the salt, preservatives and fillers that commercial season packets can contain... My husband suggested that we also go ahead and make up the same dish in the oven (leaving out the chicken) and stir in some of his famous grilled shrimp at the end of cook time (can't wait for that!) or some of his chili-lime grilled steak strips...hey - I am all for that!! YUM! This is a super addition to our recipe box. Most other "oven fajitas" recipes you see out there say: "add one packet of taco seasonings"...to that I say, "really?!" to this I say "REALLY good!" I dare you to try this one and not love it! I served mine with my home-canned ranchera sauce and a side of refried beans.to round it all out...super easy, super tasty, and better for you! ~Enjoy! Diane Baked Chicken Fajitas Ingredients: For seasoning: 2 tsp. chili powder 1/2 Tbs smoked paprika 1 tsp. granulated onion 1/2 tsp. garlic powder 2 heaping tsp. cumin 1/8 tsp. of cayenne 1/2 tsp. salt plus another 1/2 tsp., separated 2 tsp. cornstarch For fajita mix: 1 large onion, sliced 1 green bell peppers, seeded and sliced 1 red bell pepper, seeded and sliced 1 cup mushrooms, sliced, optional 2 large cloves garlic, minced 1 lb. chicken breast, sliced into thin strips 2 Tbsp. canola oil tortillas Optional additions: ranchera or green chile sauce, cheese, tomato, shredded lettuce, cilantro, sour cream, salsa, crushed peanuts, lime slices Directions: Preheat oven to 400°. Place onion, peppers, mushrooms, and garlic in a 9x13-in. baking dish. Add chicken and mix together. In a small bowl, mix all seasoning ingredients except for ½ tsp. salt and spread over chicken and veggies. Drizzle oil over all and mix everything together until all ingredients are well seasoned. Near the end of bake time, sprinkle the remaining ½ tsp. of salt over the chicken and vegetables, and stir. Bake uncovered for 35-45 minutes until chicken is cooked through. Serve with warmed tortillas and any additions you choose. Recipe by: Cozycakes Cottage Photos by: Diane Baker for Canning and Cooking at Home 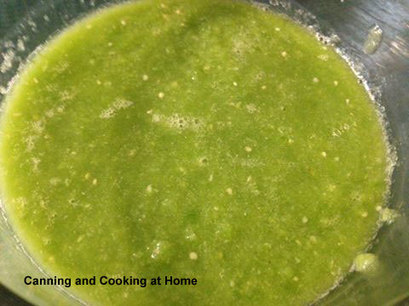 Need a quick and fast blender sauce to use on Mexican fare? try this super tasty and quick sauce created by JD. ~Enjoy! Diane
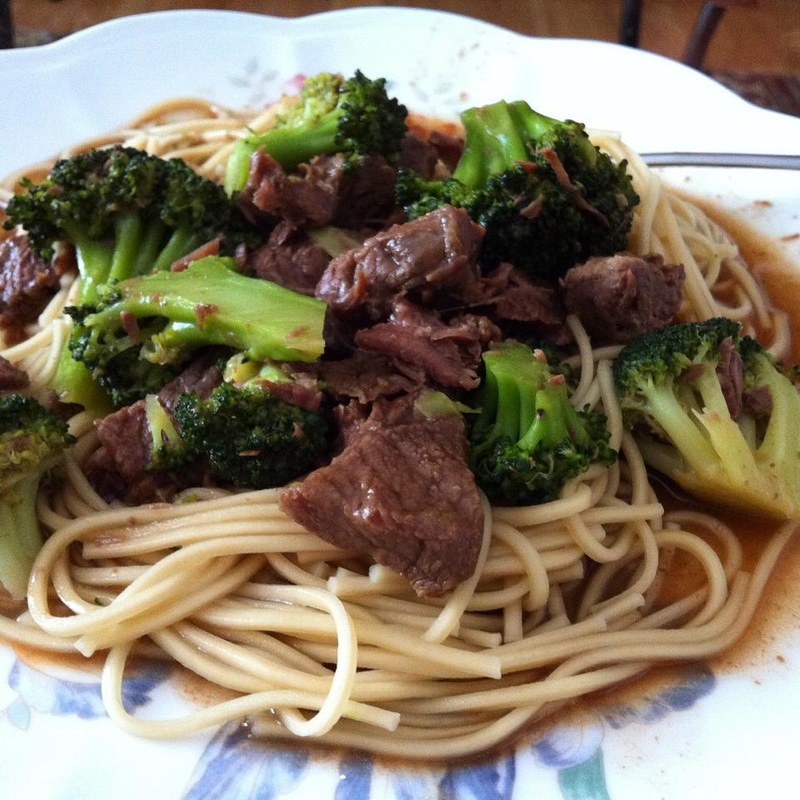
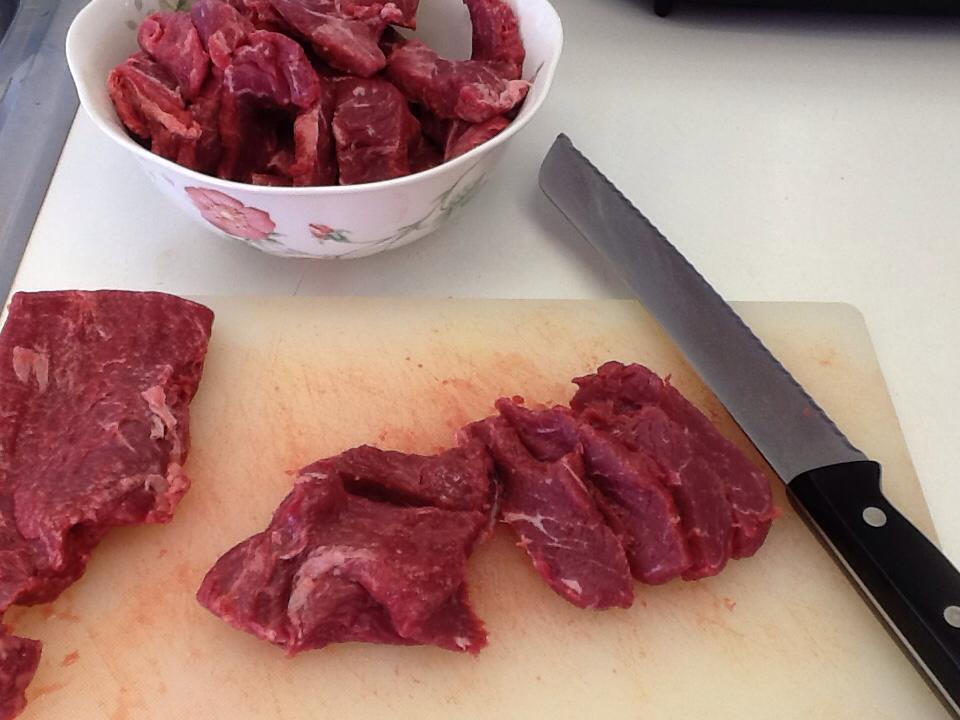
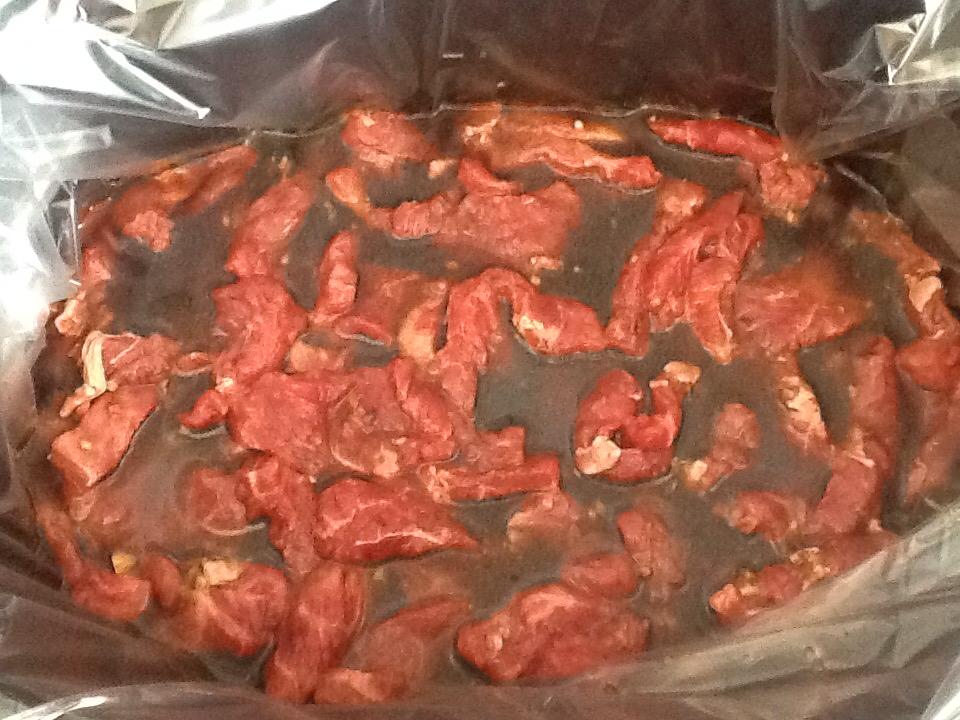
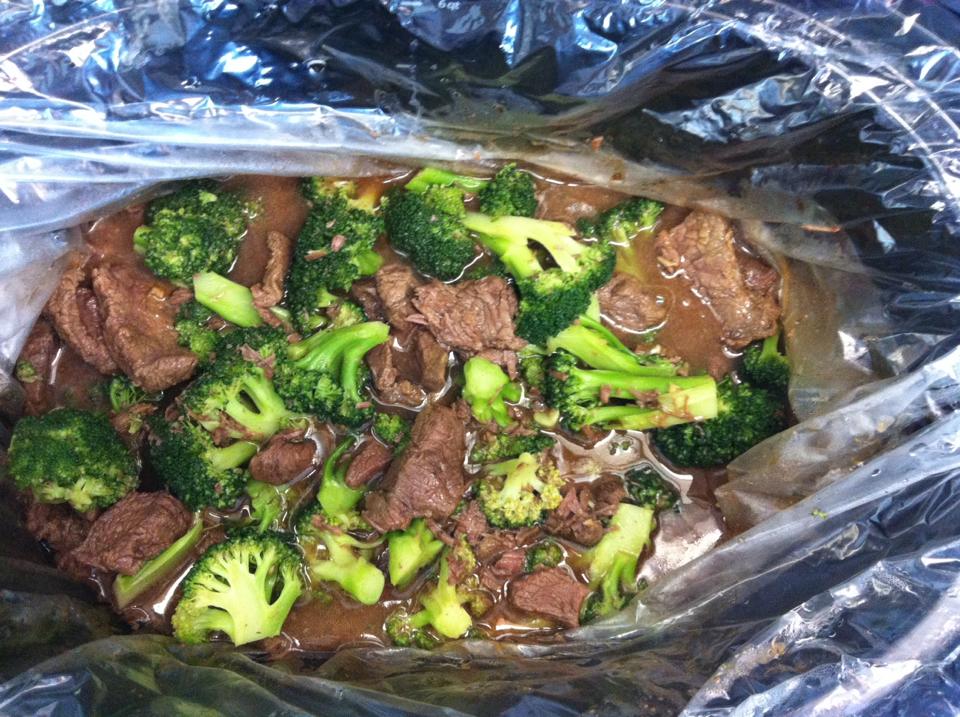
Pico de Chapulin *a guest post Ingredients: 3 - 4 fresh tomatillos, peeled and quartered 1 jalapeno, cored juice of 1 lime honey or sugar to taste dash of salt Directions: Add all ingredients to blender and grind until smooth. Serve with tortilla chips or spoon onto tacos, enchiladas, burritos, etc. Store in airtight container in refrigerator. Photo & Recipe by: JD Provence for Canning and Cooking at Home 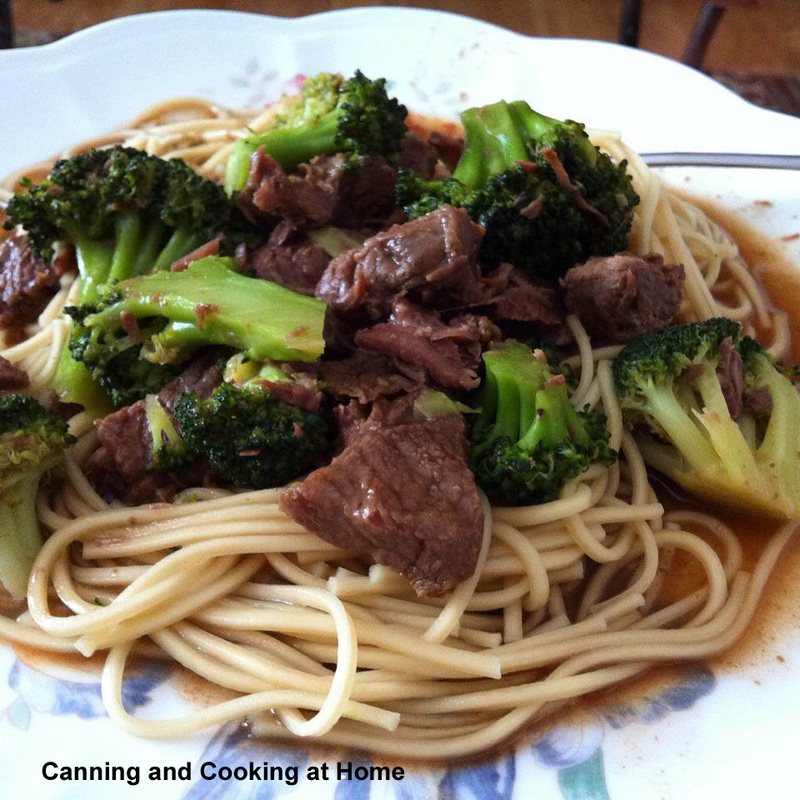 A very easy slow-cooker recipe. This recipe does require a little more "hands-on" attention in the last 25 minutes of cook time. The broccoli needs to be cut, washed and cooked, any rice or noodles need cooked and the liquid in the slow-cooker needs a cornstarch 'slurry' added to thicken up the liquid into a sauce before serving. That all said, this dish is quite tasty! We love the addition of the red chili pepper flakes. When serving more then just my family, I like to leave the flakes out and instead have a bottle of red chili oil on the table when serving, so that each person can use or omit as they prefer. You can also use *low-sodium soy sauce but, I would increase that to 2/3 cup. ~Enjoy! Diane Beef & Broccoli Slow Cooker Ingredients: 1 1/2 pounds flat iron steak, thinly sliced, into 2 inch pieces 1 cup beef broth 1/3 to *2/3 cup soy sauce 1/3 cup brown sugar 2 tsp canola oil 1 tsp toasted sesame oil 1 Tbs fresh garlic, minced 1/4 - 2 tsp red chili flakes, optional 4 cups broccoli florets, cooked 2 Tbs corn starch + 4 Tbs cold water Directions: Use a slow cooker "liner" or grease the inside of a slow cooker to prevent sticking and easier for easier clean up. . Add cut steak, beef broth, soy sauce, brown sugar, oils, garlic, and chili flakes. Cover and cook on high for 2-3 hours or low 4-5 hours. 20 minutes before serving, uncover the slow cooker. In a small cup or bowl whisk corn starch and water until dissolved. Add to slow cooker and stir. Cover and allow to cook another 20-25 minutes. Just before serving, stir cooked broccoli into slow cooker, and serve. Serve over steamed rice or cooked lo-mein noodles. the red chili flakes are for spice - add more or less to your liking. Recipe adapted from: Mother Thyme Photos by: Diane Baker for Canning and Cooking at Home 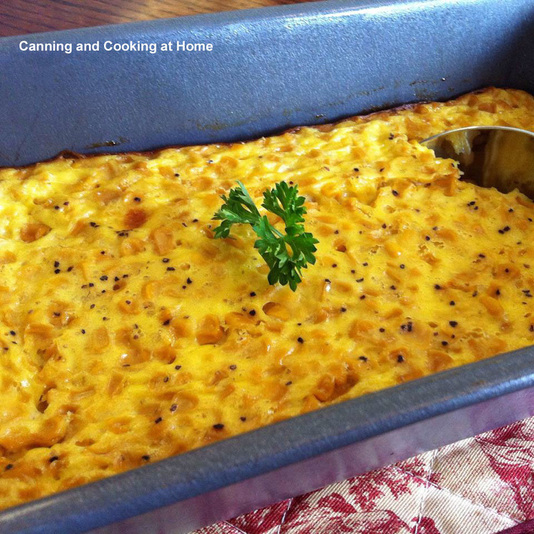 This is a wonderful side dish for any meal. Easy to prepare, which is always a bonus! I love to use my Home-Canned Summer Corn in this - such a treat and makes all the hard work of canning it - worth it! There are many renditions of this recipe type and some add in corn muffin mix, making it more of a 'cornbread' but, this is more of a what I think of as creamed corn set in egg - making it more of a 'pudding' or 'casserole' of Summer corn.
~Enjoy! Diane Southern Corn 'Pudding' Ingredients: 1 cup milk 2 Tbs butter 1 Tbs sugar 2 Tbs flour 1/2 tsp salt 2 pints of corn (or 30 oz whole can corn), drained well 2 eggs, well-beaten 1-2 Tbs green onion or 1 large shallot, finely chopped dash of hot sauce, optional dash of Black pepper, optional Directions: Preheat oven to 400 F Dissolve flour in 1/4 cup milk, set aside. Boil the remaining 3/4 cup milk with the butter and sugar. Pour the flour/milk mixture into the milk/butter/sugar mixture after boil is reached - to make a thin white sauce. Remove from heat and stir in salt and drained corn. Mix in beaten eggs. Pour into a lightly greased loaf pan. Bake for 30-40 minutes, or until done. Recipe and Photos by: Diane Baker for Canning and Cooking at Home Adapted from: Chef In Training: "Easy Baked Corn" |