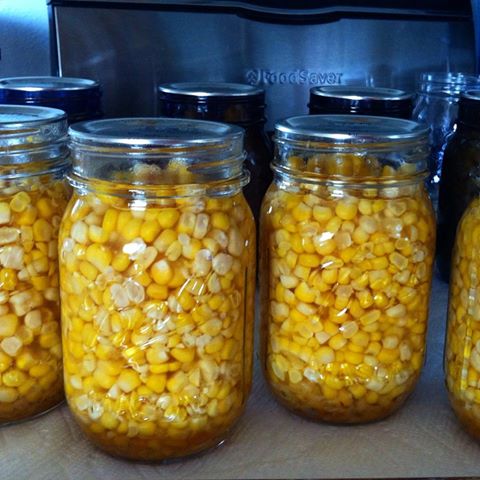
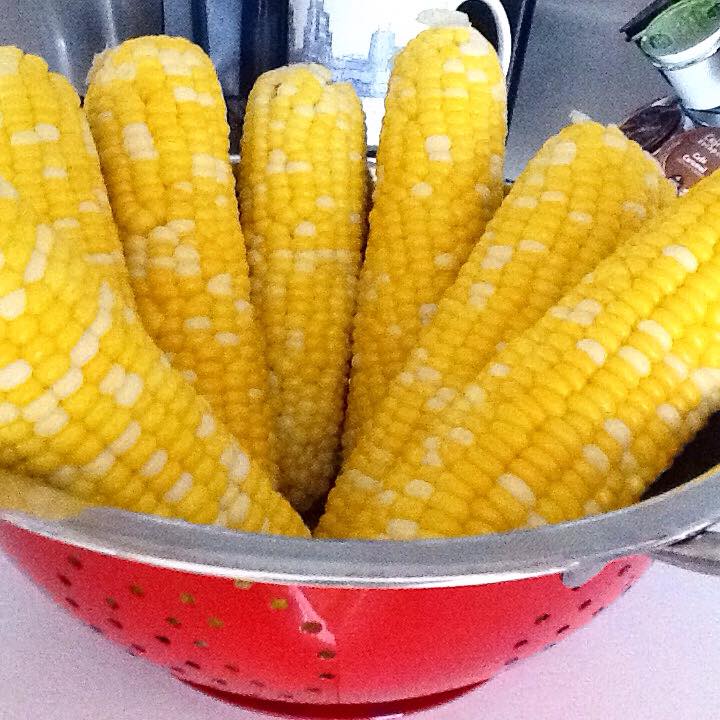
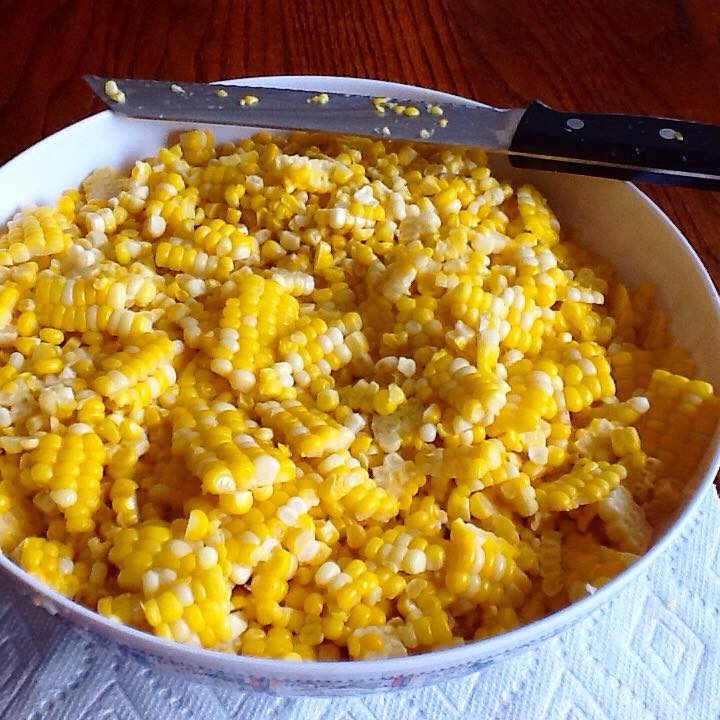
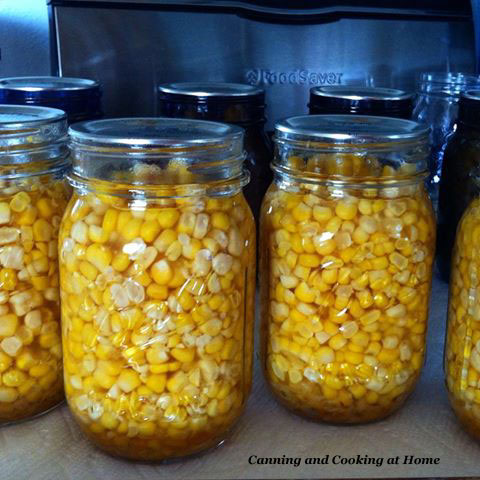
 Pressure Canned Sweet Fresh Corn off the Cob Pressure Canned Sweet Fresh Corn off the Cob CANNING SWEET FRESH WHOLE KERNEL CORN Corn - a low acid vegetable that needs Pressure Canned unless you are pickling it with an approved Water-Bath recipe. There really isn't much prep in getting the corn from cob to jar. Buy your ears of corn on the fresh and even slightly immature side if you can. Husk corn and cut the kernels off each cob into a bowl. Add just a bit of salt to each regular mouthed pint jar - I added 1/4 tsp canning salt per pint jar (I think regular mouth pint jars work great for Pressure Canning Corn - or any other vegetable for that matter. Why? because I do believe that there is less liquid loss and reduced risk of siphoning when steering away from wide mouth jars in pressure canning.) It's just something I noticed over time and even in doing batches - one after the other, I have not been happy with the liquid level in jars that I used that were wide mouthed. *I now save those for water-bath projects. I used the NCHFP website for proper processing of Corn. *see Below. ~Enjoy! Diane ...From NCHFP Corn - Whole Kernel Quantity: An average of 31½ pounds (in husk) of sweet corn is needed per canner load of 7 quarts; an average of 20 pounds is needed per canner load of 9 pints. A bushel weighs 35 pounds and yields 6 to 11 quarts – an average of 4½ pounds per quart. Quality: Select ears containing slightly immature kernels or of ideal quality for eating fresh. Canning of some sweeter varieties or too immature kernels may cause browning. Can a small amount, check color and flavor before canning large quantities. Procedure: Husk corn, remove silk, and wash. Blanch 3 minutes in boiling water. Cut corn from cob at about three-fourths the depth of kernel. Caution: Do not scrape cob. Raw pack: Fill jars with blanched, cut kernels, leaving 1-inch head-space. Do not shake or press down. Add 1 teaspoon of salt per quart - Add 1/2 teaspoon of salt per pint jar Top off filled jars with fresh boiling water, leaving 1-inch head-space Process Pints: 55 Minutes and Quarts 85 Minutes *see link below Process in a Pressure Canner according to the NCHFP link below: NCHFP Corn: http://nchfp.uga.edu/how/can_04/corn_kernel.html Photos by: Diane Baker for Canning and Cooking at Home
0 Comments
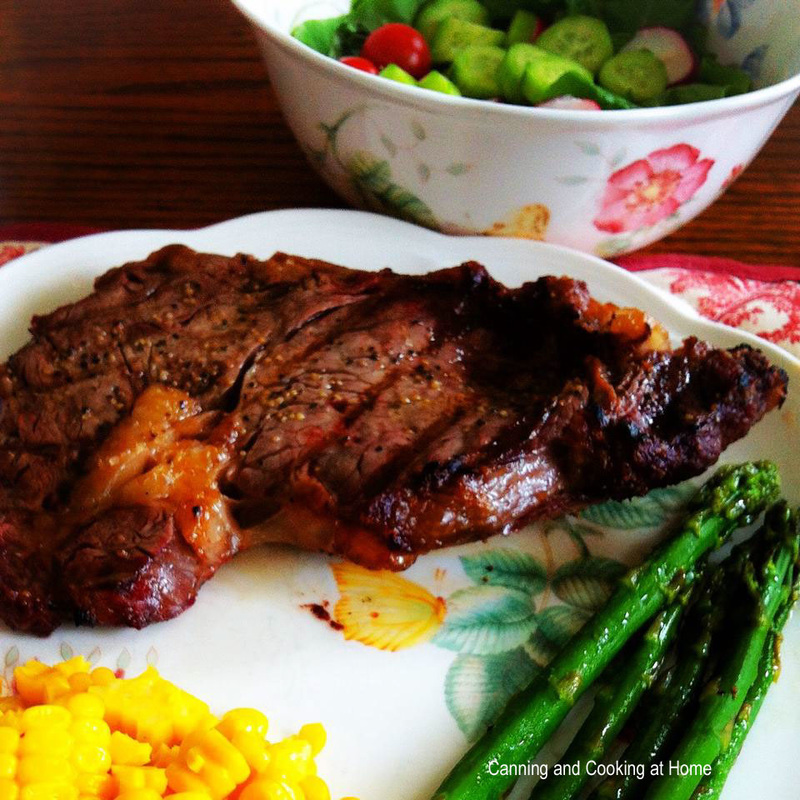 {The Best}
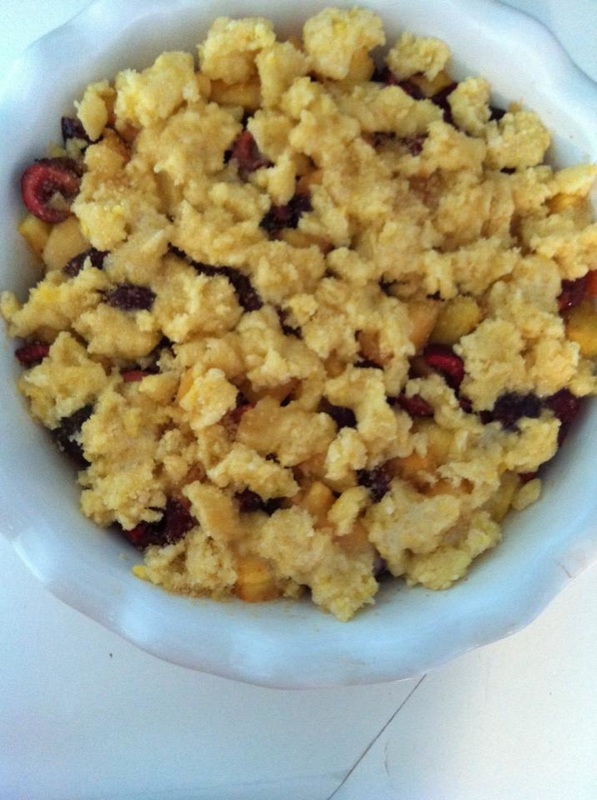
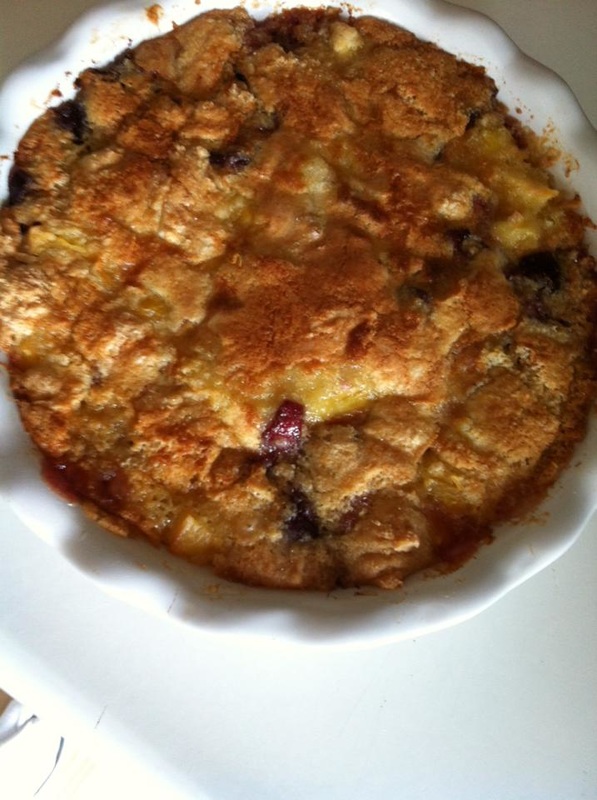
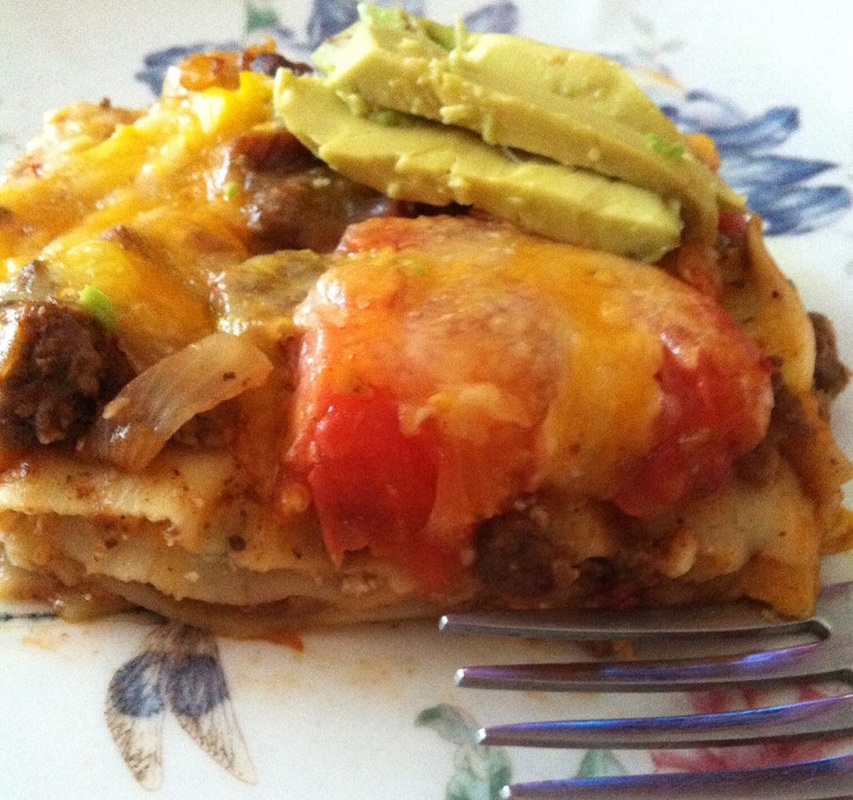
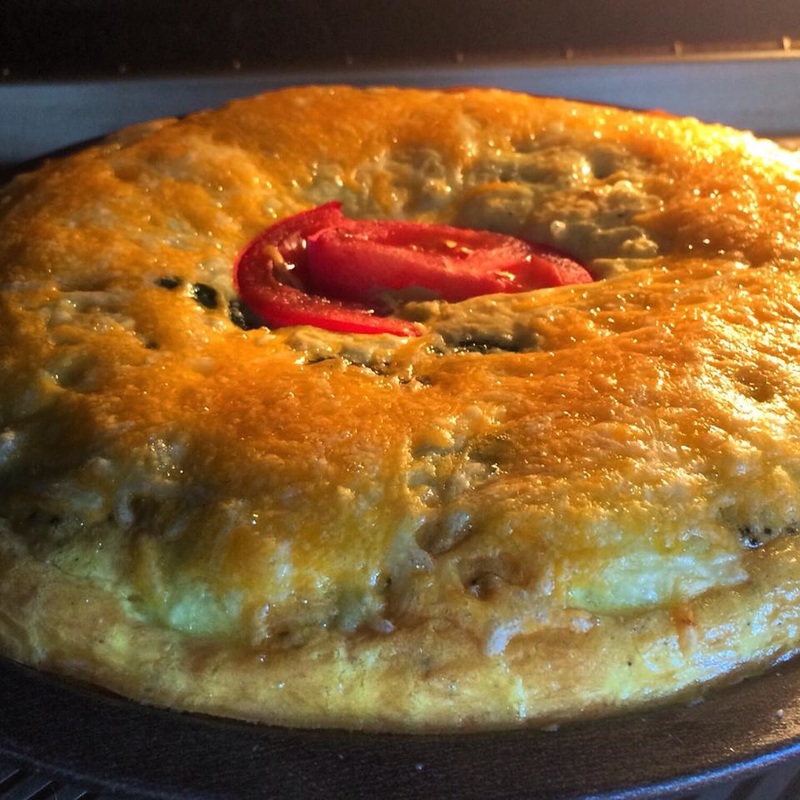
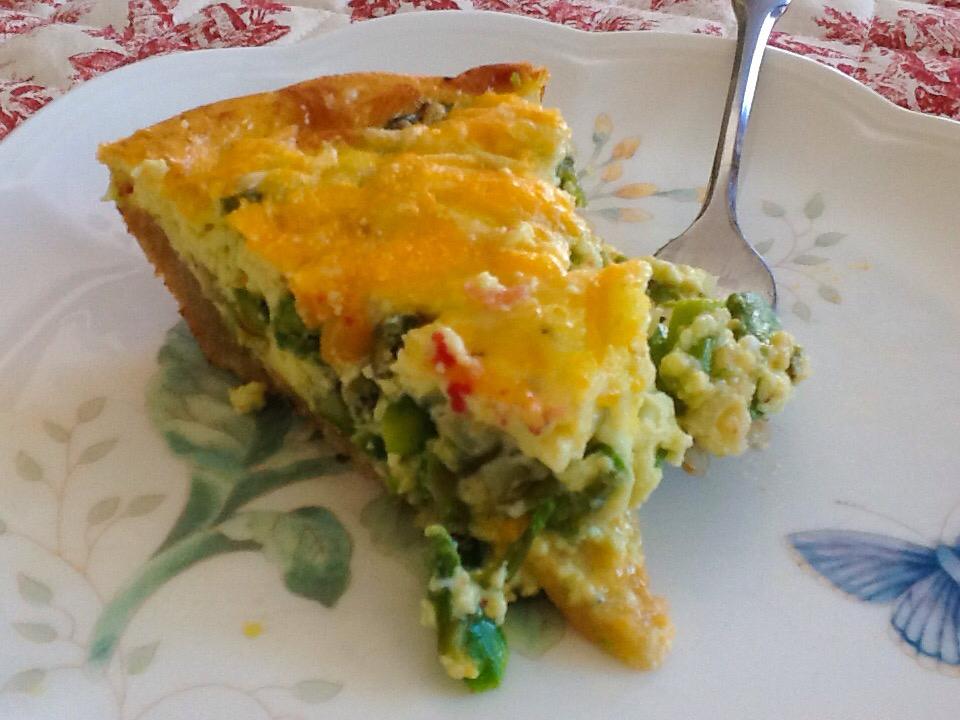
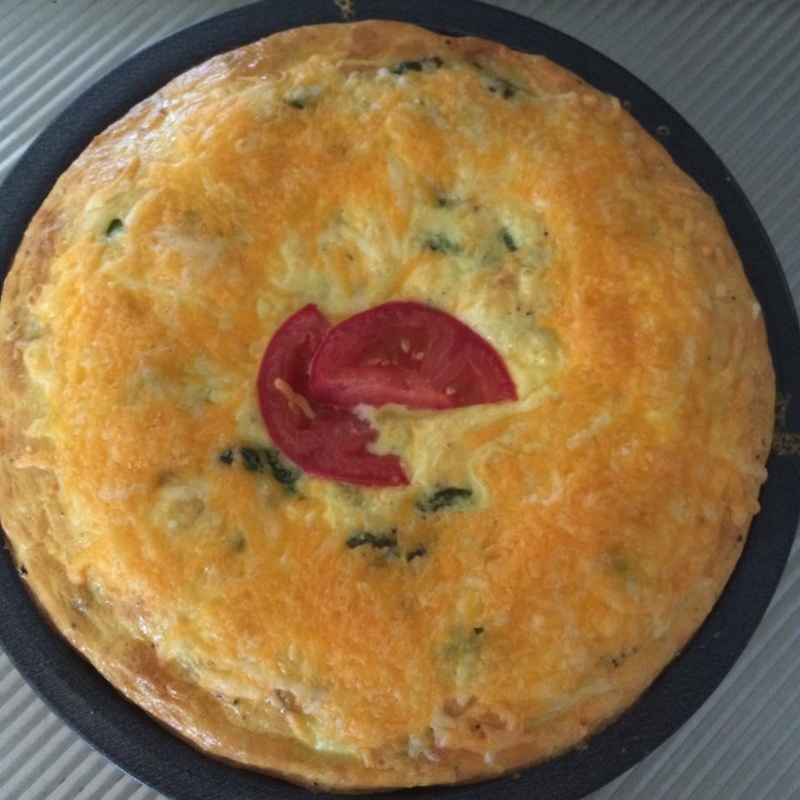
Grilled Steak 2 (1-1½" thick) Prime Boneless Rib-eye (Delmonico's) Steaks Marinade: 2 Tbs. Worcestershire sauce 2 Tbs soy sauce 2 Tbs balsamic vinegar 1/4 tsp garlic powder 1 large Ziploc bag (for marinade) Extra light olive oil *for grill Right before Grilling/Topping: Sea Salt Course Black Pepper Instructions: In small bowl, whisk marinade ingredients together until well blended. Place steaks into large Ziploc bag. Pour in marinade. Close tightly pressing out excess air. Using your hands massage/smoosh marinade into steak to coat each side well and evenly in bag. Place in refrigerator 2+ hours, or overnight is best. Remove steaks from refrigerator one hour before grilling. When ready to grill, remove steaks from bag and shake off excess marinade. Discard marinade/bag. Heat grill to high heat. Oil grates with extra light olive oil-soaked ball of paper towel using tongs. Place steak onto hot grill. Grill for 4 minutes to achieve a good sear. Rotate steak for crossed grill marks, and continue to grill for 4 more minutes. Turn steak over and repeat. Remove steak to a platter or cutting board and tent with foil to rest meat for a few minutes before serving. Juices will distribute back through steak and final temp will rise 5-10 degrees. If Preferred: Serve steaks with a creamy horseradish sauce or pat of your favorite compound butter. Being a "True Chicago Girl" I love my well-aged steaks coated with Sea Salt & Course Pepper and their flavor alone doesn't require ANY "sauce" Recipe & Photo by: Diane Baker for Canning and Cooking at Home 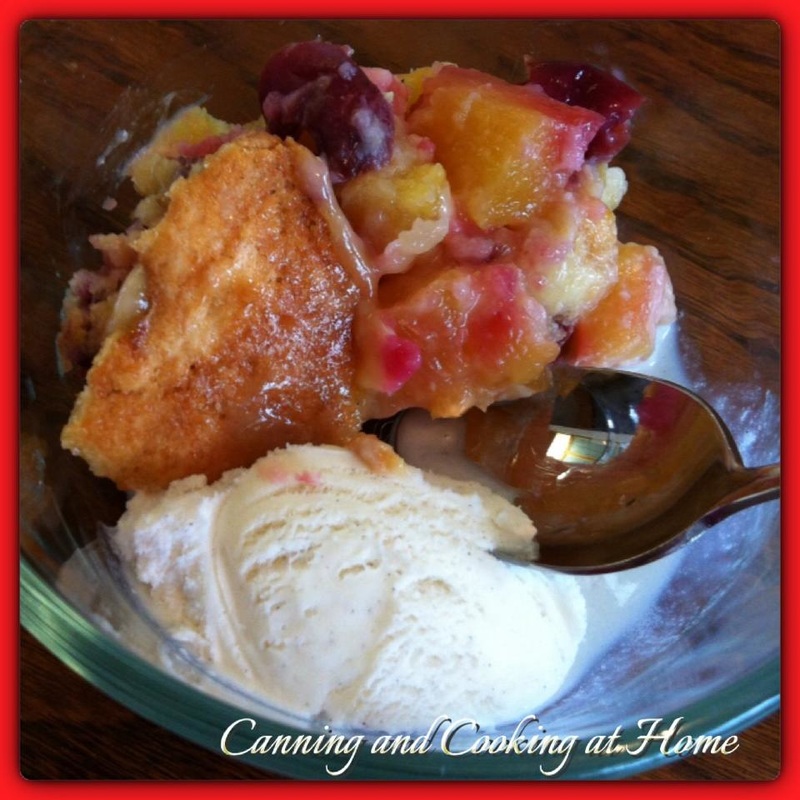 Cherry & Pineapple Cobbler Cobbler Filling: 4 Cups Fresh Fruit (cherries and pineapple mixed), diced 1 Tbs Tapioca Flour or Cornstarch 2-4 Tbs of sugar *depending on sweetness of fruit mix Cobbler Topping: In a large bowl combine: 1 cup flour 1/4 cup white sugar 1/4 cup brown sugar 1 tsp baking powder 1/2 tsp salt 6 Tbs butter, diced & cold 1/4 boiling water *as needed Directions: Clean and slice fruit (stem & pit cherries) slice and prepare pineapple (core & skin) Place diced fruit into 9" pie pan (greased lightly). Sprinkle sugar and Tapioca Flour over berries and mix until blended. Set aside. In a large bowl, blend topping mixture with a fork, or a pastry blender, until mixture resembles coarse meal. *Stir in water until just combined. Sprinkle cobbler topping mixture over mixed berries in pie plate, sprinkle with extra baking sugar over top if you want a slightly crispier cobbler topping. Bake in oven at 350 for 40-45 mins. until top is golden brown. Serve Warm. ********** Want to make a classic Peach Cobbler instead; Peach Cobbler Filling: Use 4 Cups Peaches, sliced 2 tsp tapioca flour *or cornstarch 2-4 Tbs of sugar *depending on sweetness of peaches ( add 1/4 tsp cinnamon, 1/8 tsp nutmeg to filling if preferred) Use Cobbler Topping from above but, you can also sprinkle top with a pinch of cinnamon sugar before baking ********** Recipe & Photos by: Diane Baker for Canning and Cooking at Home 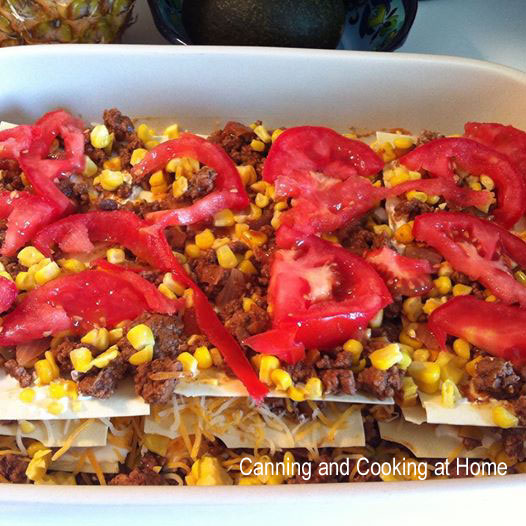 ...assembled and ready for the oven How about a change up from the more traditional Italian Lasagna? This Mexican spiced lasagna I created has wonderful flavors. You can substitute chicken, turkey or pork in this dish for the ground beef. I also suggest that if you have the time: roasting the peppers (and even corn and tomato) will enhance the flavors of this lasagna all the more! I preferred to make my dish with 'oven ready' lasagna noodles but, I know that you can use tortillas as well (3 layers of two tortillas each for this recipe, if used in place of noodles) ~Enjoy! Diane Mexican Spiced Lasagna Ingredients 1 1/2 pounds ground beef, lean 1 large onion, diced 1 sweet pepper, diced 1 poblano or jalapeno pepper, seeded & chopped ** 3 teaspoons chili powder 1 teaspoon garlic powder 1/4 teaspoons smoked paprika 1/4 teaspoons ground cumin 1 pinch ground cinnamon sea salt & black pepper to taste 2 cups salsa, chunky style works best 1 /2 - 2 cups corn 9 'oven ready' lasagna noodles or 6 flour tortillas 1 cup sour cream 2 cups Shredded Cheese, divided - I used a Mexican blend of cheeses 1 large tomato, sliced or diced 1 large avocado Directions 1. Pre-Heat oven to 375 F. 2. Brown meat with onions and peppers in large skillet on medium-high heat. Stir in spices; cook 1 minute. Add salsa and corn; mix well. Simmer 5 minutes. If the mixture seems a little thick you can stir in 1/4 cup of water. Taste and adjust any seasonings. 3. Spray baking dish with a non-stick spray. Spread 2 cups meat sauce onto bottom of 13x9-inch baking dish; top with layers of 2 tortillas (or 3 oven ready noodles), 1 cup meat sauce, 1/2 the sour cream, and 1/2 cup cheese. Cover with 2 tortillas (or 3 oven ready noodles), 2 cups of remaining meat sauce, and half of remaining cheese; top with remaining tortillas (or 3 oven ready noodles) and meat sauce, lay fresh tomato slices over top. Cover with foil. 4. Bake 30 minutes or until casserole is heated through. Top with remaining cheese; bake, uncovered, 5 minutes or until cheese is melted. Top with fresh slices of avocado before serving. **you can use whatever peppers you like: poblanos, jalapenos, chiles in adobo, make it as hot or as sweet as you like for a more intense flavor: roast your peppers in the oven on a baking sheet prior to using in recipe. I did add in some onions that were in adobo sauce as well as the regular onion listed above. Recipe & Photos by: Diane Baker for Canning and Cooking at Home 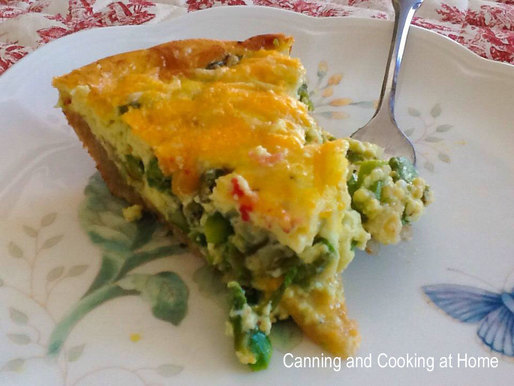 Asparagus & Onion Quiche Ingredients: 1 pound cleaned, trimmed asparagus (slice on diagonal into 1" pieces) 1 small onion, sliced thin 1 Tbs Butter 1/2 Pie Crust (homemade or pre-made) 1 small tomato, sliced 4 large eggs 1/2 cup 2% milk* 1/2 cup heavy cream* 1 cup shredded cheese (I used cheddar + mozzarella)* salt & pepper, to taste dash of nutmeg Directions: Prepare & Pre-Bake the pie crust (you can make homemade or use pre-made pie crust) Preheat oven to 350 F degrees. While the pie crust is pre-baking, place butter with asparagus and onion into a saute pan and cook for 10 minutes sprinkle with salt & pepper. Whisk together the eggs, milk, nutmeg until combined. Set aside. Remove the pie crust from the oven and sprinkle half the cheese onto bottom of crust, top with asparagus & onion mixture Pour the egg mixture on top. Sprinkle remaining cheese around top of Quiche. If desired, sprinkle the top lightly with more pepper. Bake the quiche until it is golden brown on top and the center is no longer jiggly. Depending on your oven, this will take anywhere between 45 minutes - 1 hour. Mine took 50 minutes. Use a pie shield to prevent the pie crust from over browning, if desired. I do turn my broiler on low and let the quiche brown a bit more (approx 2 mins) Allow to cool for 3 minutes before slicing and serving. This quiche makes great leftovers! Store tightly covered in the refrigerator for up to 4 days. **I do add slices of tomato to the top/center of my quiche halfway through cook time. *1 Cup Whole milk is heavily preferred for creamiest texture, though your favorite milk may be used instead - keeping in mind the creamy texture will be compromised. (I used half 2% and half heavy cream) *Use 1 cup total of your favorite cheeses. Try to avoid using 1 whole cup of a strong tasting cheese like feta. Gruyere and Swiss work great in this quiche. Get creative! Recipe & Photos by: Diane Baker for Canning and Cooking at Home |