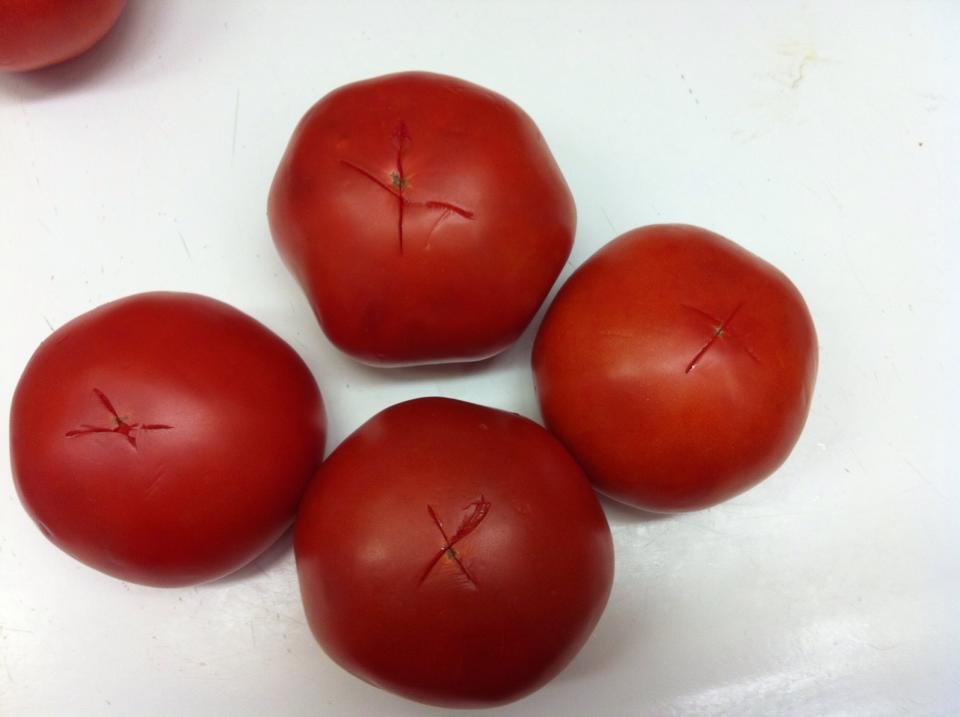
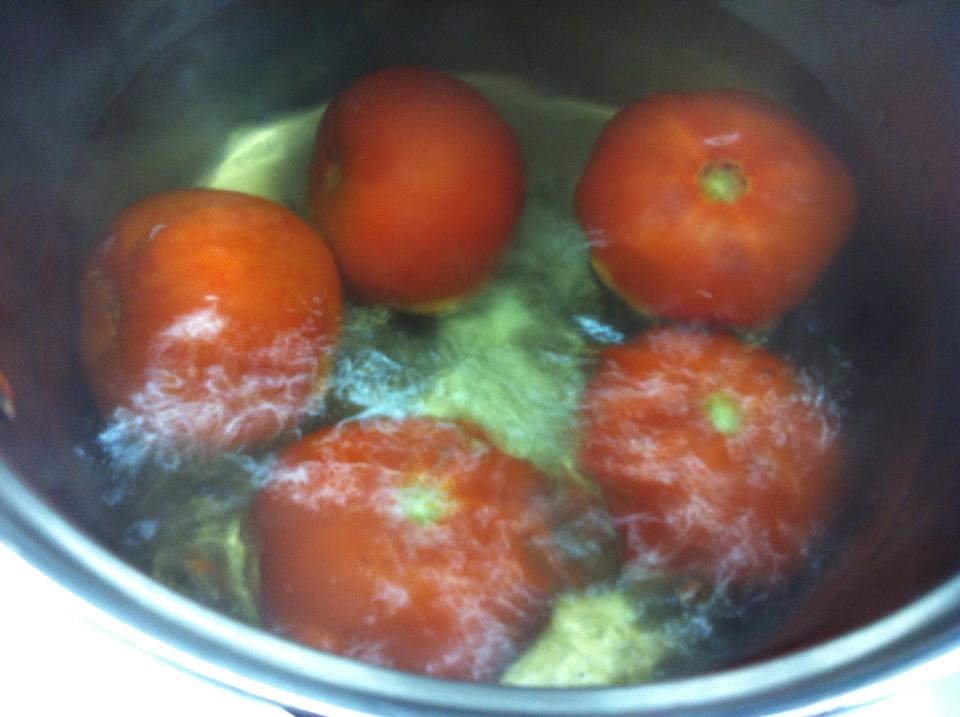
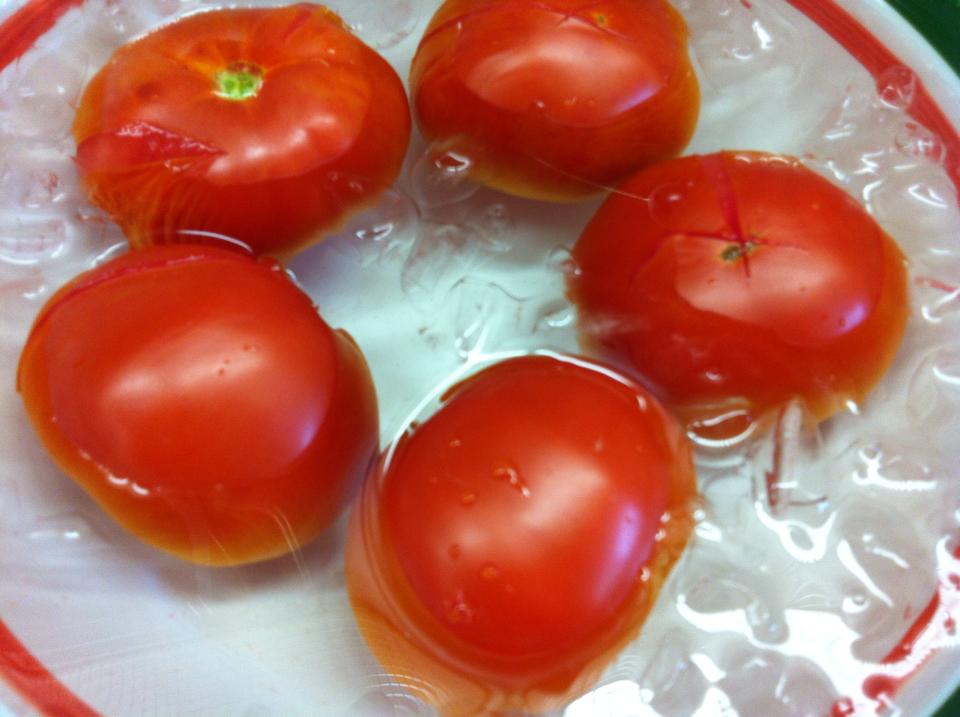
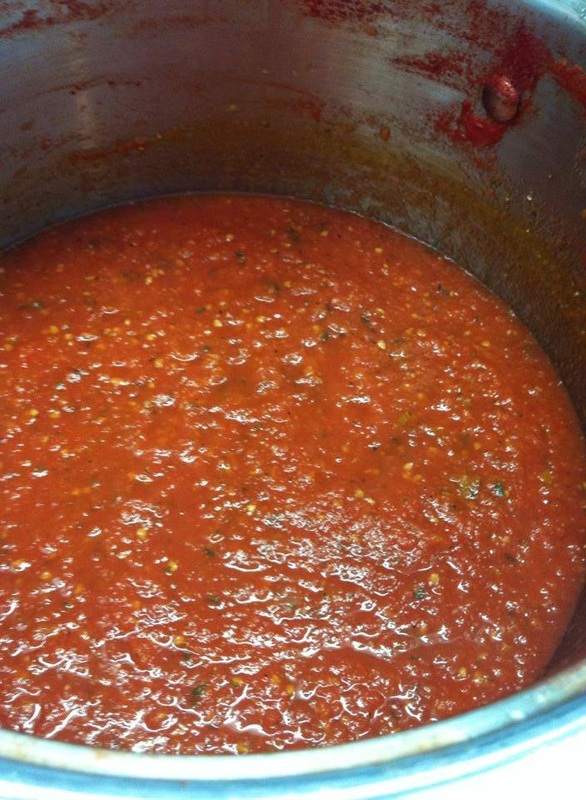
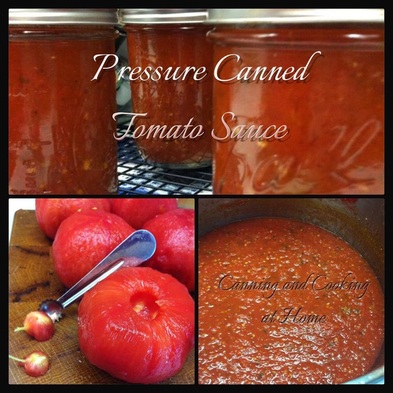
 My second venture into Pressure Canning lead me to my favorite! Tomato Sauce (they call it Spaghetti Sauce without Meat) but, this sauce is way more versatile then for JUST pasta. I use this in casseroles, lasagnas, pizza sauce, soups, stews, meatball subs, dipping sauce, chili and so much more but, yes, great on pasta too - Enjoy! Diane Tomato Sauce (Spaghetti Sauce without Meat) 30 lbs tomatoes 1 cup chopped onions 5 cloves garlic, minced 1 cup chopped celery or green pepper** 1 lb fresh mushrooms, sliced (optional) 4-1/2 tsp salt 2 tbsp oregano 4 tbsp minced parsley 2 tsp black pepper 1/4 cup brown sugar 1/4 cup vegetable oil Yield: About 9 pints Procedure: Caution: Do not increase the proportion of onions, peppers, or mushrooms. Wash tomatoes and mark bottoms with an "x" using sharp knife. Dip in boiling water for 30 to 60 seconds or until skins split. Dip in cold water and slip off skins. Remove cores and quarter tomatoes. Start boiling when you have one pound ready and keep adding - leaving at a boil. Boil approx. 20 minutes, uncovered, in large saucepan. Put through food mill or sieve. Saute onions, garlic, celery or peppers, and mushrooms (if desired) in vegetable oil until tender. Combine sauteed vegetables and tomatoes and add remainder of spices, salt, and sugar. Bring to a boil. Simmer uncovered, until thick enough for serving. At this time the initial volume will have been reduced by nearly one-half. Stir frequently to avoid burning. Fill jars, leaving 1-inch headspace. Adjust lids and process according to the recommendations - *depending on the method of canning used. I pressure canned for 20 minutes (at 13 lbs of pressure because I am at altitude) **RECIPE NOTE: I used an immersion blender once juice was cooked down and ran thru sieve. I used half green pepper and half green chile in place of all green pepper and I did not add mushrooms. I also did add 1 tbs lemon juice to each jar before processing just by preference in knowing the acid level is high enough. Recipe Via: National Center for Home Food Preservation Photos by: Diane Baker for Canning and Cooking at Home
0 Comments
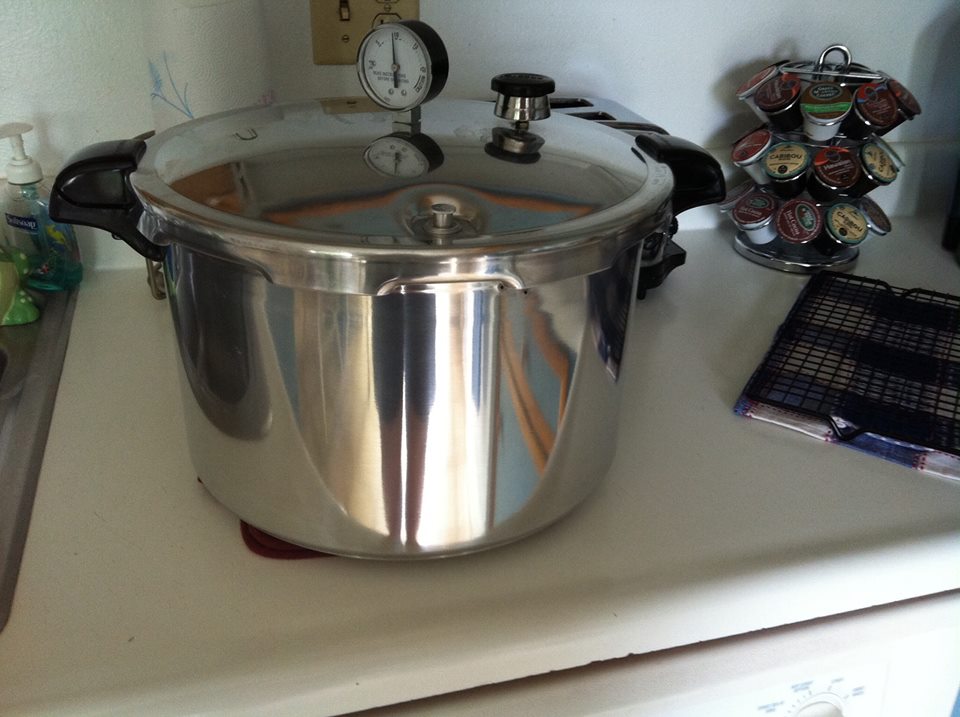
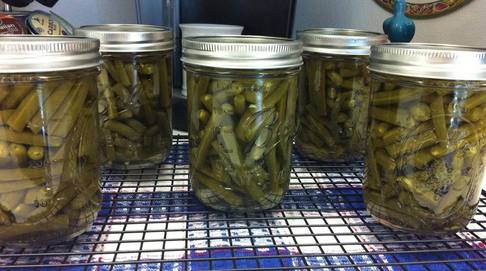 Farmer's Markets are in full swing now and my freezer was filling up. Thought it was perhaps time to break down and buy a Pressure Canner. Since I love cooking and have many vessels for that - I decided not to buy the more expensive (non aluminum) Canner. Why? First, the one I bought was 1/3 the price. Second, I will not be cooking in the pressure Canner/Cooker (I only want to Pressure Can my jarred goods from my Summer Garden and the Farmers Markets in town. I also asked a few friends what their preference was and got some great reviews from people who owned the Presto Pressure Canner/Cookers. I had settled on the exact model I wanted. Once I got to the store to look them over, I realized my need outweighed my want. The 23 Qt which I initially planned on buying was just way too big for my families needs. I happily bought the 16 Qt. (interestingly enough both models hold 7 Qts. max) its the half pint and one pint sizes that vary in quantity/load. I brought my new purchase home (and bonus, I had a 20% off coupon *which just meant that I was paying the going price if I had gone to a "big box" store...) Fearing the worst imaginable I made certain that I read the instructions from front to back and read it about 20 times - LOL. I even went on YouTube and watched different people using the Canner. I watched and listened to each "instructor" and compared what they did and said to the Presto instructions. Most were the same but, in viewing many, I got a comfortable feel for what I was about to tackle. There are little things that surprised me. Coming from Boiling Water Bath Canning - I was surprised that no matter the size of jar - the Pressure Canner only gets 3 Qts of water added to the pot!! (of course, always follow YOUR canners instructions) What! that cannot be true (yes, it is - I even double checked with a friend that owns the exact model) I was ecstatic - no GIANT POT OF BOILING WATER!! I did all Presto suggested: cleaned all the parts *they get a dark black grit on them from oxidation and packing gunk, I checked the Dial Pressure Gauge for proper working order *you can have a local extension check it or Presto tells you how in their manual, I peeked through the vent pipe to make sure it was "clear" YEP! I made sure all safety precautions offered by Presto were followed. I was ready to get Pressure Canning!! I had bought 4 Lbs of fresh Colorado Grown Green Beans to Can. So Simple too. Best recipe to start with - at least that's what I think. I washed and trimmed my beans, leaving them in about 1 inch pieces. I packed them into hot jars (that had some salt added to the bottom of each jar) and poured boiling water over beans to the proper head-space. Adjusted the lids and bands (fingertip tight) and READY to Can!! I looked up my processing time and double checked the pressure needed for my altitude and I was off and running (or, err...canning) My notes to you are that you read the manual and get comfortable with the equipment. Remember to follow ALL the steps that Presto writes in their manual (which can also be found online!) I read that after 1980 a lot more 'safety features' were added to take the 'fear' out of pressure canning. In closing, I wrote this little post to let people know that after many years of Boiling Water Bath Canning - Pressure Canning will seem like a super easy transition! Plus, there is no need to sterilize jars for Pressure Canning (bonus!) :) Diane  Spinach Quiche with Garden Tomatoes Spinach Quiche with Garden Tomatoes This makes a wonderful addition to any breakfast or brunch (it is truly an "anytime" meal!) Enjoy! Diane
Spinach Quiche with Garden Tomatoes Ingredients: 1/2 Pie Crust (yes, I used pre-made) 2-3 small-medium tomatoes, sliced 1 (10 oz) box frozen spinach 1 teaspoon minced garlic 5 large eggs 1/2 cup 2% milk* 1/2 cup heavy cream* 1/4 cup grated parmesan cheese 1 cup shredded cheese (I used cheddar + mozzarella)* salt & pepper, to taste dash of nutmeg Directions: Prepare the pie crust (you can make homemade or use pre-made pie crust) Preheat oven to 350F degrees. If your frozen spinach is not already thawed, thaw it in the microwave per box directions. Drain the spinach in a colander while you prepare the rest of the ingredients. While the pie crust is pre-baking, whisk together the eggs, milk, garlic and parmesan cheese until combined. Sprinkle with salt and pepper and nutmeg. Set aside. Squeeze the rest of the water out of the thawed spinach. After 11 minutes, remove the pie crust from the oven and spread spinach on top. Add the shredded cheeses. Pour the egg mixture on top. Scatter sliced tomatoes around quiche. If desired, sprinkle the top lightly with more pepper. Bake the quiche until it is golden brown on top and the center is no longer jiggly. Depending on your oven, this will take anywhere between 45 minutes - 1 hour. Mine took 50 minutes. Use a pie shield to prevent the pie crust from over browning, if desired. I do turn my broiler on low and let the quiche brown a bit more (approx 2 mins) Allow to cool for 3 minutes before slicing and serving. This quiche makes great leftovers! Store tightly covered in the refrigerator for up to 4 days. Baked quiche freezes very well, up to 2 months. *1 Cup Whole milk is heavily preferred for creamiest texture, though your favorite milk may be used instead - keeping in mind the creamy texture will be compromised. (I used half 2% and half heavy cream) *Use 1 cup total of your favorite cheeses. Try to avoid using 1 whole cup of a strong tasting cheese like feta. You could do 1/2 cup cheddar, 1/2 cup feta. Or 1/3 cup goat cheese, 2/3 cup mozzarella. Or 1/2 cup swiss, 1/2 cup cheddar. Get creative! Recipe & Photos by: Diane Baker for Canning and Cooking at Home 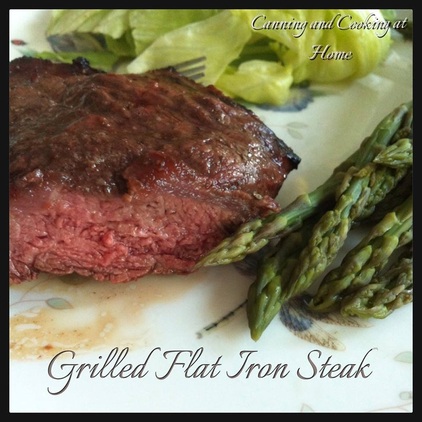 Flat Iron Steak Marinade
2 Tbs Balsamic Vinegar 2 Tbs Soy Sauce 2 Tbs Worchestshire Sauce 2 Cloves Garlic, Minced Extra Light Olive Oil Place steak in a glass baking dish. Stir all ingredients except olive oil together and pour over meat - flip to coat meat well cover and let marinade in fridge for 2+Hours minimum. 30 mins before grilling, take meat out of fridge and right before grilling - shake off excess marinade, place on plate and brush on olive oil. Grill approx. 12 mins per side, until internal temp reaches a minimum of 135. Remove from grill and cover with foil on plate, let rest 5-10 minutes before serving. Recipe Adapted from : Catherine Mayhew Photos by: Diane Baker for Canning and Cooking at Home 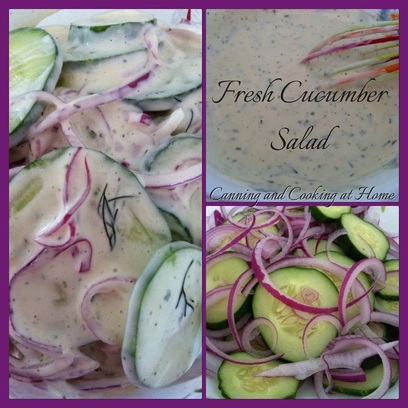 Fresh Cucumber Salad
Dressing Ingredients: 3/4 cup buttermilk 1/2 cup mayonnaise 1 Tbs chopped dill 3 Tbs chopped parsley 2 Tbs chopped chives 2 Tbs sour cream 4 teaspoons white wine vinegar or lemon juice 1 medium garlic clove, finely chopped 1/2 tsp kosher salt 1/8 tsp freshly ground black pepper Add to Dressing: 1 small red onion, thinly sliced 2-3 larger pickling cucumbers, sliced Directions: Whisk together all ingredients in a bowl. Taste and season with additional salt and pepper if needed. Refrigerate until chilled and the flavors have blended, about 1 hour. Fold dressing into bowl of sliced cucumber and red onion. This should last up to 3 days in the refrigerator. Recipe & Photos by: Diane Baker for Canning and Cooking at Home *This is a sharing post with recipes of similar type shared with you all - please make sure to check out Sumptuous Spoonful's link below - which has MORE great Cucumber and Tomato related recipes! https://www.facebook.com/SumptuousSpoonfuls/photos/a.165784163519595/1713306085434054/?type=3 |