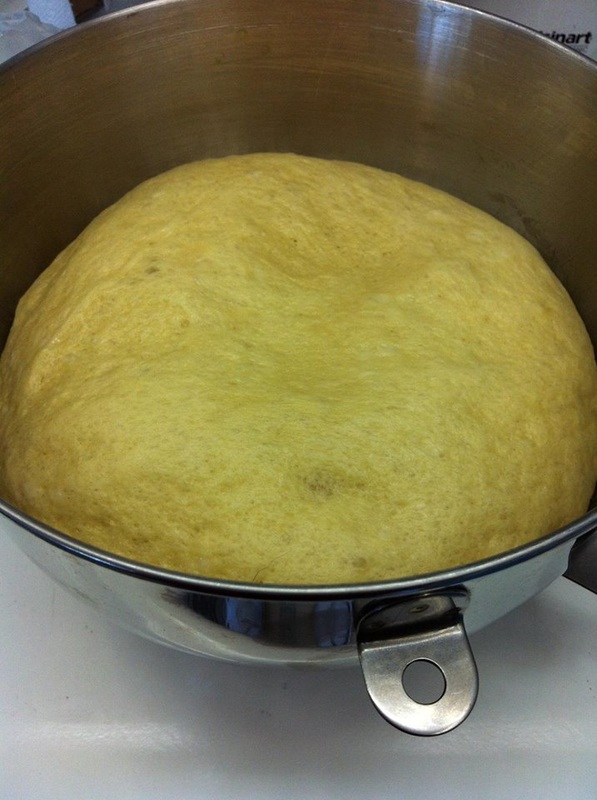
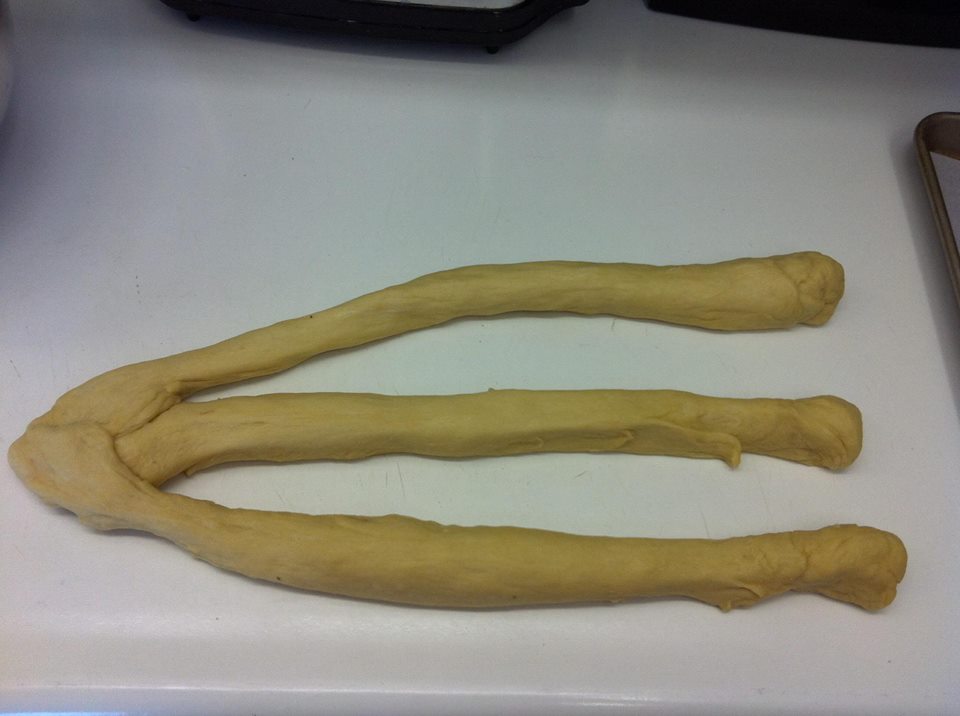
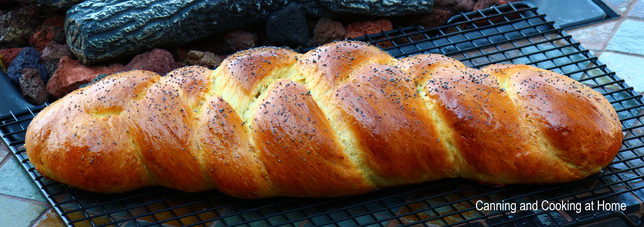
 Traditionally Challah is double stranded (meaning 6 strands that create 12 'humps') The strands, arms intertwined, symbolize love, truth, peace, creation, freedom, harmony, family connection, unity and justice. Rather poetic isn't it? Challah is a celebrated bread in the Jewish community and it's challah that heralds the Sabbath. Who knew one bread (or two loaves, traditionally) was so intertwined with Faith and beautiful meaning/s to so many. I grew up having so many Jewish friends, coworkers and my employer for a decade was Orthodox Jew - I loved learning all about their religion and customs. I decided to try and bake my very first Challah bread today. I really do think that my Dear friend Sylvia was watching over me!! I have never considered myself a good baker - at all. I think it amazes me more then anyone else that this bread turned out so well... I hear Sylvia right now - silently whispering "mazel tov Diane" ~Enjoy! Diane Challah Bread Bread 3 Cups unbleached white all-purpose flour, divided 1 Tbs active dry yeast 1/2 tsp sugar, for yeast/sponge 1/2 tsp salt (table salt) 1/2 cup warm water, divided (90-110 or temp your yeast needs) 2 1/2 Tbs plus 1/2 tsp sugar 1/4 cup vegetable oil 1/2 tsp kosher salt 2 eggs,at room temperature Topping 1 egg 1 Tbsp water, cold 2 Tbsp poppy seeds Instructions Using electric mixer with dough hook at slow speed (2). Place 2 cups of the flour in the mixing bowl, make indentation into flour, and place yeast and sugar in indentation. Add 1/4 cup of the water and mix. When sponge rises (approx. 5 mins), add eggs one at a time and blend thoroughly. Then add salt, remainder of the flour along with warm water, oil, and sugar. If batter is too loose add flour and bring dough to an elastic state. If batter is too tight, add a bit of water. Let machine and knead 3 to 4 minutes more. Place dough ball in a greased bowl, cover, and let rise to double in size (approx 1 1/2 hours.) Punch down dough and remove from bowl. Challah requires 6 braids, however, this is a 3 strand braid - it's a lot easier. Cut dough into three pieces. Form each piece of dough into 3 equal strands at 14” long. Pinch the tops of the 3 strands together and braid the dough. Place on a lightly corn meal covered, parchment paper lined cookie sheet. Cover and let rise for the second time, one hour. Preheat oven to 400. Slightly beat the egg and cold water to make an egg wash. Brush egg wash on top of loaf and and then sprinkle poppy seeds on top. Bake for 15 minutes then change the temperature to 350°F. Total baking time should be about 30 minutes. Yield: One Loaf Recipe Adapted from: Bob Losch Photos by: Diane Baker for Canning and Cooking at Home
0 Comments
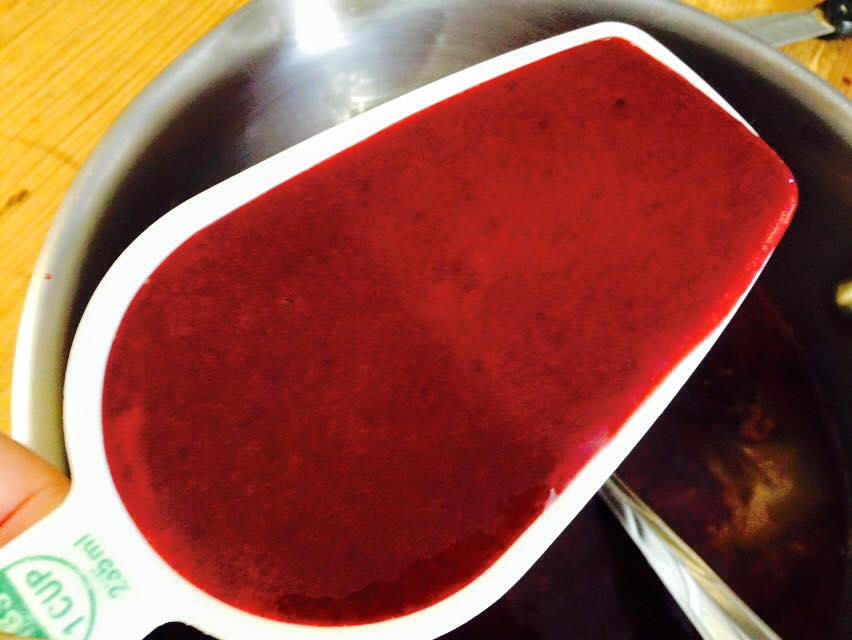
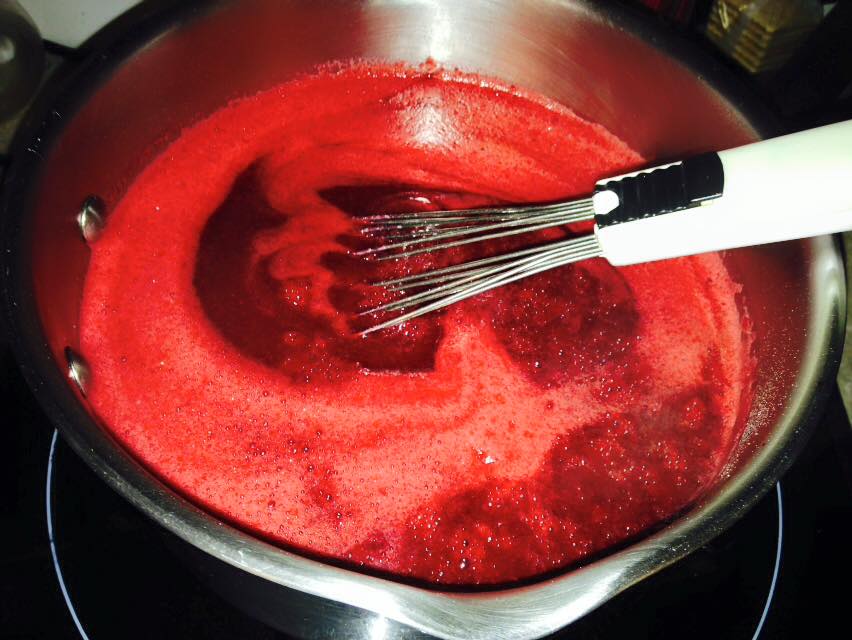
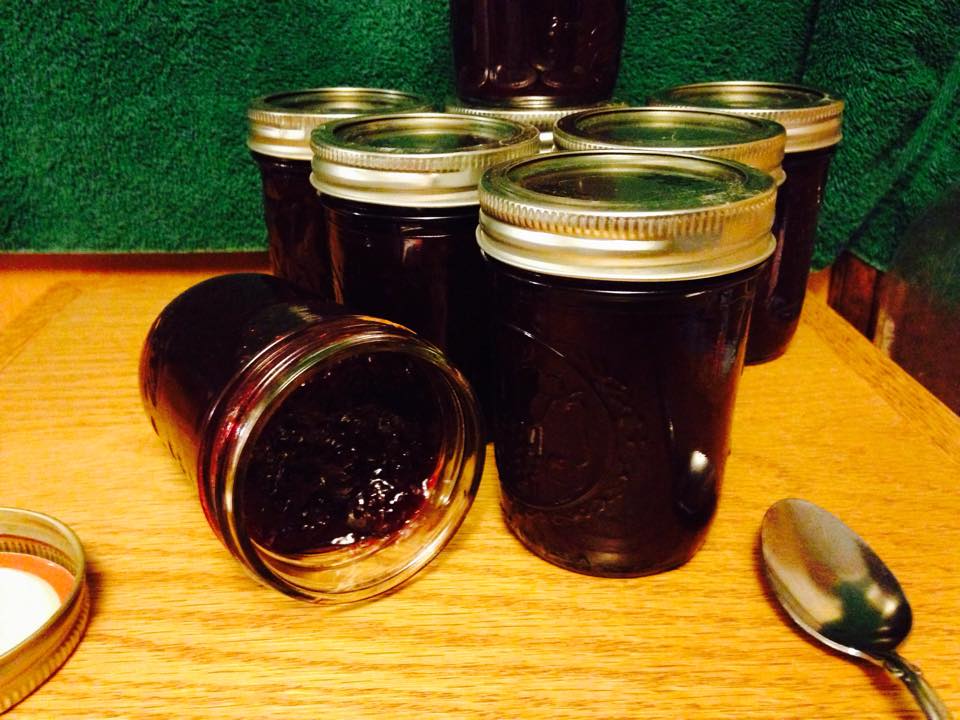
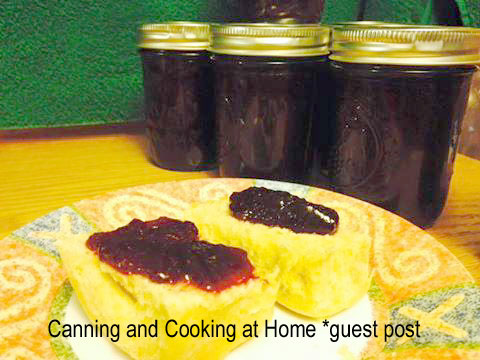 Blackberry Jam {Seedless} ..."I have been making blackberry jam every year since my blackberry bushes started producing enough fruit, about 5 years ago. This was my first try at "seedless", and I may never go back to using the whole berries again. I ran these through the juicer 5 times, to be sure and get as much of the juice and pulp as I could. The result was a very pulpy juice, and the texture of the jam is unlike any I've ever made. Not chunky enough to be jam, or clear and "glassy" enough to be jelly. It's a thick fruit butter like jam, with the amazing full flavor of blackberries, without seeds. BTW I dehydrated what was left of the seeds and pulp, as a tasty treat for the egg lady's chickens ..." JD Provence Blackberry Jam {seedless} Ingredients: 5 Pounds Blackberries (5 cups juice) 5 Cups Sugar 1 Package Pectin 1/2 tsp butter *optional Directions: If seedless is desired, juice berries in juicer. Measure 5 cups prepared juice into large saucepan. Measure sugar into separate bowl. Remove 1/4 cup sugar and mix with pectin in separate small bowl and add to juice. Bring juice to full rolling boil, add remaining sugar, plus 1/2 Teaspoon butter, *if desired, to reduce foaming. Bring back to full rolling boil and boil exactly 1 minute. Remove from heat, scrape any foam from top, fill prepared, sanitized jars to within 1/4" of top, for proper head-space. Process in Water-Bath canner for 15 minutes, adjusting time for altitude/elevation. Remove from canner, place in draft free area, on cooling rack or towel, until completely cooled. Wash, label and store without rings. Store any unsealed jars in fridge for immediate use. Yield: 7 half-pints Recipe & Photos by: JDP for Canning and Cooking at Home 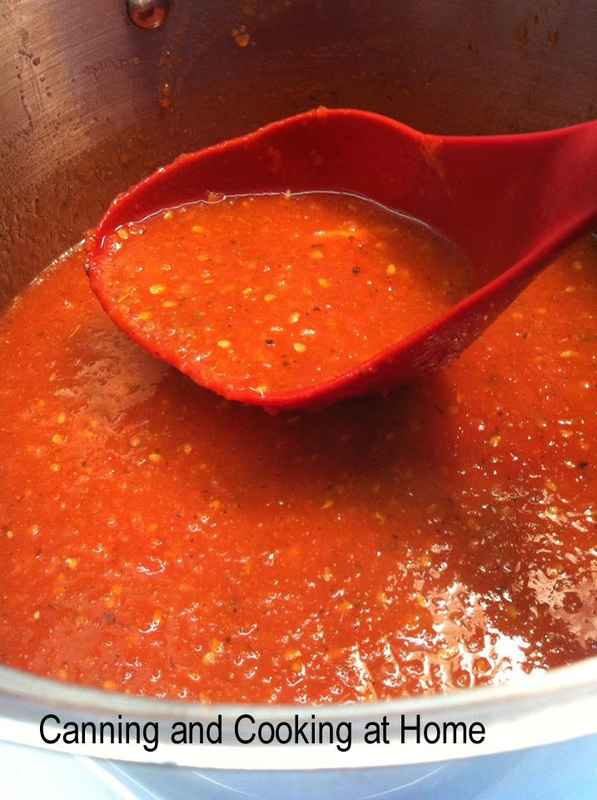 This recipe is an approved recipe from Ball Fresh Preserving (do not make any adjustments to quantities listed.) The ONLY "additional" work that needs done to make this more of a Pizza Sauce then a Pasta Sauce is adding a Cornstarch/Water Slurry *when opening the jars for reheating/use. This is a versatile sauce - you can use it "as-is" as a great and simple Pasta Sauce but, using approx. 2 Tbs Cornstarch/1 Tbs water *enough water to make a thick slurry - should thicken up this sauce into nice sauce for spreading onto homemade pizza dough - you can thicken, once opened to your desired sauce. I have used tapioca flour and even clear-jel to thicken in a slurry mix - all three work great. ~Enjoy! Diane Basil-Garlic Pizza Sauce Ingredients:
DIRECTIONS: Prepare boiling water-bath canner. Heat jars and lids in simmering water until ready for use. Do not boil. Set bands aside. Wash tomatoes; drain. Remove core and blanch tomatoes. Remove tomato skins, cut into quarters. Set aside. Saute onion and garlic in olive oil until transparent. Add in tomatoes. Bring to a boil. Reduce heat and simmer 20 minutes, stirring occasionally. Puree mixture with an immersion blender, a food processor or kitchen blender, working in batches. Strain puree to remove seeds if preferred. Combine tomato mixture and fresh basil in large sauce pot. Bring to a boil. Reduce heat and simmer until volume is reduced by half, stirring to prevent sticking. Add ¼ tsp Citric Acid or 1 Tbsp bottled lemon juice to each hot pint jar. Ladle hot sauce mixture into hot jars leaving 1/2 inch head-space. Remove air bubbles. Wipe rim. Center hot lid on jar. Apply band and adjust until fit is fingertip tight. PROCESS filled jars in a boiling water-bath canner for 35 minutes, adjusting for altitude. Remove jars and cool. Check for seal after 24 hours. Lids should not flex up and down when center is pressed. Clean jars, label and store without bands. Yield: 7 Pint Jars Recipe adapted from: Ball Fresh Preserving "Tomato Sauce" Photos by: Diane Baker for Canning and Cooking at Home 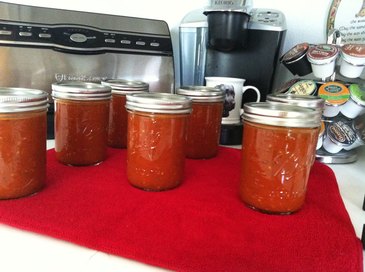 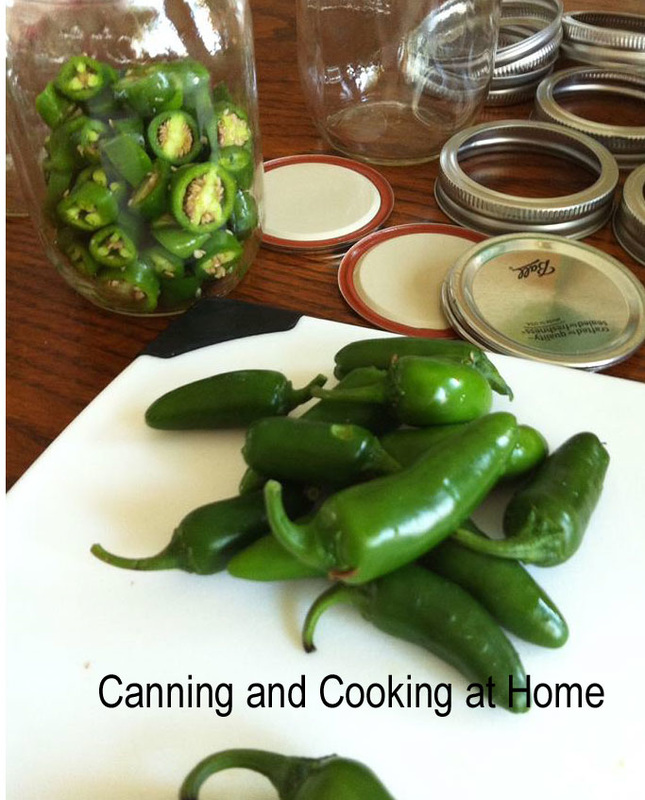 I grow jalapenos in my Wee Garden every year and most times we flash freeze them for soups and stews that will be made in the Fall and Winter. This year I decided I would gather up all the jalapenos and 'candy' them. A deep 'sugary heat' develops from the brine/syrup and is perfect for grilling. The candied jalapenos are superb served with softened cream cheese and crackers. I'm thinking this year I might try mixing some with bacon crumbles for some special cowboy biscuits! Make sure to let your processed jars mellow for at least 2 weeks before eating - and also, 'can' any leftover syrup - trust me - you won't be sorry! ~Enjoy! Diane Ranch Candy (candied jalapenos) INGREDIENTS:
DIRECTIONS:
Allow to mellow for at least two weeks, but preferably a month before eating *If you have leftover syrup, can it in half-pint or pint jars, too. It’s wonderful brushed on meat on the grill, brushed onto bacon as it cooks or added to potato salad etc... Yield: Approx. 4-6 half pints 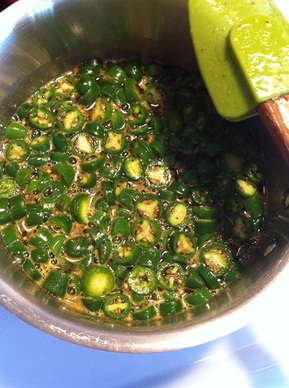  Chicken Alfredo {One Pot} Chicken Alfredo {One Pot}
Ingredients: 2 tsp olive oil 4 cloves garlic - minced 2 Tbsp butter 1/4 tsp salt 1/2 tsp pepper 32 oz chicken stock 1/2 lbs pasta noodles *fettuccine, spaghetti, or thin spaghetti work best 1 cup grated Parmesan cheese 3/4 cup heavy cream 2 Tbsp chopped fresh parsley 1 Pint Pressure Canned Chicken *you can add in 2 cups cooked chicken or shrimp Directions: In a pot, add olive oil and bring to med-low heat. Add garlic and stir, cooking for 1-2 minutes. Mix in the butter until melted. Add salt, pepper and chicken stock to pot. Raise heat to High and let it come to a boil. Add pasta and cook according to package directions. Once noodles are cooked to your liking, reduce heat to medium and mix in Parmesan cheese until melted, stir in heavy cream just until warmed thru. Turn off heat add parsley. Serve *if you think your sauce is too runny but, your noodles are done: you can thicken with a little cornstarch/water slurry until your sauce firms up to your liking. **great additions: toss in your choice of veggies for fresh Summer additions...(mushrooms, spinach, kale, squash, zucchini, tomatoes all work great) Recipe & Photos by: Diane Baker for Canning and Cooking at Home |