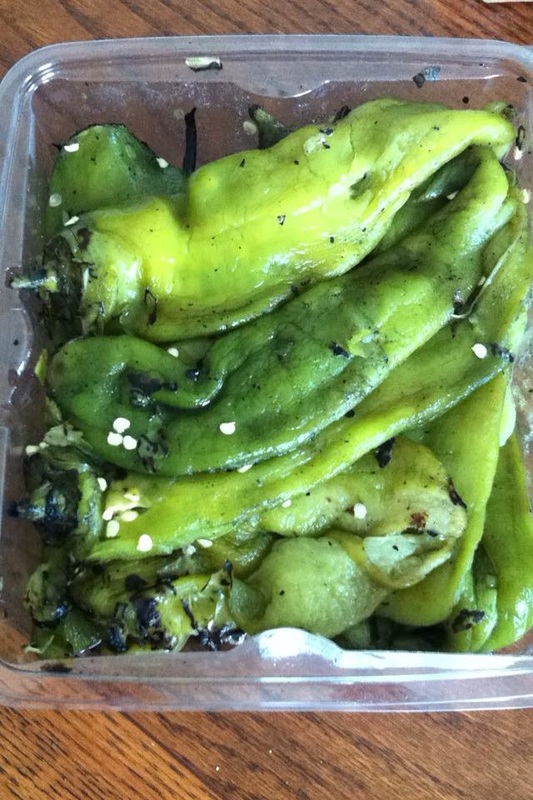
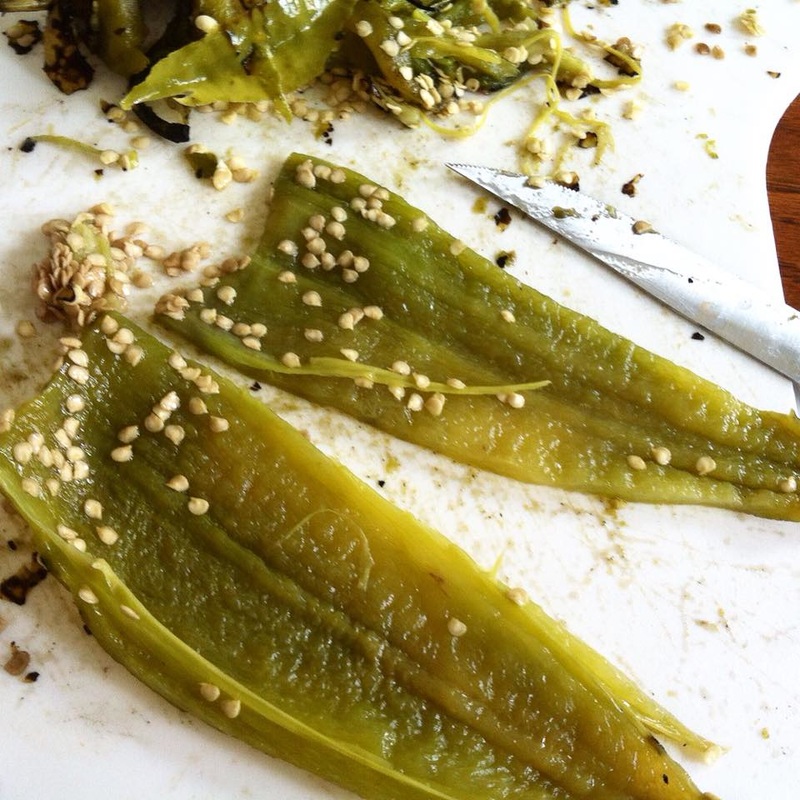
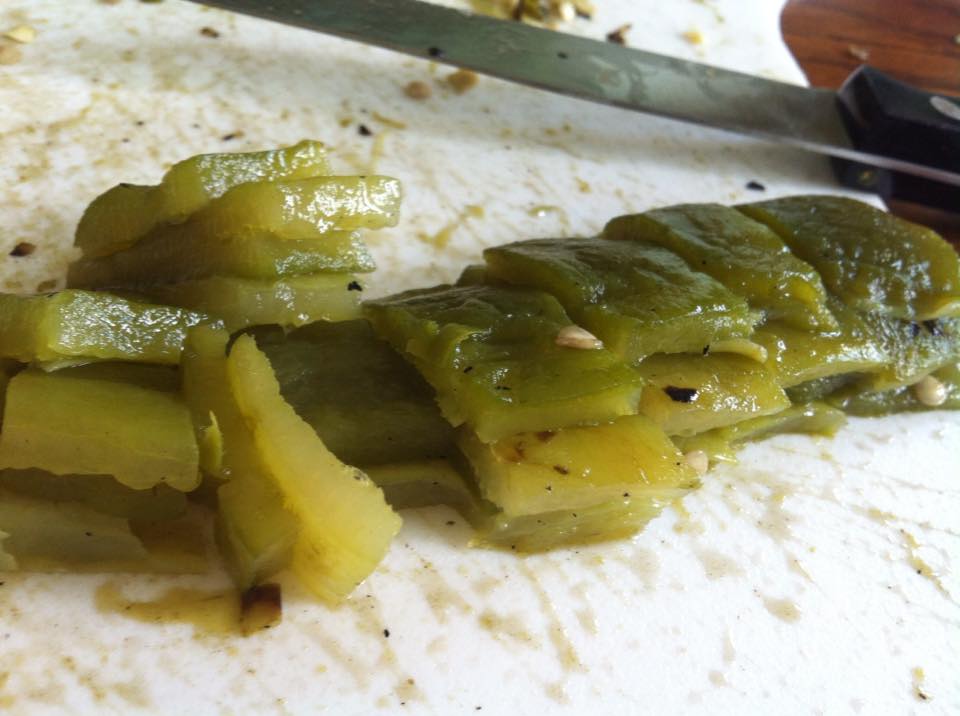
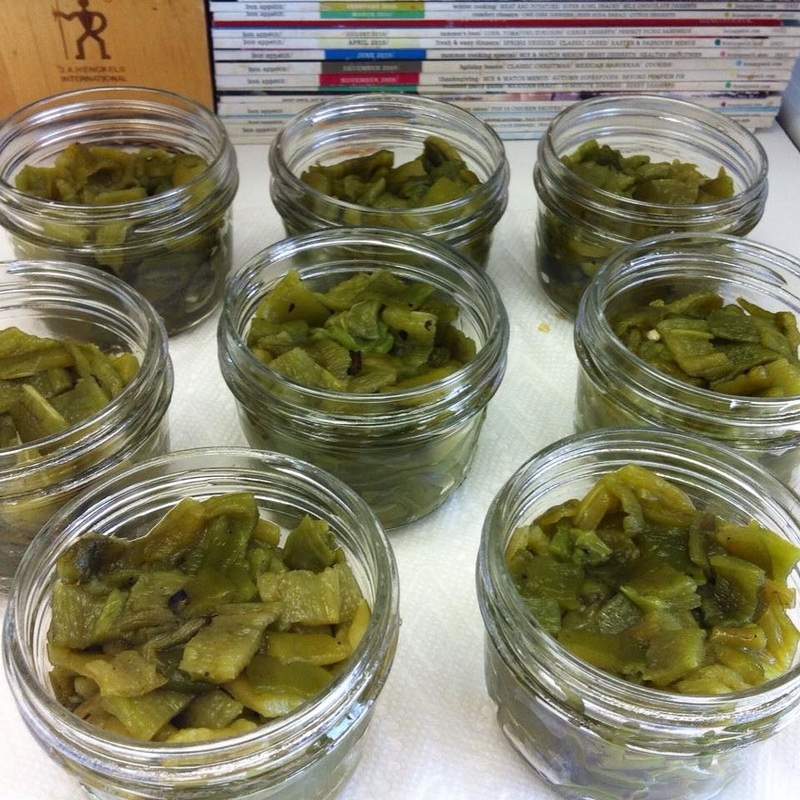
Before moving to Colorado I had never heard of, much less eaten a green chile. I thought people were referring to sweet green bell peppers when I heard them talking about "Green Chile Cook Offs"... by the way, those cook offs are very serious business out here !! Out here in the West - you learn QUICK! Green Chiles are magnificent and even MORE tasty when ROASTED! They are sought after and often hoarded during September. All the local stores carry green chiles and most showcase a large roaster outside, in front of the store - roasting them for you! I know my second question after learning that they are indeed a warm (not sweet) chile was "what do you use them in?" I now get that question all the time from folks back East. I admit, it makes me giggle because I was the same way! My answer now is "what don't I use them in!" they are truly a great addition to ANY recipe! There is the traditional "green chile "chili" and green chile sauce both are usually pork based with loads of nice fat green chiles that help to make up the sauce its cooked in...then broaden out from there to adding it to egg dishes (like my own green chile and onion quiche) placing some into quesadillas, topping them onto grilled burgers and hot-dogs, placing some into dips as well as soups, stews and casseroles - endless ideas. The green chiles have a deep,rich flavor with just a kick of heat. You can buy them usually in medium or hot. I prefer medium and I do remove the seeds and ribs inside the peppers. I also don't rinse the peppers under running water to get the seeds out, I think that washes away the flavors you just roasted into them. Instead, I wear gloves and push the seeds and ribs out by hand. Since New Mexico is "known" for their green chiles, I thought I would use them as a source for proper information on the handling of Roasting Green Chiles for Canning. These will need Pressure Canned so, keep that in mind. Below is the method from New Mexico State University Extension Office. Enjoy! ~Diane Canning Roasted Green Chiles Choose chiles that are mature, heavy for its size, smooth, symmetrical, bright green in color, fresh, and crisp. Avoid misshapen pods, shriveled skin, mold, soft spots, and bruises. Approximately 9 pounds of chiles will make 9 pints of canned chiles. Blistering/Roasting The tough outer skin must be removed from chiles. Blistering the skin by one of the following methods makes removal easy: Wash and dry chile. Use a knife to make a small slit in the side to allow steam to escape. Be sure the heat source is very hot. Turn chiles frequently to prevent scorching and ensure even blistering. Once the skins are evenly blistered, remove chiles from heat and spread out on a flat surface in a single layer to cool before peeling. For a crisper product, dip chiles into ice water as they are removed from heat. For more thoroughly cooked chile, place in a pan and cover with a damp towel for a few minutes. Use one of the following heat sources for blistering chile. Chiles should be roasted for 6–8 minutes, turning occasionally, until the skin blisters and can be easily pulled away from the flesh. Oven or broiler method. Heat your oven or broiler to 400–450°F (205–230°C). Place chiles on a pan in a single layer. Stovetop method. Cover a stovetop burner with a layer of heavy wire mesh. Place chiles on the hot electric or gas burner. Outdoor grill method. Place chiles on a charcoal grill about 5–6 inches above glowing coals, or in a gas grill heated to 400–450°F (205–230°C). If chiles are not processed within two hours after blistering, place them in shallow containers in the refrigerator to prevent spoiling. This applies both to purchased, roasted chiles as well as to those roasted at home. If desired, add 1/4 teaspoon of salt per half pint or 1/2 teaspoon salt per pint. Salt may be omitted since it is used only for flavor. For best results, do not use salt substitutes for canning since heat causes some substitutes to become bitter or develop a metallic taste. Instead, add salt substitutes just before serving. Use regular or wide-mouth Mason jars with self-sealing lids held in place by screw-on metal bands. The bands hold the lids in place during the processing and cooling periods, and can be removed and reused after cooling. Mason jars are made from tempered glass to resist high temperatures. Jars are available in 1/2 pint, pint, 1 1/2 pint, and quart sizes. Larger jars are not recommended for home canning. Do not reuse glass jars or bottles from commercially processed products such as mayonnaise because these jars will not withstand the pressure canner heating process. Inspect jars carefully for cracks or chips and discard faulty ones. Wash jars in hot, soapy water and rinse thoroughly or clean using a dishwasher. To sterilize jars, keep jars hot in the dishwasher, a sink of hot water, or in a warm 180°F oven until they are filled. Check metal screw bands for signs of rust or dents. Discard corroded or dented bands. Use only new lids and follow the manufacturer’s directions for preparing lids for canning. Do not use lids that are missing any gasket compound, dented, deformed, or older than five years from date of manufacture. Remove skins, stems, and seeds from chiles. Chiles can be cut in pieces or left whole. Pack chiles loosely and add boiling water to completely cover chiles. Leave a 1-inch headspace. Using a rubber or plastic spatula or knife that won’t nick or scratch the jar, slice between the chiles and the jar to ease out trapped air bubbles. Use a clean, damp cloth or paper towel to wipe the rim and threads of each jar. Put on a new lid with a screw-on metal band to hold it in place; tighten comfortably. Process using a pressure canner per the NCHFP weight/psi. Process half pints and pints for 35 minutes. New Mexico State University Extension: aces.nmsu.edu/pubs/_e/E308/welcome.html
0 Comments
Your comment will be posted after it is approved.
Leave a Reply. |