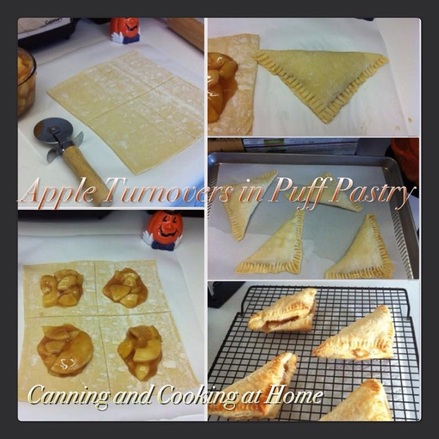
 Remember that Apple Pie Filling I made about a month ago? (recipe under Canning, Jams & Pickling Tab) Well, this one is super easy, pop open a jar of apple pie filling, roll out some store bought puff pastry dough, fold into triangles with filling in the middle (shown above) crimp edges and bake! that's it - couldn't be easier! and you can even go one step more and drizzle with a light confectioners sugar glaze or nutella drizzle...Enjoy! Diane 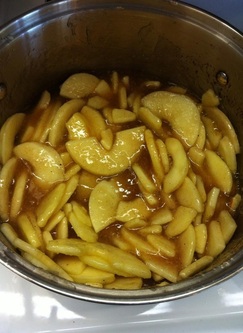
0 Comments
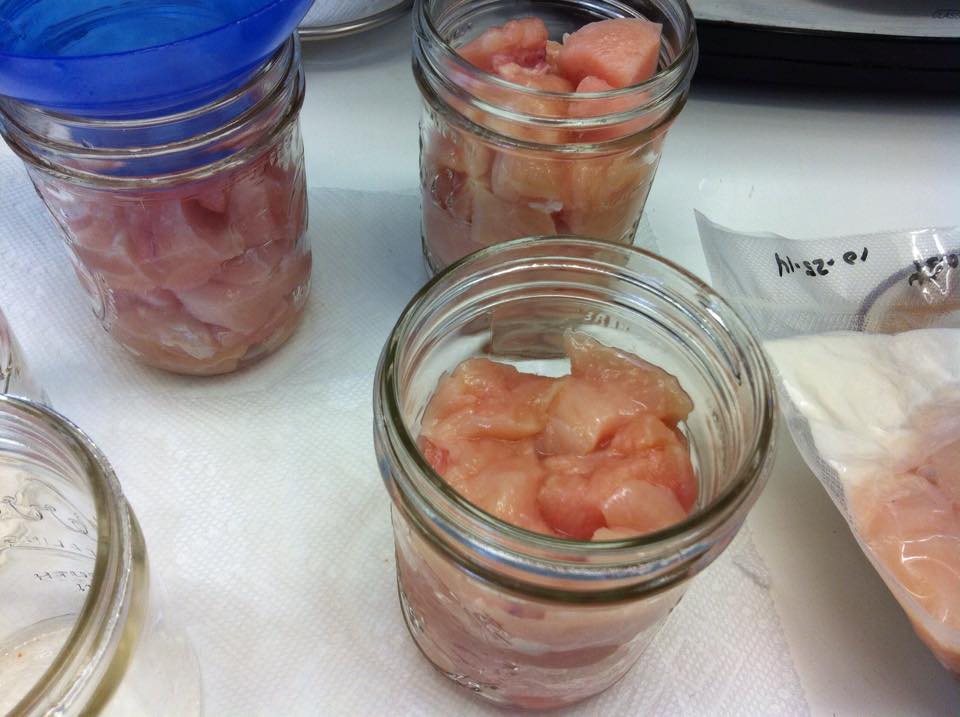
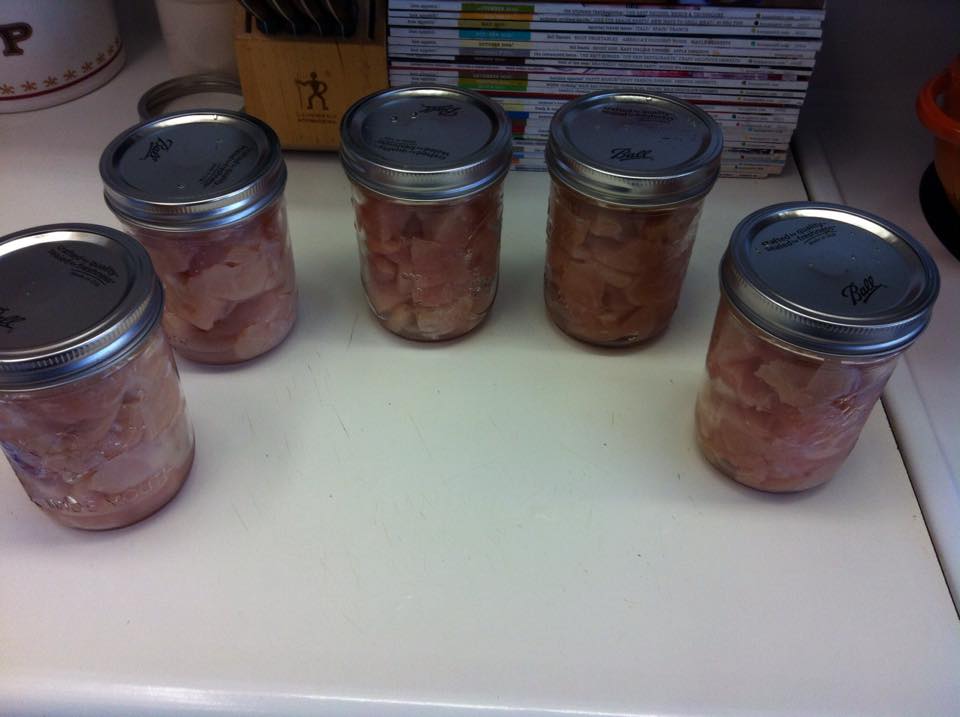
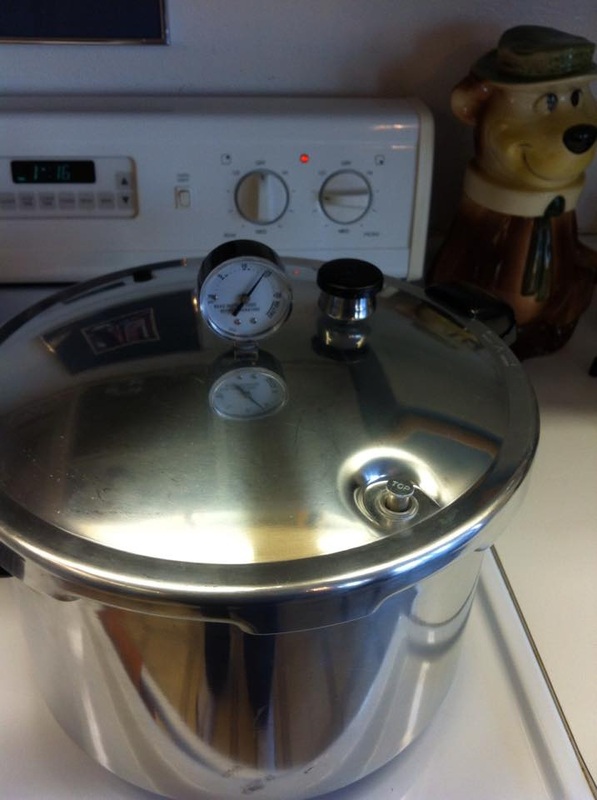
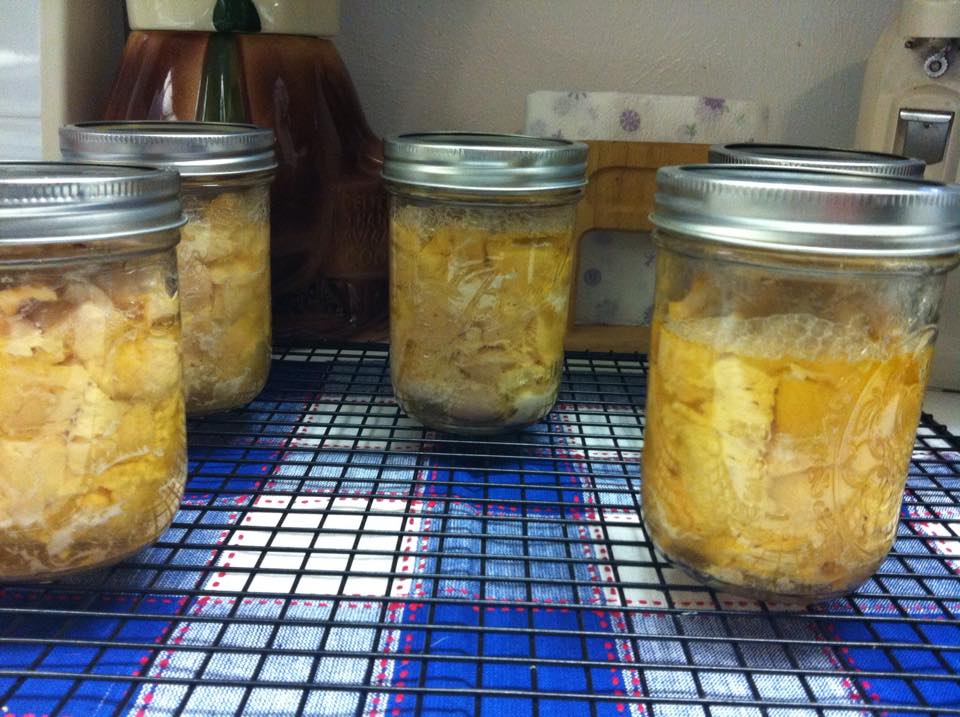
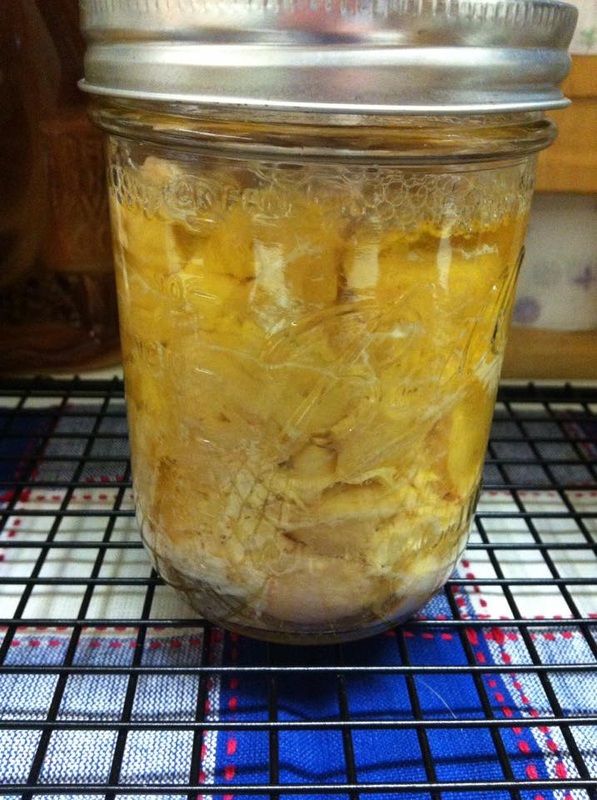
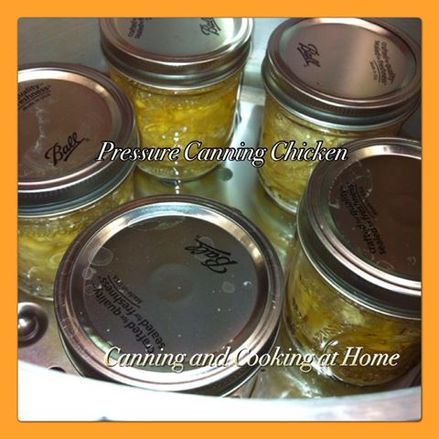 Pressure Canning - bonesless/skinless chicken breast that I got on sale - froze for easy cubing, then raw pack and can. Canned Raw-Pack Chicken Breast Freeze chicken - any chicken will work, boneless or bone-in. I used boneless skinless chicken breast. It's much easier to cut chicken that is slightly frozen! While meat is still frozen chop into chunks, or if using bone-in chicken break bones at the joints. Loosely pack chicken into clean jars, leaving 1-1/4 inch head space at the top. You will not be adding any broth - the chicken will create its own while Canning. Add about 1/4 teaspoon salt to each pint jar or 1/2 teaspoon to quarts (optional but, preferred). I wipe my jar rims with a bit of white vinegar on a paper-towel,to remove any chicken pieces, fat or salt before placing lids on. Attach and secure rings and lids - remember - do NOT over-tighten bands. Place chicken in a pressure canner and process. Processing times at 11 pound pressure (sea level) and adjust pressure for your altitude (I am at 5280 so, I process at 13 lbs) Remove lid from Canner and let rest askew for a good 5-10mins to prevent siphoning of broth. Move jars to a draft free area on a baking rack with a towel underneath for extra measure. Let cool for 24 hours before moving. After 24 hours, remove rings and check to proper seal, wash jars and store without rings until ready to eat. I always suggest boiling the chicken a good 10 mins. upon opening the can to kill any bacteria or spores that may be present... Boneless Chicken: Pints–1 hour 15 minutes. Quarts–1 hour 30 minutes. Bone-in Chicken: Pints–65 minutes. Quarts–1 hour 15 minutes. NOTE: notice too - that my stove is dang near to LOW and yet I hold pressure at 13 pounds (my dial is right at 13.5 and will fall slightly as stove is turned down a bit more) for just about 90mins after venting for 10mins... SO many people think you have the stove on HIGH and everything is about to BLOW... this is not the case, and on the inside of my Presto Canner there is 3 Quarts of water - that's it..just thought you should know :) Recipe Adapted from: Chickens in the Road
Photos by: Diane Baker for Canning and Cooking at Home 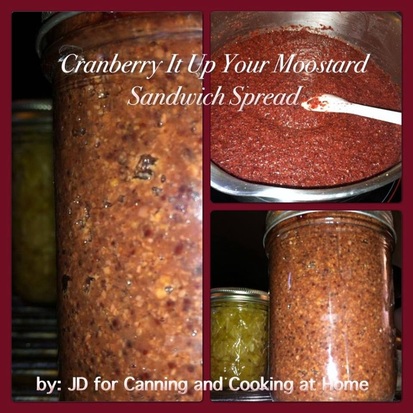 Cranberry it Up! Your 'Moostard' Sandwich Spread
Ingredients: 1 cup red wine vinegar 2/3 cup brown mustard seeds 1 cup Redd's Strawberry Ale 1 Tbsp Worcestershire sauce 1 12 ounce bag fresh cranberries 3/4 cup pure cane sugar 1/4 cup yellow mustard seeds, coarsely ground 2 teaspoons cinnamon 1 teaspoon cloves, ground 1/2 teaspoon nutmeg Directions: Put vinegar and brown mustard seeds in covered glass container and allow to soak overnight. Put seeds with remaining liquid, water, and Worcestershire sauce in blender and process until seeds are mostly ground. Add cranberries and blend until well chopped. Pour mixture to stainless steel or Pyrex saucepan and bring to slow boil over medium low heat, stirring constantly. Add remaining ingredients, and continue heating, over very low heat, until desired thickness is reached. 20 - 30 minutes. Note: Mixture is thick and if allowed to boil, will splatter badly. Once desired thickness is reached, transfer to jars, and either store in refrigerator, or process in water bath canner for 10 minutes, adjusting for high altitude. Recipe Adapted From: Ball Complete Book of Home Preserving Photos by: JD for Canning and Cooking at Home  Bavarian Sauerkraut
..."This was my first attempt ever, at making sauerkraut. I looked at about 10 different recipes and techniques, then came up with my own. It turned out almost exactly how I wanted it. Mild, with just a hint of sweetness." (JD) I started this on October 9th, and let it ferment until I canned it, on November 5th. Ingredients: 1 head cabbage, shredded 1/2 medium onion, chopped 1 apple, peeled and julliened 2 T honey 2 T smoked sea salt 2 T caraway seeds Directions: Place ingredients in non reactive container and mix well. Pack tightly in glass jar or crock, cover loosely and place in cool, dark place for a week to a month, depending on temperature. Try to avoid temperatures under about 50F or fermentation will be too slow, or not occur at all. Avoid temperatures over about 70F or spoilage may occur. You should be able to tell by smell and color when it is ready. If scum forms on top scoop it off. Pack down every 2 or 3 days, and if it begins to float place water filled jar on top. ..."I've never tried this before, it is a recipe I created. Place in smaller jars and store in fridge or waterbath can. Update/Notes: 31 OCT, tasted, not sweet enough. Added 1/2 cup honey, 1 T caraway seeds. 5 Nov, Cold packed, 11 half pint jars: added brine made from 2 parts sugar, 1 part smoked sea salt, and water to cover, for 1/2" headspace. Water bathed 20 minutes. 6 Nov tastes AMAZING!!!..." (JD) makes approx: 11 half pints Photos & Recipe by: JD for Canning and Cooking at Home 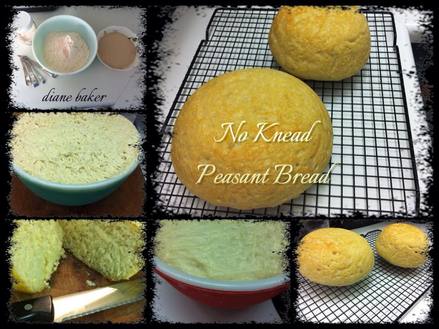 No Knead Peasant Bread (proof yeast, mix ingredients, 1st rise, punch, 2nd rise, bake - that's it!!) Yay! I saw this bread that both food blogger friends Mary & Ann had made...I needed to give it a try. Let me say - this was a super easy recipe to follow and you end up with a truly tasty bread!! so YUMMY! Enjoy ~ Diane Ingredients: 2 cups lukewarm water 2 teaspoons granulated sugar 3 teaspoons active dry yeast 4 cups bread flour or all purpose flour 1 1/2 teaspoons salt 2 Tablespoons butter, softened 1 new plastic shower cap * Directions: First, Preheat your oven to 170 then turn the oven OFF. You want to create your "rising" temperature "bread-box". Next comes "proofing your yeast" making sure its good and 'active' - In a small bowl, dissolve the sugar in the water, then add the yeast. Let sit for 10 minutes or until the mixture creates a foam on the surface of mix. The warm water and sugar activate the yeast and the foam is created by the yeast ''waking up' so to speak - if you do not see foam or any bubbly action, your yeast may be old and inactive. Make sure to always have fresh yeast on hand. As well, if your water temp is too cold - this will not activate the yeast (I use a quick read thermometer to ensure my water is between 105-110 for active dry yeast) In a large mixing bowl, mix together the flour and salt. Pour in the active yeast mixture and stir to mix well - when mixed the dough will get sticky but, still form a semi ball shape (like an elastic ball of dough) Once mixed, spray the top of the dough with cooking spray, cover the bowl with a moist towel or *use a new shower cap and place over the bowl, works great for rising breads!! Let rise in the oven for 1 1/2 - 2 hours. The dough should rise to almost the top lip of the bowl and be wet and bubbly. Take bowl out of the oven and 'Punch" the dough down using two forks. Poke the dough all over the place and then scrape up from the sides of the bowl, set aside. (Preheat the oven to 425 F.) Using the softened butter, generously butter two small Pyrex (or other oven-safe) mixing bowls (about 1 to 1.5 qt in size), take punched down dough and cut the dough in half and put half in each bowl. Spray the top of the loaves with cooking spray, re-cover with a dry towel or the *shower cap from the first rise, and set the bowls on top of the oven for the second rise - I set my bowls near the back of oven where it seems warmer as the oven heats up. Let rise for at least 20 minutes or until the dough has risen to just below the rim of the bowls. (no longer then 40 mins) Remove the towel or shower cap and set the bowls in the oven. Bake at 425 for 15 minutes, then turn the oven down to 375 and bake for 15 minutes longer or until nicely browned on top. When out of oven, immediately turn the bowls over onto a baking rack to remove the bread from the bowls. If the bottom "bowl side" of the bread is too white, set the bread back into the oven - bowl side up - for approx. 5 minutes to brown. Recipe Adapted by: Diane Baker from Sumptuous Spoonfuls - Original Recipe by: Alexandra Cooks Photos by: Diane Baker for Canning and Cooking at Home 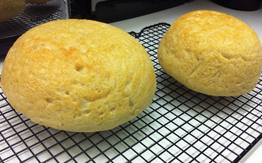 Freshly Baked Bread... 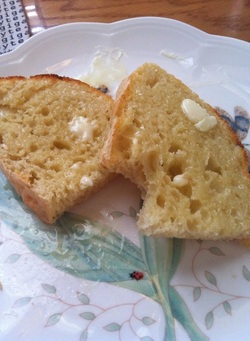 When toasted - this bread has a nice buttery crust all over and has a sweet fresh taste to it. It's a lighter (less dense) bread then typical "sandwich bread" and next time I think I will free form this into focaccia bread and add rosemary and sun dried tomatoes with garlic, just to test it out...
|