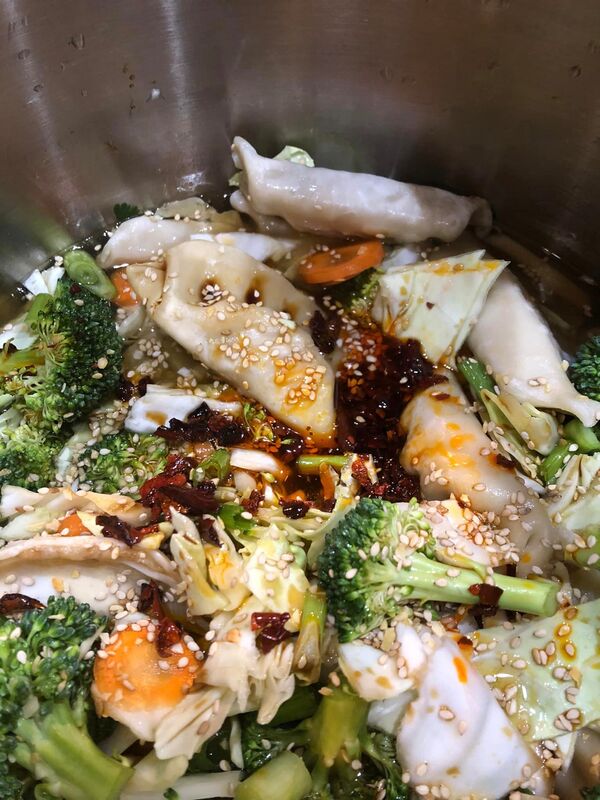
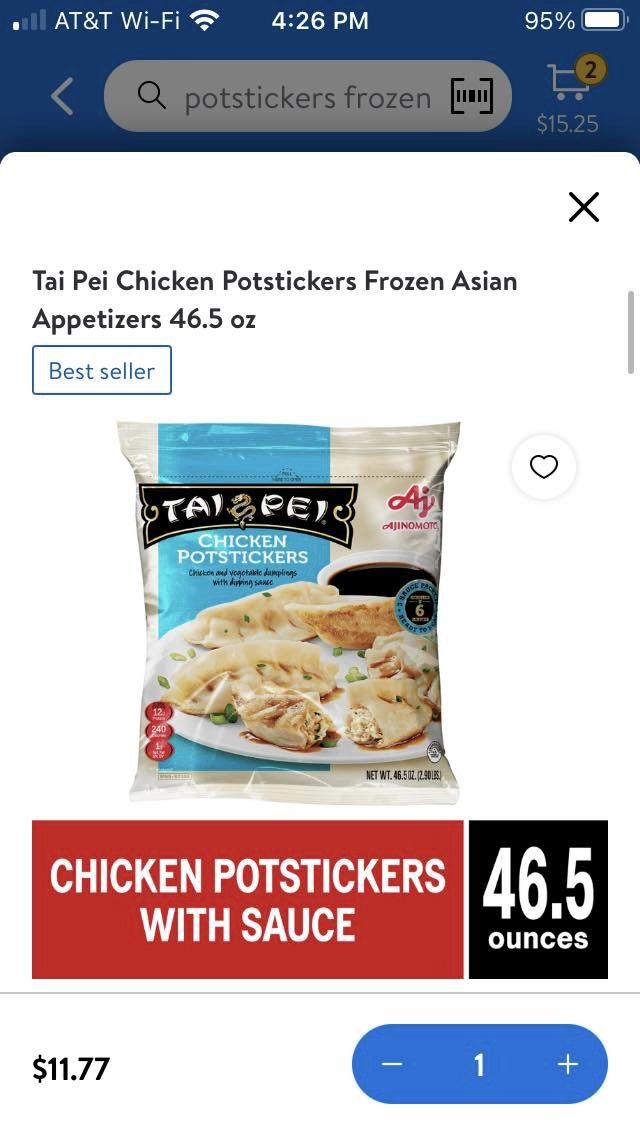
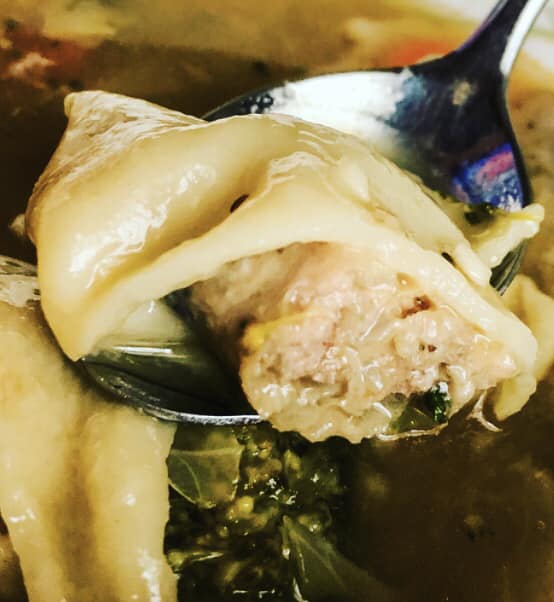
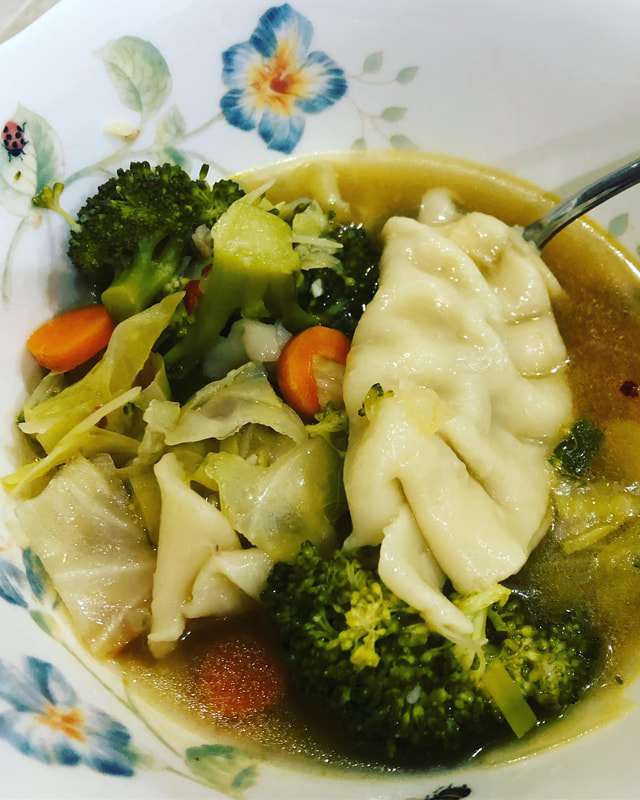
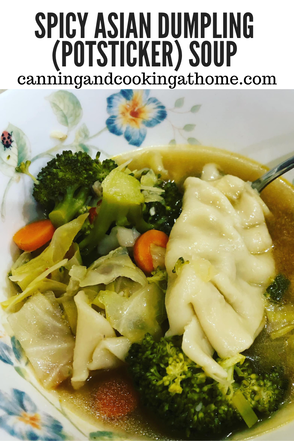
 This spicy soup is full of healthy vegetables and a great way to 'clean out the fridge.' I always make sure to have a large bag of potstickers in our freezer for making a quick meal like this one! Enjoy! Diane Spicy Asian Dumpling (Potsticker) Soup Ingredients: 23 Oz Frozen Chicken Potstickers; I use half a bag of the brand I buy *photo below Broccoli - 1/2 head, cut into florets Cabbage - 3/4 head chopped 5 Green onions - chopped 2 Large Carrots - thinly sliced 2 Quarts Chicken Broth 1 Tablespoon Hot Chili Oil 1 Tablespoon Chili Crisp Paste 2 Tablespoons Soy Sauce 1 Tablespoon Garlic, minced 1 Tablespoon Toasted Sesame Seeds 1 teaspoon Toasted Sesame Oil Directions:
0 Comments
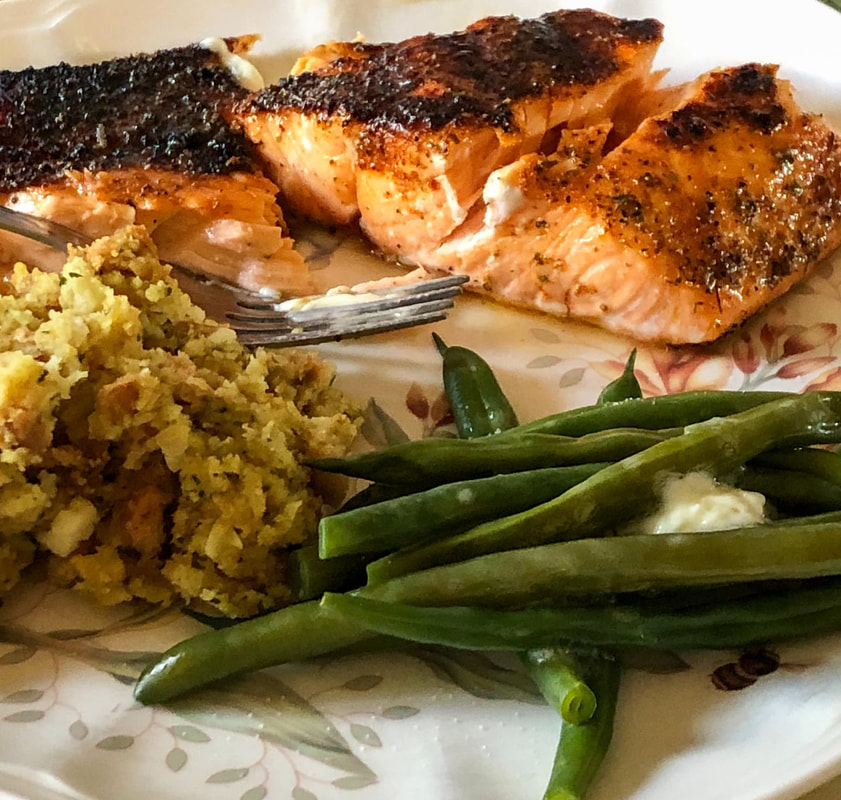
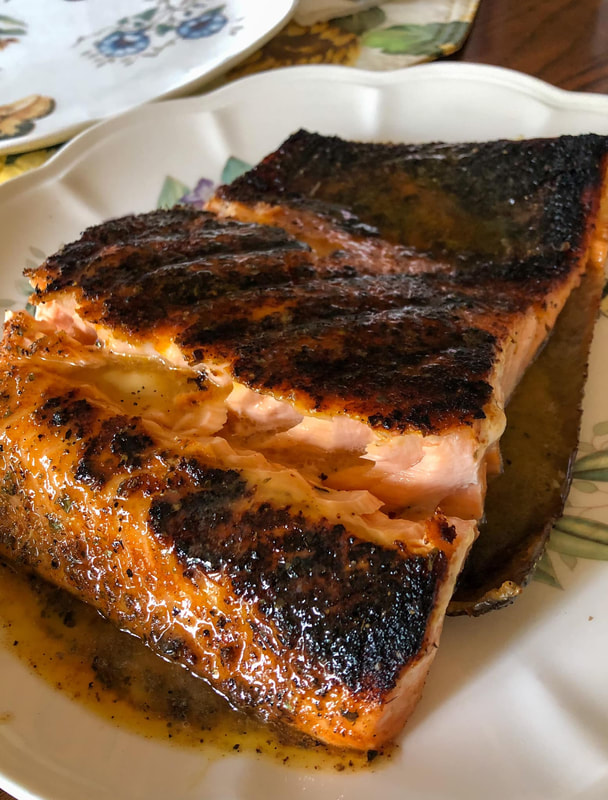
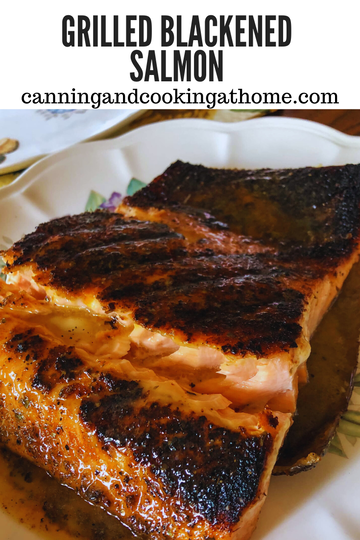 We set the coals of our Big Green Egg off to the side for an indirect fire under the salmon. Using non stick foil we made a lipped edged surface for the salmon to lay on while grilling. We really like the taste of this salmon. This salmon has a spicy little Cajun kick to it and the honey is the perfect sweet to the overall flavor. This blackened salmon is the perfect recipe to try. Enjoy! Diane Ingredients: Salmon
Directions:
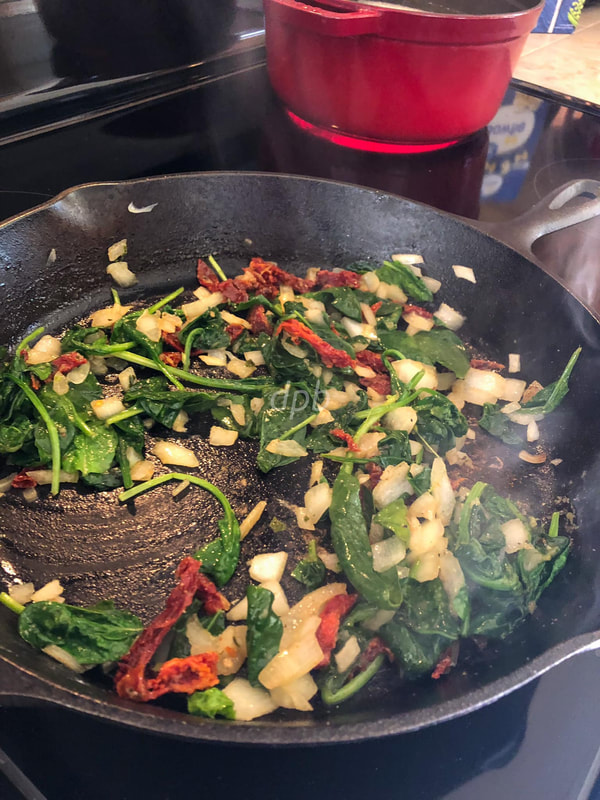
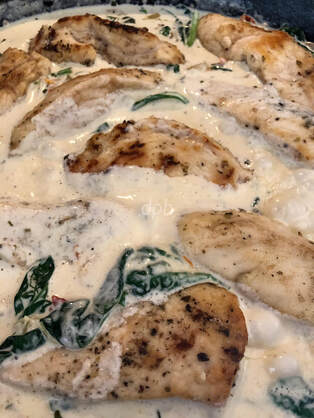
Recipe adapted from: joyful healthy eats 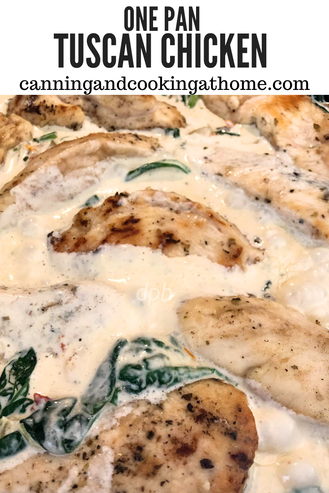 Tuscan Chicken is rich in taste and flavor. You can add some cooked pasta, if preferred. This is an easy one pan dish that comes together quickly. Enjoy! Diane Tuscan Chicken Ingredients:
Directions:
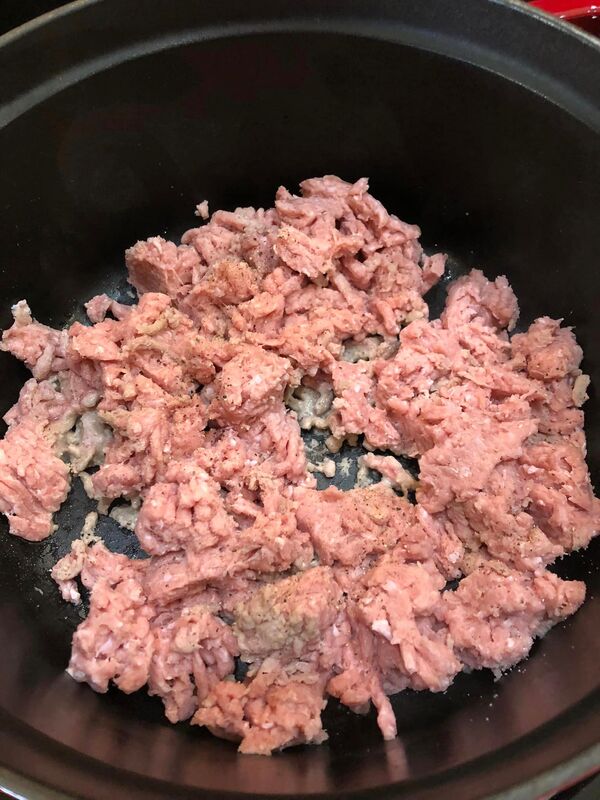
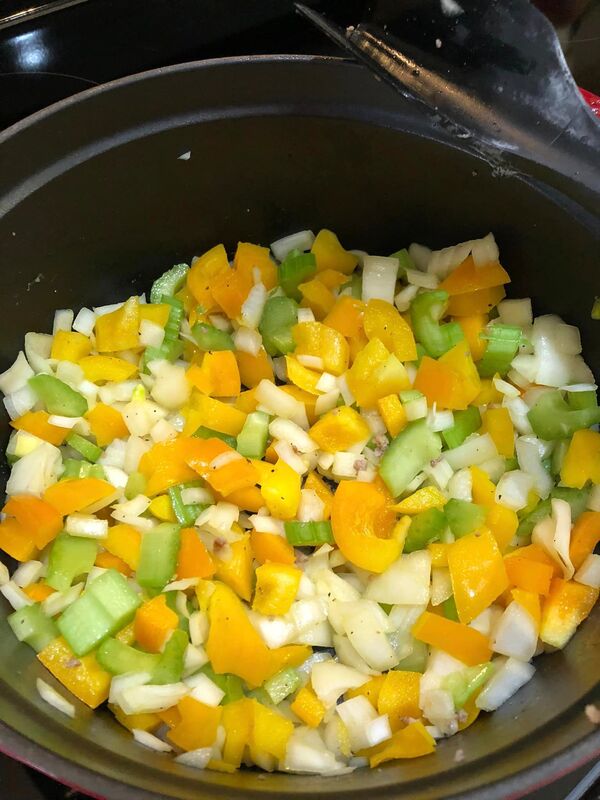
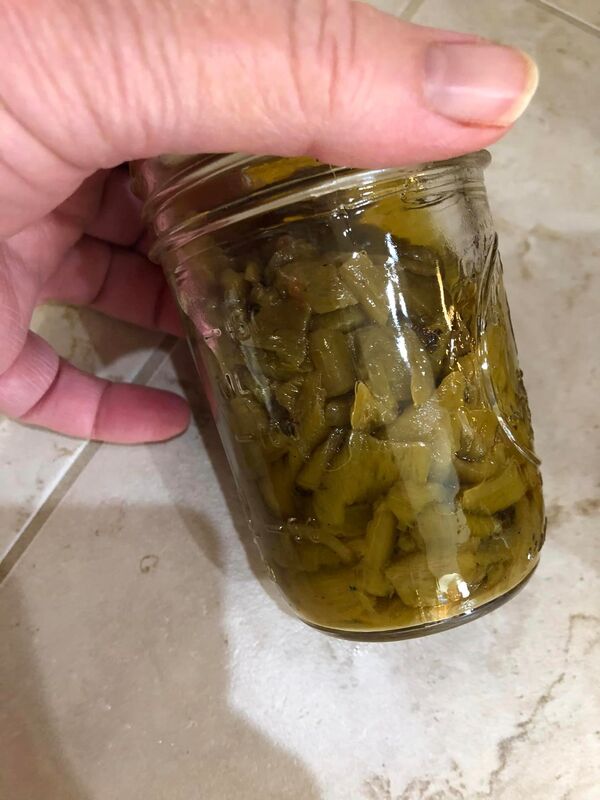
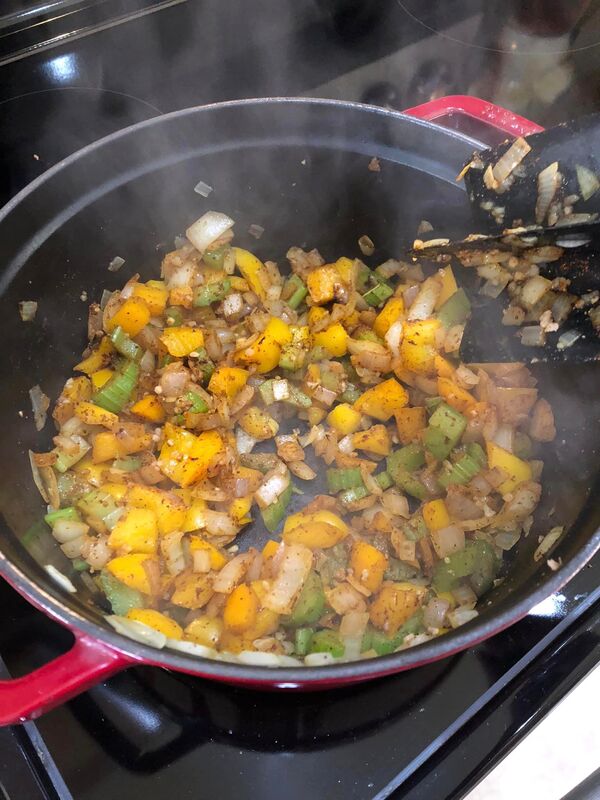
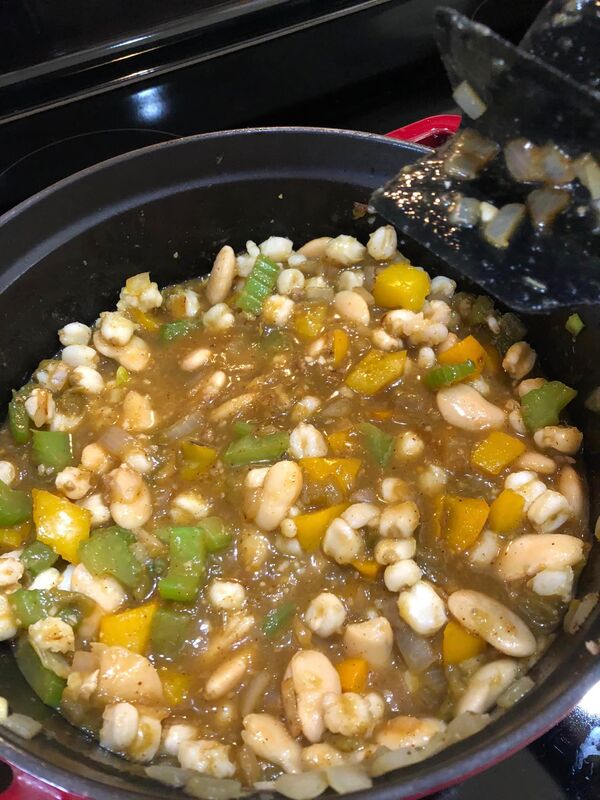
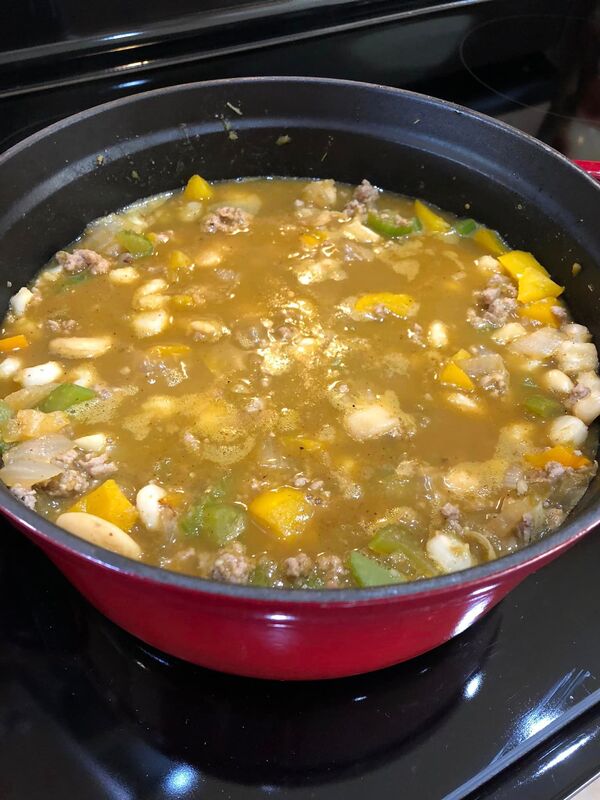
 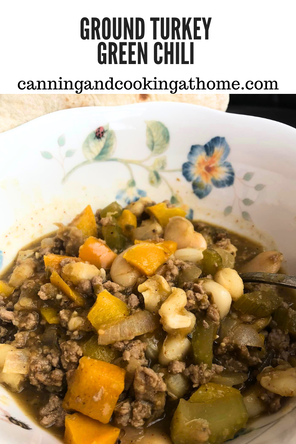 Turkey Green Chili Ingredients: 2 tablespoons olive oil 1 pound ground turkey salt and ground black pepper 2 stalks celery, diced 1 yellow onions, diced 1 yellow sweet bell pepper 3 garlic cloves, minced 1 1/2 teaspoons ground cumin 2 teaspoons chili powder 1 can white beans (such as cannellini beans) 2 cups white hominy 1 teaspoon dried oregano 1 cup chicken broth 2 cups green salsa (salsa verde) 1/4 cup home canned roasted green chiles 1 jalapeno, sliced *optional Directions
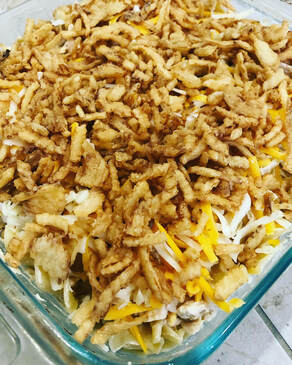
Recipe Adapted from Mary Berg's "Green Chili" 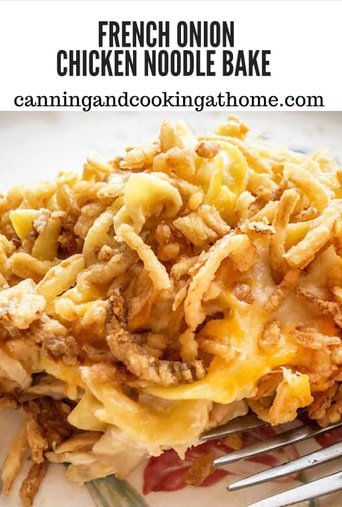 French Onion Chicken Noodle Bake Ingredients: 3 cups chicken, cooked. 1 (10.5 oz) can cream of chicken soup 8 oz sour cream 1 packet Lipton Onion Soup Mix 1 cup shredded cheddar cheese 6 oz egg noodles, cooked (half a 12oz bag) 1 Tablespoon Butter 6 oz crushed French-Fried onions Instructions: Preheat oven to 350F
 |